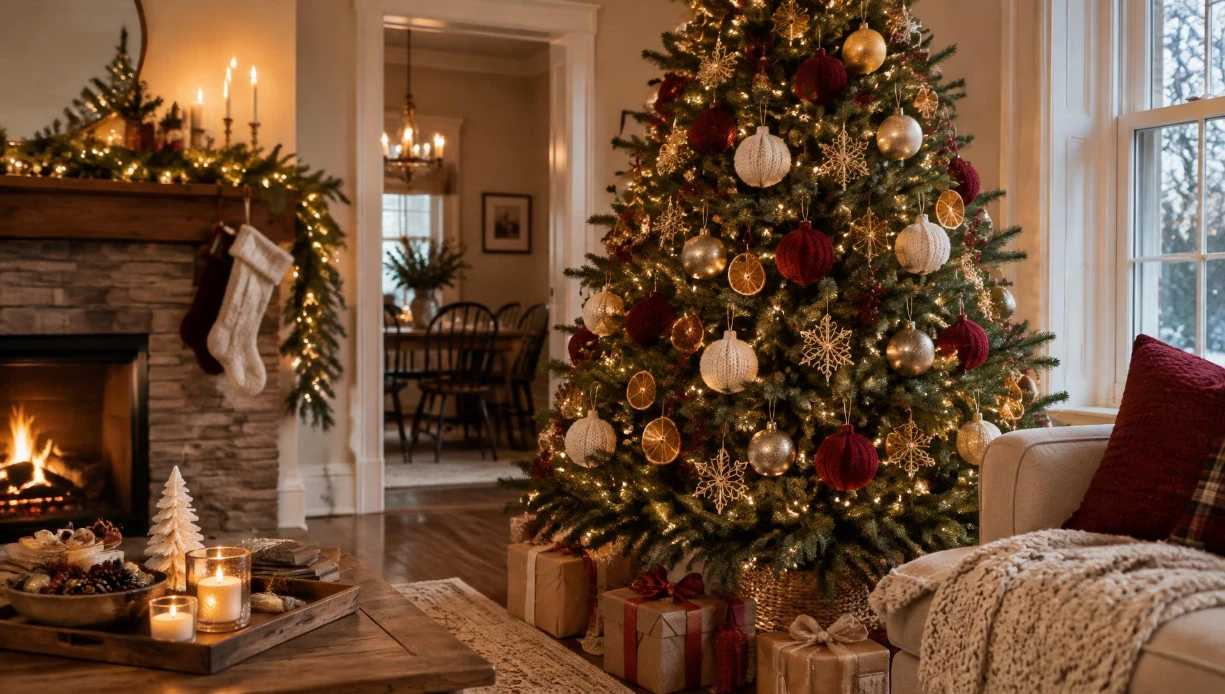
DIY Christmas ornaments have a reputation for looking exactly like what they are, a kids craft project glued together the night before decorating. The ornaments that actually pass for boutique quality this year share one habit: they commit to a tight one or two color palette and a real material, wool, wire, wood, glass, instead of mixing every craft supply in the house onto one tree.
What separates a homemade ornament from a genuinely elevated one isn’t skill so much as restraint. A sweater ball ornament in the same cranberry red as three others on the tree reads as a collection, while five different colors and techniques scattered together reads as a leftover craft bin. Every idea below is built around that same discipline.
Quick Picks
- Best for a small budget: Dried orange slice ornaments with cinnamon sticks
- Best for a cohesive tree: Upcycled sweater ball ornaments in one color family
- Best statement piece: Hand beaded wire snowflakes in icy blue and pearl
- Best for kids to help with: Salt dough ornaments with simple stamped shapes
Did You Know? Nearly half of shoppers say they plan to spend over $150 on Christmas ornaments in a given year, which means a handmade set in a genuinely coordinated palette can read as a real investment piece rather than a budget shortcut.
Before You Start
- Pick your palette before you start crafting. Two colors plus one metallic reads as designed, five colors reads as a craft bin.
- Choose one real material per ornament type. Wool, wood, glass, or wire each hold up better than mixed paper crafts.
- Make a test piece first. The first attempt at any technique is rarely the one you want hanging at eye level.
- Batch similar ornaments together. Making six of the same style in one sitting is faster and more consistent than one at a time.
- Seal anything with natural elements. Dried fruit and pinecones last through the season better with a light coat of sealant.
Natural and Botanical Ornaments
1. Dried orange slice ornaments with cinnamon sticks
This is one of the most repeated ornament ideas in this year’s holiday styling, and it costs almost nothing to make.
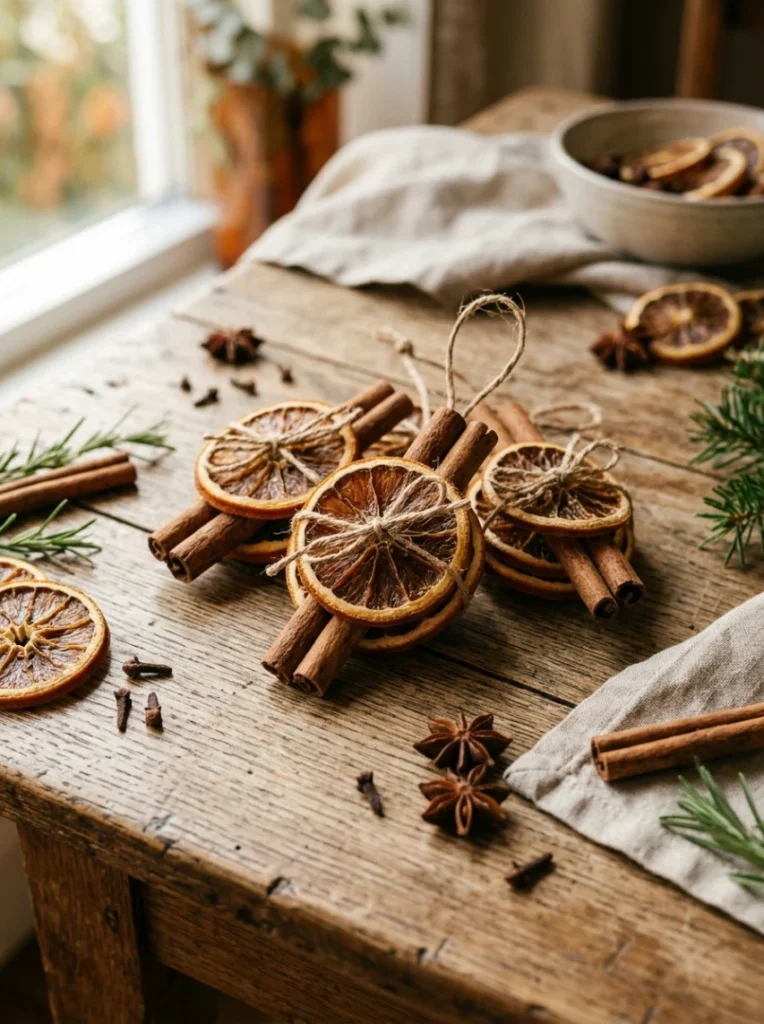
Orange slices dried low and slow in the oven, then bundled with a cinnamon stick and twine, bring genuine scent and texture that no printed decoration can match.
Sealing the dried slices with a thin coat of Mod Podge keeps them from becoming brittle and extends how many seasons they’ll last, and the same drying technique carries over from a dried citrus fall vignette if you built one earlier in the year.
2. Pinecone ornaments dipped in white paint tips
A simple technique that turns a free, foraged material into something styled.
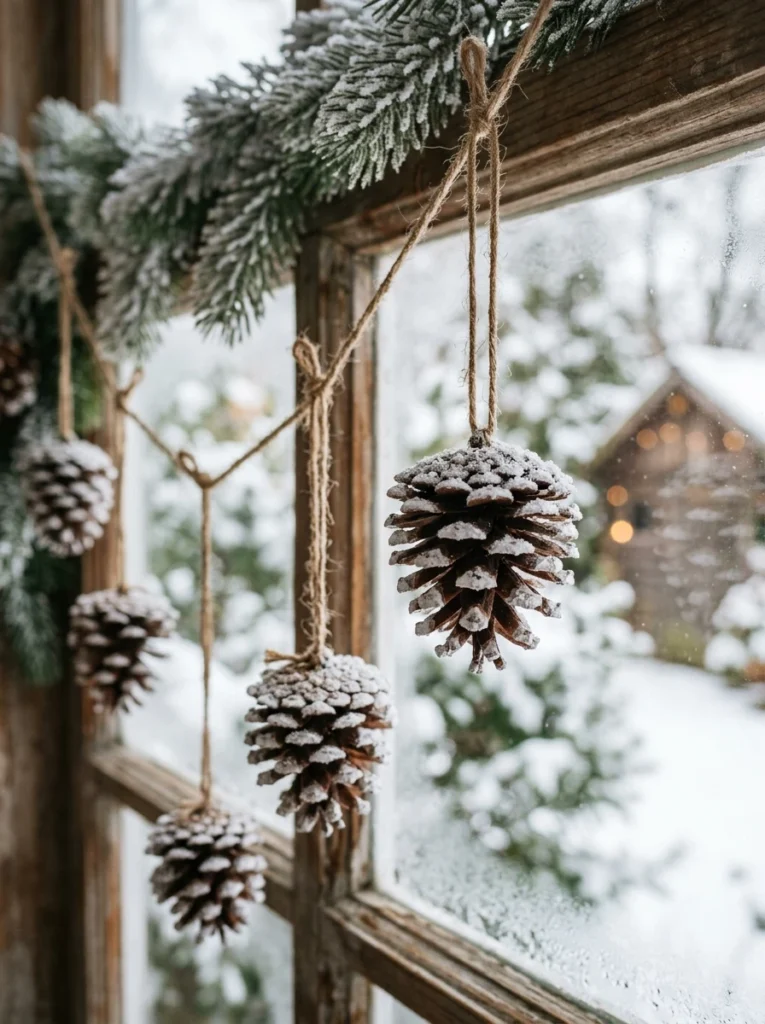
Dipping just the tips of foraged pinecones into white acrylic paint mimics a light frost, and attaching a simple twine loop turns them into a ready to hang ornament in minutes.
Collecting pinecones on a fall walk means this ornament costs almost nothing beyond the paint itself.
3. Dried floral and eucalyptus mini bundles
A soft, textural ornament that pairs beautifully with a neutral tree.
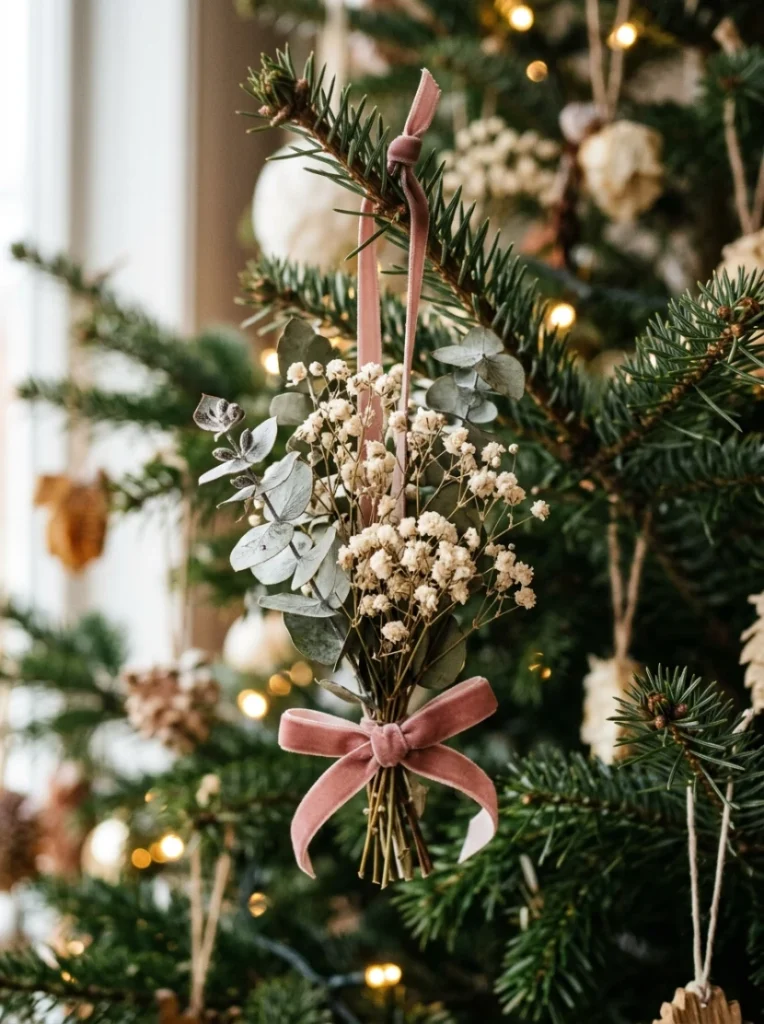
A tiny bundle of dried eucalyptus and baby’s breath, tied with a thin ribbon into a small loop, adds the same organic softness as a full garland in miniature form.
This ornament works especially well on a neutral or all white tree, where the muted, faded tones stand out clearly.
4. Cinnamon stick star ornaments
A structural, fragrant ornament built from just one material.
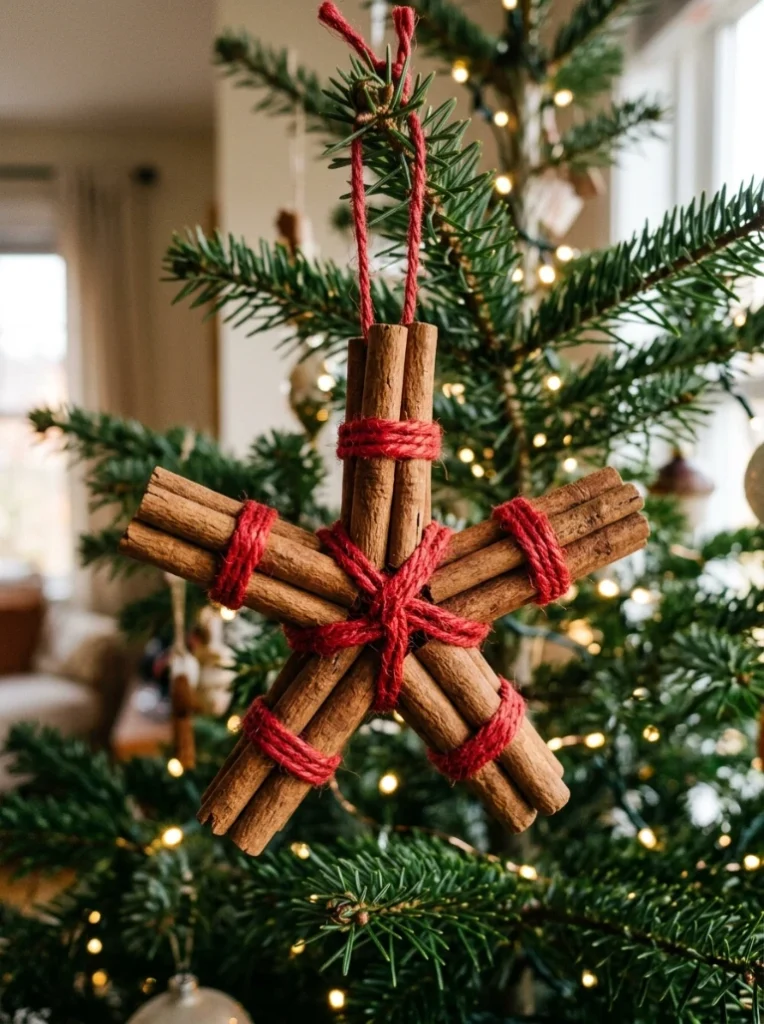
Five or six cinnamon sticks, trimmed to matching lengths and tied together into a star shape, create a genuinely fragrant, rustic ornament with almost no waste material.
Wrapping the center tie with a small piece of red or gold ribbon finishes the look without adding a second craft technique.
5. Wood slice ornaments with a simple stamped design
A natural base material that works well for a whole family crafting together.
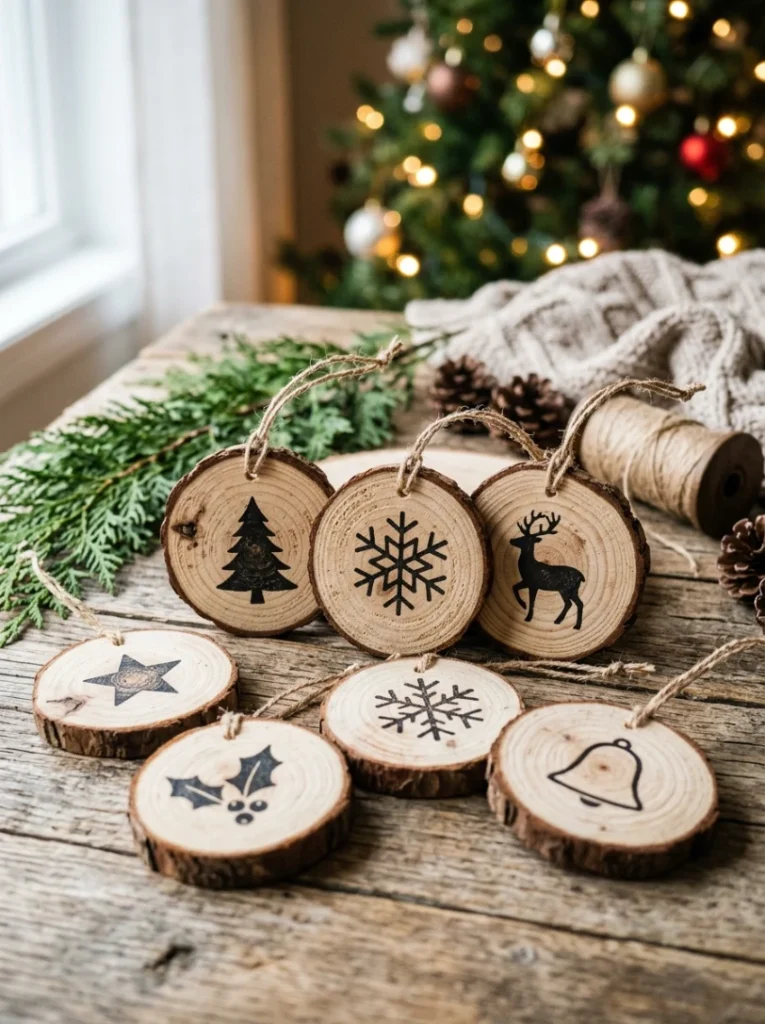
Thin wood slices, sanded smooth and stamped with a single small motif like a star or a snowflake, keep the natural wood grain visible as the ornament’s main texture.
A drilled hole at the top for twine is more durable long term than glued on hardware, especially for an ornament that will get handled by kids each year.
Pro Tip: Dry citrus slices at 200°F for 3 to 4 hours, flipping halfway through, rather than at a higher temperature. Rushing the process with more heat causes the slices to brown unevenly instead of drying to that even, translucent look.
Fabric and Textile Ornaments
6. Upcycled sweater ball ornaments
This is one of the defining ornament trends of the year, and it turns an old sweater into a whole set of coordinated pieces.
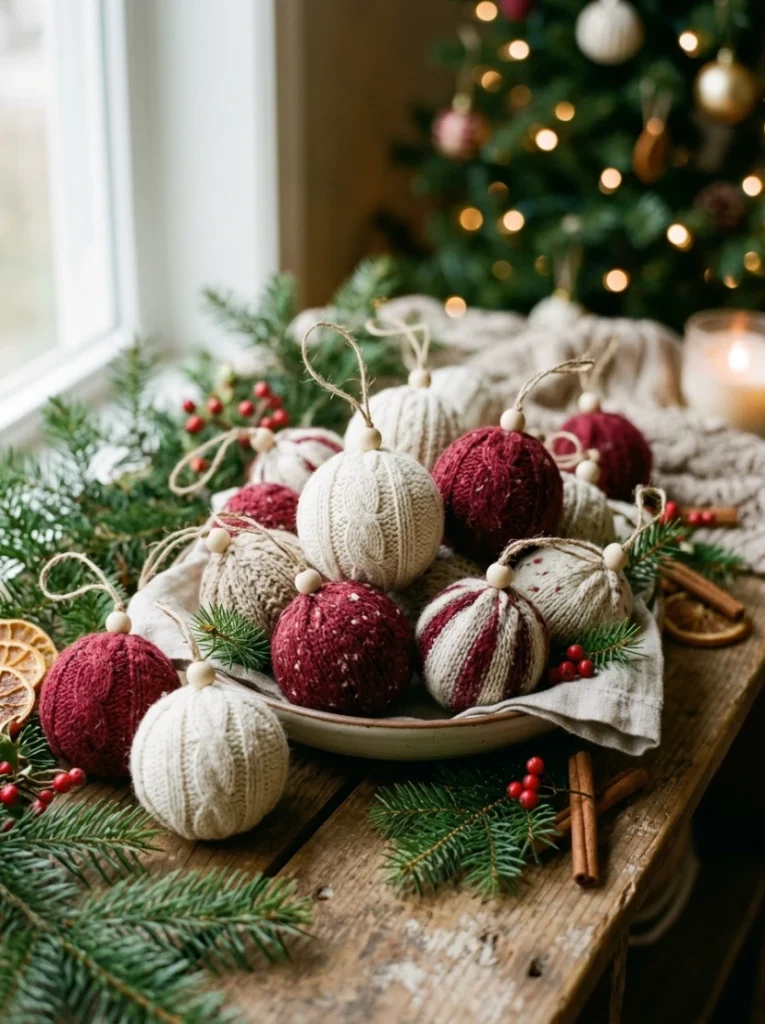
Cutting an old sweater into squares, wrapping each piece around a lightweight foam ball, and securing it with hot glue or hand stitching turns a retired garment into a whole matching set of ornaments.
Choosing sweaters within one tight color family, deep green, cranberry, and winter white, is what makes a whole tree of these read as boutique rather than thrifted.
7. Boucle wrapped mini wreaths
A texture heavy ornament that mirrors a much larger holiday trend in miniature.
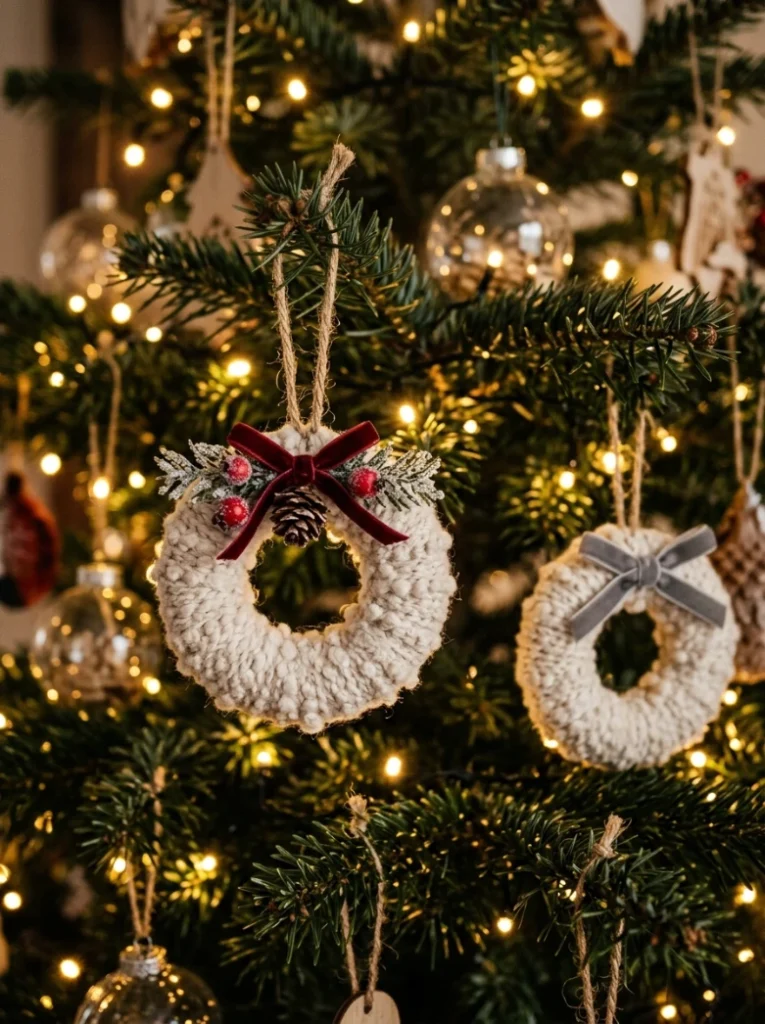
Wrapping boucle yarn or fabric strips around a small wire ring creates a mini wreath ornament with the same cozy, textural quality showing up on stockings and tree skirts this year.
A tiny bow at the base, in a contrasting but coordinated color, finishes each one without needing any additional embellishment.
8. Felt garland cut into ornament shapes
Felt is forgiving to cut and holds its shape well as a hanging ornament.
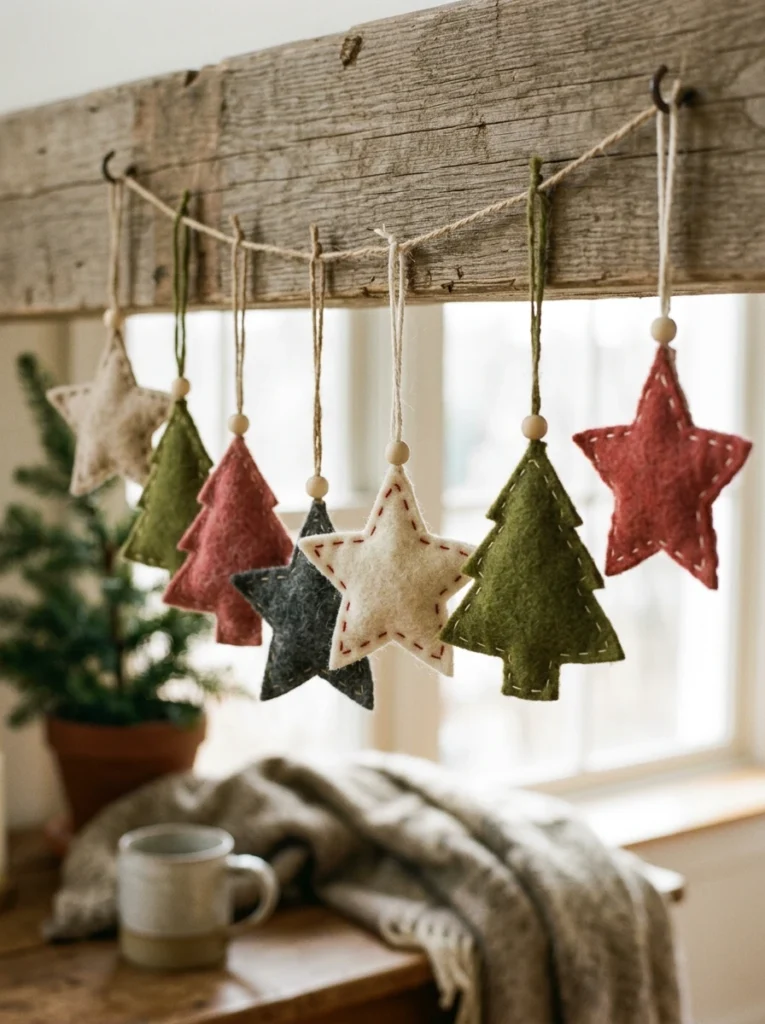
Wool felt, cut into simple geometric or holiday shapes with a sharp craft blade, keeps clean edges without fraying the way woven fabric would.
Layering two felt shapes in slightly different sizes and colors before stitching them together adds dimension without needing paint or embroidery.
9. Velvet ribbon bow ornaments
Oversized bows are a major standalone trend this year, and this shrinks the look to ornament scale.

A length of wide velvet ribbon, tied into a full bow and attached to a small loop, brings the season’s oversized bow trend down into a single tree ornament.
Choosing a rich jewel tone like emerald or ruby velvet ties this ornament directly into the warmer, more traditional palette trending this year.
10. Embroidered muslin name ornaments
A personalized piece that still reads as intentionally crafted rather than sentimental clutter.
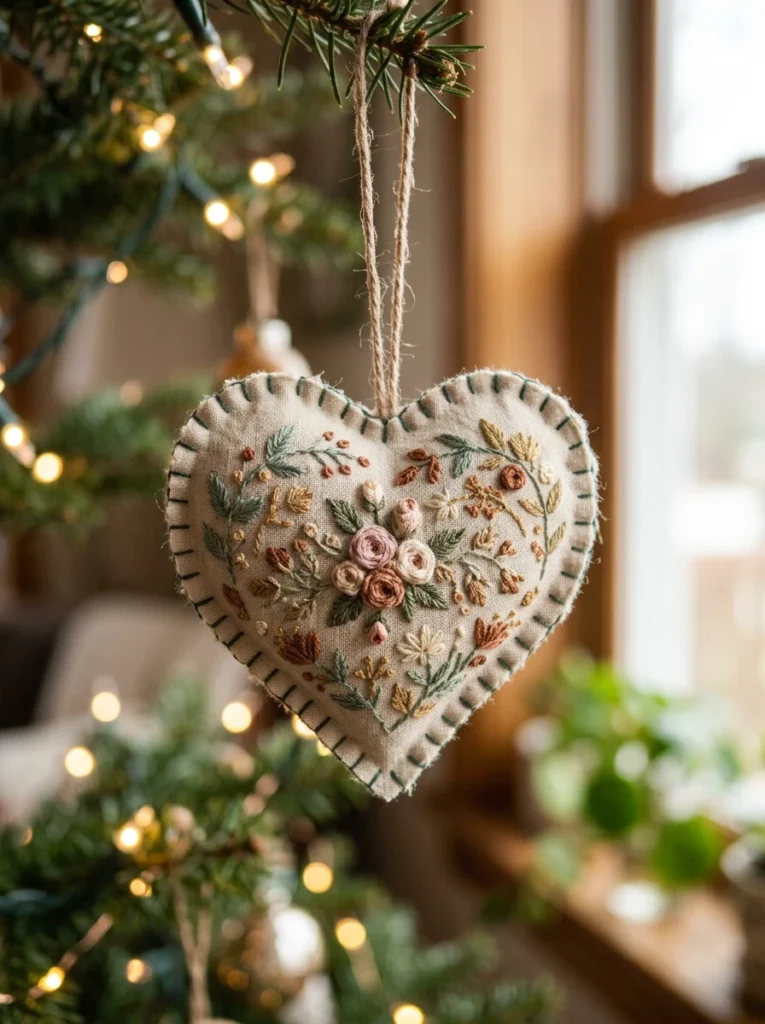
A small muslin or linen circle, hand embroidered with a name or initial in a single thread color, gives each family member a personalized piece without any glitter or printed elements.
Keeping the embroidery to one simple color, rather than multiple thread colors, is what keeps this feeling elevated rather than like a kids project.
Pro Tip: Buy sweaters or felt secondhand specifically for this project rather than new. Thrifted wool holds dye and texture just as well, costs a fraction of new fabric, and keeps the whole project within the sustainable, eco-conscious materials trend leading this year’s Christmas decor.
Painted and Sculptural Ornaments
11. Hand painted glass ball ornaments in a single motif
Plain glass balls are the cheapest possible base for a genuinely custom ornament.
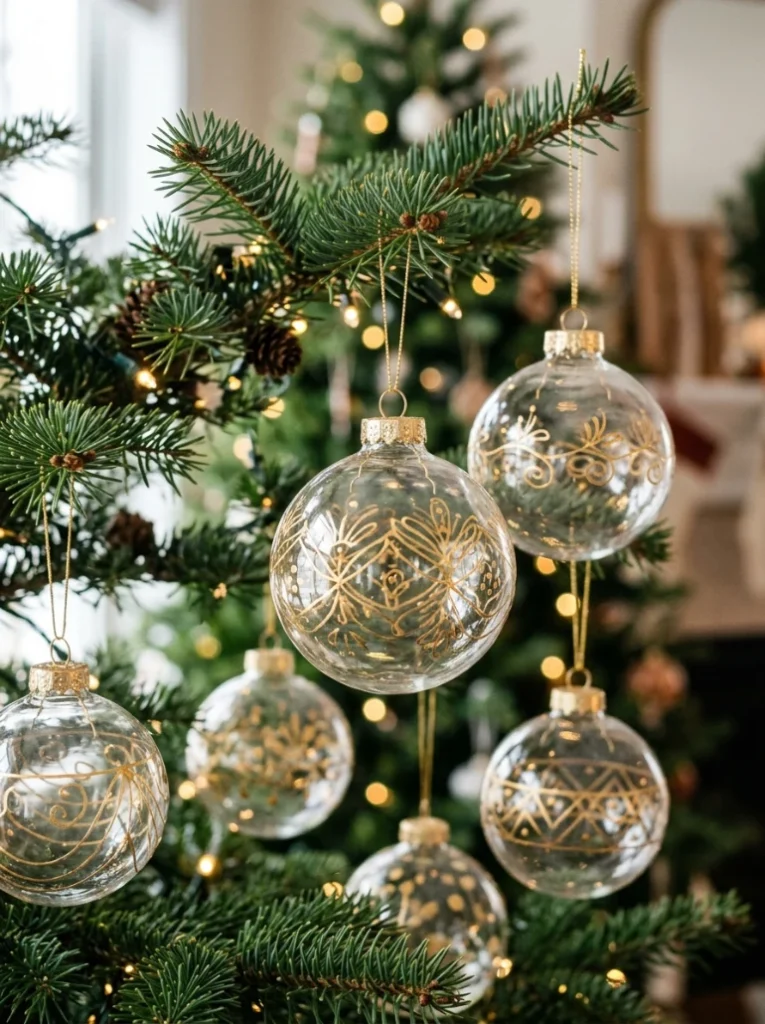
Plain clear or matte glass balls, hand painted with a single repeated motif like a thin gold line or a small star, in one paint color throughout the set, look considerably more considered than an assortment of different designs.
Using porcelain paint pens rather than craft paint gives cleaner lines and a more durable finish that holds up to handling each season.
12. Salt dough ornaments with a simple stamped shape
The most classic kid friendly DIY ornament, still worth doing well.
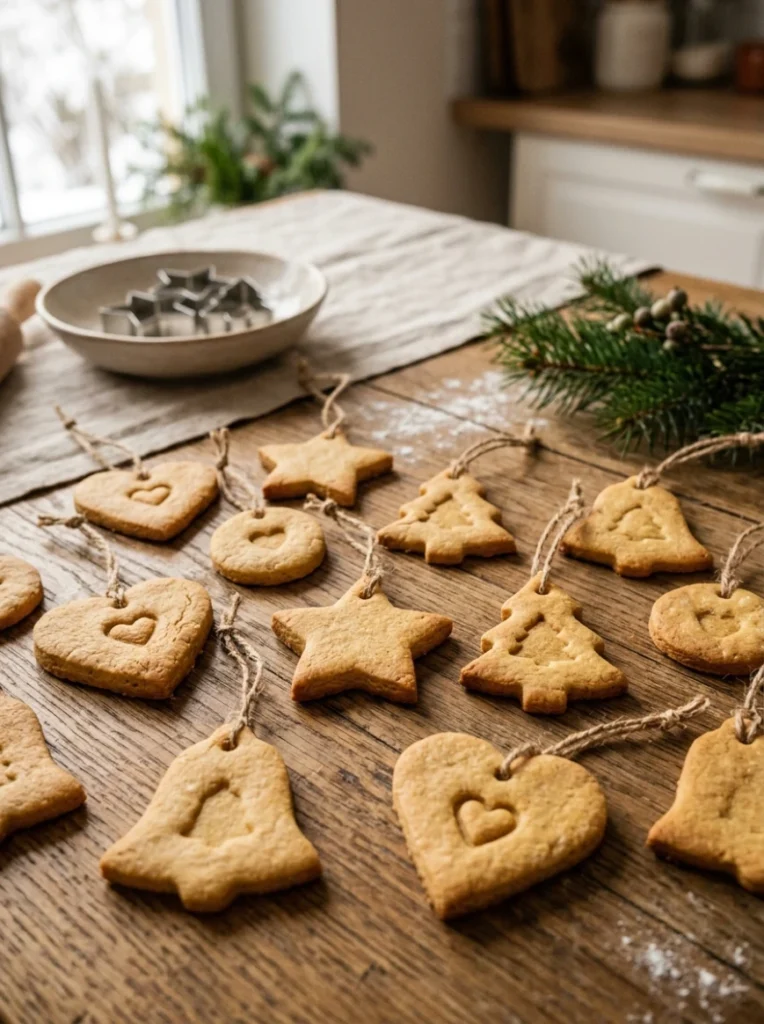
A simple flour, salt, and water dough, rolled flat and stamped with one cookie cutter shape per batch, bakes into a sturdy, matte finished ornament that holds detail well.
Finishing the baked pieces with a single wash of white or cream paint, rather than leaving them raw, keeps a whole batch looking cohesive.
13. Marbled clay ornaments in a coordinated palette
A modern, slightly more advanced technique with a genuinely elevated result.
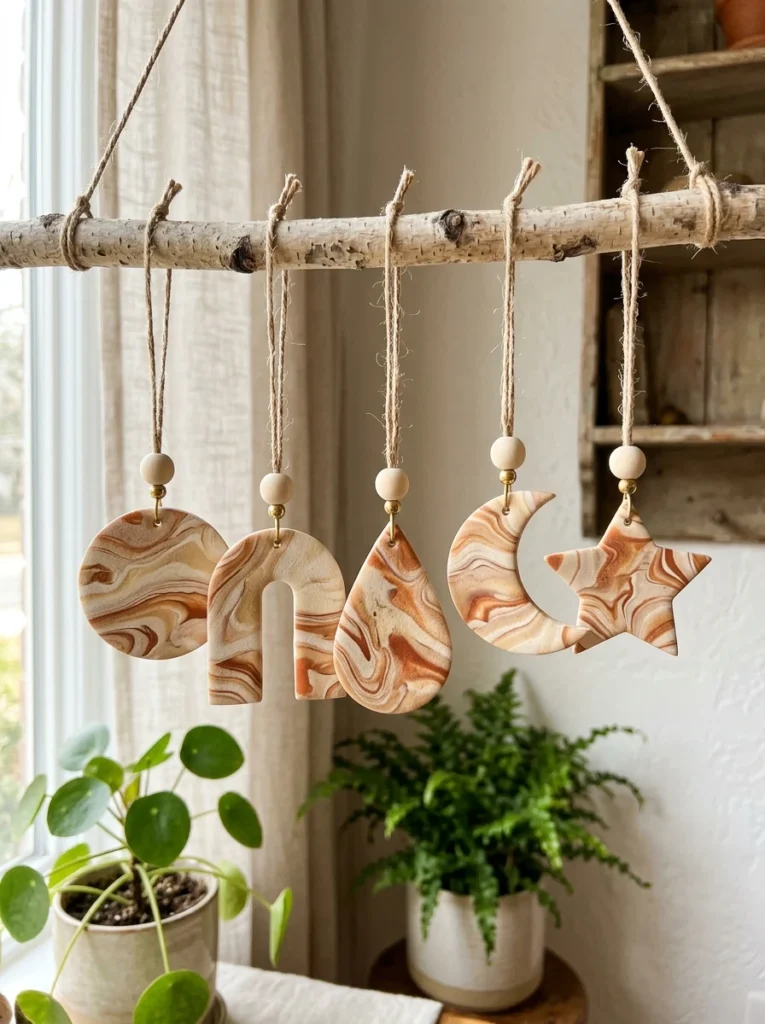
Two or three colors of polymer clay, twisted together and rolled flat before cutting into simple shapes, create a marbled effect that looks considerably more expensive than the material cost suggests.
Baking according to the clay’s specific temperature guidelines matters here, since underbaked pieces stay fragile and can crack once hung.
14. Sculptural paper star ornaments
A dimensional paper craft that photographs beautifully against a tree’s lights.
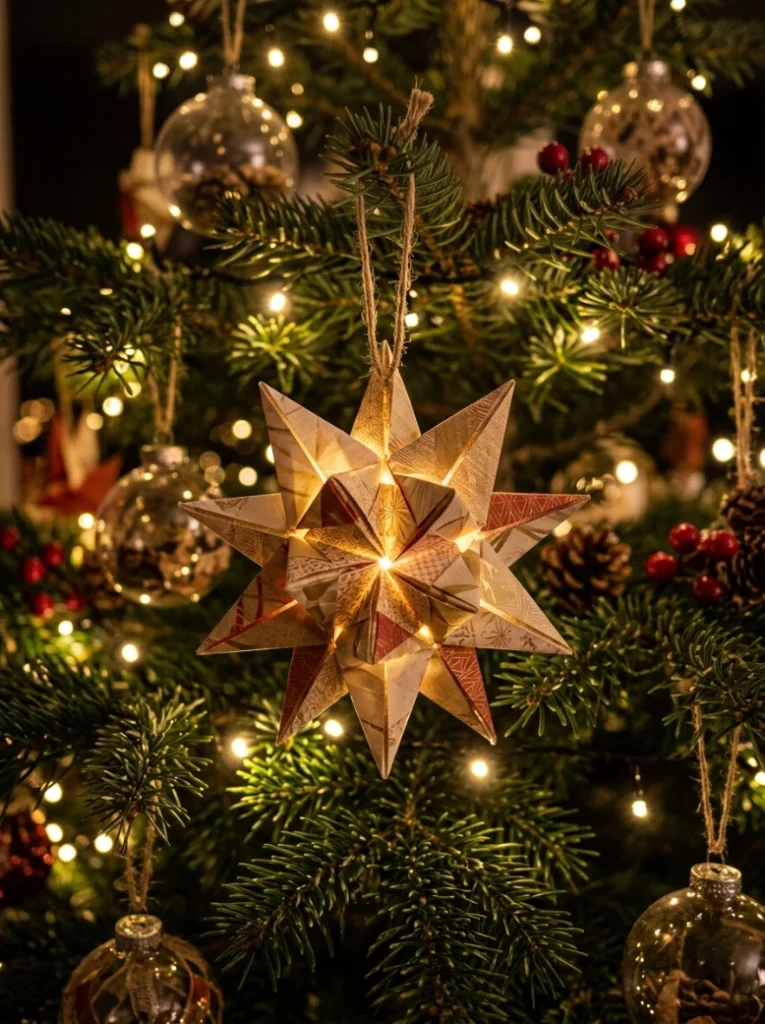
Folded from a single sheet of heavyweight cardstock in one metallic or cream tone, a simple origami star adds real dimension and catches tree light in a way flat paper crafts don’t.
Choosing a paper weight of at least 80 pounds keeps the folded shape crisp rather than collapsing over the season.
15. Miniature terra cotta pot ornaments
An unexpected material that fits the natural, ceramic leaning trend this year.
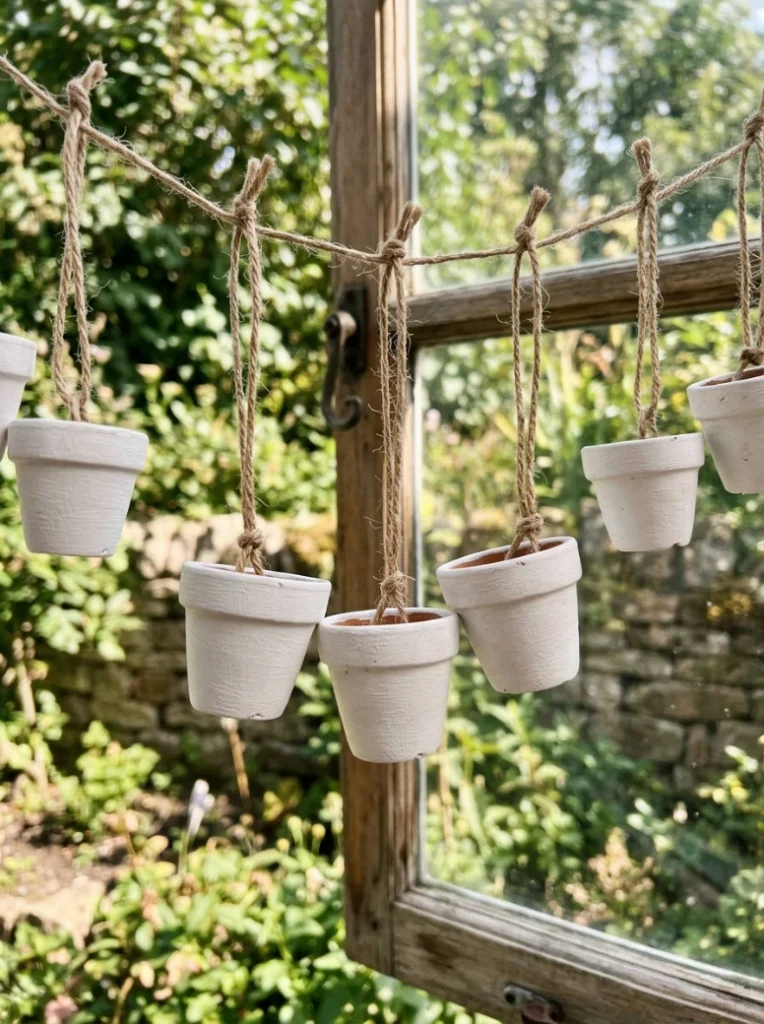
Miniature terra cotta pots, painted a single matte white or left in their natural clay tone, threaded with twine through the drainage hole, bring a ceramic quality other DIY ornaments can’t match.
Tucking a tiny sprig of faux greenery into the top of each pot finishes the look without adding a second craft step.
Pro Tip: Whatever paint color you choose for glass, clay, or wood ornaments, buy enough of that exact shade to finish the entire batch in one sitting. Mixing a second batch of the “same” color almost always produces a visible shade difference once the ornaments are hung side by side.
Beaded and Wire Ornaments
16. Hand beaded wire snowflakes
One of the most on trend ornaments this year, built from wire and a coordinated bead palette.
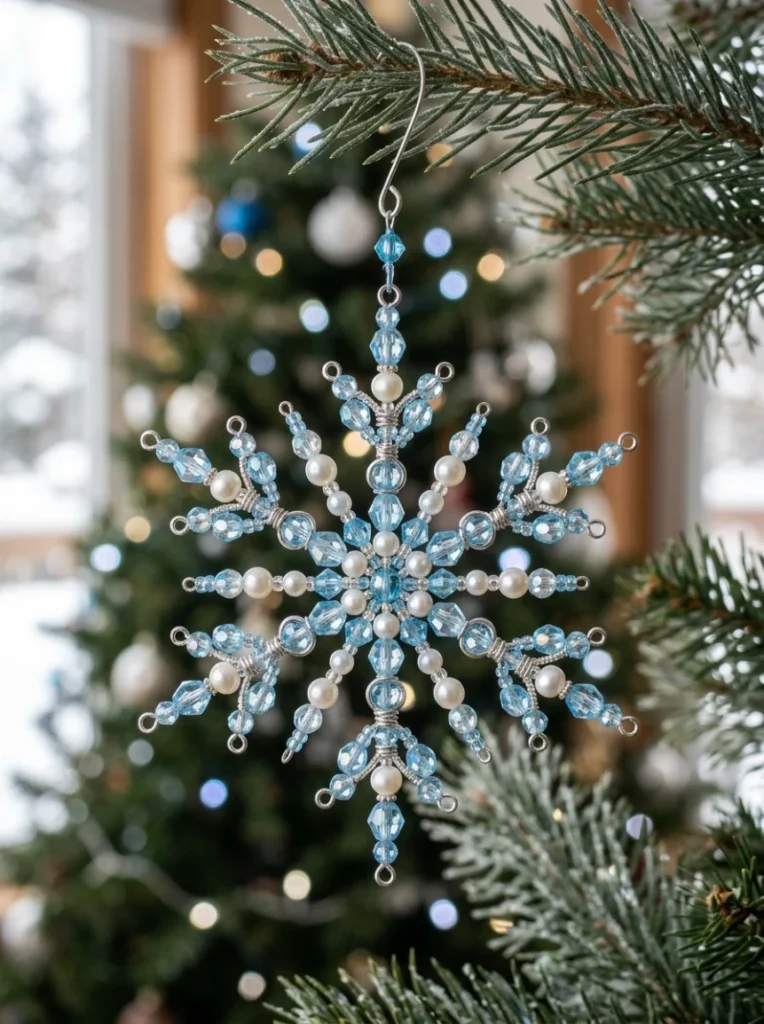
A sturdy wire gauge shaped into a six pointed snowflake, threaded with glass, crystal, or pearl beads in icy blue and silver, catches light in a way almost no other ornament on this list can match.
Sticking to just two or three bead colors throughout the whole set is what keeps a tree of these looking like a collection rather than mismatched craft leftovers.
17. Simple beaded garland cut into ornament loops
A repurposing trick that turns extra garland into individual ornaments.
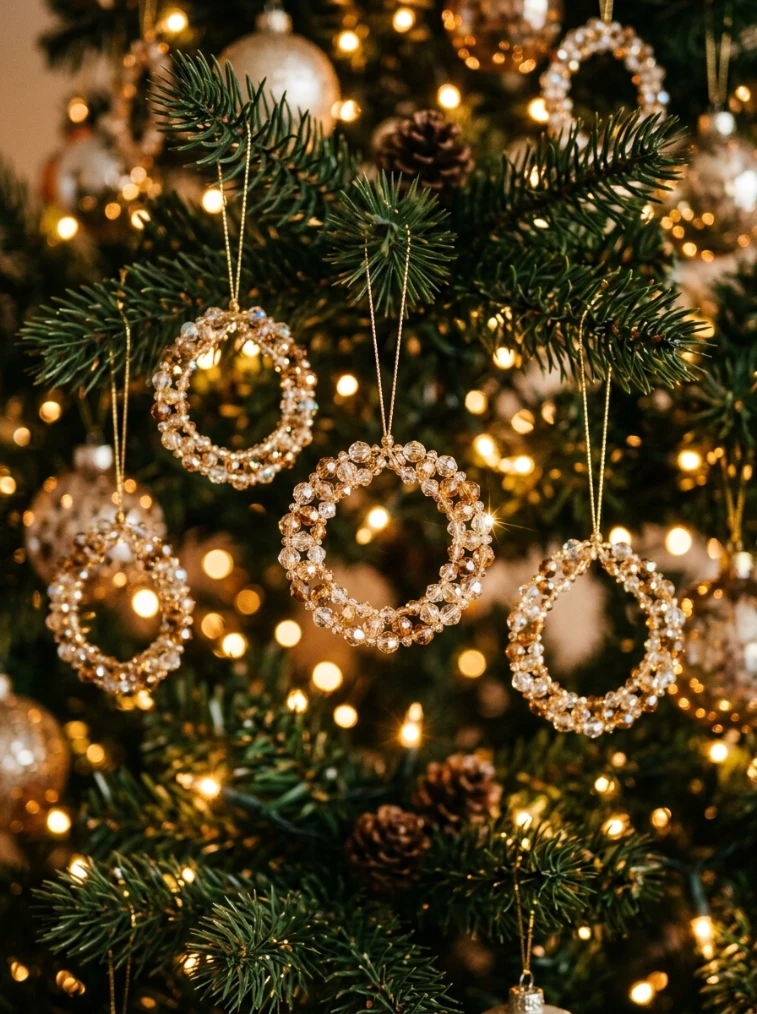
Cutting beaded garland into short lengths and looping each one into a small circle creates a quick, sparkling ornament from material most people already have leftover.
This is one of the fastest ideas on this entire list, since the beading work is already done before the ornament itself is assembled.
18. Wire wrapped initial ornaments
A personalized piece with a more modern, minimal feel than embroidery or paint.
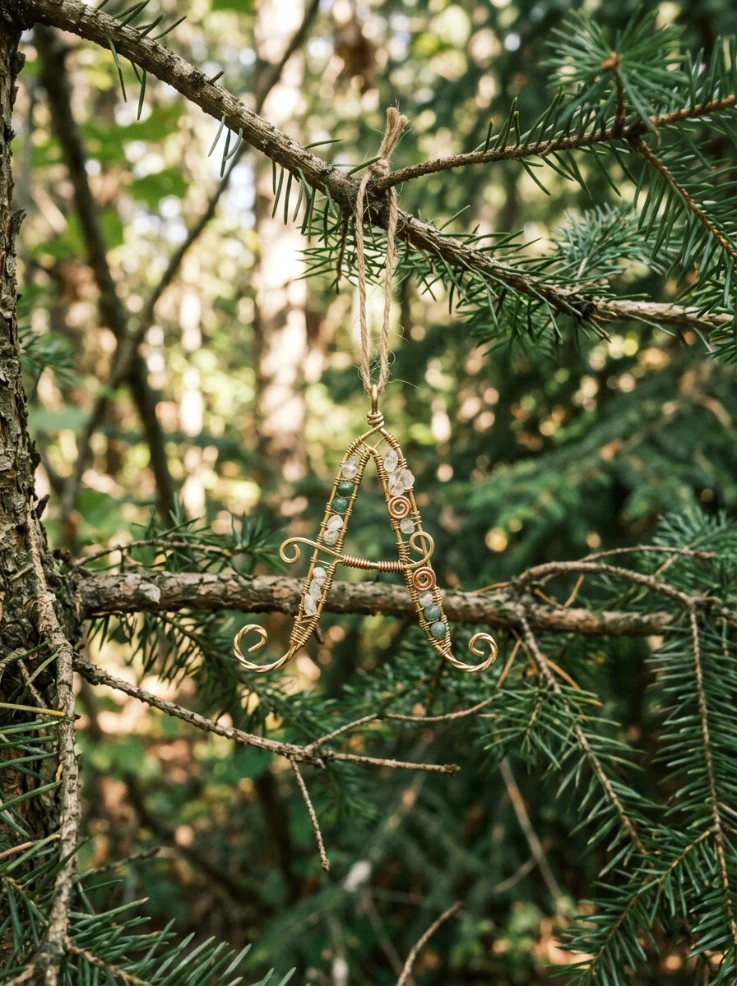
A single length of craft wire, bent by hand into a family member’s initial and finished with a small wrapped loop at the top, makes a genuinely modern personalized ornament.
Using the same wire gauge and finish across every initial in the set keeps a mixed group of letters looking like one cohesive collection.
19. Beaded icicle ornaments
A glamorous ornament style that photographs especially well under warm tree lights.
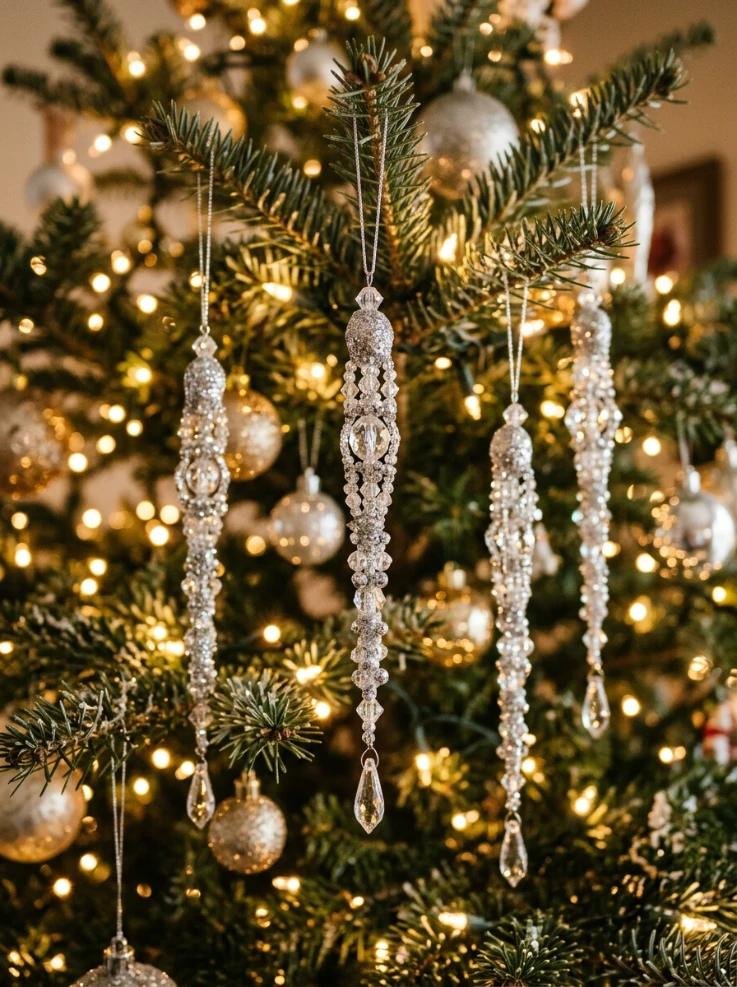
Clear and silver beads threaded onto wire in a tapering icicle shape add real sparkle and movement, especially when clustered several to a branch rather than spaced evenly.
This ornament pairs particularly well with the wire snowflakes above, since both share the same icy, glass bead material.
Pro Tip: Buy beads in bulk from a craft supplier rather than pre-packaged kits once you know your palette. It costs noticeably less per ornament and guarantees every piece in the batch uses the exact same bead colors.
Vintage and Upcycled Ornaments
20. Painted light bulb ornaments
An eco-friendly project that gives a burnt out bulb an entirely new life.
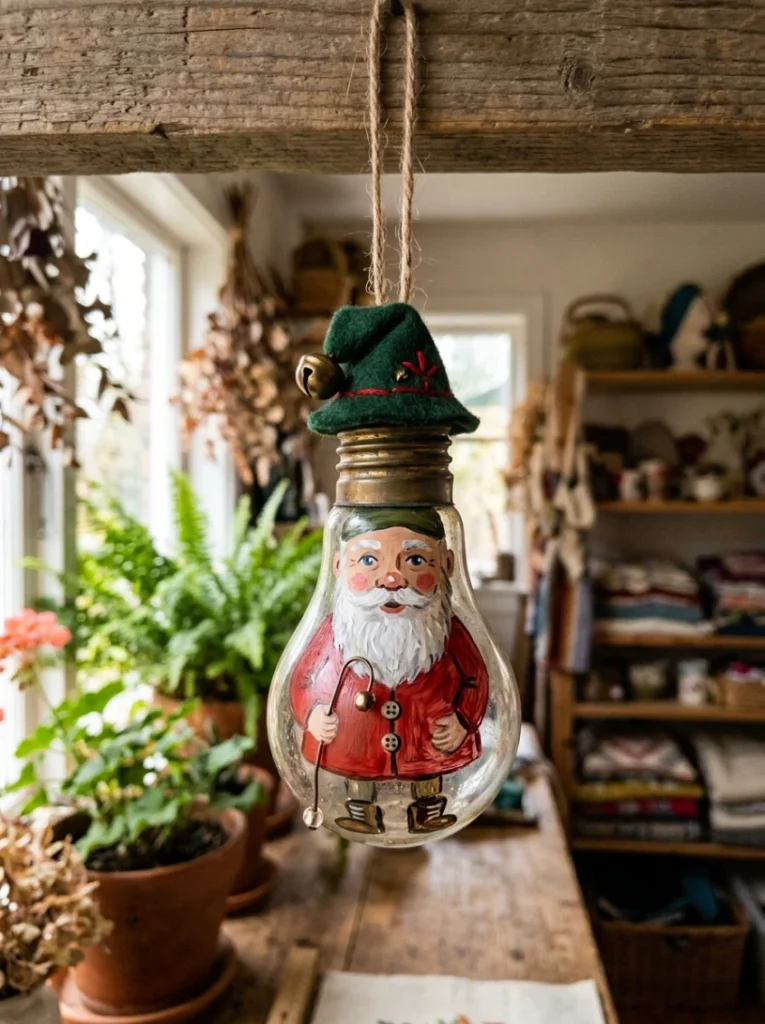
An old incandescent bulb, painted with non water based paint or nail polish and finished with a small glued detail, turns household waste into a genuinely charming, one of a kind ornament.
This project works especially well as a kids activity, since the bulb’s rounded shape naturally suggests simple characters like penguins or snowmen.
21. Vintage book page ornaments
A quiet, literary ornament built from pages that would otherwise be discarded.
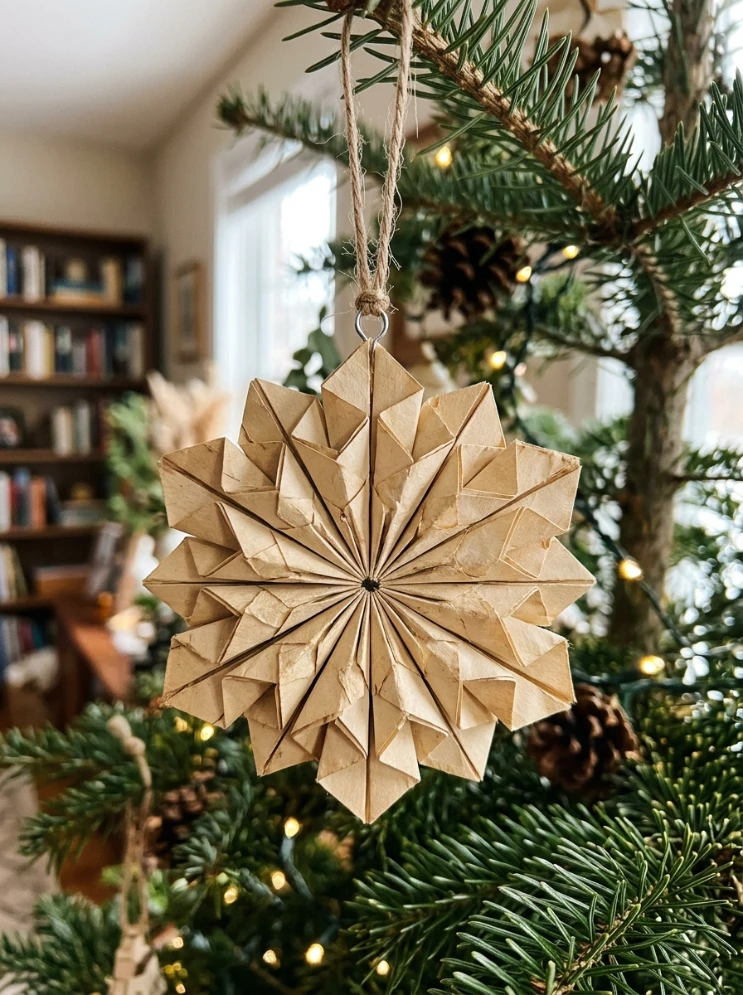
Pages from a damaged or secondhand book, folded using simple origami techniques into a small ball or star shape, create a soft, sepia toned ornament with genuine texture and history.
This idea works particularly well for a book lover’s tree, and the finished ornaments look striking displayed in a bowl on an entryway table before they go up on the tree, since the muted tones photograph beautifully against most entryway styling.
Common Mistakes to Avoid
- Mixing too many colors and materials across the ornament set instead of committing to a tight palette.
- Rushing dried natural elements at high heat, which browns them unevenly instead of drying them cleanly.
- Skipping a sealant on dried or painted pieces, shortening how many seasons they’ll actually last.
- Making every ornament a different technique instead of batching several of the same style together.
Frequently Asked Questions
What materials make DIY ornaments look more expensive?
Real materials like wool felt, glass, wire, and clay consistently read as more elevated than paper or glitter based crafts.
How many colors should a handmade ornament set use?
Two colors plus one metallic accent is the sweet spot for a cohesive, boutique looking tree, more than that tends to look scattered.
Can DIY ornaments be made ahead of the holiday season?
Yes, most of these, especially dried, painted, and wire based ornaments, store well for months if kept in a dry container out of direct sunlight.
Conclusion
The DIY Christmas ornaments that actually look boutique quality come down to the same two decisions repeated throughout this list, a real material and a tight, coordinated palette, rather than any specific level of crafting skill. Pick one or two techniques from this list, commit to a color story before you start cutting or painting anything, and batch enough of each style to fill a real section of the tree rather than scattering one of everything.