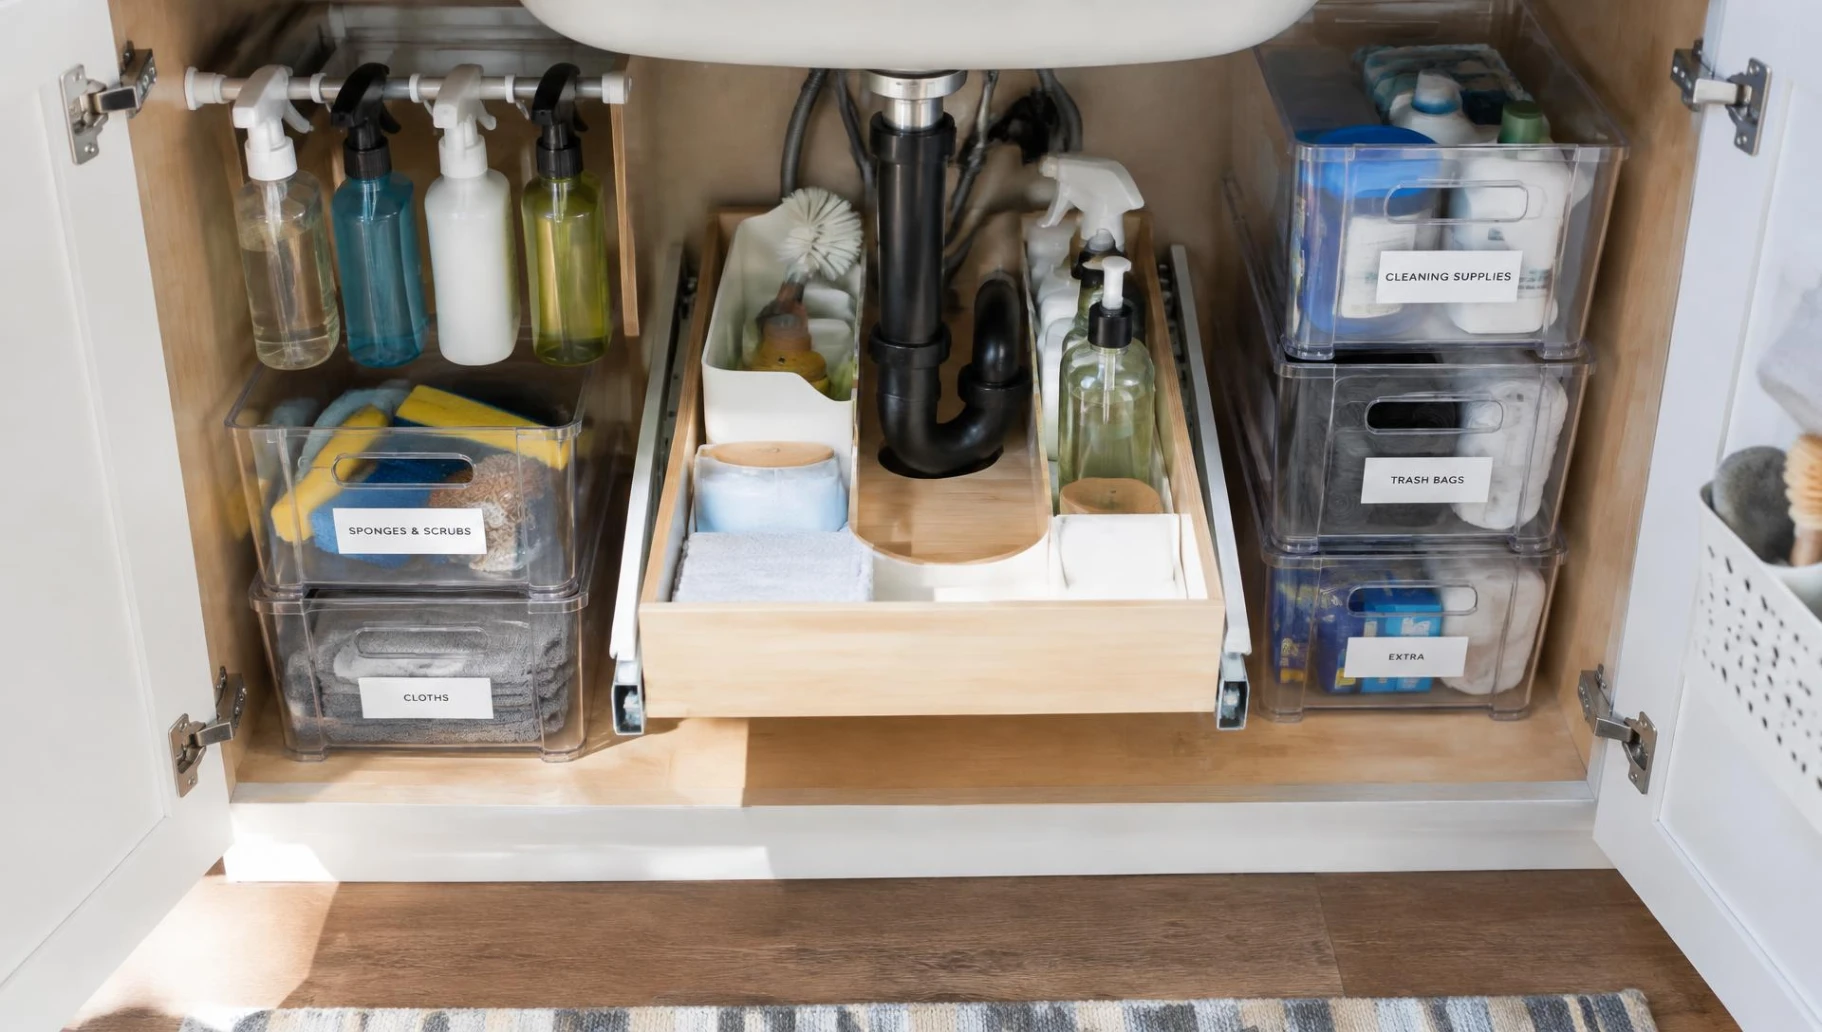
My under-sink cabinet used to be the one place I never opened in front of guests, a tangle of spray bottles, a sponge dying a slow death on the cabinet floor, and at least one thing I’d forgotten I owned. It took an afternoon and about $40 in bins to turn it into the most organized cabinet in my kitchen, and the fix wasn’t buying more storage, it was working with the pipes instead of around them.
Most under-sink cabinets waste half their space because the pipes cut the footprint into odd shapes that a single shelf or bin can’t use well. The ideas below are grouped by what they solve, sorting loose items into bins, using the vertical space above and below the pipes, working around the plumbing itself, and organizing the cleaning supplies people actually reach for daily. If your cabinets look anything like my kitchen cabinet setup did before I reorganized my small kitchen cabinets, this is the same category of fix, just scaled to a trickier space.
Before You Start
- Empty the whole cabinet and measure the space on either side of the pipes before buying anything. Most under-sink organizers are wasted money if they don’t fit the actual gap.
- Wipe down and check for any water damage or soft spots on the cabinet floor first. A small leak is far easier to fix before you’ve filled the space back up with bins.
- Group items by how often you use them, daily cleaning supplies at the front, backups and rarely used items toward the back or on a top shelf.
- Add a small piece of adhesive-backed cabinet liner or a rubber mat before placing anything back in, since it protects the wood and makes spills easy to wipe out.
Sort and Contain
1. Use Clear Bins to Group Like Items
Grouping loose bottles into a few clear bins was the single change that made the biggest difference in mine.
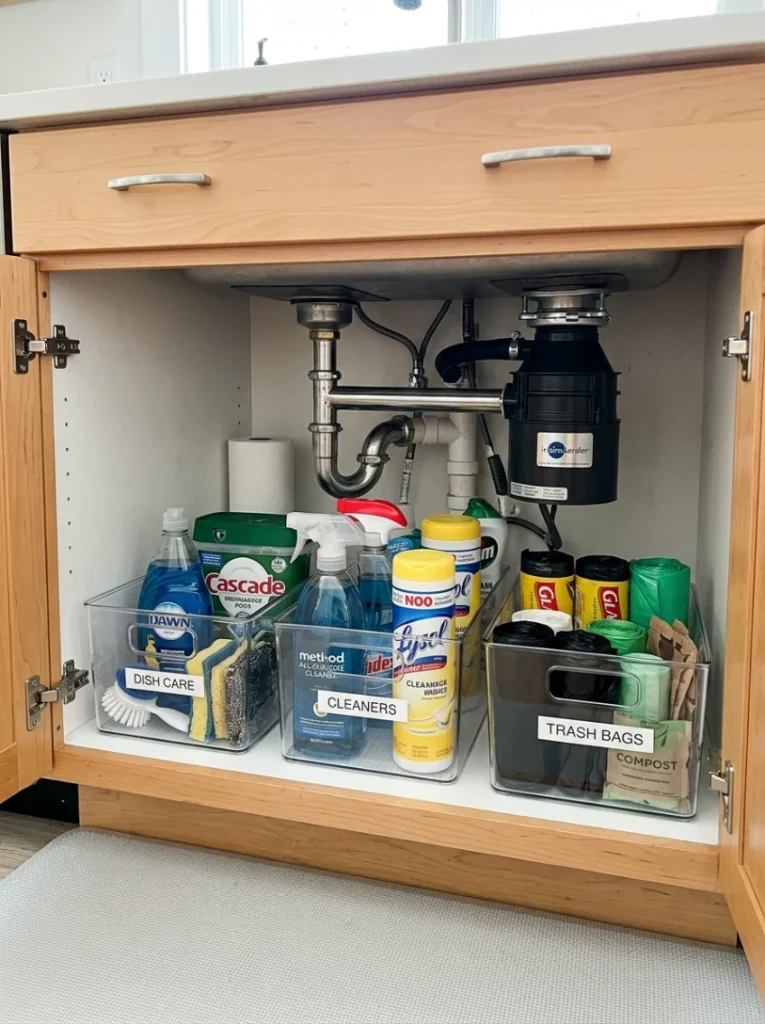
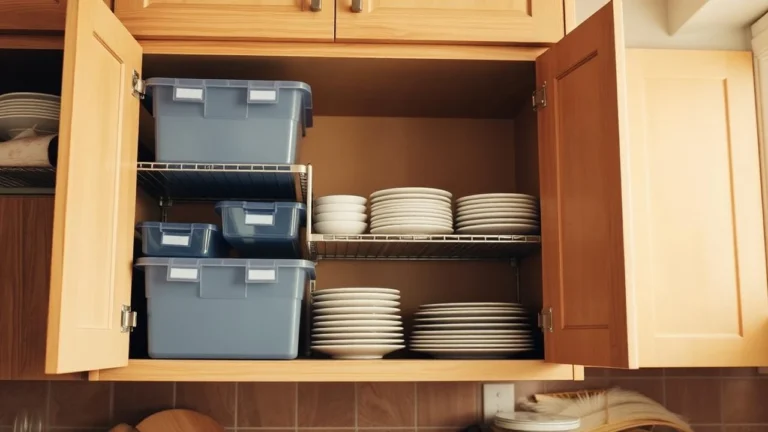
Clear plastic storage bins sized for cabinet use typically run $8 to $18 each, and most under-sink cabinets need two to four to sort everything by category, dish care, surface cleaners, trash supplies, and extras.
It works because clear sides let you see what’s inside without pulling every bin out, and grouping by category means you’re only ever lifting one bin instead of digging through the whole cabinet.
2. Add a Lazy Susan for Deep Corners
The back corner of my cabinet was a dead zone until I put a turntable in it.
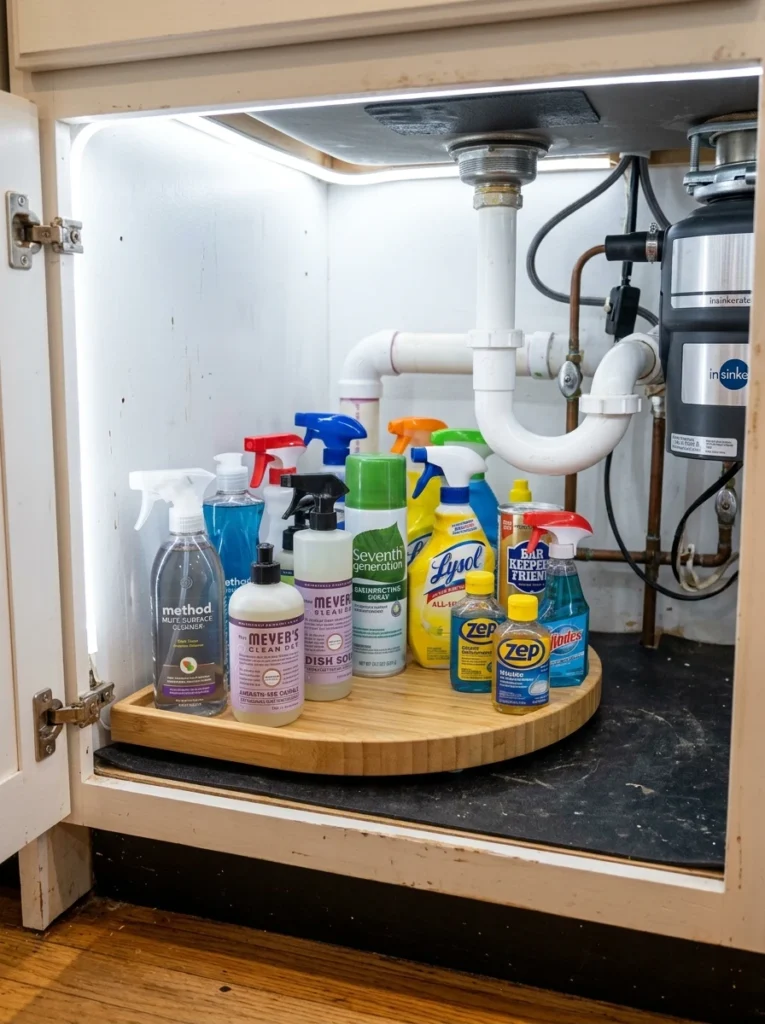
A round or half-moon lazy Susan sized for cabinets runs $12 to $25, and a half-moon shape works especially well against the back wall where a full circle wouldn’t fit flush.
It works because a turntable eliminates reaching into the far back corner entirely, you just spin what you need to the front instead.
3. Label Every Bin for Quick Grabs
Labeling felt unnecessary until I had someone else look for the dish soap refill and grab the wrong bin twice.

A basic label maker costs $20 to $40 as a one-time purchase, or printable adhesive labels run about $5 to $10 for a full sheet set, either way this is one of the cheapest upgrades on this list.
It works because labels remove the guesswork for anyone using the cabinet, not just you, and they make it obvious when something’s been put back in the wrong spot.
4. Use a Caddy for Grab-and-Go Cleaning Supplies
Keeping a caddy pre-packed with my most-used cleaners saved me from opening five different bins every time I wiped down a counter.
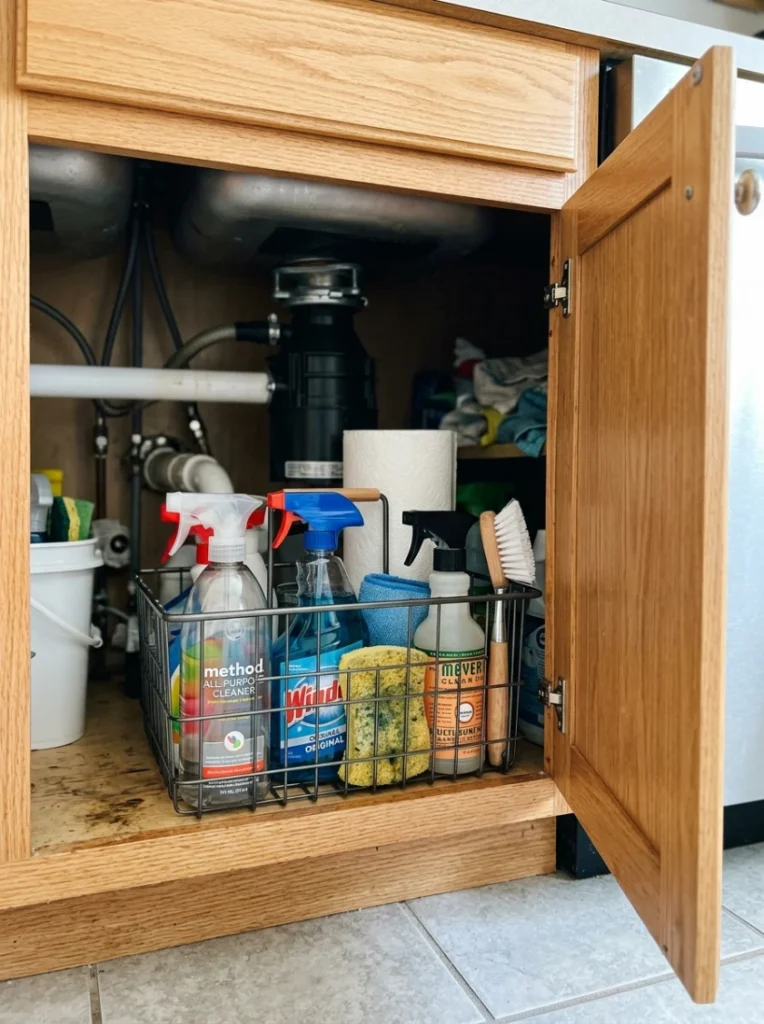
A plastic or wire cleaning caddy with a handle runs $10 to $20, and it should hold only the three or four products you reach for weekly, everything else stays in the labeled bins behind it.
It works because it turns “cleaning the kitchen” into a one-grab task instead of a scavenger hunt through the cabinet.
5. Add a Small Drawer Unit for Loose Items
Rubber bands, extra sink stoppers, and drain covers all had nowhere to live until I added a small stacking drawer unit.
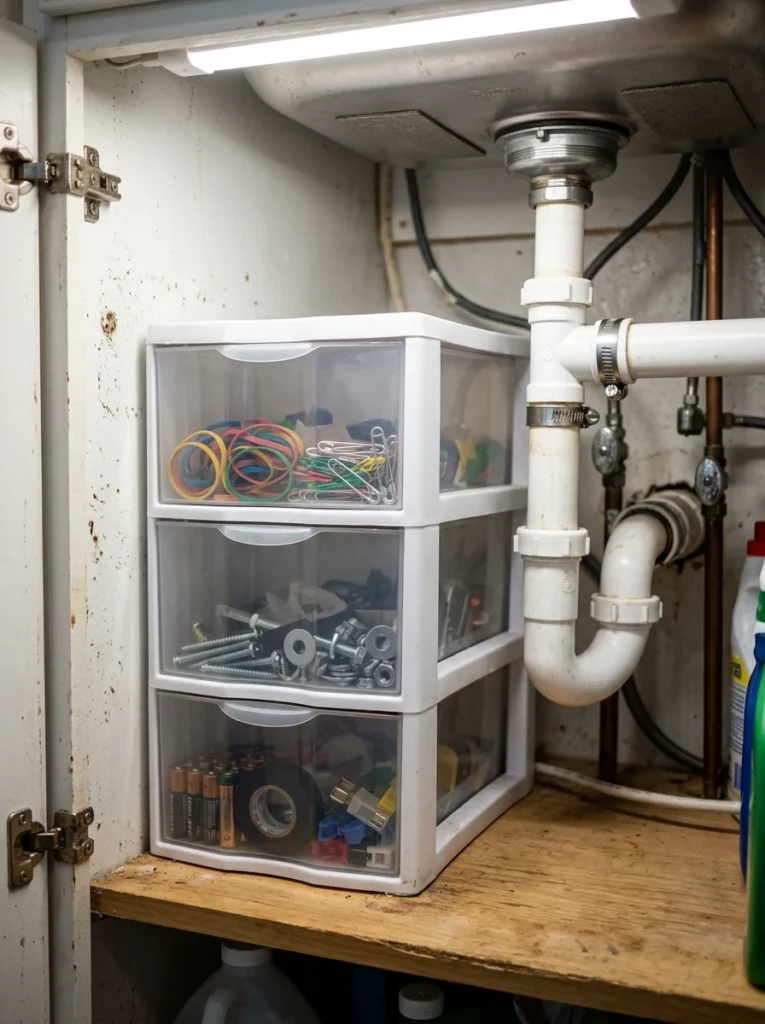
A compact three-drawer plastic unit sized for cabinets runs $15 to $30 and fits well on top of a riser shelf or beside the pipes in a narrower gap.
It works because small loose items are the fastest thing to turn a clean cabinet messy again, and a dedicated drawer keeps them contained instead of rolling around loose.
Maximize Vertical Space
6. Install a Tension Rod for Hanging Spray Bottles
A five-dollar tension rod freed up more floor space than any bin I bought.
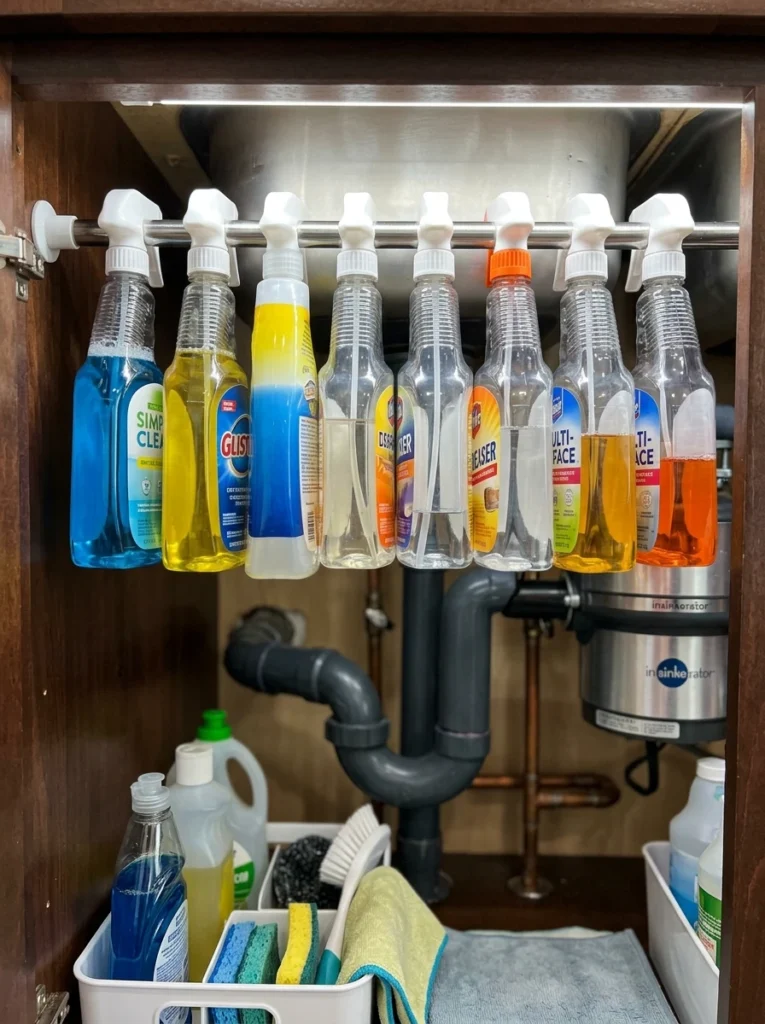
A basic spring tension rod costs $5 to $12, and it mounts near the top of the cabinet so spray bottle triggers hang over it, keeping the bottles off the cabinet floor entirely.
It works because it uses the empty air space at the top of the cabinet, which almost nobody storing bottles upright ever takes advantage of.
7. Add a Two-Tier Sliding Organizer
A sliding two-tier rack let me stop stacking bottles on top of each other, which always ended with the bottom one buried.
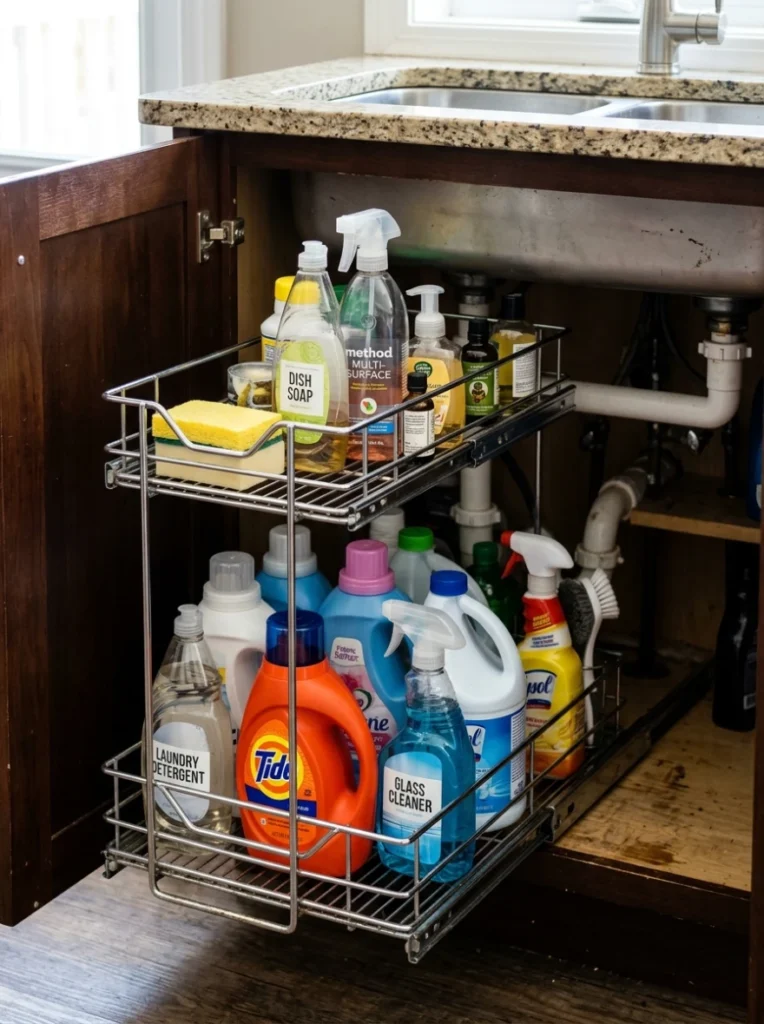
A two-tier sliding cabinet organizer, sized to straddle the pipes, runs $20 to $45 and pulls forward on rails so you can see and reach the back row without unloading the front one.
It works because it turns one flat layer of storage into two accessible ones, roughly doubling usable space without adding cabinet depth.
8. Use Adhesive Hooks on the Cabinet Door
The inside of the cabinet door was empty space until I put a few small hooks on it.
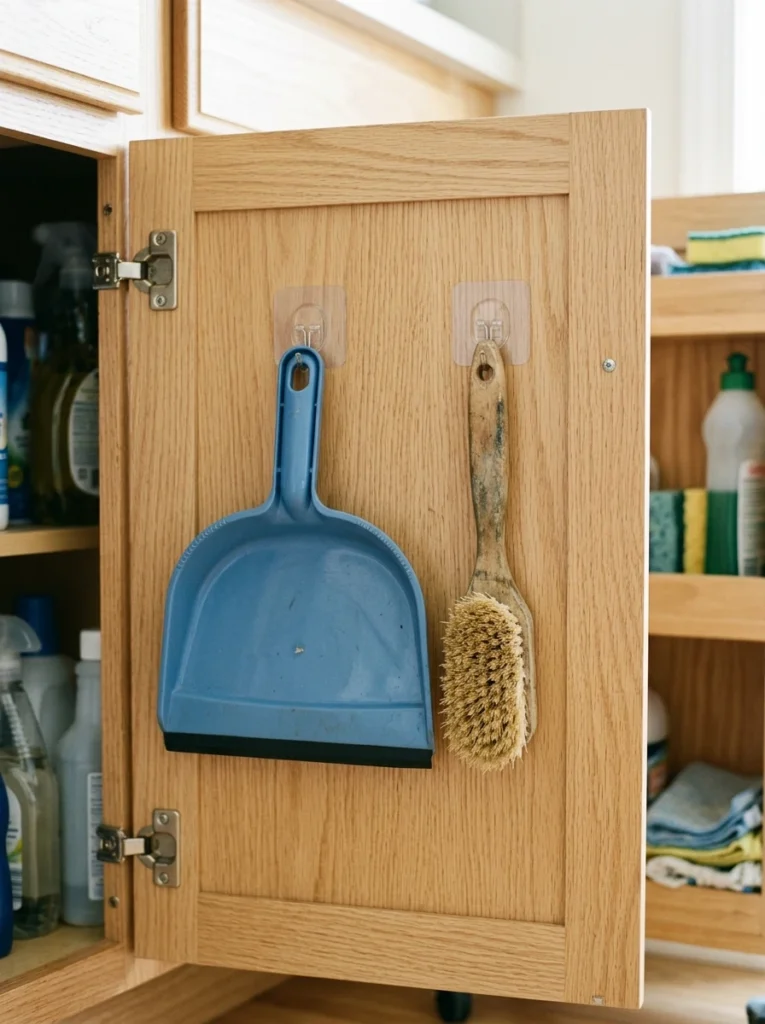
A set of four to six adhesive-backed hooks costs $6 to $15, rated for one to three pounds each, enough for spray bottles, a dust pan, or a scrub brush hung by its handle.
It works because the door’s interior is otherwise wasted vertical real estate, and hanging lightweight tools there frees up shelf space for heavier items.
9. Add a Riser Shelf to Stack Items
A single metal riser let me put paper towel rolls above my bins instead of squeezed in beside them.
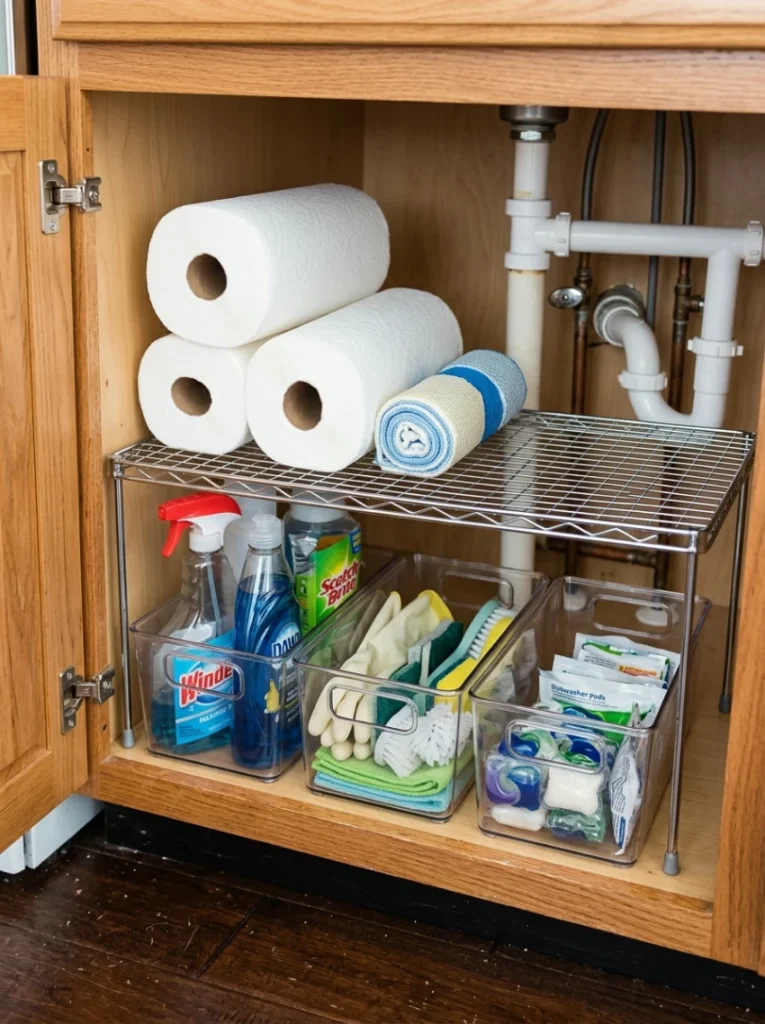
A wire or metal riser shelf runs $15 to $30 and typically holds up to 30 to 40 pounds, enough for stacked bins, paper towel backups, or a second row of bottles above the pipes.
It works because it splits the cabinet’s height into two working levels instead of one, similar to the effect a shelf riser has in a pantry, which frees up floor space below for bulkier items.
10. Mount a Pegboard Insert on the Back Wall
A small pegboard panel turned the flat back wall of my cabinet into actual storage instead of dead space.
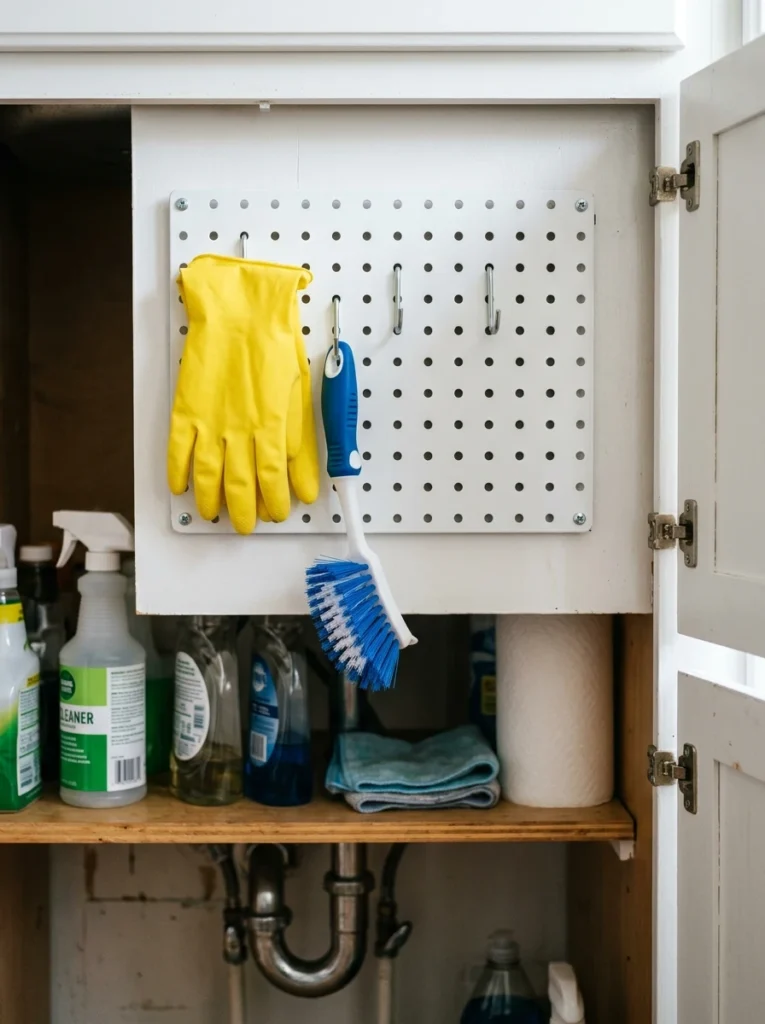
A cabinet-sized pegboard insert with a few hook attachments runs $18 to $35, and it mounts to the back interior wall to hold gloves, small brushes, or spray bottles by their handles.
It works because the flat back wall of most cabinets goes completely unused, and pegboard turns it into fully customizable hanging storage you can rearrange as your supplies change.
Work Around the Plumbing
11. Choose a U-Shaped Organizer to Fit Around Plumbing
A U-shaped shelf built specifically for the pipe gap solved the one problem no rectangular bin ever could.
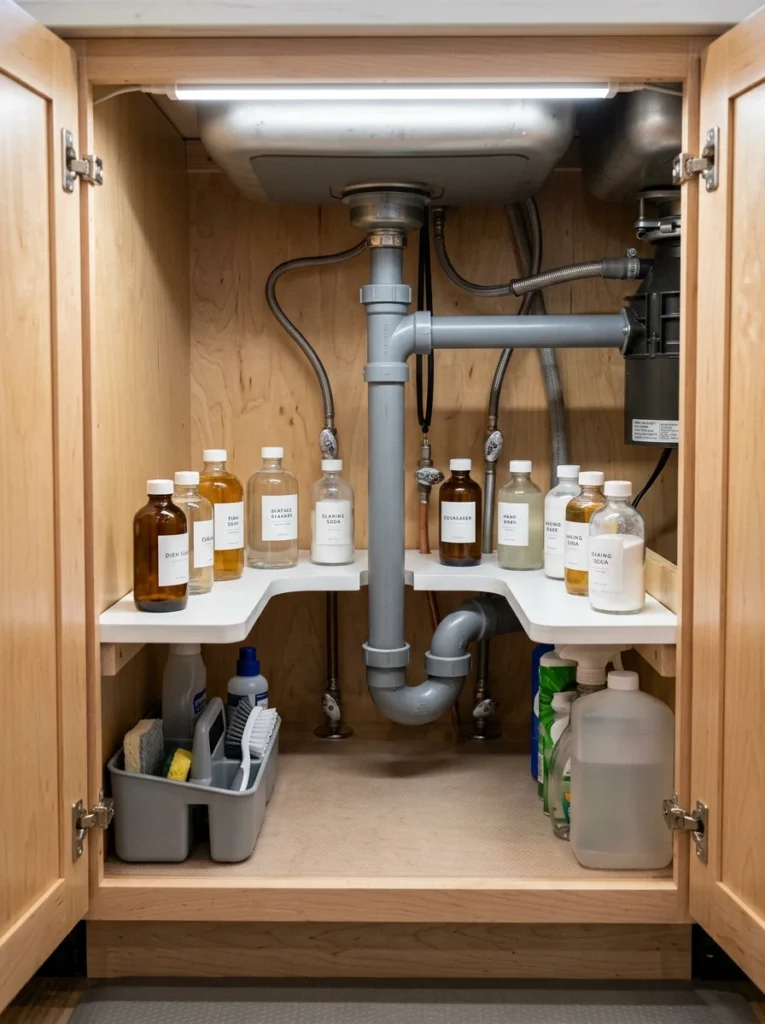
A U-shaped or C-shaped under-sink shelf runs $20 to $40 and is designed with a notch cut to slide around the drain pipe, giving you a flat, usable shelf surface that a standard rectangular one can’t provide in that spot.
It works because it’s purpose-built for the exact obstacle every under-sink cabinet has, instead of forcing a generic shelf to work around plumbing it wasn’t designed for.
12. Add a Sliding Tray That Pulls Out Past the Pipes
A pull-out tray meant I never had to kneel down and reach past the pipes again.
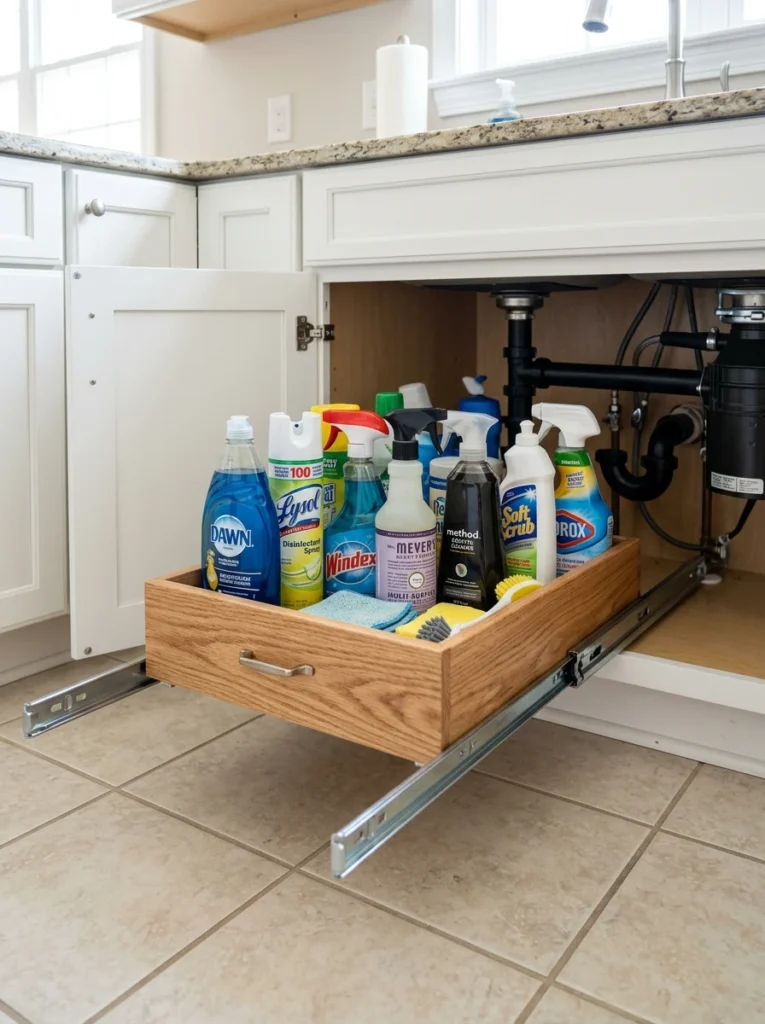
A sliding under-sink tray on drawer rails runs $25 to $55 depending on width, and better models are notched or cut short enough to clear the plumbing while still sliding fully open.
It works because it brings everything to you at counter height instead of requiring you to crouch down and dig around the pipe by hand.
13. Use Stackable Bins Sized to the Gaps
Measuring the exact gap on each side of my pipes before buying bins meant everything actually fit flush against the walls.
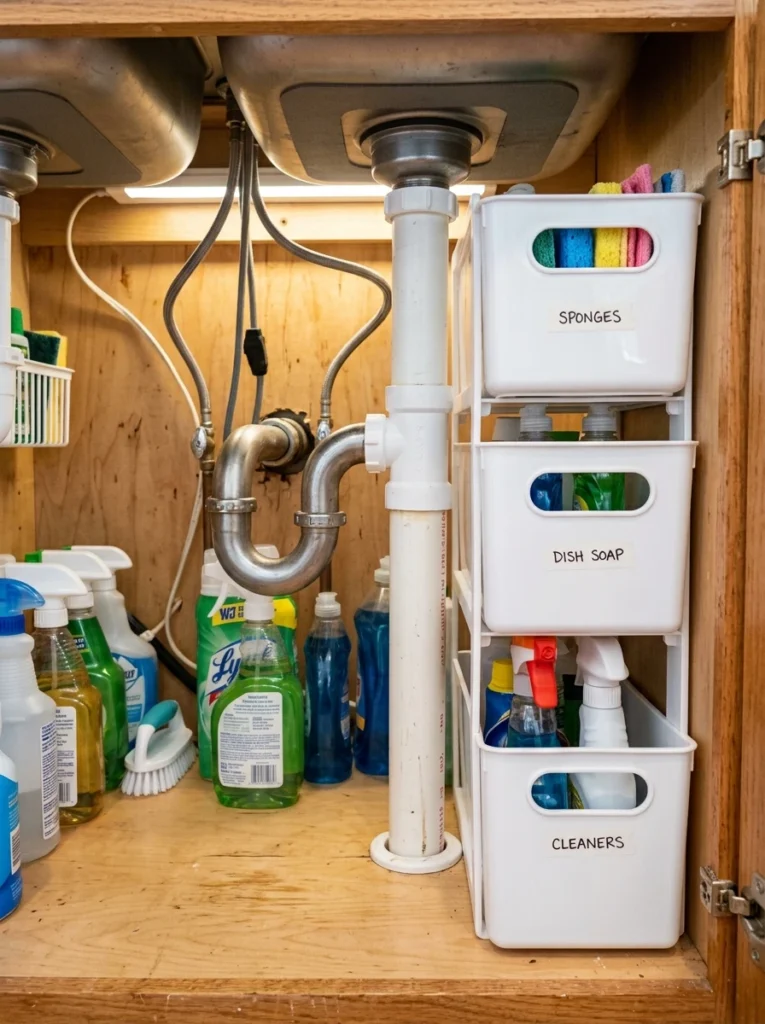
Narrow stackable bins in the 4 to 6 inch width range run $6 to $14 each and are specifically sized to fit the tighter gaps on either side of the pipe rather than the wide-open bins made for pantries.
It works because using the correct width for each gap means no wasted inches on either side, which matters more under a sink than almost anywhere else in the kitchen.
14. Install a Pull-Out Cabinet System
For a bigger upgrade, a full pull-out system built around the plumbing turned my entire cabinet into something closer to a drawer than a dark cave.
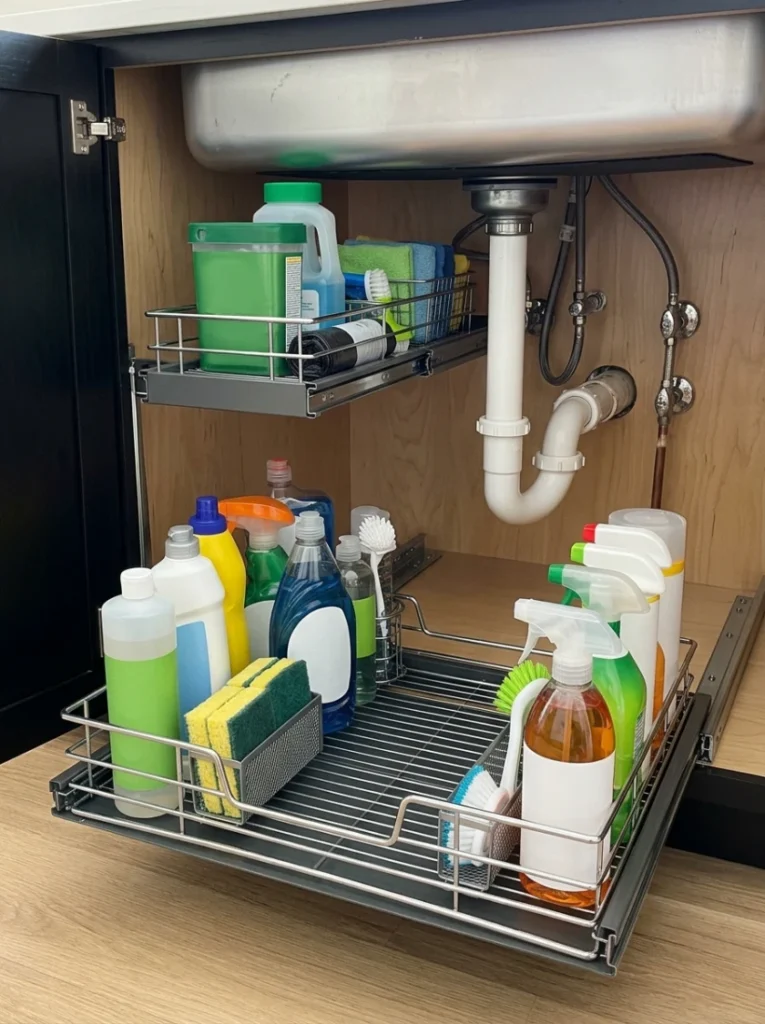
A full pull-out under-sink organizer system, often with two tiers and a cutout for the pipe, runs $60 to $150 and typically requires basic drilling to mount the rails to the cabinet floor or sides.
It works because it’s the closest thing to giving your under-sink cabinet the functionality of a real drawer, everything slides fully into view instead of staying hidden in the back.
Cleaning Supplies, Specifically
15. Store Trash Bags in a Dispenser
Loose rolls of trash bags used to unravel and take over a whole shelf until I put them in a dispenser.
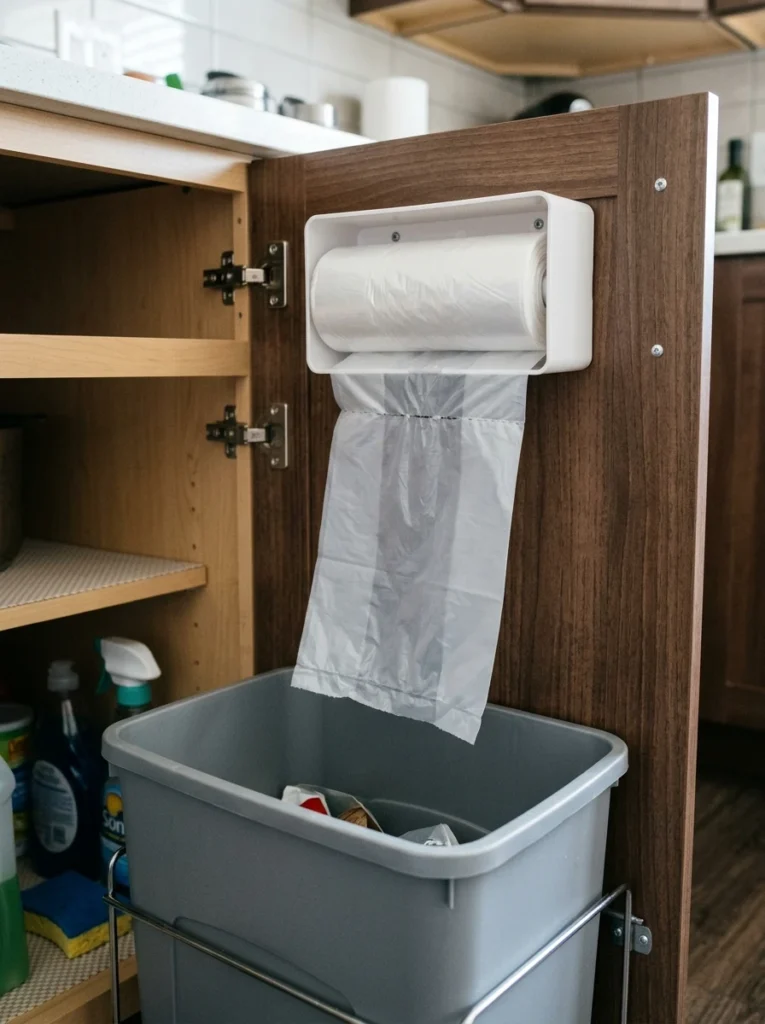
A tissue-box-style trash bag dispenser or a simple mounted holder runs $8 to $18, and it keeps rolled bags contained and lets you pull one out without unraveling the rest.
It works because loose bag rolls are one of the fastest things to turn a tidy cabinet messy, and a dispenser solves that with almost no ongoing effort.
16. Keep Sponges in a Ventilated Caddy
A ventilated sponge holder stopped the mildew smell that used to creep out of my cabinet every few days.
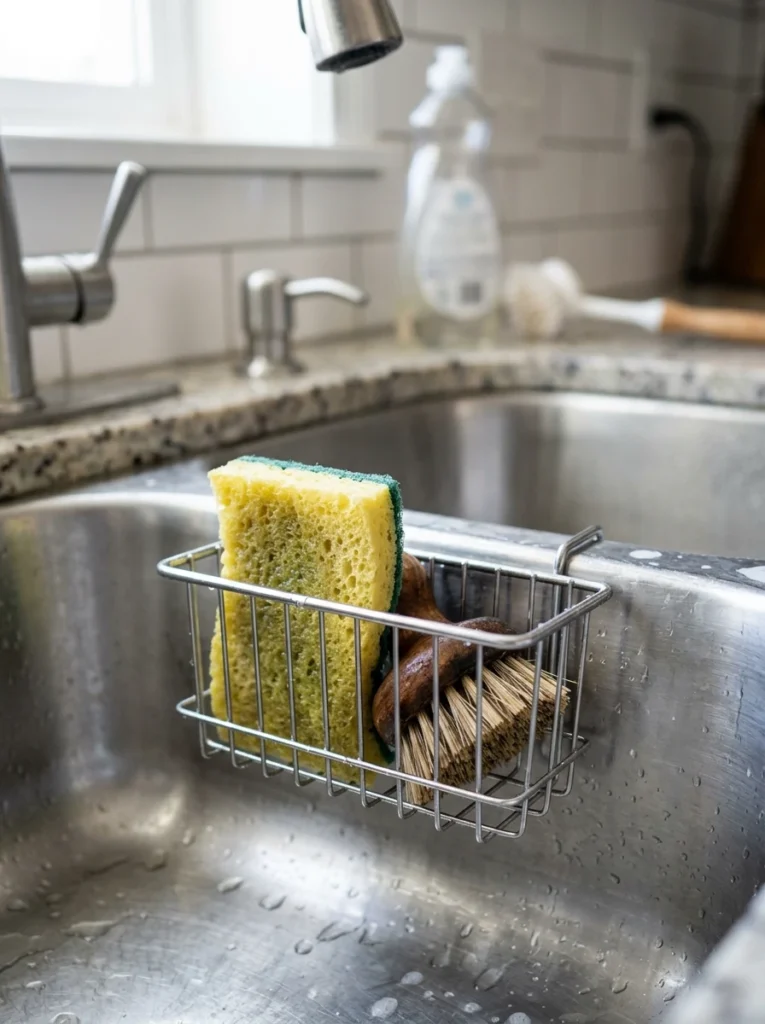
A small ventilated sponge caddy runs $6 to $15 and lets sponges and scrub brushes air-dry between uses instead of sitting in a puddle on the cabinet floor.
It works because trapped moisture is the actual cause of most under-sink odors, and airflow around a damp sponge solves the problem at the source instead of masking it.
17. Add a Small Bin for Dish Soap Refills
Keeping the bulk dish soap refill bottle in its own small bin stopped it from leaving sticky rings on everything nearby.
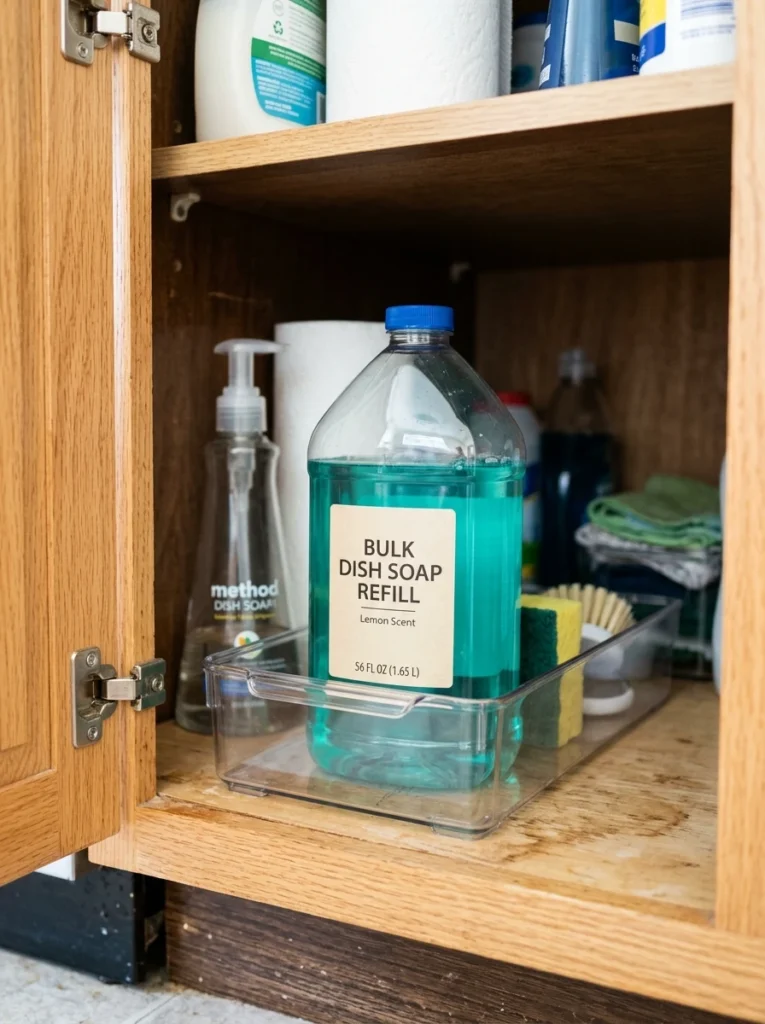
A small lipped tray or bin for liquid refills runs $5 to $12, and the raised lip catches any drips before they reach the cabinet floor or other items.
It works because it contains the one item in most under-sink cabinets most likely to leak or drip, keeping the mess isolated to something you can just rinse out.
18. Store Rubber Gloves on a Hook
Hanging gloves by their cuffs instead of balling them up in a bin meant they actually dried out between uses.
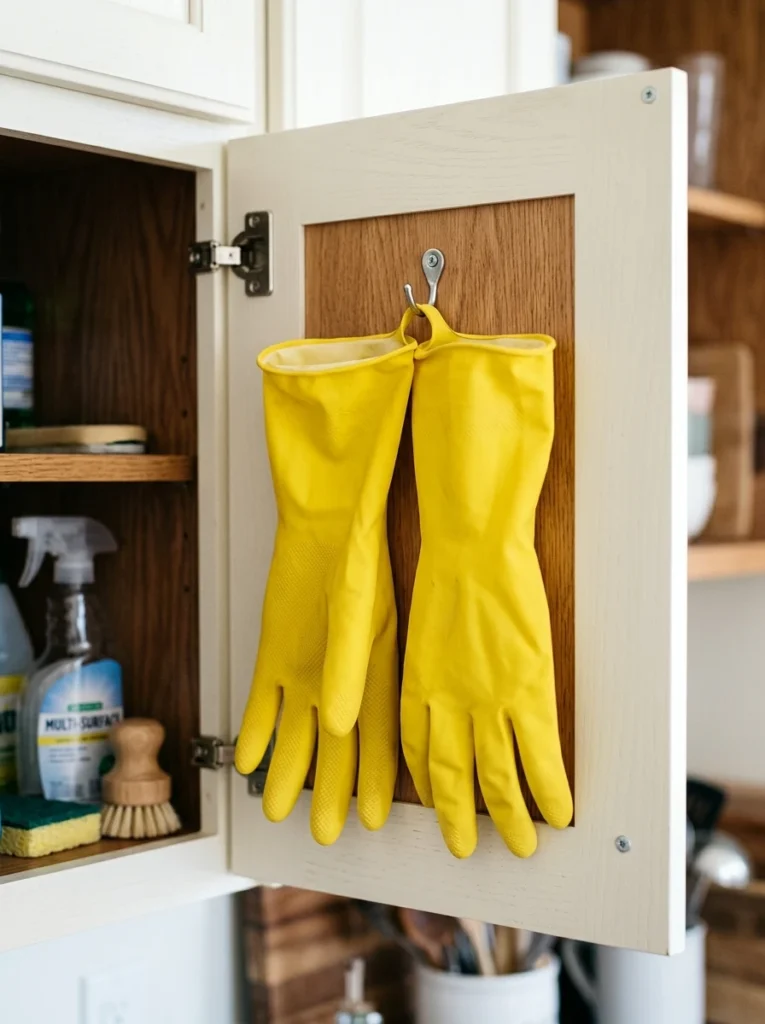
A single small hook costs $2 to $6, cheap enough that this is one of the easiest fixes on the whole list to try first.
It works because damp gloves left balled up in a bin stay wet and can start to smell, while hanging them lets both air in and water drain out.
Trash, Recycling and Extras
19. Add a Slide-Out Trash and Recycling Bin
Mounting a slide-out trash bin under the sink meant I stopped keeping a bulky freestanding can in the middle of my kitchen floor.
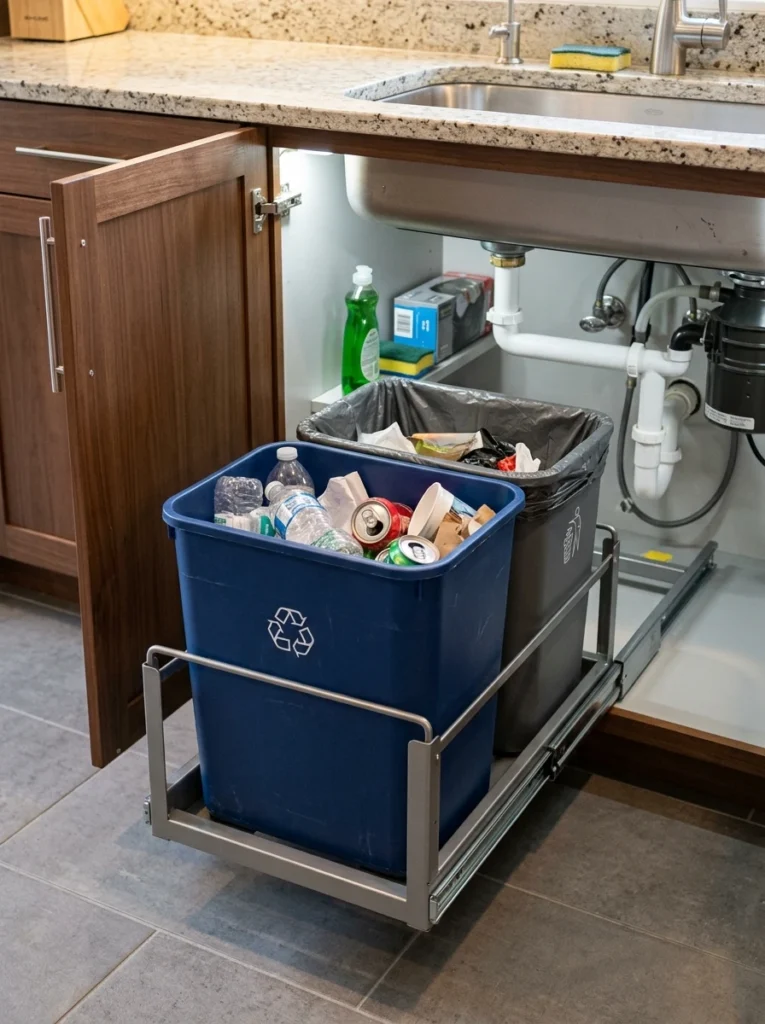
A pull-out trash bin system on cabinet-mounted rails runs $35 to $80 for a single bin, or $60 to $130 for a dual trash-and-recycling version.
It works because it hides the least attractive part of the kitchen entirely while keeping it just as accessible, one pull and it’s right there.
20. Use a Divided Bin for Recycling Sort
A single bin split into sections meant I stopped sorting recycling twice, once under the sink and again at the curb bin.
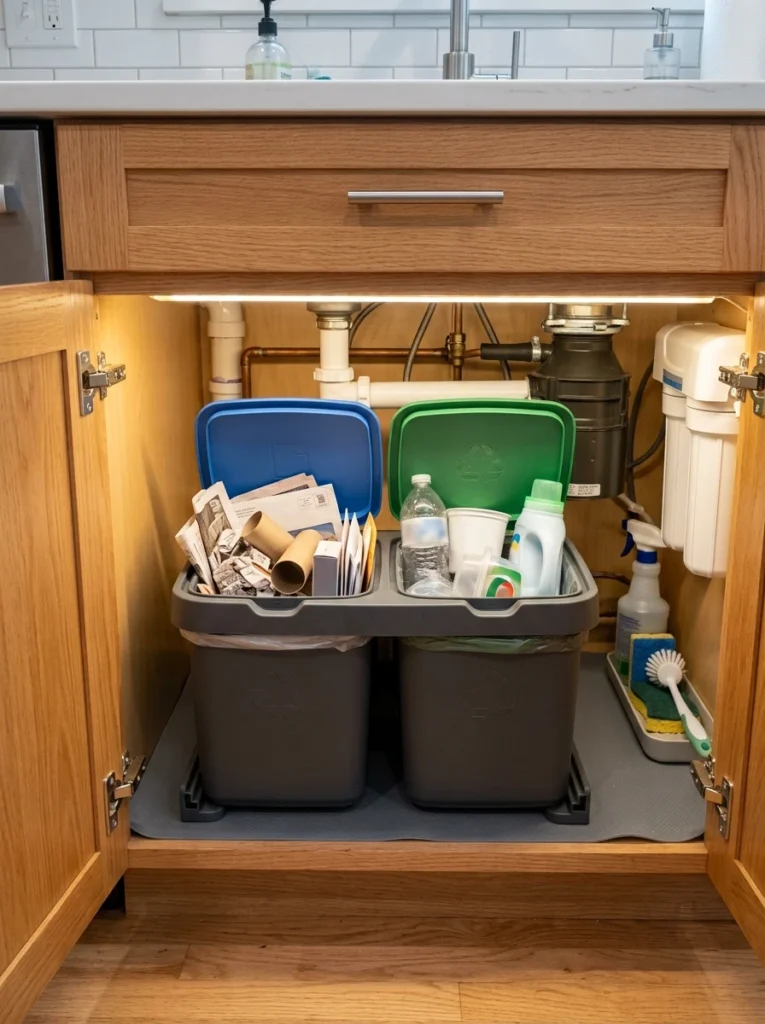
A divided recycling bin with two or three sections runs $15 to $35, letting you pre-sort paper, plastic, and glass right where the recycling actually gets generated.
It works because sorting once, right at the source, is faster than sorting a mixed bag later, and it makes the actual trip to the curb bin quicker too.
21. Add a Compost Catcher Under the Sink
A small compost catcher with a charcoal filter meant food scraps stopped smelling up the whole cabinet by day two.
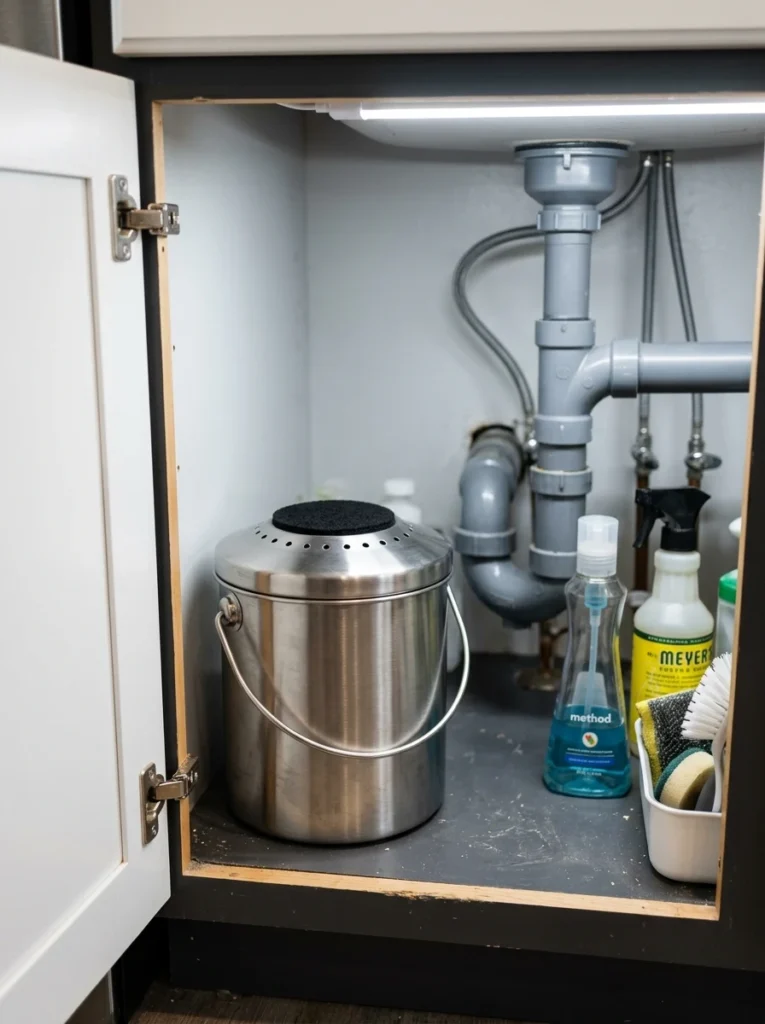
A countertop or under-sink compost bin with a carbon filter lid runs $18 to $40, and the filter should be swapped every two to four months to keep odor control working.
It works because the carbon filter actively traps odor-causing gases rather than just containing them, which is the difference between a compost bin that smells and one that doesn’t.
22. Line the Cabinet Floor With a Removable Mat
A simple rubber mat on the cabinet floor is what finally made spills a two-minute wipe-down instead of a full cabinet unload.
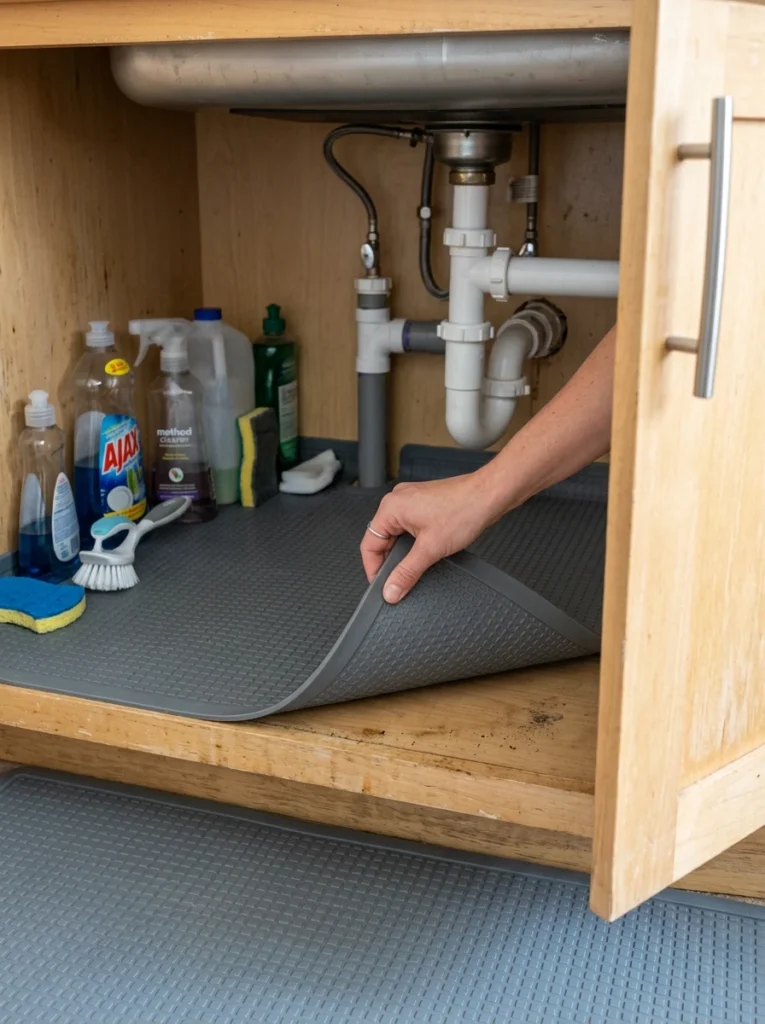
A cut-to-fit rubber or silicone cabinet liner runs $10 to $25 and lifts out in one piece for rinsing, unlike adhesive shelf liner that has to be scrubbed in place.
It works because it catches drips and small leaks before they reach the actual wood cabinet floor, which is the part that’s expensive and slow to fix if it warps.
Conclusion
If you’re starting from scratch, measure the pipe gaps first, then buy a U-shaped shelf and two or three labeled bins before anything else, that trio solves most of the wasted space on its own. From there, a tension rod and a door-mounted caddy handle the vertical space almost for free. The same sorting logic works well beyond the kitchen too, it’s the same approach behind a good bookshelf organization system or a small-space homework station: contain by category, use the vertical space, and keep the things you reach for daily closest to the front.
FAQ
How do I stop my under-sink cabinet from smelling?
Switch to a ventilated sponge caddy, add a carbon-filter compost bin if you keep scraps there, and check for slow leaks, trapped moisture is the cause behind most under-sink odors.
What’s the best way to organize around the pipes?
A U-shaped or C-shaped shelf built specifically to notch around the drain pipe works better than trying to fit a standard rectangular organizer into that space.
Can I put a trash can under the sink?
Yes, a pull-out trash and recycling system mounted on cabinet rails is one of the more popular upgrades for under-sink cabinets and works well alongside a broader kitchen storage refresh if you’re tackling more than one cabinet at once.