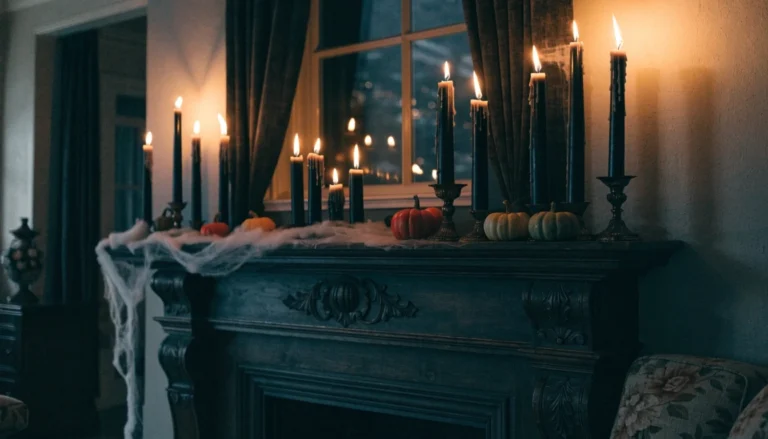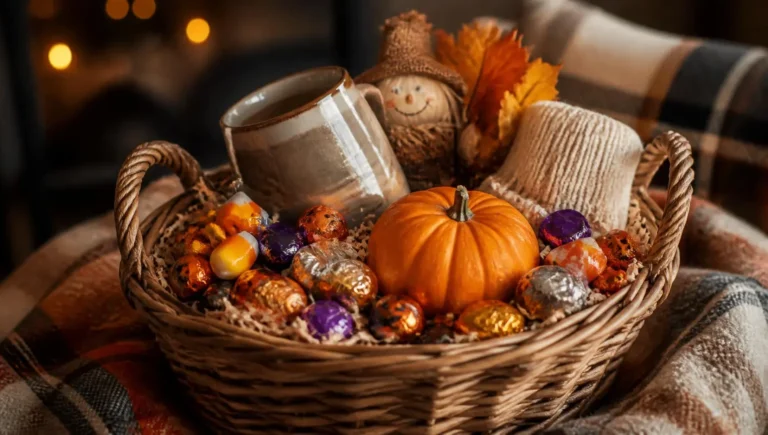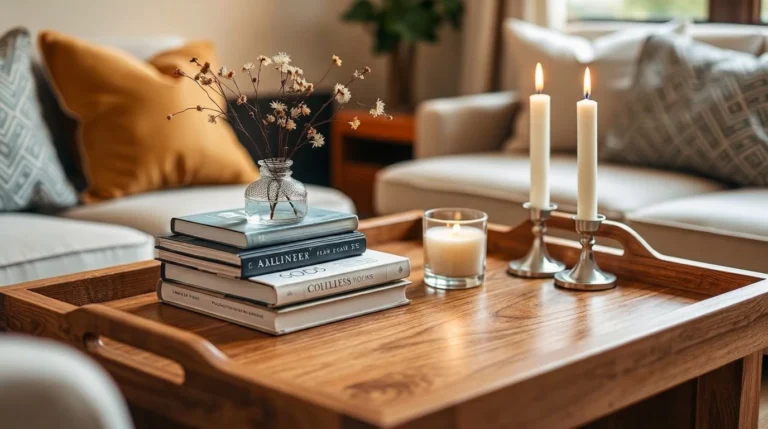
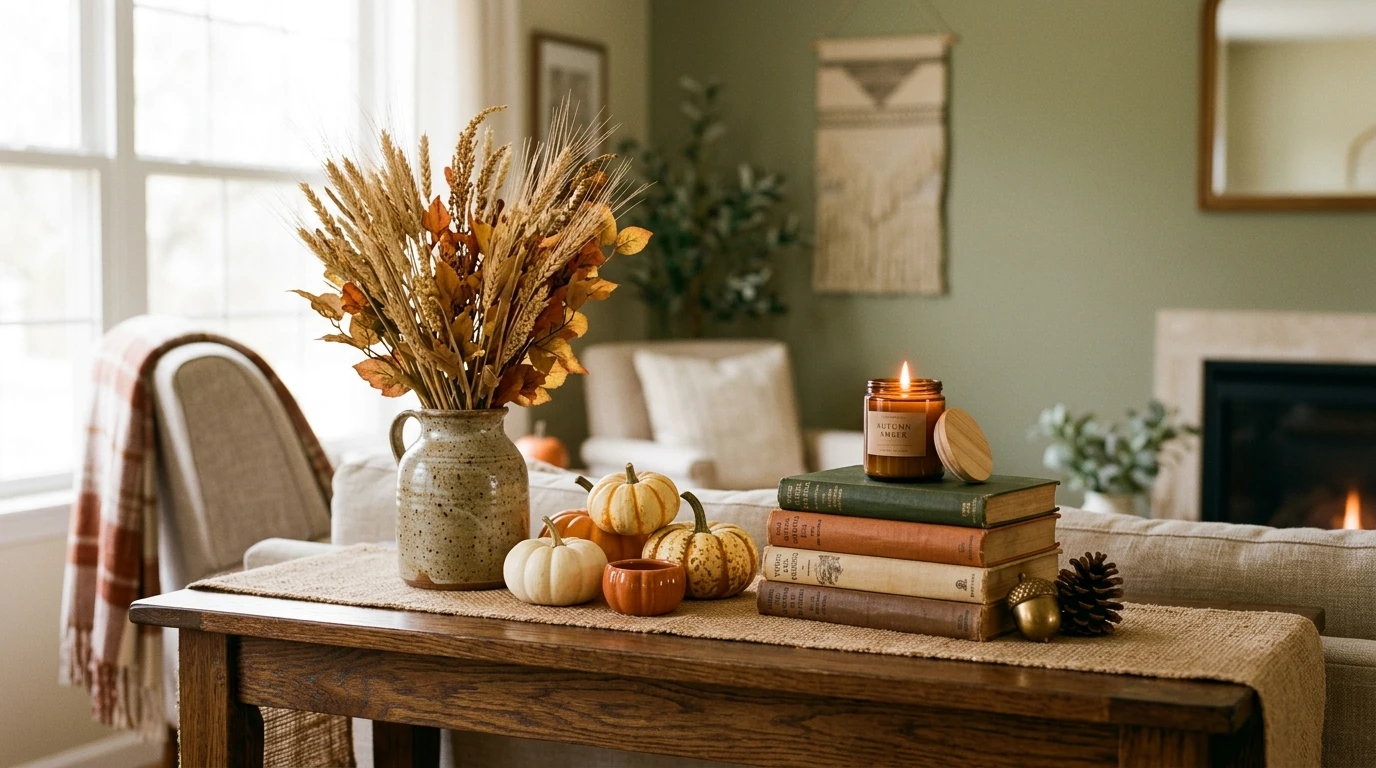
My first attempt at a fall vignette was just three pumpkins lined up in a row on the console table, and it looked exactly as flat as it sounds. What actually makes a vignette work isn’t the objects themselves, it’s the principles behind arranging them, odd numbers, varied height, one anchor piece, that turn a random cluster of things into something that looks intentionally styled.
The ideas below are grouped by what they do, foundational styling principles first, then natural seasonal elements, color and texture, height and layering, the vessels that hold everything, and the small finishing touches. The same layering approach used in these bookshelf styling ideas applies directly to any tabletop or mantel vignette too, group by color, vary height, and leave a little breathing room around the display.
Before You Start
- Pull everything you’re considering out onto the surface first, then edit down, most vignettes improve by removing an object rather than adding one.
- Work within a tight color palette, two to three tones maximum, so the grouping reads as cohesive rather than scattered.
- Step back and view the vignette from across the room periodically while arranging, close-up styling doesn’t always translate at a distance.
- Leave some empty surface space around the grouping, a vignette that fills every inch of a shelf reads as cluttered rather than curated.
Foundational Styling Principles
1. Work in Odd-Numbered Groupings
Switching from a pair of pumpkins to a group of three was such a small change, but it immediately looked more intentional.
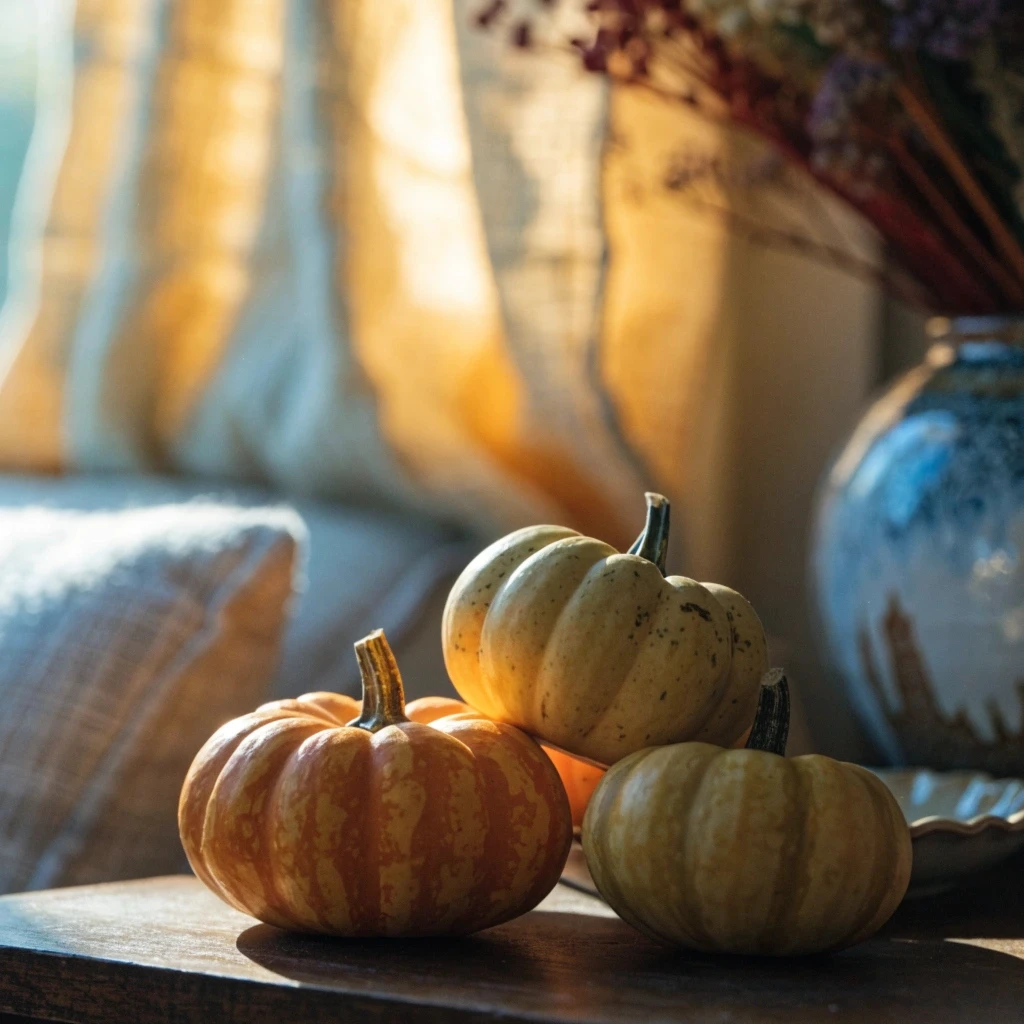
This costs nothing beyond what you’re already using, it’s purely a rearranging principle rather than a purchase.
It works because odd numbers create a natural visual asymmetry the eye finds more interesting than an even, symmetrical pair, a principle used throughout interior styling generally.
2. Vary Heights Across the Vignette
Once I started stacking a book under one object and leaving another sitting flat, the whole grouping had a rhythm it was missing before.
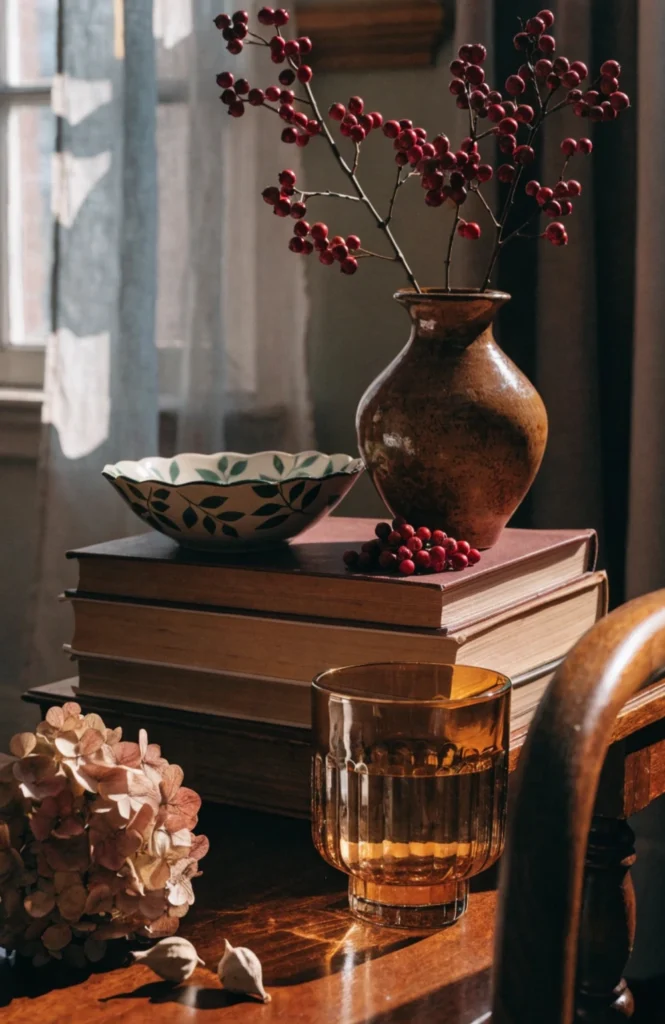
Also a rearranging principle rather than a purchase, using books, risers, or candlesticks you already own to vary the heights of existing objects.
It works because varied height creates a visual path the eye follows across the display, rather than a flat row that reads all at once and holds no interest.
3. Anchor with One Larger Object
Adding one larger pumpkin or vase gave the smaller pieces around it something to visually support instead of competing for attention.
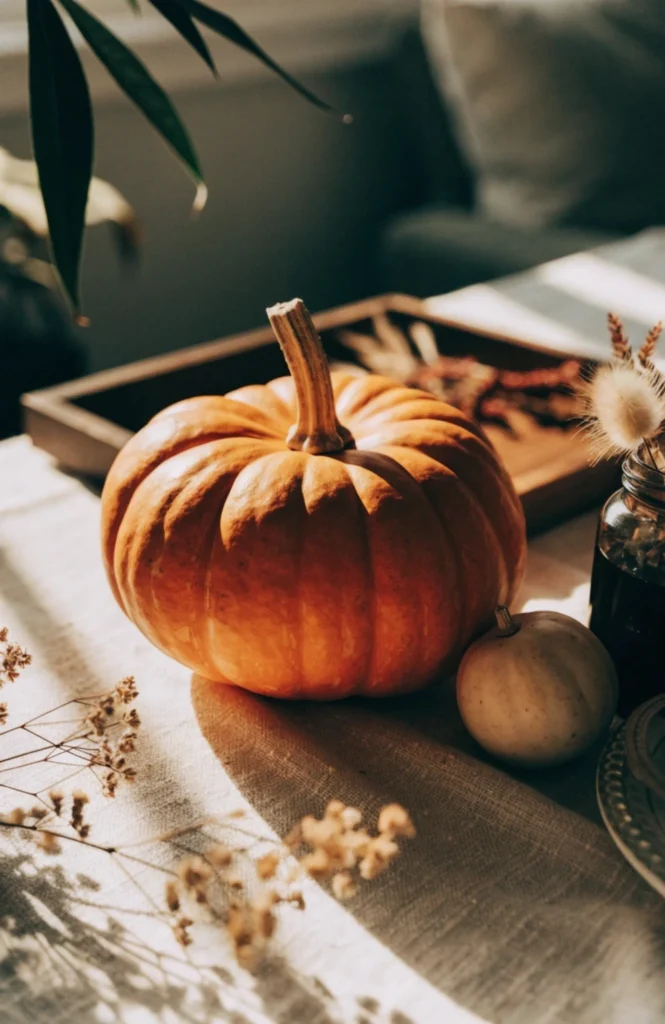
A larger anchor object, a bigger pumpkin, a substantial vase, or a small piece of art, runs $15 to $40 depending on what you choose.
It works because a single larger piece gives the eye a clear starting point, and everything else in the vignette can be arranged to support it rather than compete with it.
4. Leave Negative Space Around the Display
Pulling back two of the objects I’d originally planned to include made the remaining pieces stand out more, not less.
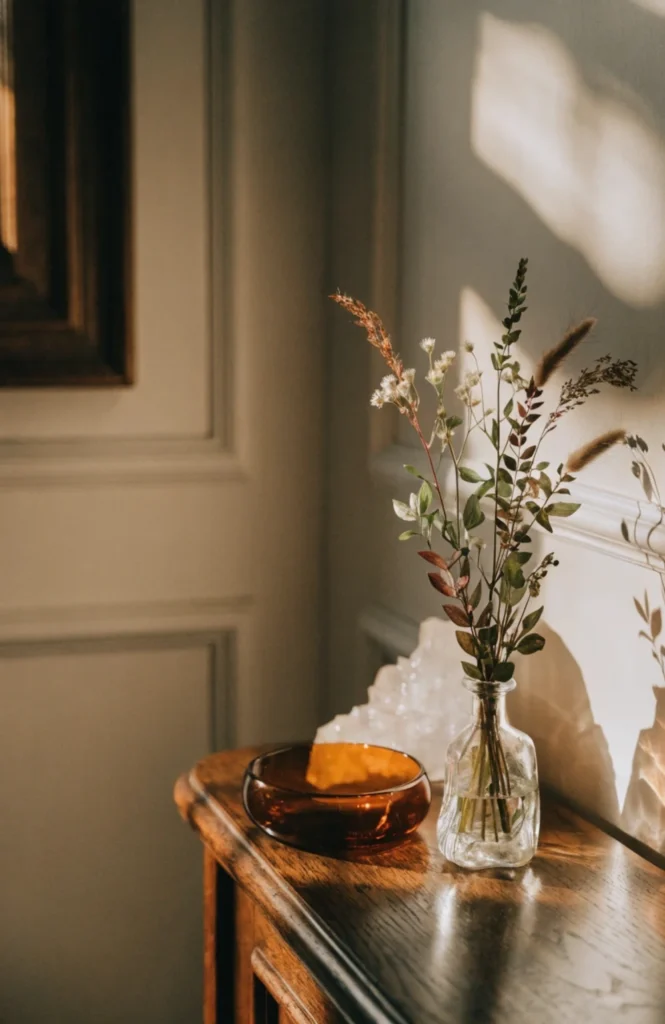
This is purely an editing decision and costs nothing, though it often means putting a few purchased items back in storage rather than out on display.
It works because empty space around a grouping gives the eye somewhere to rest, which is what separates a curated vignette from a cluttered shelf.
Natural and Seasonal Elements
5. Add a Small Cluster of Mini Pumpkins
A cluster of mini pumpkins in varying sizes gave the vignette its most recognizable seasonal element without taking up much space at all.
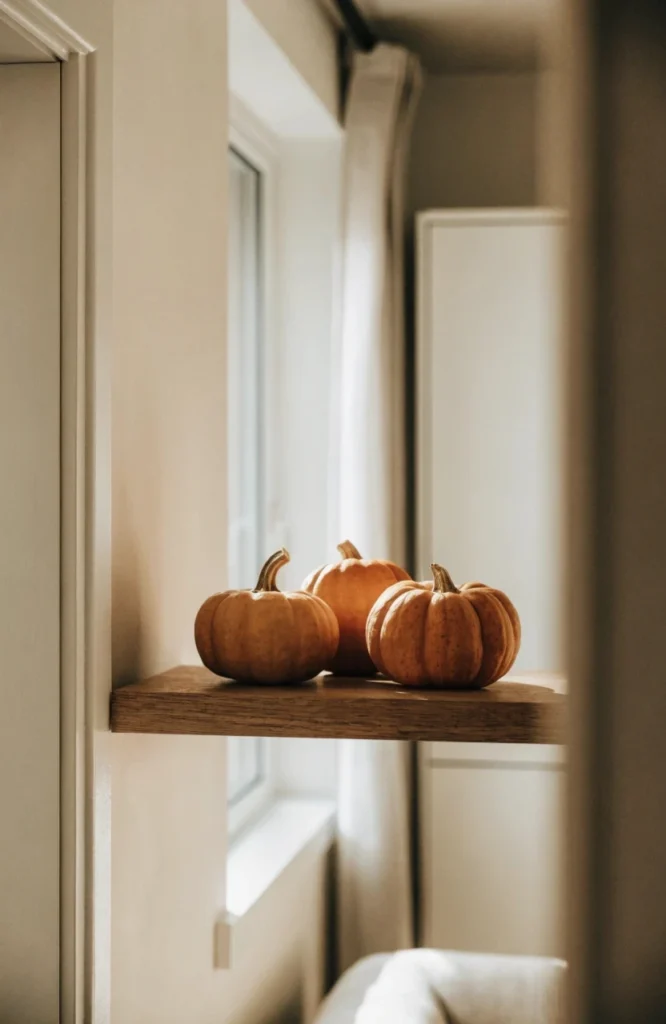
Real mini pumpkins run $2 to $5 each, and three in slightly different sizes cost less than one large decorative pumpkin.
It works because it’s an instantly recognizable seasonal cue, and mini pumpkins are small enough to fit even a narrow shelf without overwhelming everything else.
6. Include Dried Wheat or Grass Stalks
A small bundle of dried wheat added height and movement in a way none of my rounder objects could.
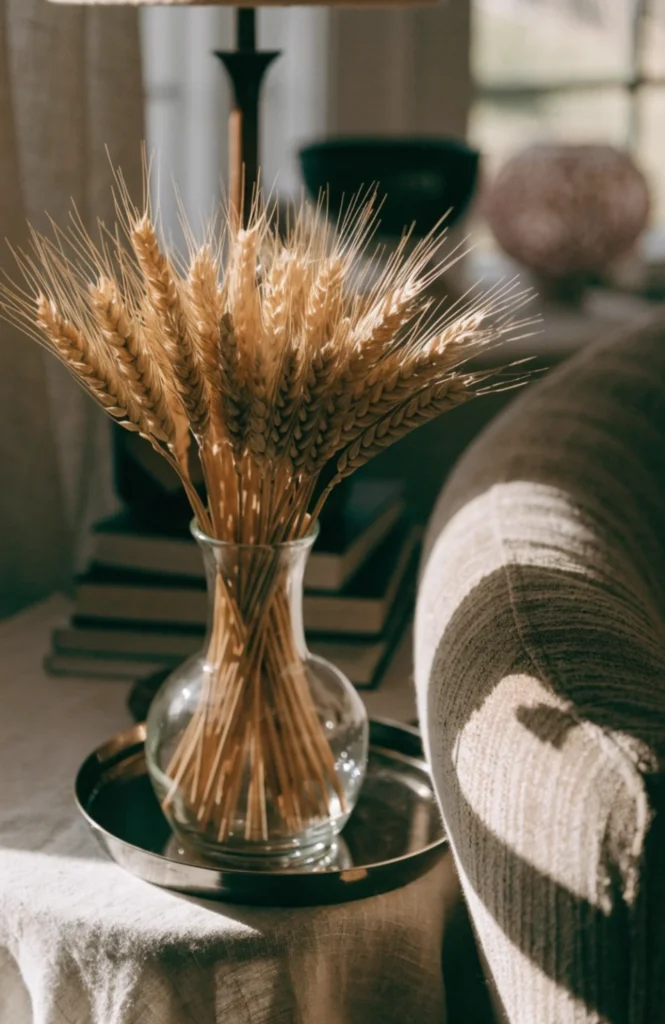
Dried wheat stalks run $8 to $15 for a bundle, lasting the entire season without needing water or maintenance.
It works because tall, thin stems add height and vertical movement, balancing out the rounder shapes like pumpkins and bowls that dominate most fall vignettes.
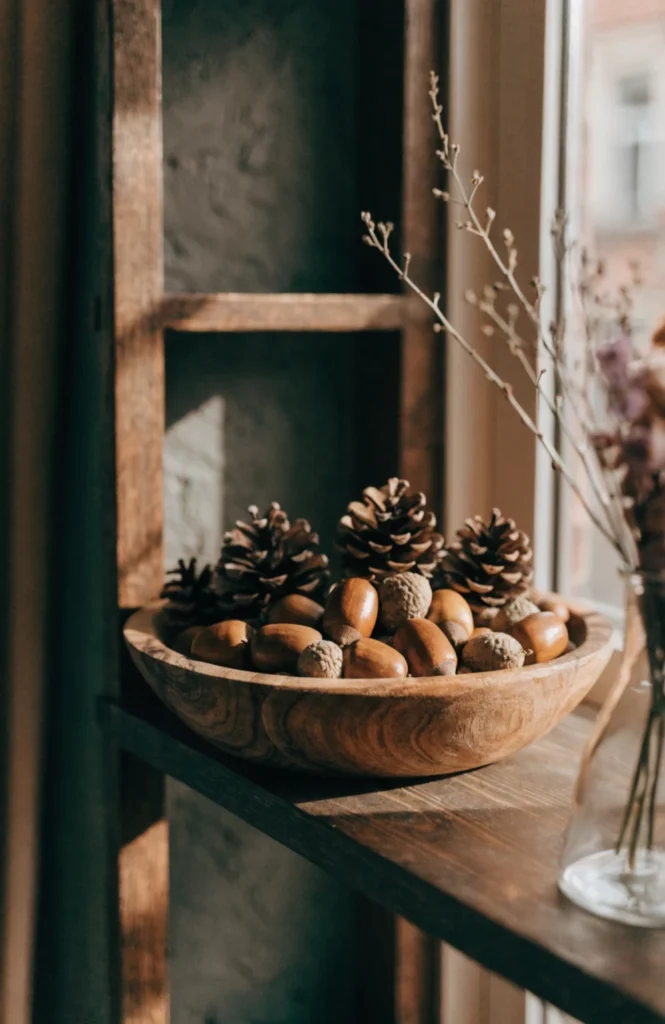
7. Add a Few Acorns or Pinecones in a Bowl
A small bowl of pinecones gathered from the yard filled the base of the vignette for essentially no cost at all.
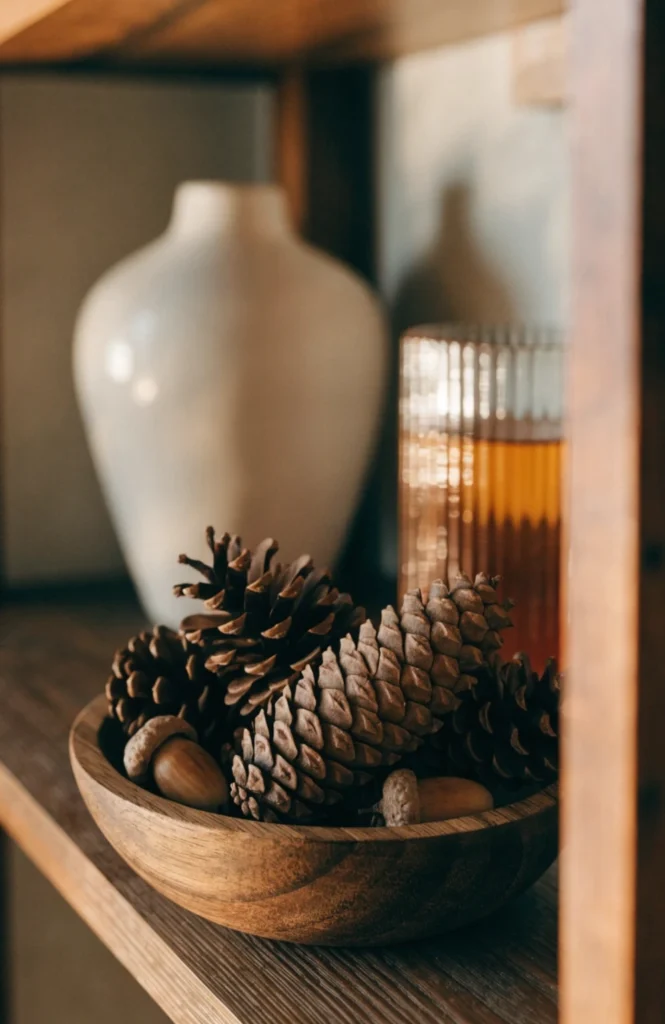
Pinecones and acorns can often be gathered for free outdoors, or a small bag of either runs $5 to $10 from a craft store.
It works because small natural elements fill gaps at the base of a vignette, adding texture in a spot that would otherwise be empty tabletop.
8. Layer in Preserved Eucalyptus or Greenery
A small sprig of preserved eucalyptus tucked beside the pumpkins kept the whole grouping from feeling entirely brown and orange.
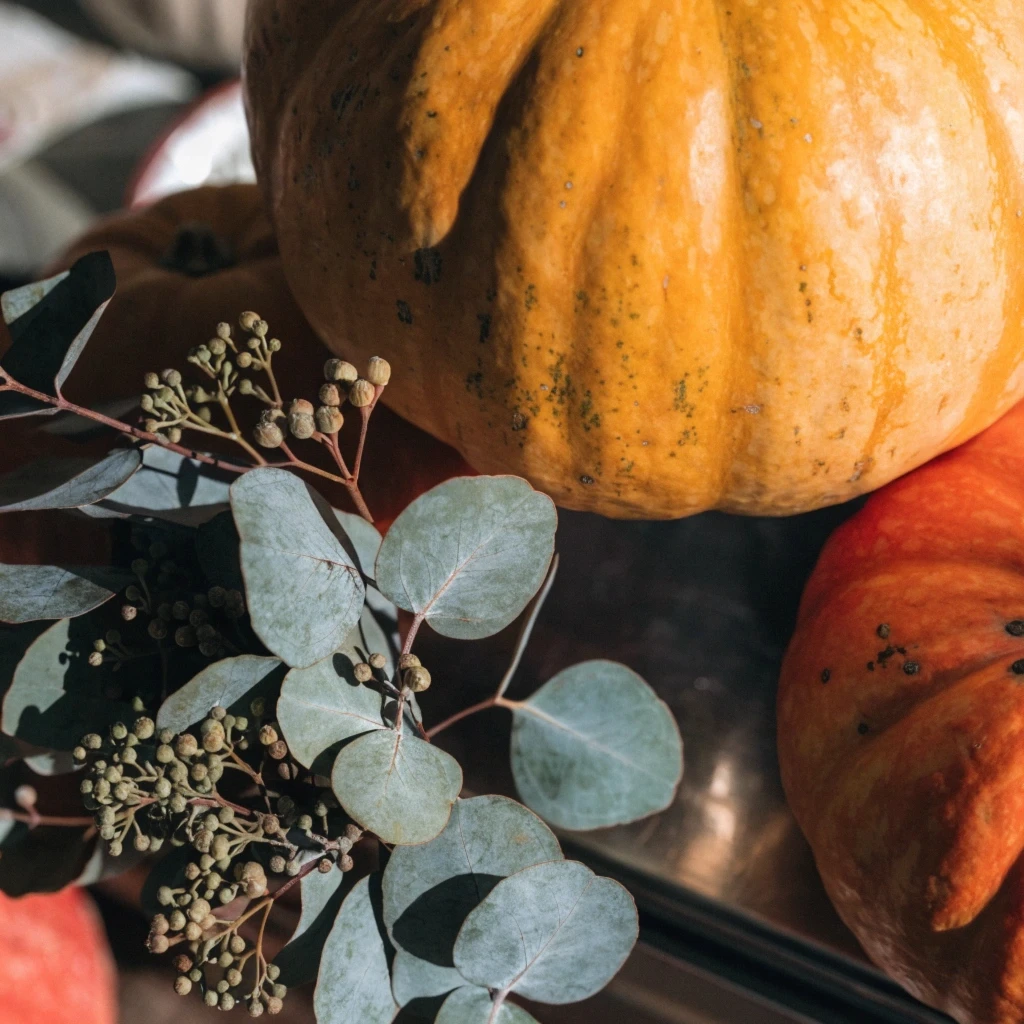
Preserved eucalyptus stems run $8 to $18 per bunch, and they hold their shape and color for months without wilting.
It works because a touch of green breaks up an otherwise entirely warm-toned palette, adding contrast without pulling away from the overall fall feel.
9. Use a Small Branch with Autumn Leaves
A single branch with a few colored leaves still attached added height and genuine seasonal color that no purchased decoration quite matched.
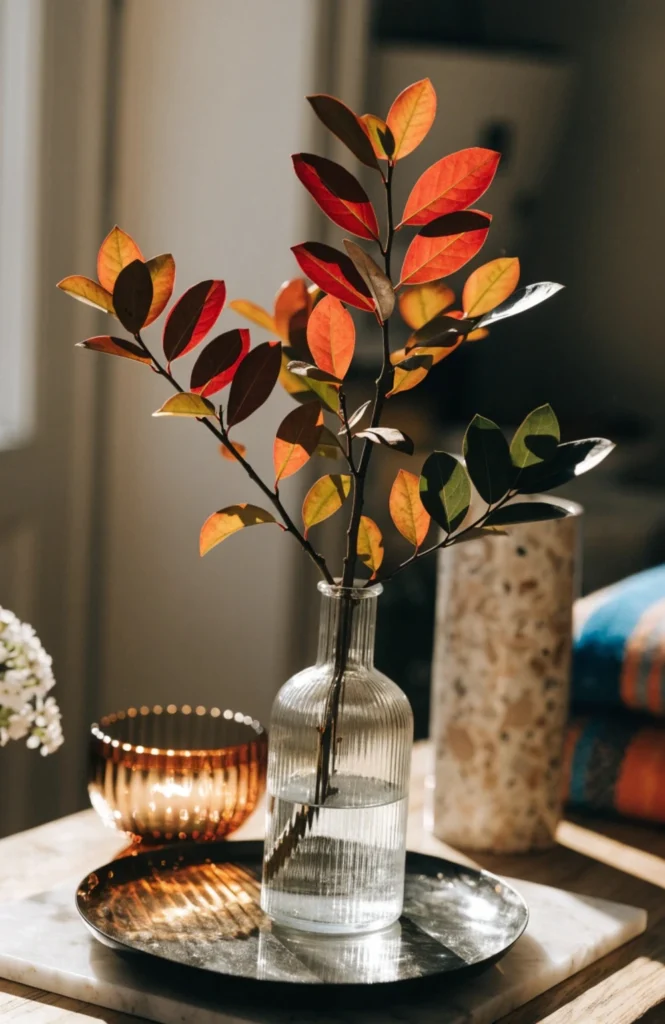
This can often be gathered for free outdoors during peak fall color, or a faux autumn branch from a craft store runs $10 to $20.
It works because a real branch with actual autumn color brings something genuinely seasonal into the display, adding height and a slightly wild, natural shape.
Color and Texture Layers
10. Stick to a Muted, Earthy Palette
Swapping bright orange pumpkins for cream and charcoal-painted ones made the vignette look far more elegant than my earlier bright, mismatched version.
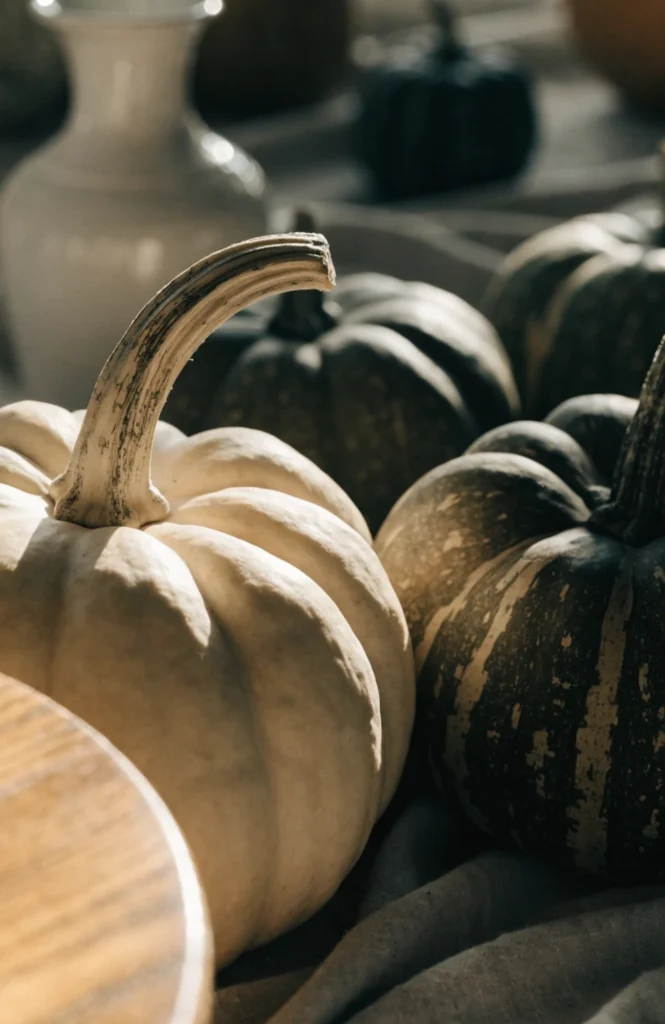
This is a styling principle more than a purchase, though painted or naturally muted-toned pumpkins run about the same as bright orange ones, $2 to $6 each.
It works because a muted palette photographs and reads as more sophisticated, while bright saturated fall colors can start to feel more like a costume display.
11. Add One Textured Ceramic Piece
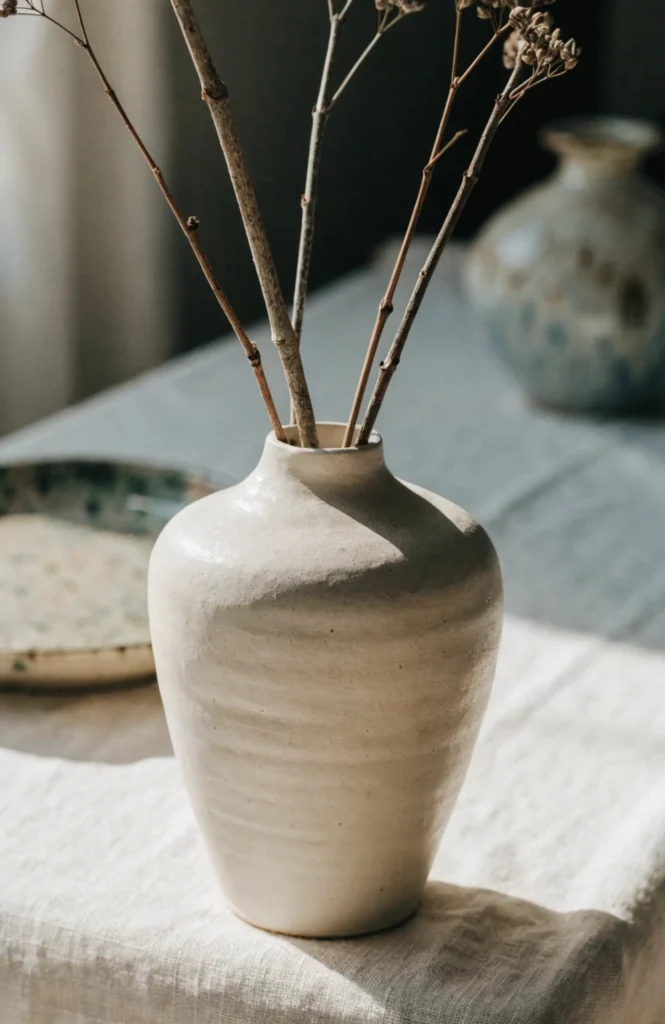
A textured stoneware vase added a different kind of surface interest than any of the smooth pumpkins or glass pieces I already had.
A textured ceramic or stoneware piece runs $15 to $35 depending on size, and choosing one with a raw, unglazed texture adds more contrast than a glossy finish.
It works because a textured surface breaks up the smoothness of most other vignette objects, adding another layer of visual and tactile interest.
12. Include a Woven or Rattan Element
A small woven basket at the base of the vignette added a natural texture that grounded the whole display.
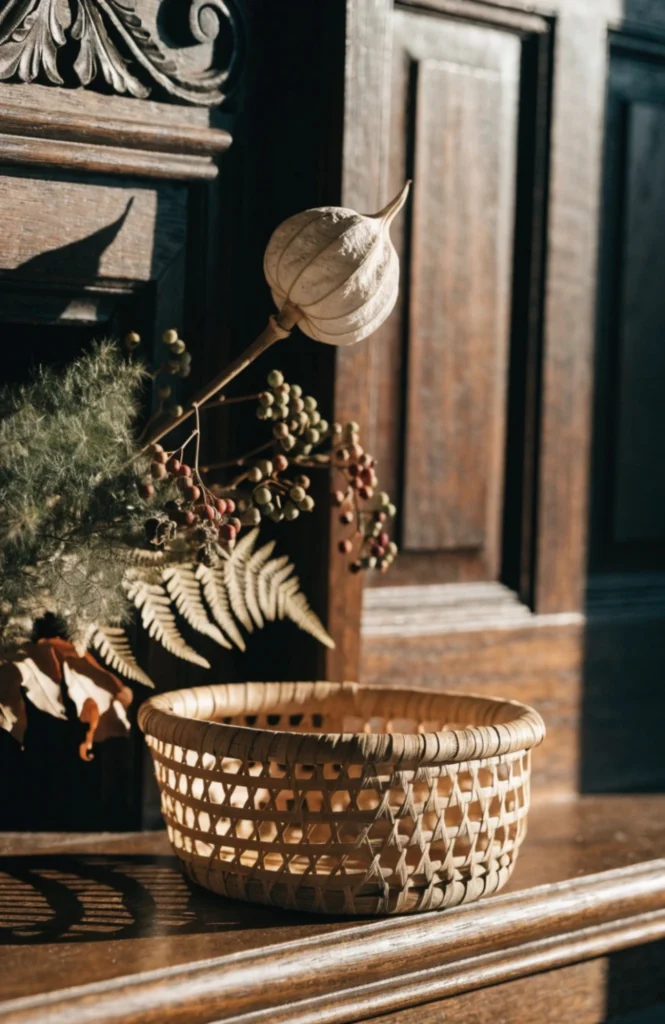
A small woven or rattan basket or tray runs $12 to $28 depending on size.
It works because woven texture reads as organic and warm, fitting naturally into a seasonal palette without leaning into an obviously “fall” color or shape.
Image prompt: Close-up of a small woven rattan basket at the base of a fall vignette display, warm natural light, realistic interior photography, no text overlay.
13. Add a Small Piece of Aged Brass or Metal
A small aged brass candlestick added a touch of shine that balanced out all the matte, natural textures around it.
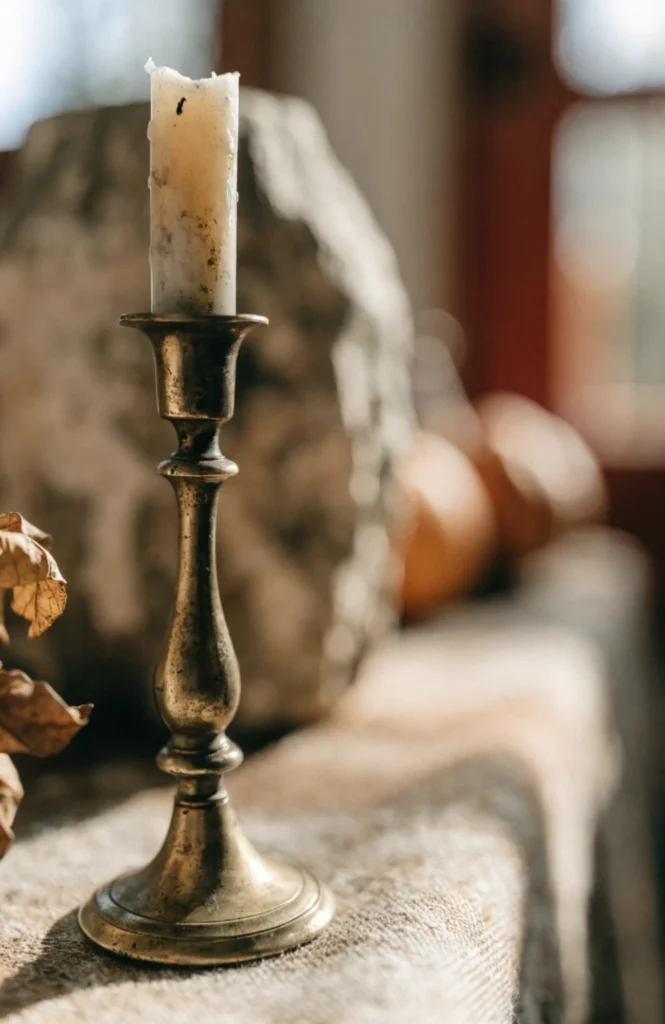
A small brass candlestick or decorative object, new or secondhand, runs $10 to $30 depending on where you source it.
It works because a bit of metallic shine adds contrast against the mostly matte natural textures elsewhere in the vignette, keeping it from feeling entirely flat.
Height and Layering Objects
14. Stack a Few Books as a Base Riser
Stacking three books under a candle turned it into the tallest point of the vignette without needing to buy a single new object.
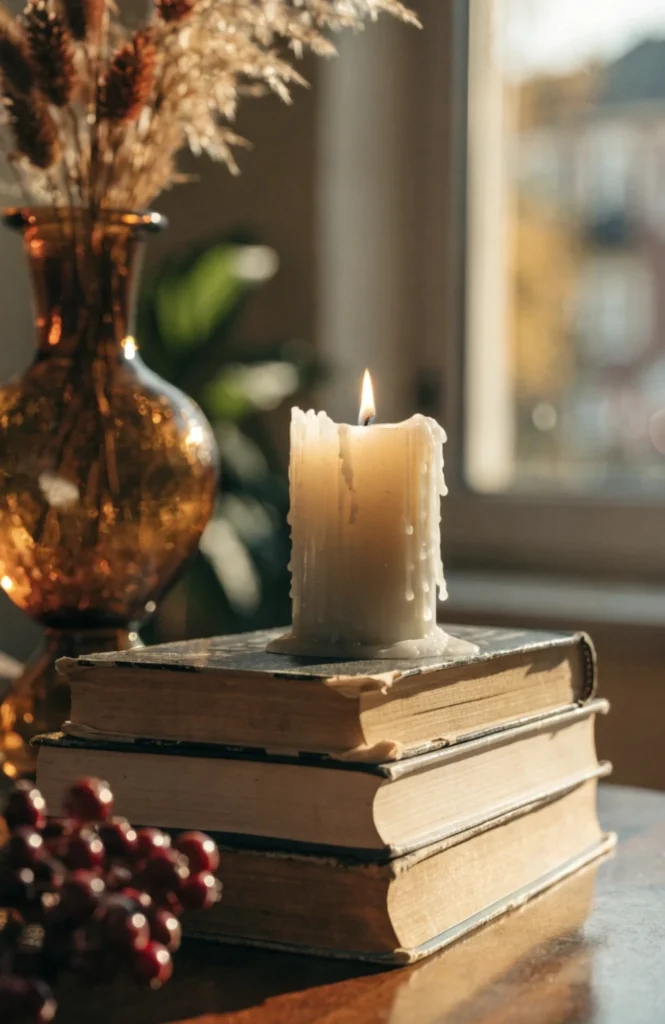
This costs nothing if you’re using books you already own, making it one of the cheapest height-adding tricks available.
It works because books add both height and color depending on their cover tones, doing double duty as both a riser and a visual layer.
15. Add a Small Candle at Varying Heights
Placing candles at two different heights instead of matching pillar candles gave the vignette a much less rigid, more natural feel.
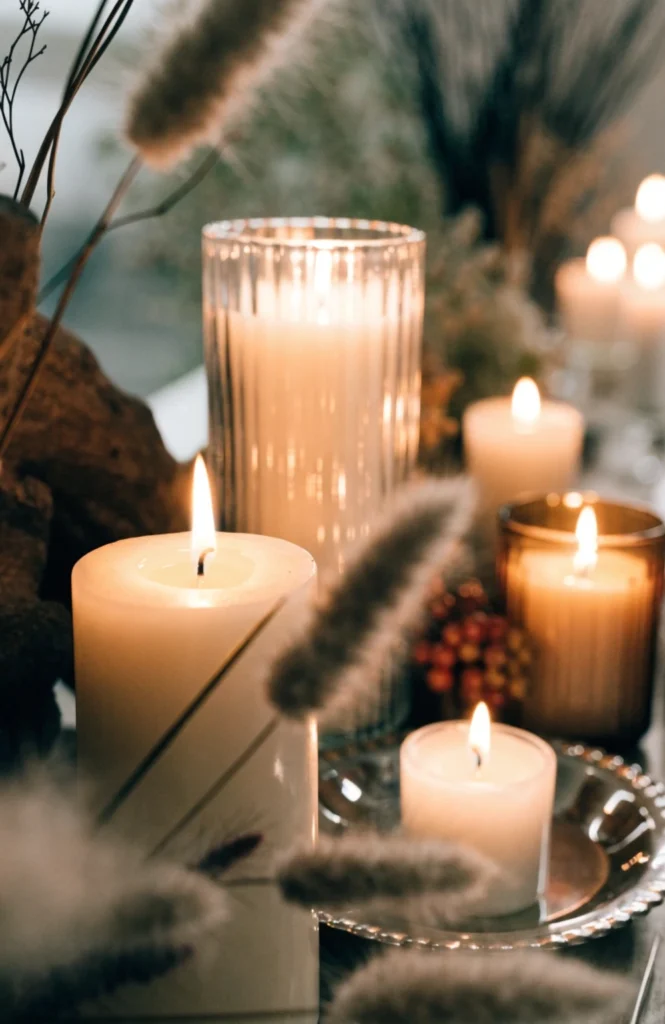
Small pillar or taper candles run $3 to $10 each, and pairing a short one with a taller one on a riser costs less than buying a matched pair.
It works because mismatched candle heights reinforce the same visual rhythm principle used throughout the whole vignette, keeping it from looking too uniform.
16. Lean a Small Piece of Art Behind the Display
Leaning a small framed print behind the vignette instead of hanging it gave the whole display a backdrop that made it feel intentional.
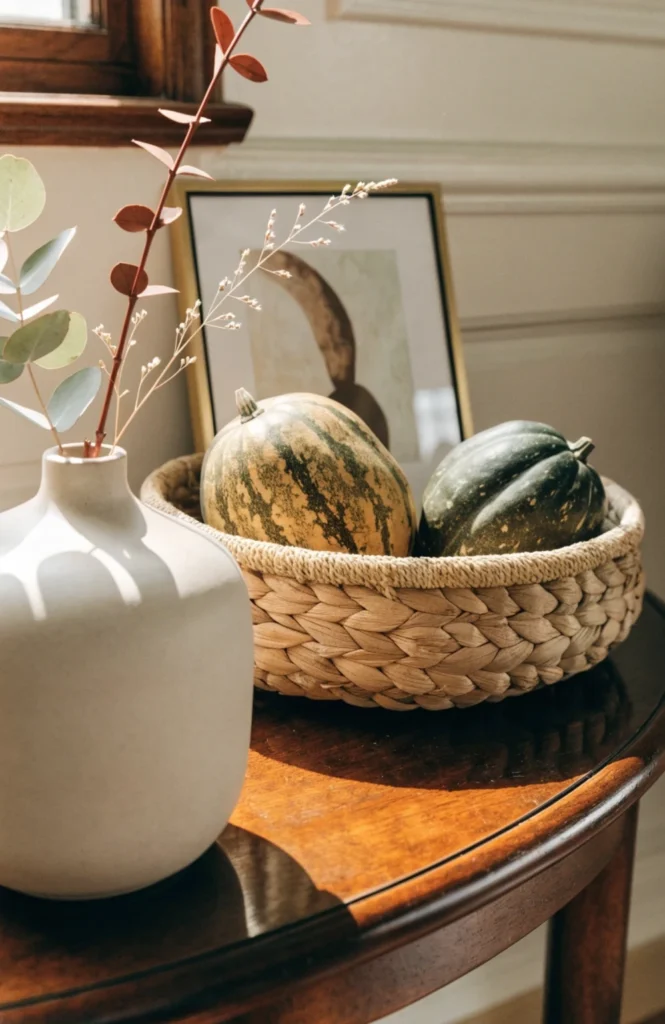
A small framed print runs $15 to $40 depending on size and frame, and leaning it against the wall avoids any extra mounting hardware.
It works because a leaned backdrop gives the vignette a clear frame of reference, similar to how a mirror or art piece anchors a mantel display.
17. Use a Cake Stand or Riser for Extra Height
Repurposing a small cake stand as a riser gave one section of the vignette real elevation without needing a purpose-built decor riser.
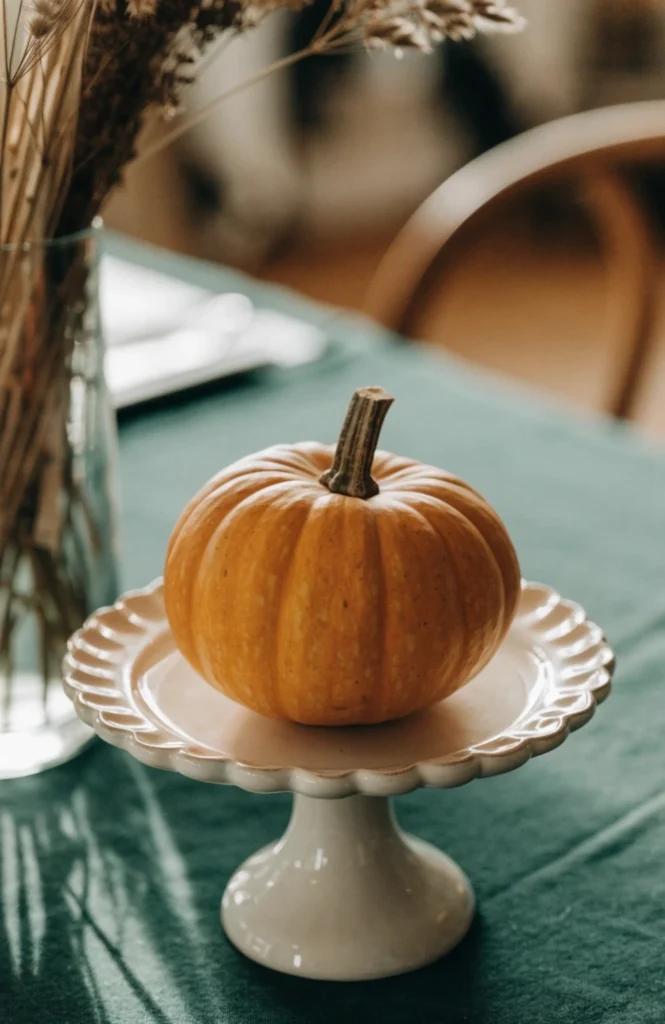
A small cake stand or pedestal riser runs $15 to $35, and it works well for elevating a pumpkin, a candle, or a small bowl of natural elements.
It works because a pedestal shape lifts an object clearly above the rest of the surface, giving the vignette a defined high point.
Vessels and Containers
18. Use a Wood Bowl for Loose Natural Items
A shallow wood bowl gave the pinecones and acorns a proper home instead of letting them roll loose across the shelf.
A shallow wood bowl runs $12 to $30 depending on size and wood type.
It works because it contains loose natural elements in one defined spot, the same containment principle that keeps any styled surface from looking scattered.
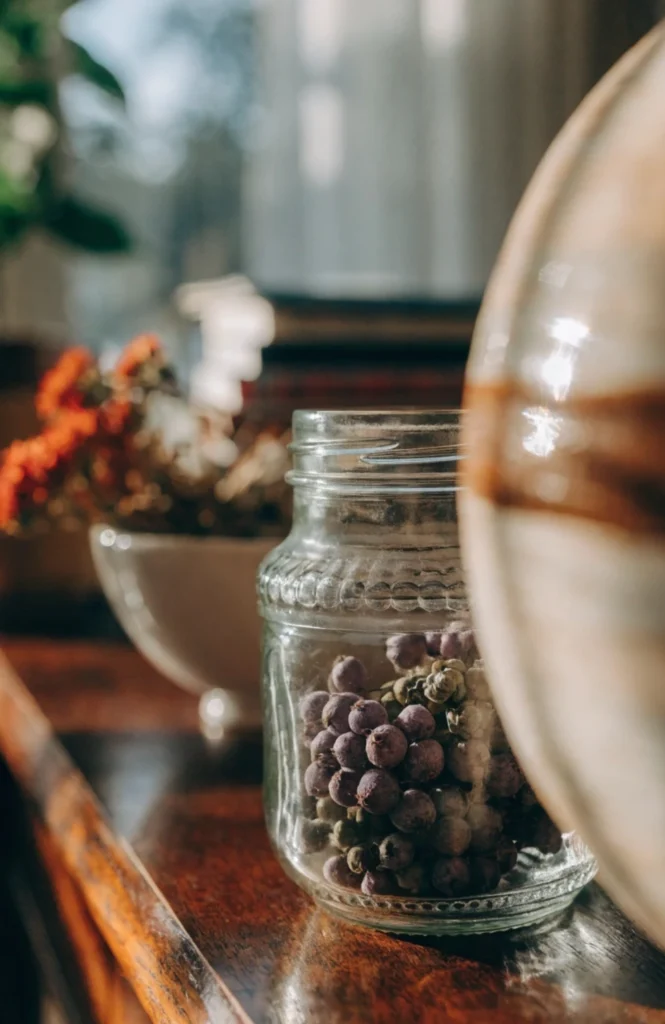
19. Add a Vintage Jar for Texture
An old glass canning jar added exactly the kind of aged texture none of my newer decor pieces could replicate.
A vintage glass jar from a thrift store or antique mall runs $5 to $15, and slight imperfections in the glass add to the aged look rather than detract from it.
It works because genuine age and imperfection reads as more authentic than a new reproduction, adding real texture and history to the vignette.
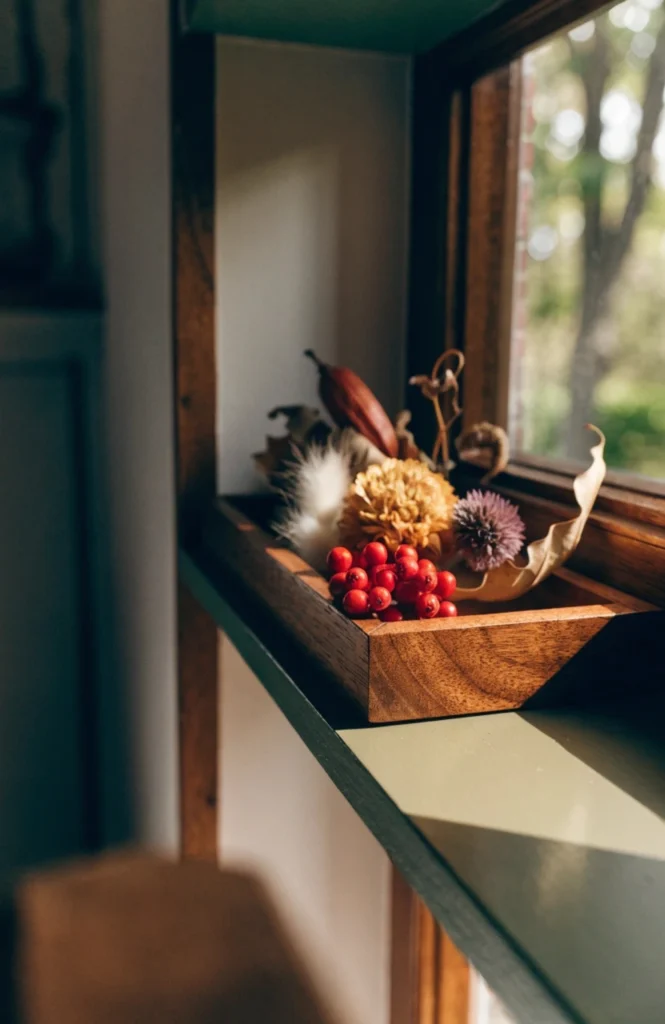
20. Include a Small Tray to Contain the Grouping
Placing everything on a single tray gave the whole grouping a defined boundary that kept it from spreading across the entire shelf.
A small decorative tray in wood, marble, or metal runs $12 to $30, and it works especially well on a narrow shelf where objects might otherwise look scattered.
It works because a tray visually groups everything on it into a single cohesive unit, the same trick used to organize any small collection of objects.
Finishing Touches
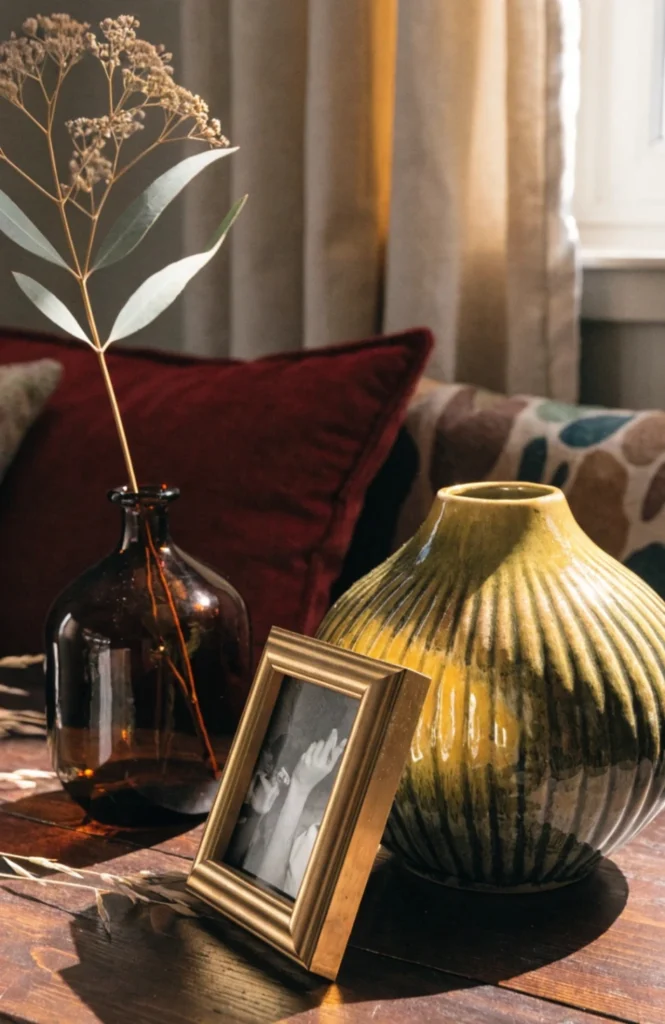
21. Add a Small Framed Print or Photo
A tiny framed photo tucked into the vignette added a personal detail that made it feel less like a store display and more like part of my actual home.
A small photo frame runs $8 to $20 and gives the vignette a personal, non-purchased element among the seasonal objects.
It works because a personal photo or print keeps the vignette from feeling entirely store-bought, grounding it in something specific to your own home.
22. Include a Scented Candle for Sensory Layer
Adding a seasonally scented candle meant the vignette added something beyond how it looked, it changed how the whole room smelled too.
A seasonal scented candle in a neutral vessel runs $15 to $30, and choosing a subtle scent like cedar or fig avoids overwhelming the room.
It works because scent is a layer most vignette styling skips entirely, and it’s one of the cheapest ways to make the space feel finished beyond just visually.
Conclusion
If you’re starting from a bare shelf, pull three or five objects you already own, vary their heights with a book or riser, and group them with a little breathing room around the edges, that alone gets you most of the way to a styled vignette before you buy a single new thing. Add one or two seasonal natural elements next, then finish with a personal object that has nothing to do with fall at all. The vignettes that hold up best over time aren’t the ones packed with the most seasonal decor, they’re the ones built on solid styling principles that work in any season, just restocked with different objects each time.
FAQ
How many objects should be in a vignette?
Three to five objects is usually the sweet spot, enough to create visual interest through varied height and texture without the surface looking crowded.
Do I need to buy new decor for every vignette?
No, many of the best vignettes reuse books, candlesticks, and vases you already own, adding just one or two new seasonal pieces to refresh the look.
What’s the most common mistake when styling a vignette?
Using too many objects at the same height with no negative space around them, which reads as cluttered rather than intentionally styled.