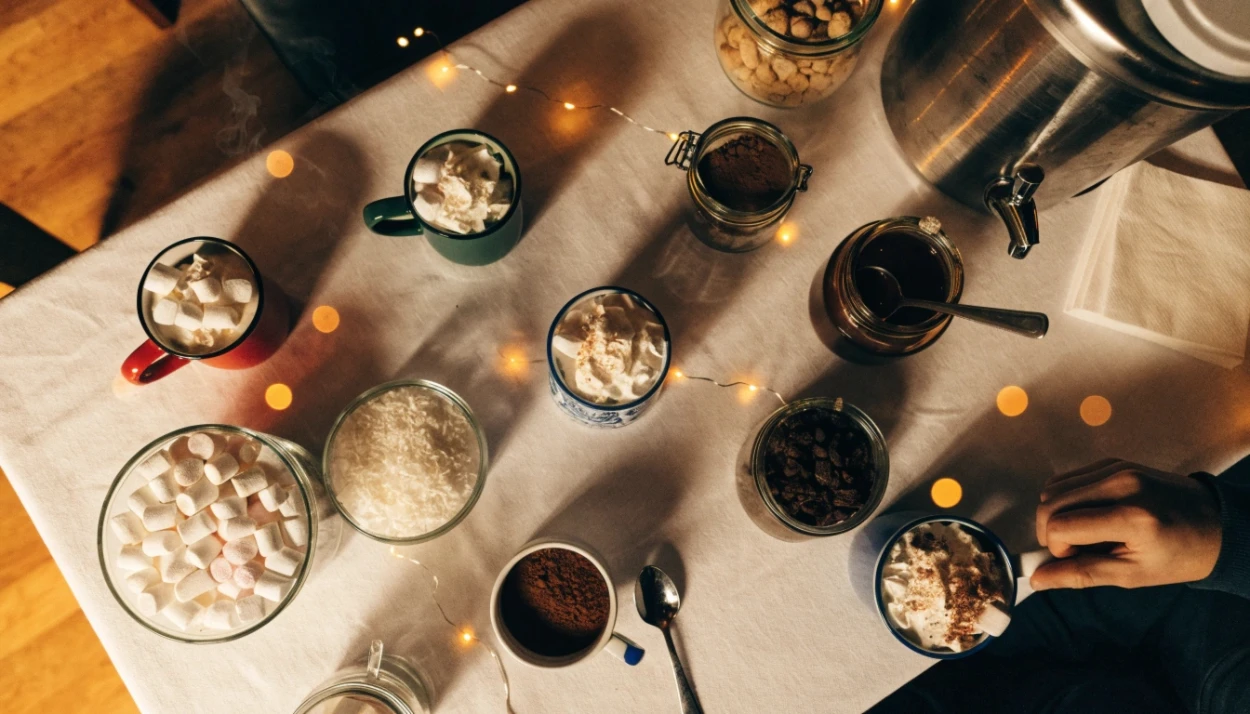
My first hot cocoa bar was just a pot on the stove and a bag of marshmallows dumped in a bowl, and it worked fine, but it didn’t feel like an event. What actually turned it into something guests looked forward to every winter was treating it like a real drink station, a proper base, a real range of toppings, and a setup people could see and reach easily instead of hunting through cabinets.
The ideas below are grouped by what they build, the cocoa base and mix-ins first, then toppings, mugs and serving setup, table styling, and the small extras that make guests want to linger by the station. The same setup logic used in these DIY bar shelf ideas applies directly here, group by function, keep everything guests need within reach, and use height to keep the display from looking flat.
Before You Start
- Offer at least two cocoa base options, a classic and one alternative, so guests with different tastes or dietary needs both have something to enjoy.
- Keep the base warm in a dispenser or slow cooker rather than a stovetop pot, it’s safer around a crowd and frees up the stove for anything else.
- Label every topping jar, guests move faster through the line when they can read what’s in each container instead of guessing.
- Set the station up somewhere with a little breathing room, a crowded counter slows everyone down and makes spills more likely.
Cocoa Base and Mix-Ins
1. Offer a Classic Milk Chocolate Base
A rich milk chocolate base made from real chocolate instead of powder mix was the single upgrade that got the most comments at my last gathering.
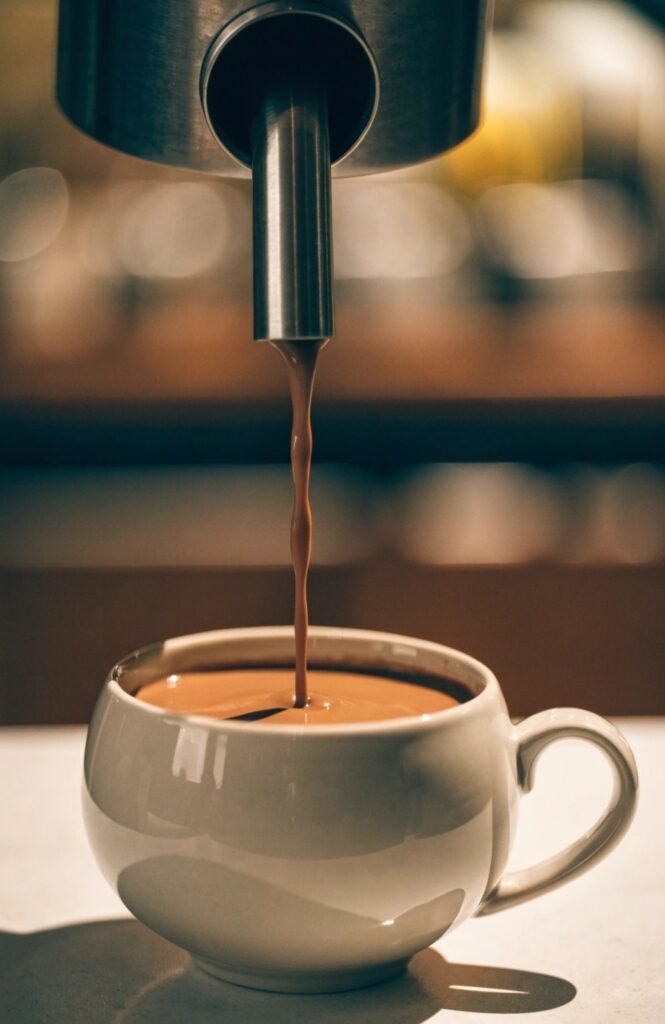
A pound of quality milk chocolate for melting runs $8 to $15, enough to serve a base for eight to ten guests when combined with warm milk.
It works because real melted chocolate has a noticeably richer texture and flavor than powdered mix, and it’s the foundation every other topping and mix-in builds on.
2. Add a Dark Chocolate Option for Contrast
Offering a dark chocolate option alongside the classic milk chocolate one gave guests with a less sweet preference somewhere to go.
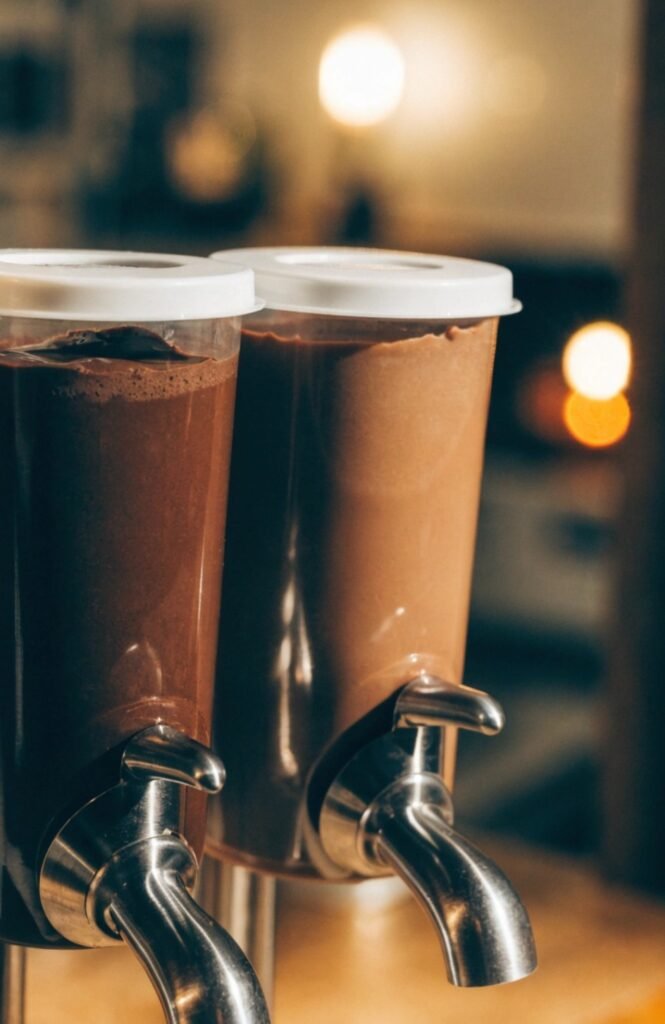
A pound of dark chocolate for melting runs $9 to $18 depending on cacao percentage, and a second small dispenser keeps it from mixing with the milk chocolate base.
It works because it broadens who the station appeals to, not everyone wants a sweet milk chocolate drink, and a second option covers that without much extra effort.
3. Include a White Chocolate Peppermint Variation
A small batch of white chocolate cocoa with a hint of peppermint ended up being the most requested option by the end of the night.
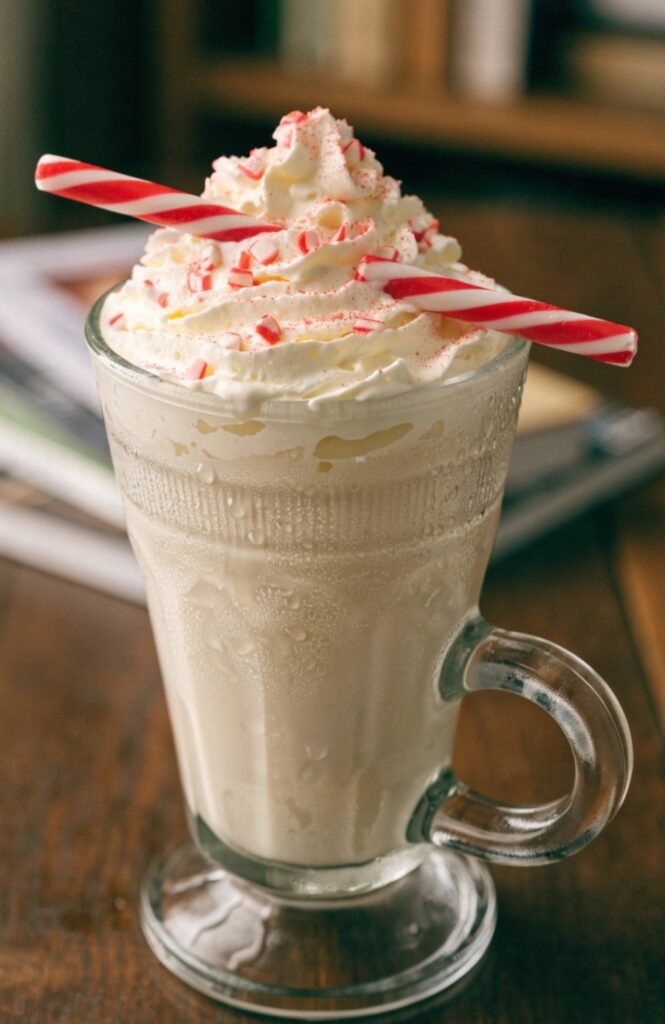
White chocolate for melting runs $8 to $14 per pound, and a small bottle of peppermint extract to flavor it costs another $5 to $8 and lasts multiple batches.
It works because it’s a distinct third flavor rather than a minor variation, giving guests a genuinely different option rather than three versions of the same thing.
4. Set Out Flavored Syrups for Customizing
A small row of flavored syrups let guests build their own combination instead of picking from just the three preset bases.
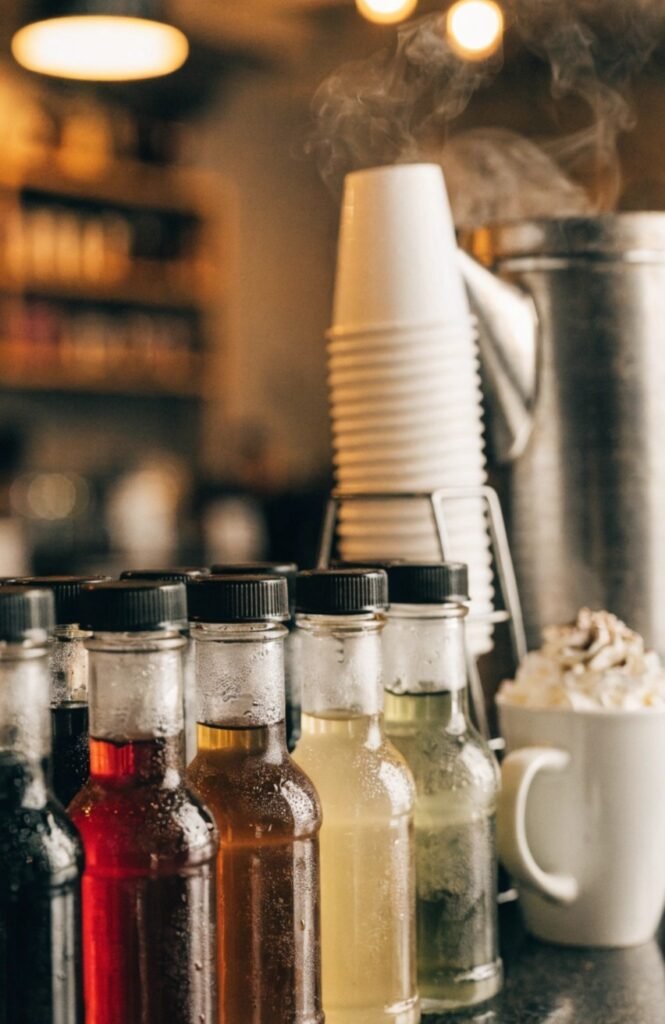
Mini flavored syrup bottles run $6 to $12 each, and three or four flavors, caramel, hazelnut, vanilla, gives enough variety without overwhelming the table.
It works because it turns a fixed menu into a customizable one, letting each guest build a drink that’s actually their own combination.
5. Add a Dairy-Free Option Alongside Regular Milk
Keeping a small dispenser of oat milk cocoa next to the regular one meant a dairy-free guest never had to feel like an afterthought at the table.
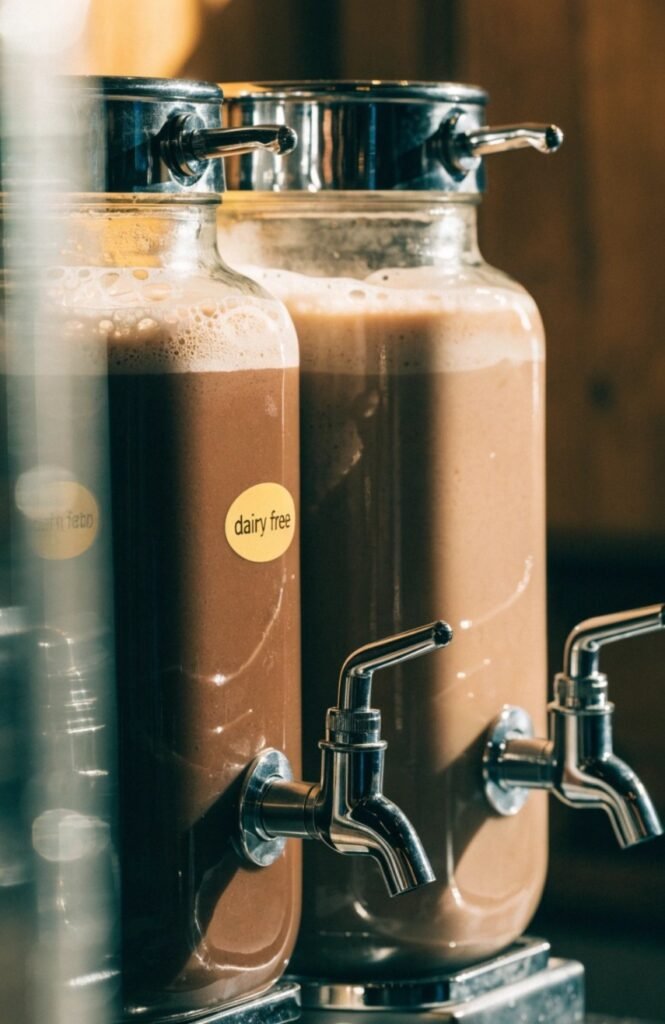
A carton of oat or almond milk runs $4 to $7, and preparing a small separate batch with the same chocolate base keeps the flavor consistent across both options.
It works because it makes the whole station inclusive without singling anyone out, everyone gets to choose from the same-looking lineup of options.
Toppings and Garnishes
6. Fill Small Jars with Mini Marshmallows
Portioning mini marshmallows into a few small glass jars instead of one big bag made the whole topping area look intentional.
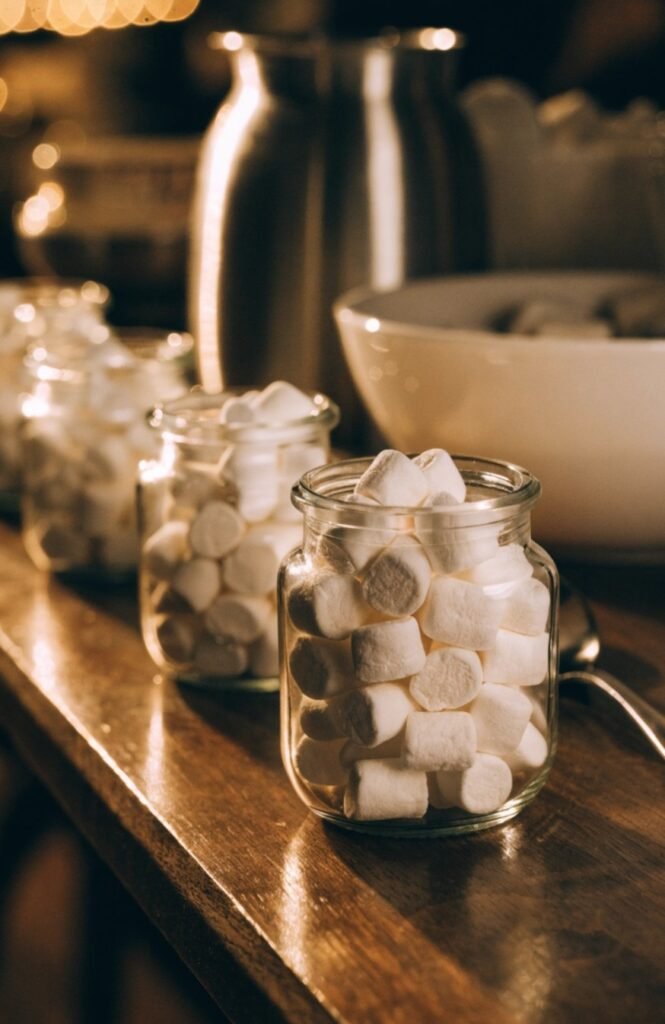
A bag of mini marshmallows runs $3 to $6, and two or three small glass jars to divide them between run $5 to $10 each.
It works because dividing one big bag into a few smaller jars gives guests easier access from multiple sides of the table instead of everyone reaching for the same single bowl.
7. Add Crushed Peppermint Candy
Crushed candy canes in a small dish added both crunch and a pop of red color that helped the whole table feel festive.
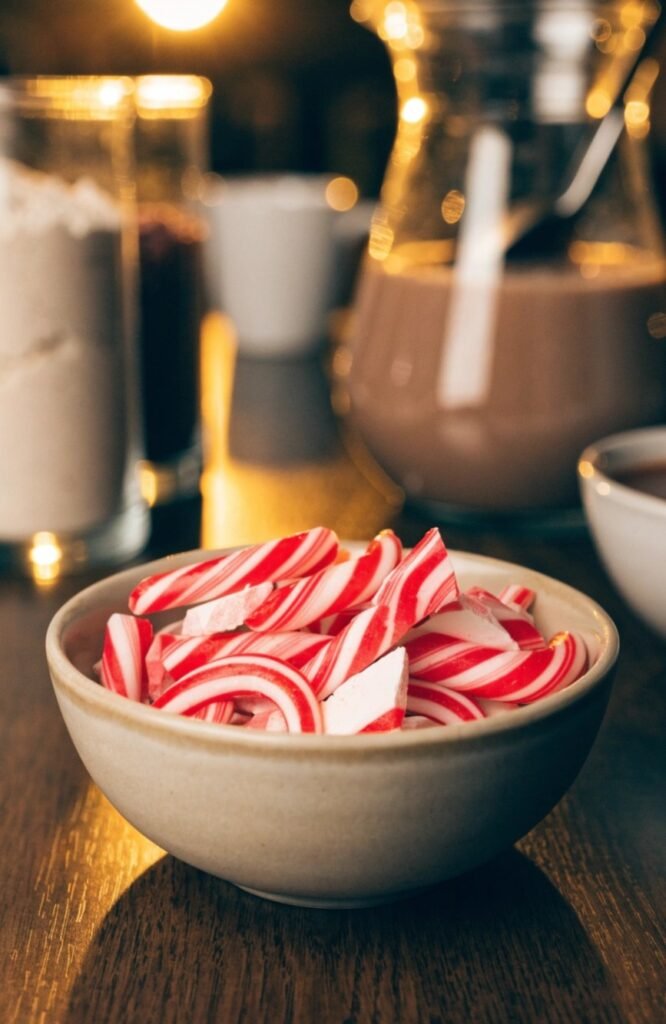
A bag of candy canes to crush runs $4 to $8, and crushing them yourself in a sealed bag with a rolling pin is faster and cheaper than buying pre-crushed peppermint topping.
It works because it adds texture, crunch against the smooth cocoa and marshmallows, and its red color adds a visual pop to the table without needing any additional decor.
8. Include Whipped Cream in a Dispenser
A canister of whipped cream instead of a bowl and spoon kept the line moving and stopped the cream from getting watery sitting out.
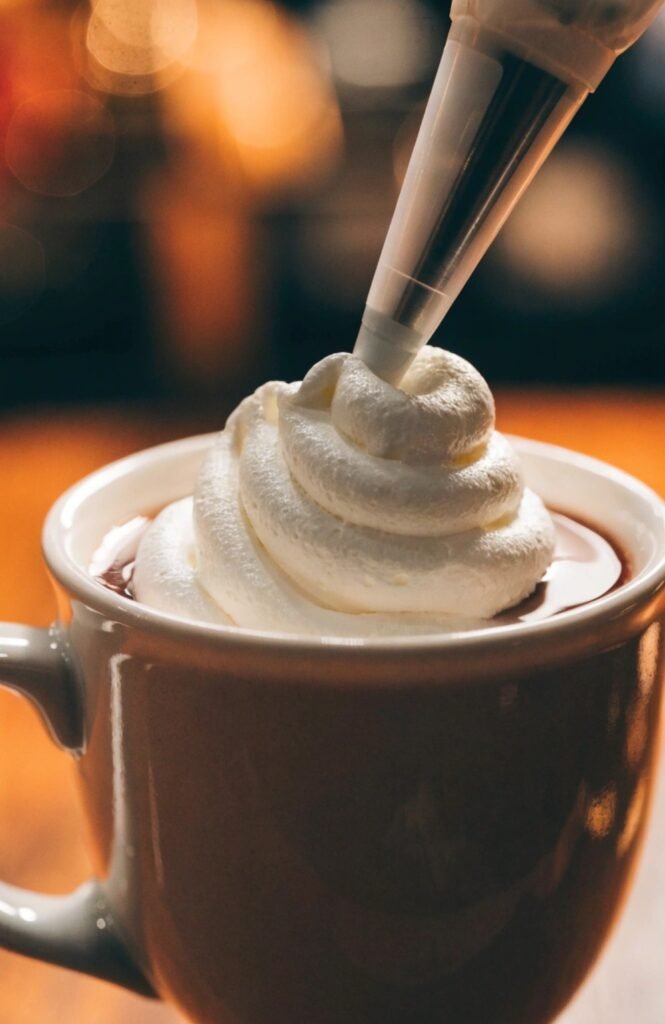
A whipped cream dispenser with cartridges runs $25 to $45 as a one-time purchase, or pre-made canned whipped cream runs $4 to $6 per can as a simpler alternative.
It works because a dispenser keeps the cream fresh and airy throughout the event, unlike a bowl of whipped cream that starts to melt and separate after sitting out.
9. Add Chocolate Shavings or Curls
A small dish of chocolate curls made from a vegetable peeler and a chocolate bar looked far fancier than the five minutes it took to make.
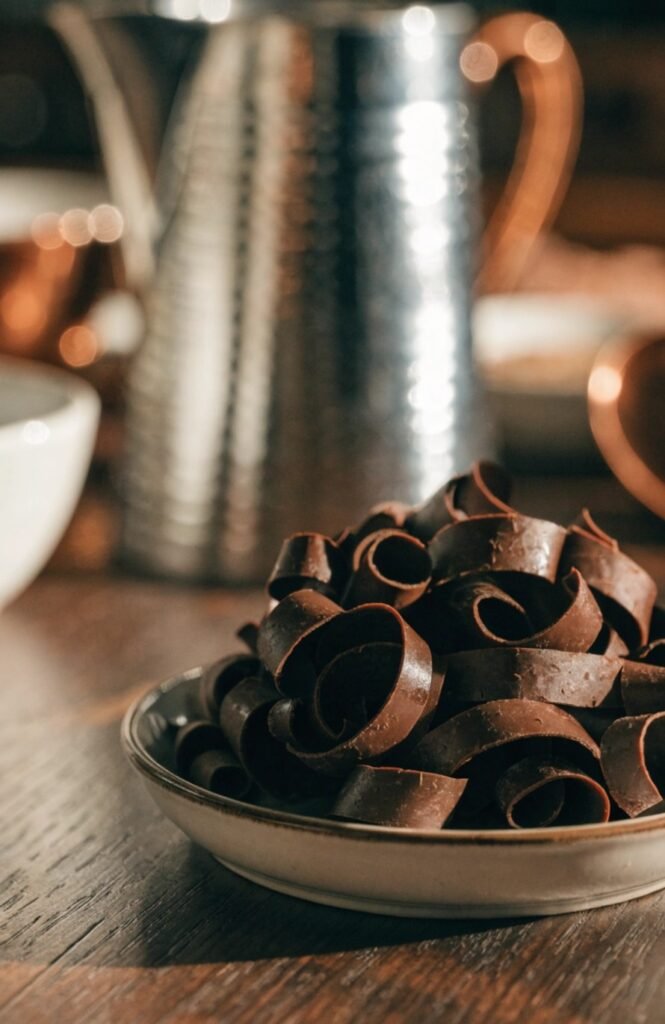
A chocolate bar to shave into curls runs $3 to $8, and a standard vegetable peeler is all the equipment needed to make them at home.
It works because chocolate curls read as a more elevated topping than chocolate chips or shavings from a bag, for essentially no extra cost.
10. Set Out Cinnamon Sticks as Stirrers
Swapping plastic stir sticks for cinnamon sticks let guests infuse their own drink with a subtle spice while stirring, no extra step required.
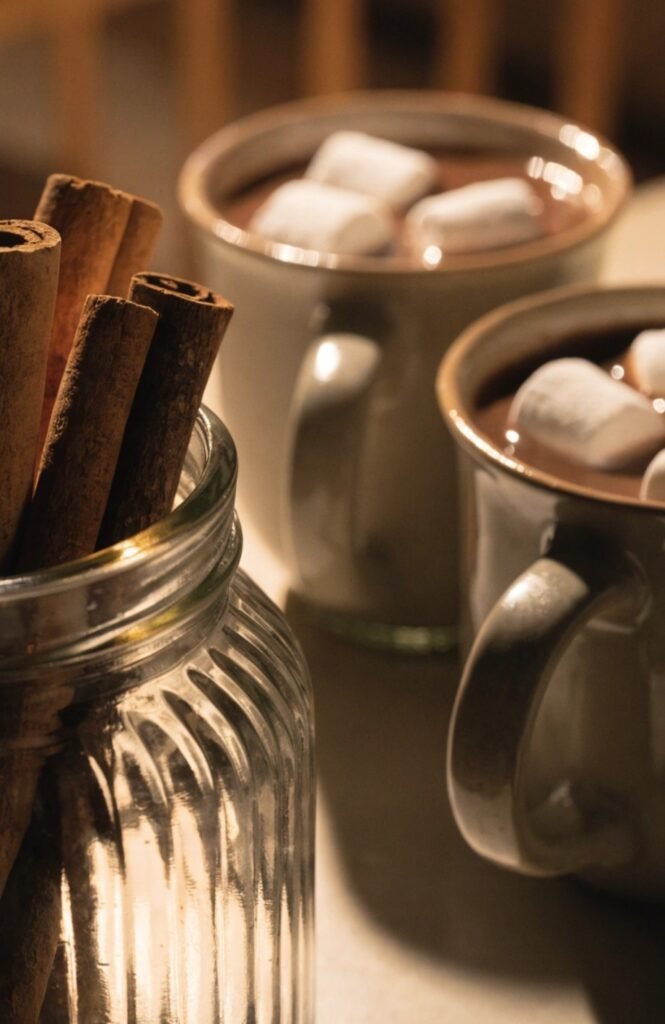
A pack of cinnamon sticks runs $5 to $10, enough for a full gathering, and they double as both a garnish and a functional stirrer.
It works because it does double duty, function and flavor in one object, which is more than a plain plastic stir stick can offer.
Mugs and Serving Setup
11. Use Mismatched Vintage Mugs
Setting out mismatched vintage mugs instead of a matching set gave guests something to actually pick and made the table feel collected rather than store-bought.
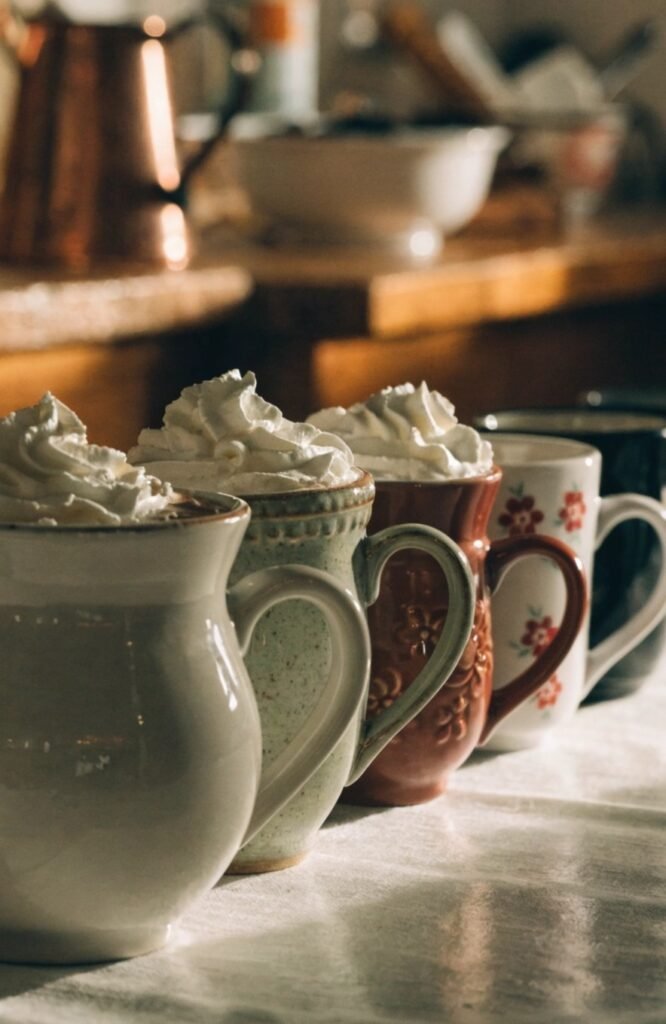
Individual vintage mugs from thrift stores or estate sales typically run $2 to $8 each, so a full set of eight to ten costs $20 to $60 total.
It works because letting guests choose their own mug adds a small personal touch to the experience, and mismatched styles read as intentional rather than accidental.
12. Add a Chalkboard Menu Sign
A small chalkboard listing the cocoa options saved me from answering the same “what flavors do you have” question all evening.
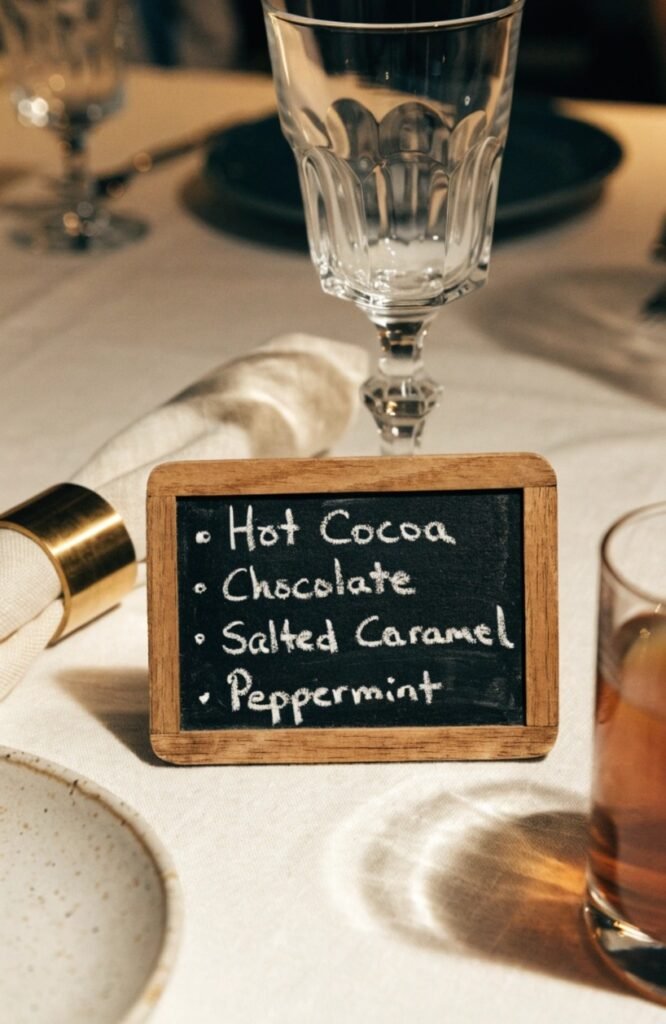
A small tabletop chalkboard or sign easel runs $10 to $20, and chalk markers for writing on it cost another $5 to $10.
It works because it’s both functional, guests know what’s available without asking, and decorative, adding a bit of hand-lettered charm to the display.
13. Set Out a Large Drink Dispenser for the Base
A large insulated dispenser with a spigot kept the cocoa warm for hours and let guests serve themselves without needing help.
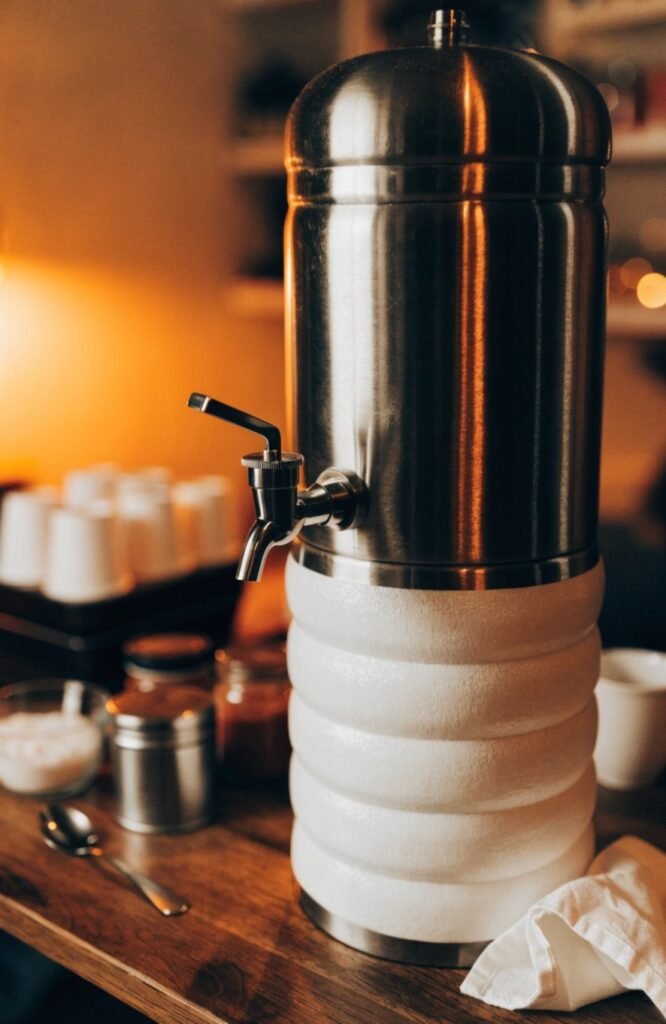
An insulated beverage dispenser with a spigot runs $25 to $50 depending on capacity, and one in the 2 to 3 gallon range works well for a gathering of 15 to 20 guests.
It works because it keeps the drink at a consistent temperature for hours and lets guests serve themselves, freeing the host to actually enjoy the gathering.
14. Include Small Spoons for Mix-Ins
A small cup of mismatched vintage spoons next to the toppings meant guests weren’t digging into the marshmallows with their fingers.
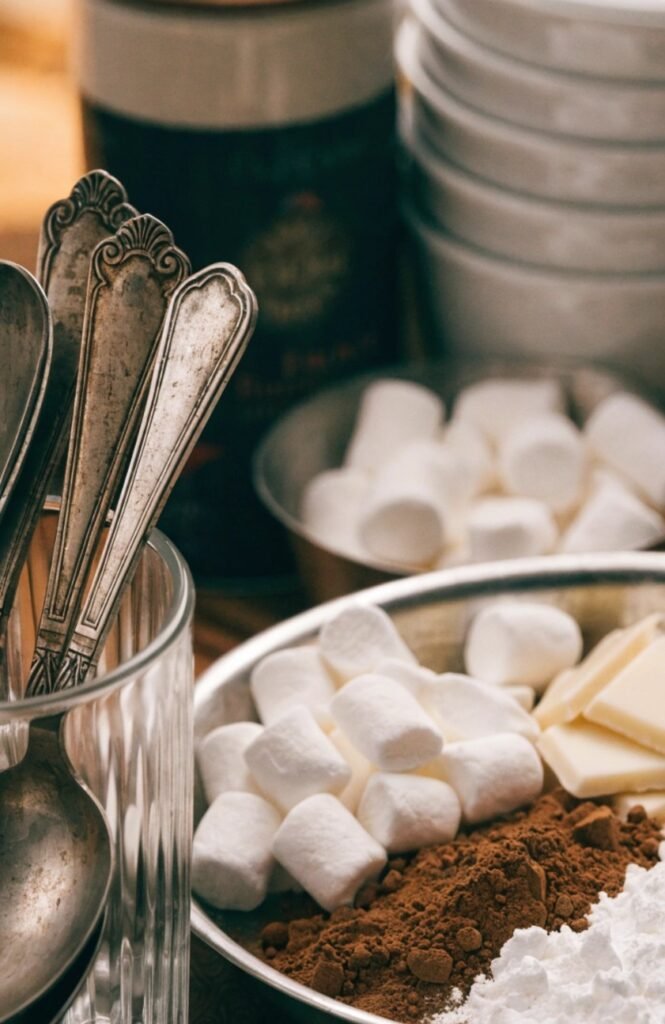
A set of small spoons, either new or sourced secondhand alongside the vintage mugs, runs $5 to $15 for a full set.
It works because it’s a small hygienic and practical detail that keeps the topping jars looking fresh throughout the event instead of picked over.
Display and Styling
15. Layer the Table with a Textured Runner
A chunky knit table runner underneath everything gave the whole setup a cozy foundation before a single mug was even set out.
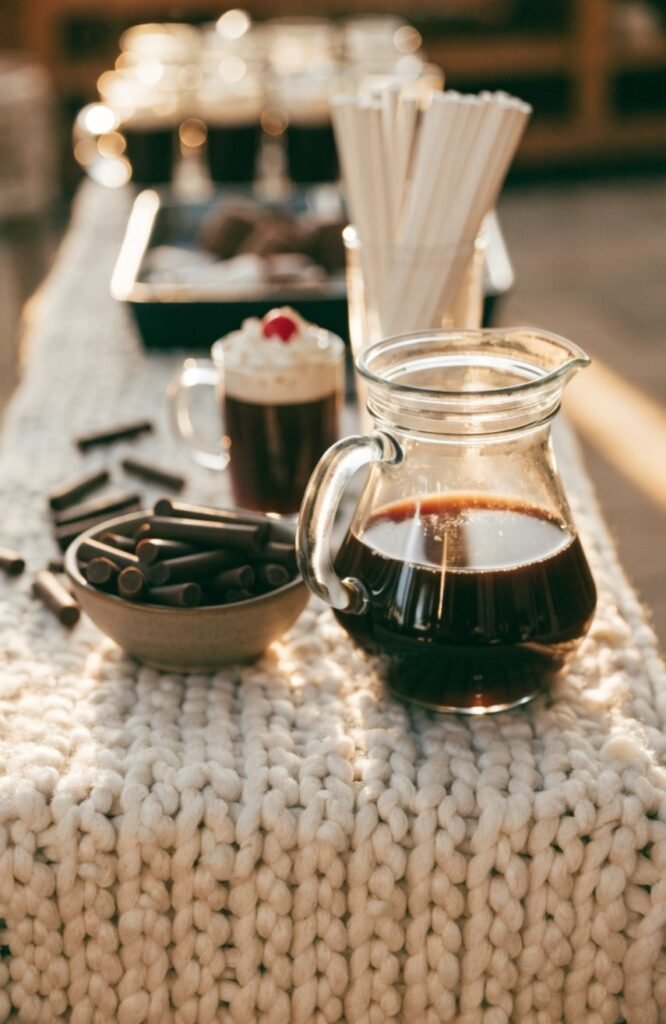
A knit or textured fabric table runner runs $15 to $30, and a neutral or deep winter tone works well as a base for whatever else you’re setting on top.
It works because it grounds the whole display and adds cozy texture right from the base layer, the same way linens anchor any styled table.
16. Add Tiered Stands for Toppings
A tiered stand for the toppings freed up flat table space and made the whole spread easier to see at a glance.
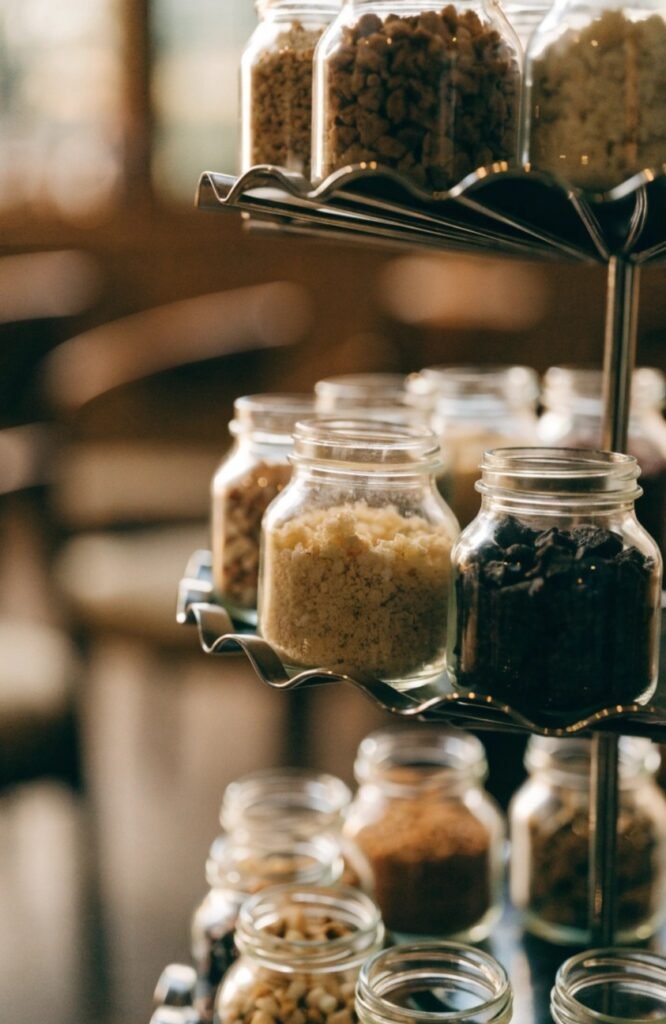
A two- or three-tier serving stand runs $20 to $40, and it works well for holding several small topping jars without taking up as much table footprint as they’d need spread flat.
It works because it lifts toppings up into view instead of hiding them flat on the table, similar to how a tiered stand functions at any dessert table.
17. Use Glass Jars at Varying Heights
Grouping topping jars at different heights instead of lining them up flat made the display look styled instead of just functional.
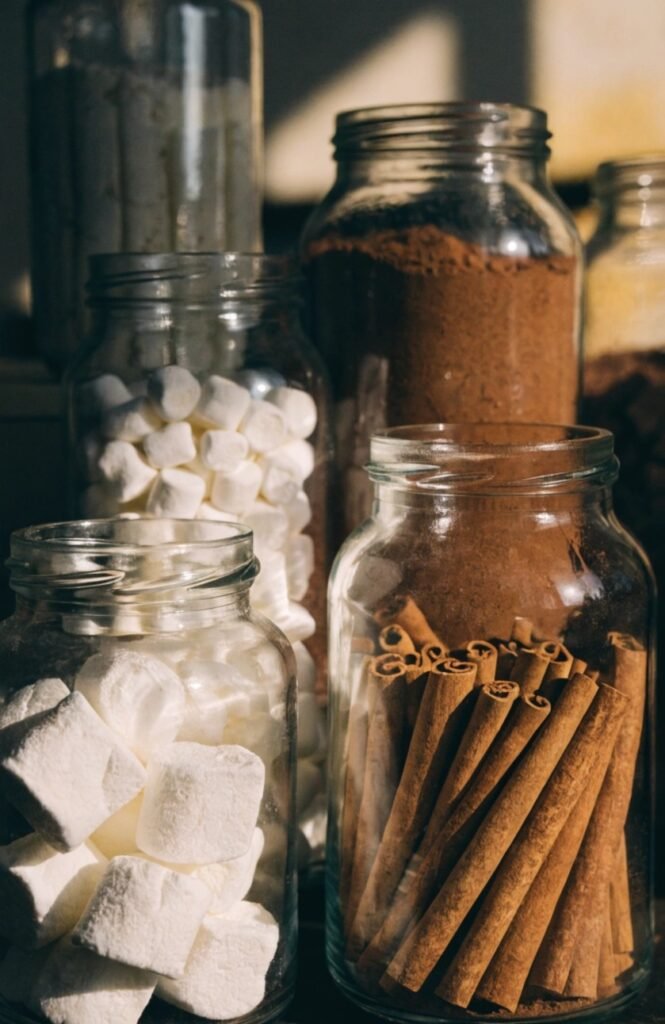
A set of glass jars in a few different heights runs $15 to $30 total, an inexpensive way to add dimension to the topping display.
It works because varied height creates visual rhythm across the table, the same styling principle used on a mantel or a shelf, just applied to a drink station.
18. Add Pinecones and Greenery as Accents
A few pinecones and a sprig of pine tucked between the jars tied the whole table into the winter season without needing anything else.
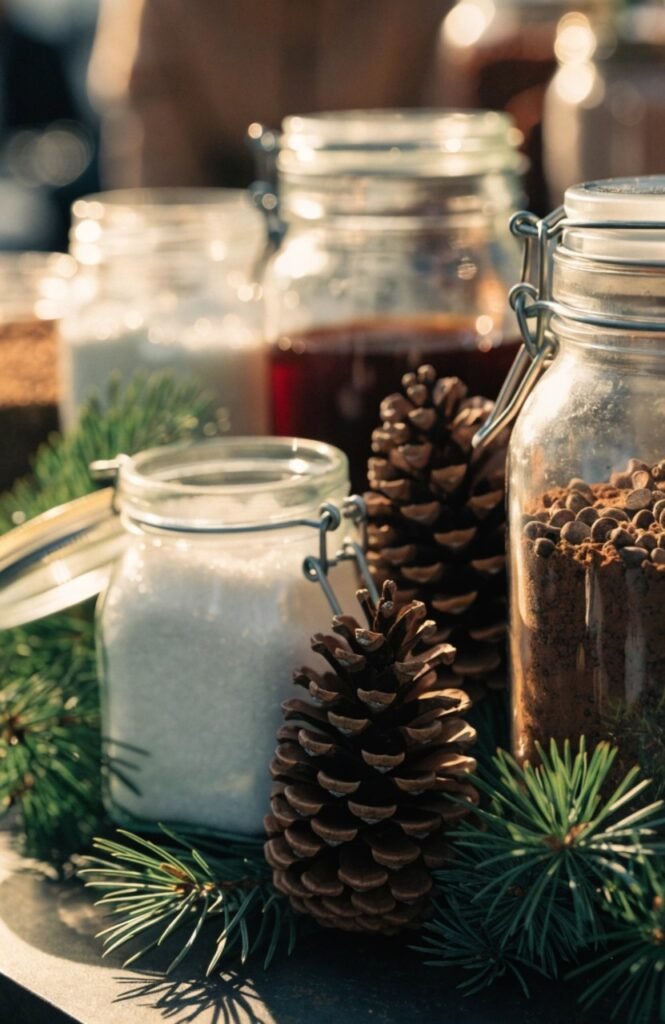
Pinecones can often be gathered for free outdoors, or a small bag runs $5 to $10, and a few sprigs of fresh or faux pine cost another $5 to $15.
It works because it adds a seasonal, natural element to the table without competing with the actual cocoa and toppings for attention.
Extras and Ambiance
19. Add String Lights Above the Station
Stringing warm lights above the table gave the whole hot cocoa station a glow that made it feel like the coziest corner of the party.
A short strand of warm white string lights runs $10 to $20, enough to drape along a shelf or wall above the station.
It works because it draws the eye upward and gives the station its own defined lighting, separating it visually from the rest of the room.
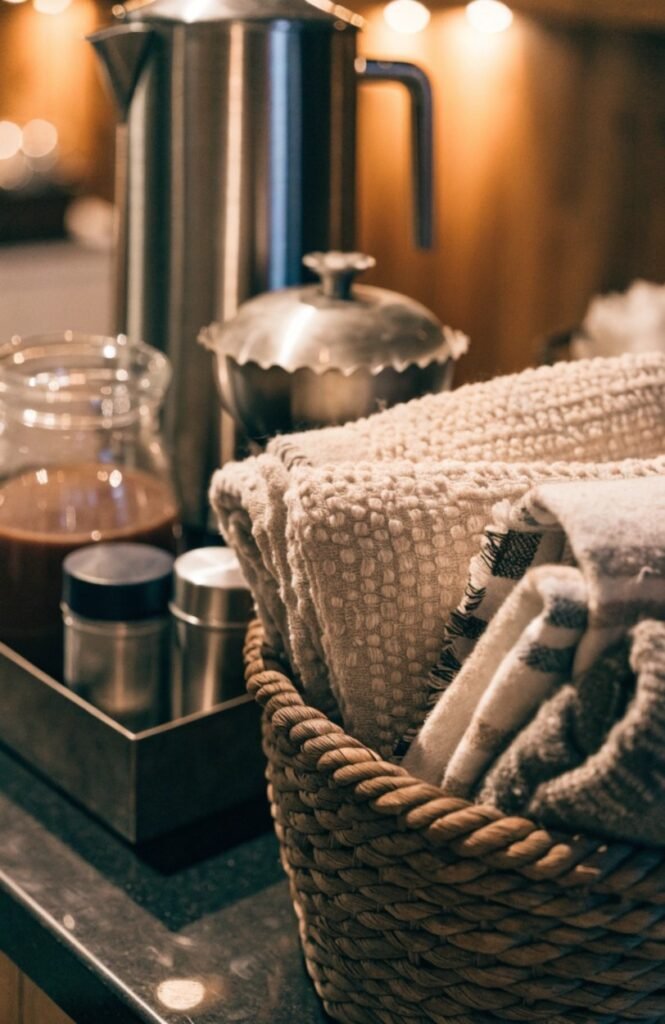
20. Include a Cozy Throw Blanket Nearby
A stack of folded throw blankets beside the station meant guests grabbed one and stuck around instead of drinking their cocoa quickly and moving on.
A few extra throw blankets run $20 to $40 each, and a basket to hold them folded beside the station costs another $15 to $25.
It works because it invites guests to actually settle in near the station, which is exactly the cozy, lingering atmosphere a winter gathering is going for.
21. Set Out Holiday Cookies Alongside the Cocoa
A small plate of simple sugar cookies next to the cocoa station turned it from a drink stop into the actual centerpiece of the gathering.
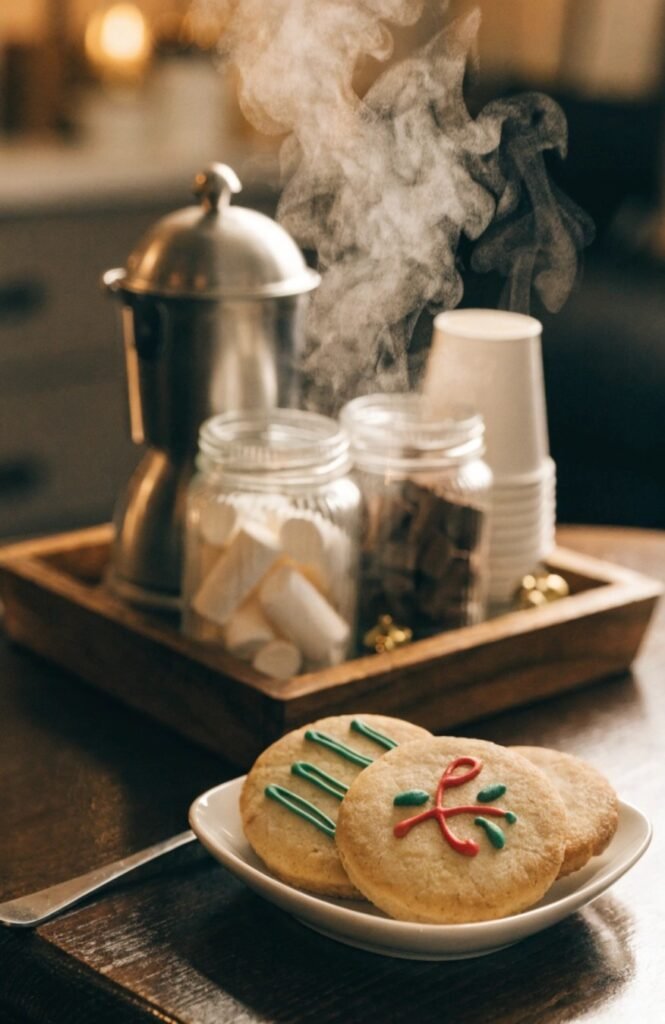
Ingredients for a batch of simple cookies run $8 to $15, or a store-bought platter runs $15 to $25 if you’re short on time.
It works because pairing a drink station with something to eat gives guests a reason to stay in that corner of the room longer, which is usually the whole point of a station like this.
22. Add a Handwritten Recipe Card for Guests to Take
A small stack of handwritten recipe cards let guests take the exact cocoa recipe home, and it became a small favor no one expected.
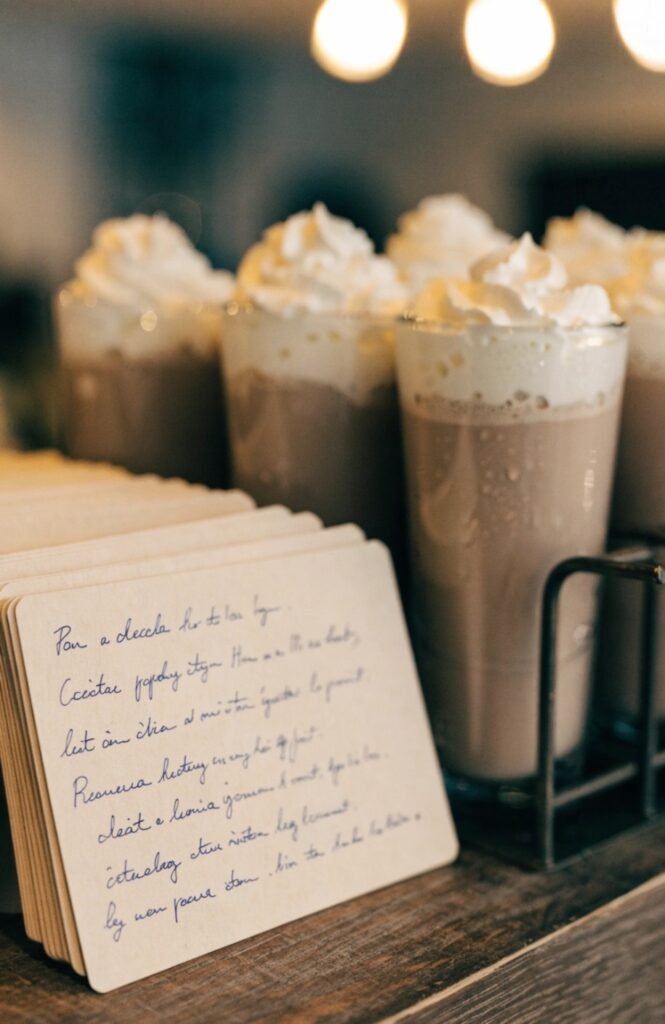
A pack of blank recipe cards costs $5 to $10, and writing out the base recipe by hand takes only a few minutes once and can be reused every year.
It works because it turns a one-time experience into something guests can recreate at home, giving the gathering a little bit of staying power. It’s the same kind of small takeaway detail that works well at any styled at-home gathering, a simple card guests didn’t expect but appreciate leaving with.
Conclusion
If you’re starting small, a large dispenser with two cocoa bases and three or four labeled toppings covers most of what makes a hot cocoa bar feel complete, and it’s achievable for well under $75 total. Add the styling details, mismatched mugs, a chalkboard sign, varied jar heights, once you know the basic setup works for your space. The station that gets used the most isn’t the one with the most options, it’s the one that’s easy to see, easy to reach, and warm enough to make people want to stay a while.
FAQ
How do I keep hot cocoa warm for a whole party?
An insulated beverage dispenser or a slow cooker on the warm setting both keep cocoa at a safe, drinkable temperature for hours without needing to reheat it on the stove.
How many toppings should a hot cocoa bar have?
Four to six toppings is usually the sweet spot, enough variety for guests to customize their drink without the table feeling cluttered or overwhelming to choose from.
What’s a good dairy-free option for a hot cocoa bar?
Oat milk tends to froth and taste closest to dairy milk in cocoa, making it a reliable choice for a labeled dairy-free dispenser alongside the regular one.