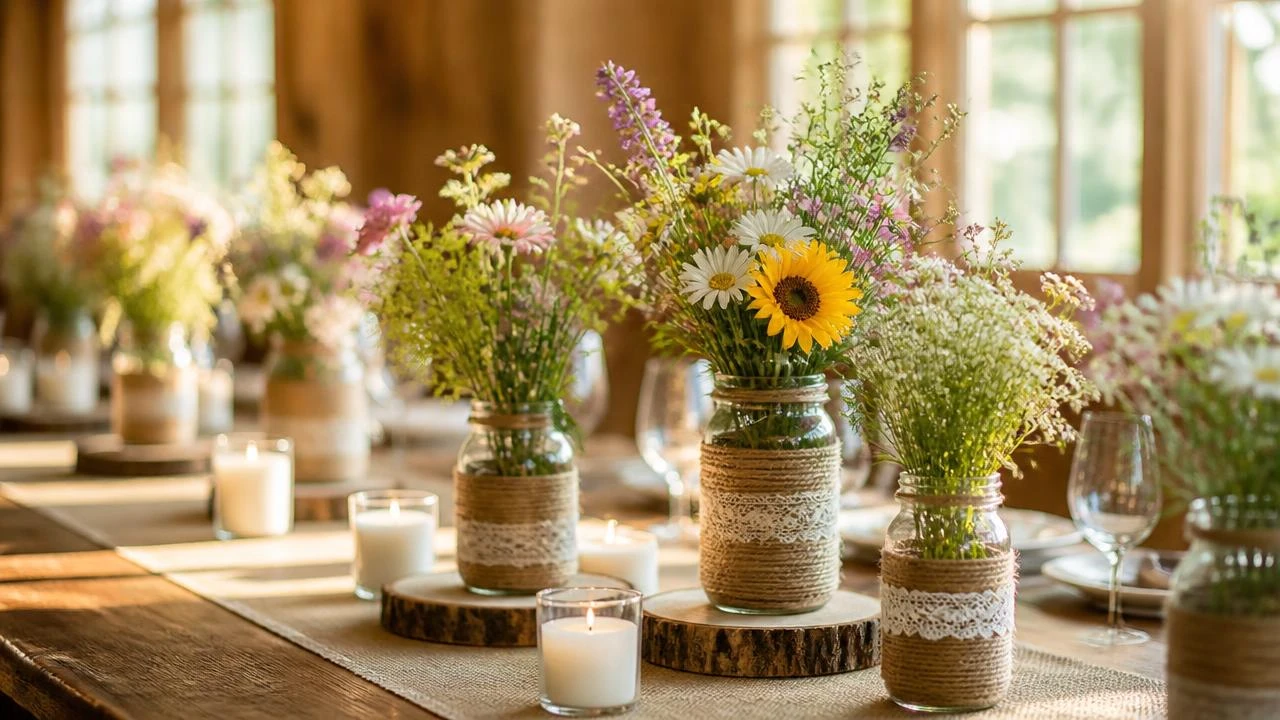
My first mason jar centerpiece was just a jar of tap water and grocery store daisies, and it looked exactly as thrown-together as that sounds. What actually makes mason jars work as a centerpiece is the same thing that makes any rustic display work, varied heights, a mix of textures, and just enough intentional styling that it reads as charming rather than like leftover kitchen jars someone grabbed at the last minute.
The ideas below are grouped by what they build, basic prep first, then floral fillers, candle and lighting variations, paint and finish techniques, and how to actually arrange the jars on a table. The same DIY setup logic used in these DIY bar shelf ideas applies here too, simple materials, a bit of texture, and thoughtful grouping go further than anything expensive.
Before You Start
- Save jars from pantry items over a few weeks rather than buying new ones, most kitchens accumulate enough for a full centerpiece for free.
- Mix jar sizes and heights within one grouping rather than using all matching jars, variety reads as more intentional than uniformity.
- Test any paint or etching technique on one jar first before committing to a whole set, finishes can look different than expected once dry.
- If using real candles inside jars, always leave the lid off and keep the flame well below the rim for safety.
Basic Prep and Styling Principles
1. Remove Labels Cleanly Before Decorating
Sticky label residue ruined my first few jars until I found a method that actually got them completely clean.
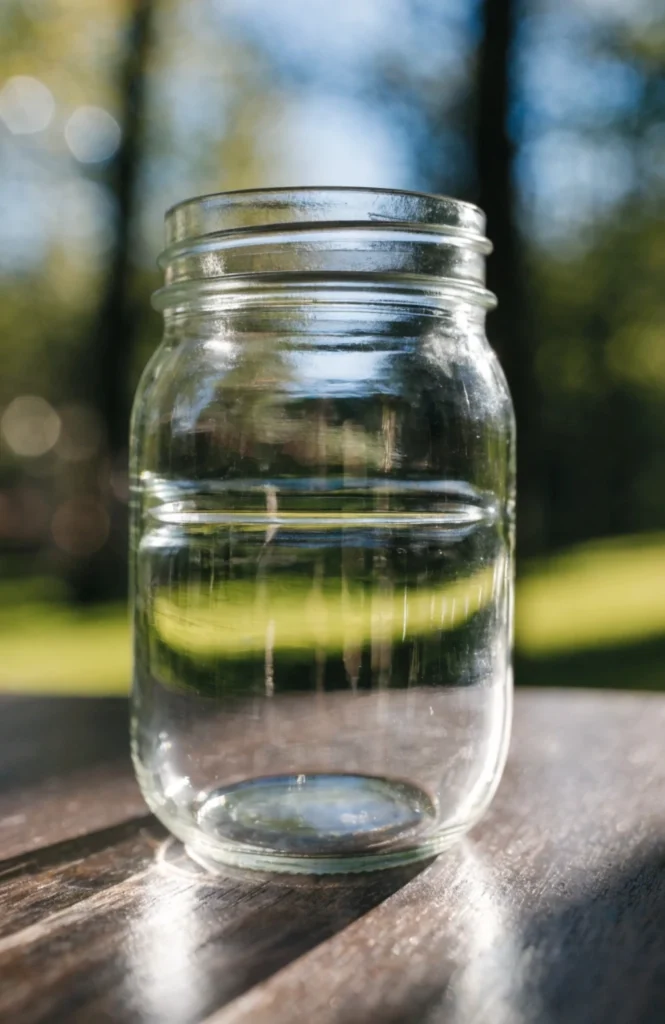
Soaking jars in warm soapy water for 20 minutes, then scrubbing with a bit of cooking oil on the residue, removes most labels for free using what’s already in the kitchen.
It works because a clean, residue-free jar is the foundation every other technique on this list depends on, and leftover sticky spots show through paint or twine wraps.
2. Wrap the Rim in Twine for Instant Texture
A few wraps of jute twine around the jar’s neck was the fastest, cheapest upgrade that made every jar look intentionally rustic instead of just repurposed.
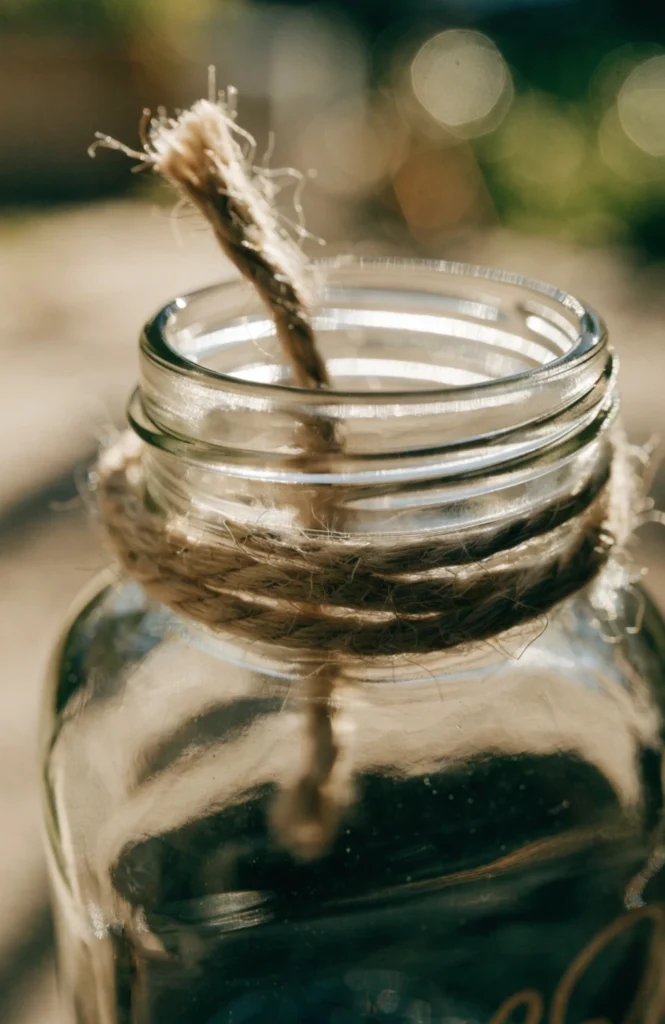
A spool of jute twine runs $4 to $8 and wraps dozens of jars, making this one of the lowest-cost styling techniques on the whole list.
It works because natural fiber texture against smooth glass immediately signals rustic farmhouse style, and it’s simple enough to do in under a minute per jar.
3. Vary Jar Sizes Within One Grouping
Mixing pint and quart-sized jars in the same cluster gave the display a rhythm that a set of identical jars never achieved.
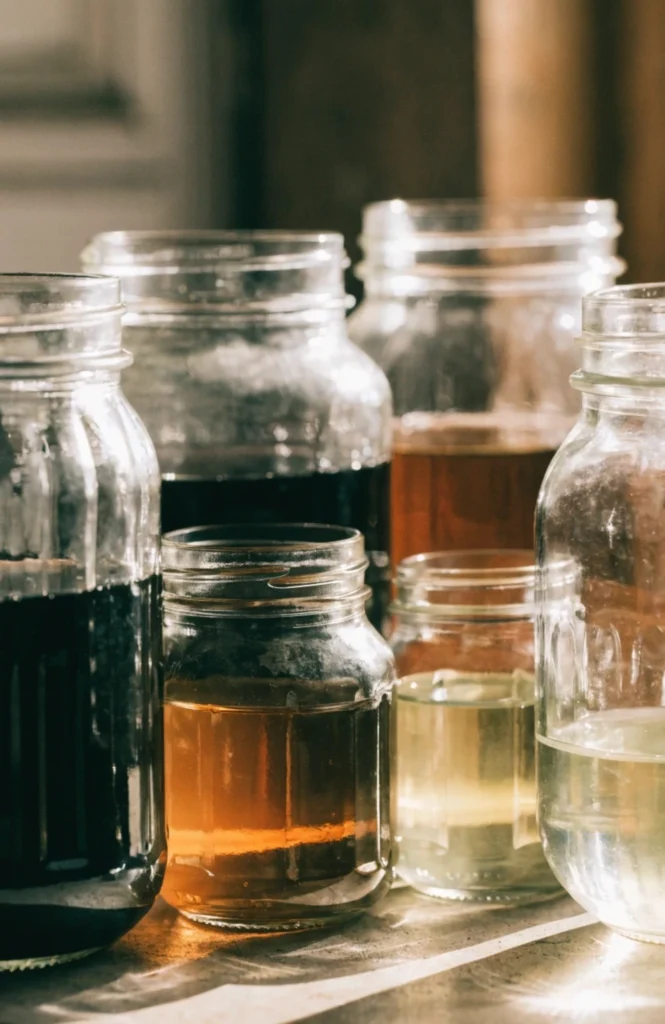
This costs nothing extra if you’re collecting jars from pantry items over time, since sizes naturally vary between products.
It works because varied height creates a visual path for the eye to follow, the same principle used in any layered centerpiece or shelf display.
4. Leave Some Jars Plain for Contrast
Leaving one jar in a cluster completely undecorated made the wrapped and painted ones next to it stand out more clearly.
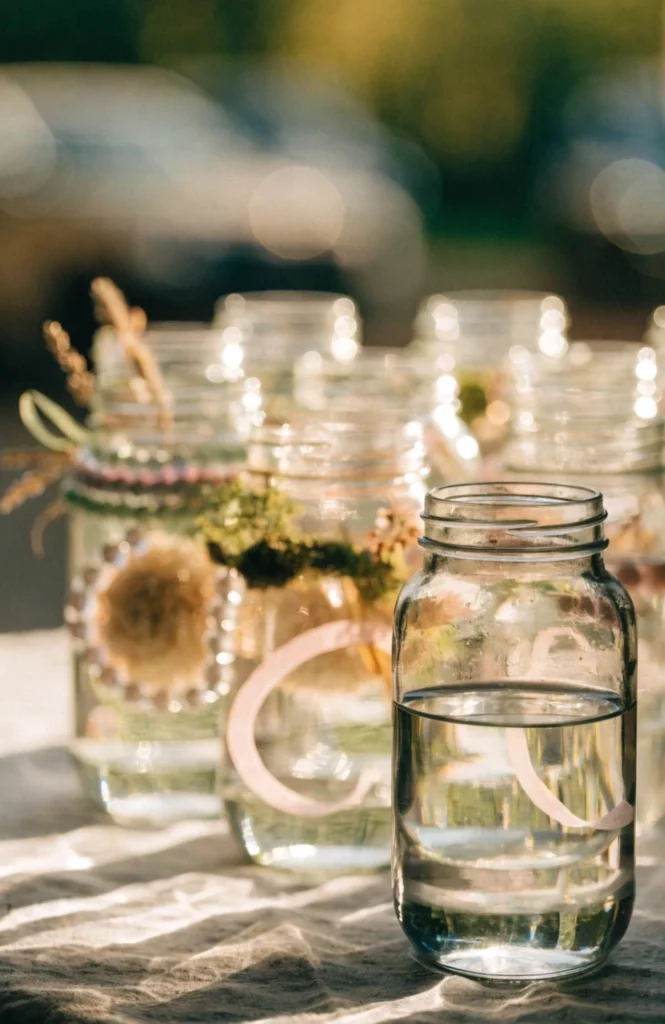
This costs nothing, it’s purely an editing decision about which jars in a grouping get the full treatment.
It works because contrast between plain and decorated jars highlights the styling on the ones that do have twine or paint, rather than everything blending together at the same level of detail.
Floral and Greenery Fillers
5. Fill with Wildflowers for a Meadow Look
A loose bunch of wildflowers, rather than a formal arrangement, is what made the jars feel authentically farmhouse instead of styled too perfectly.
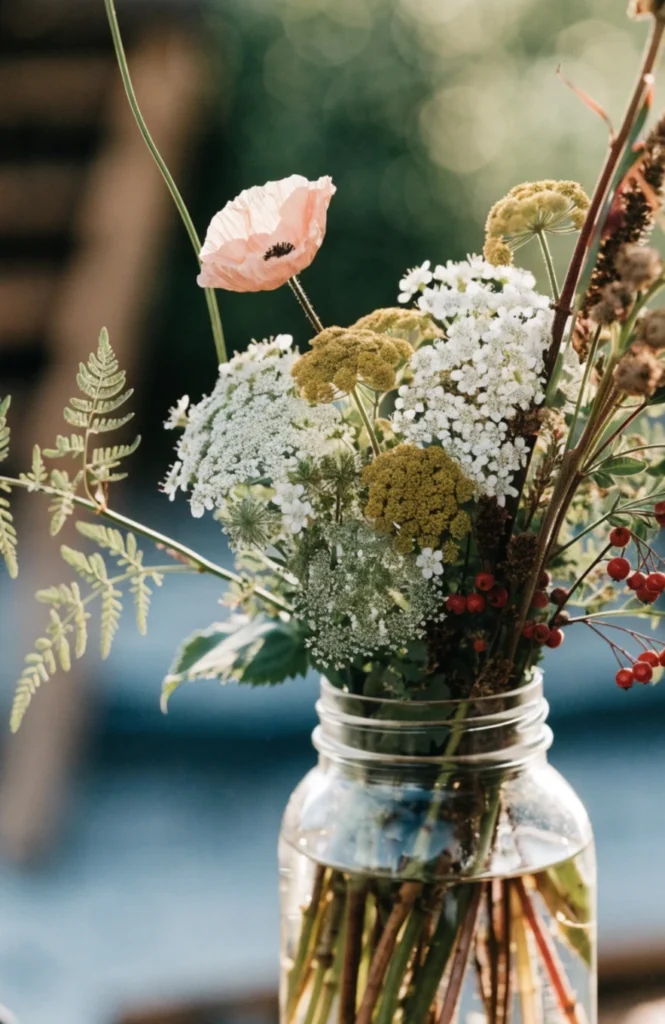
A bunch of wildflowers or a mixed seasonal bouquet runs $10 to $20, and letting stems fall naturally rather than arranging them precisely keeps the meadow feel intact.
It works because loose, slightly wild stems read as picked rather than purchased, which fits the whole rustic aesthetic better than a tightly arranged bouquet.
6. Add Baby’s Breath for Delicate Texture
A single stem of baby’s breath filled out the jar with delicate texture without adding any bold color to compete with the other jars nearby.
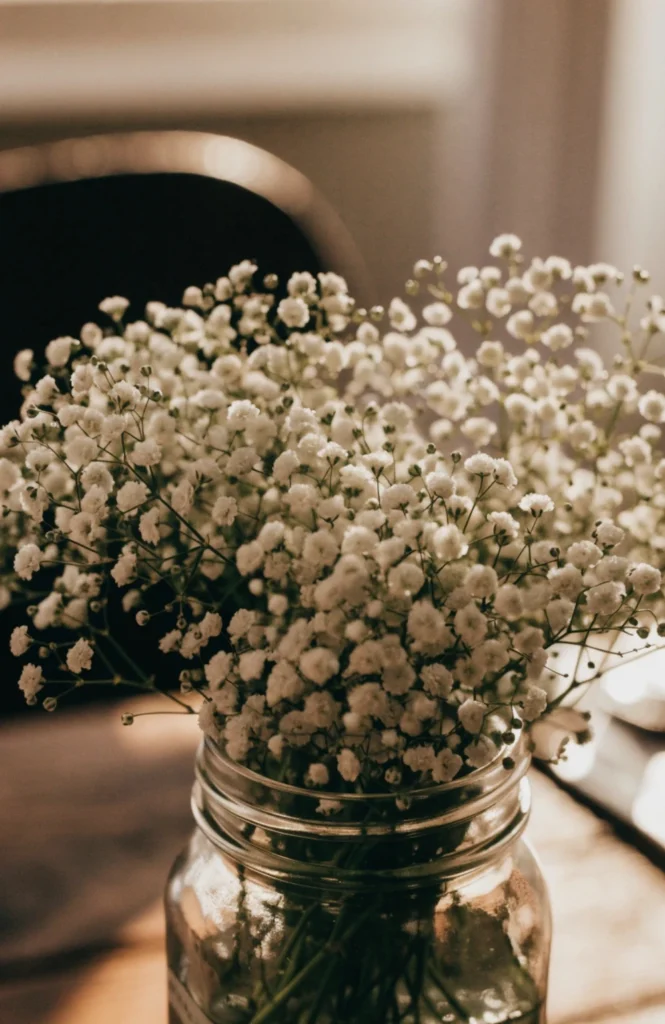
A bunch of baby’s breath runs $8 to $15 and one bunch typically fills several jars.
It works because its airy, delicate texture adds volume without visual weight, making it useful as filler around bolder statement flowers.
7. Use Sunflowers for Bold Summer Color
A single sunflower stem in each jar down the table gave the whole display a cohesive, cheerful pop of yellow.
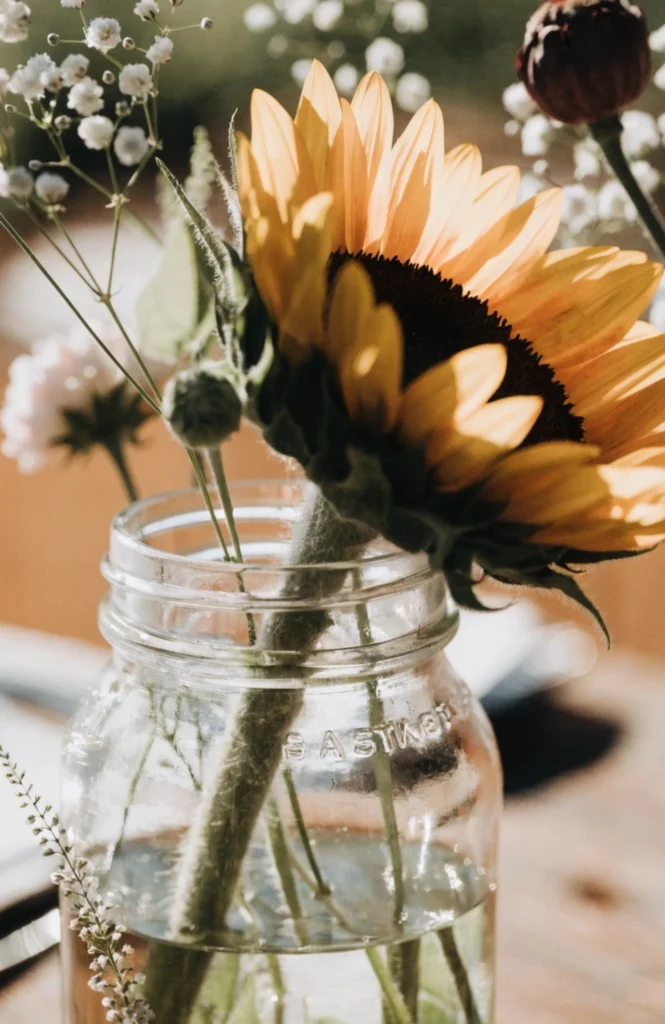
Sunflower stems run $3 to $6 each, and one per jar is usually enough given how much visual weight a single bloom carries.
It works because sunflowers are a classic rustic and farmhouse motif, and their bold color and shape read clearly even from across a room.
8. Include Eucalyptus for Greenery
A few eucalyptus stems tucked in with the flowers added a cooler green tone that balanced out all the warm floral colors.
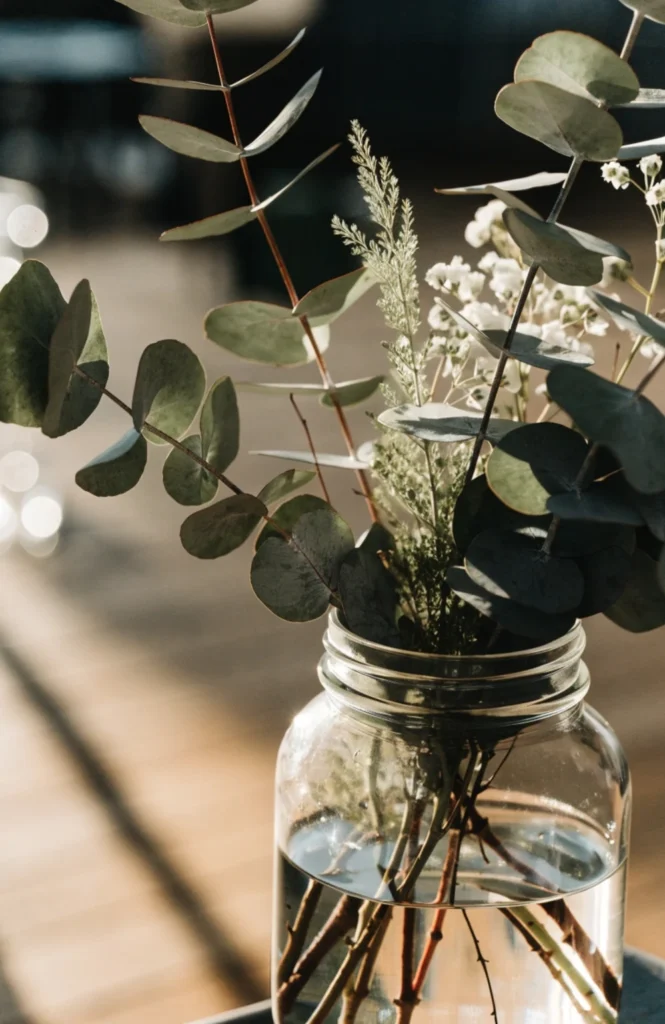
Eucalyptus stems run $8 to $18 per bunch, and preserved versions last for months without needing water changes.
It works because greenery breaks up an entirely floral arrangement, adding contrast and a more layered, garden-fresh feel to the jar.
9. Add Dried Lavender for Scent and Color
A bundle of dried lavender added both a soft purple color and a faint scent that fresh flowers alone never provided.
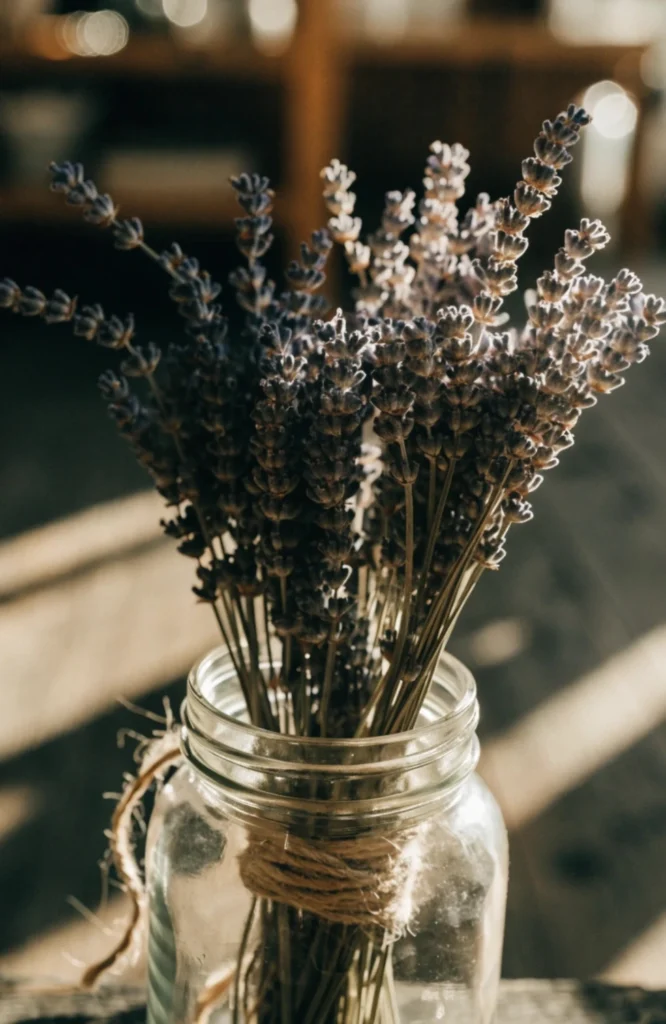
Dried lavender bundles run $6 to $14 and hold their color and scent for months without needing any water at all.
It works because it’s a low-maintenance filler that adds a sensory layer beyond just visual appeal, and it lasts far longer than any fresh-cut flower.
Candle and Lighting Variations
10. Turn Jars into Hanging Lanterns
Wiring a jar with a wire handle and hanging it from a shepherd’s hook turned a simple candle jar into a floating lantern down the aisle.
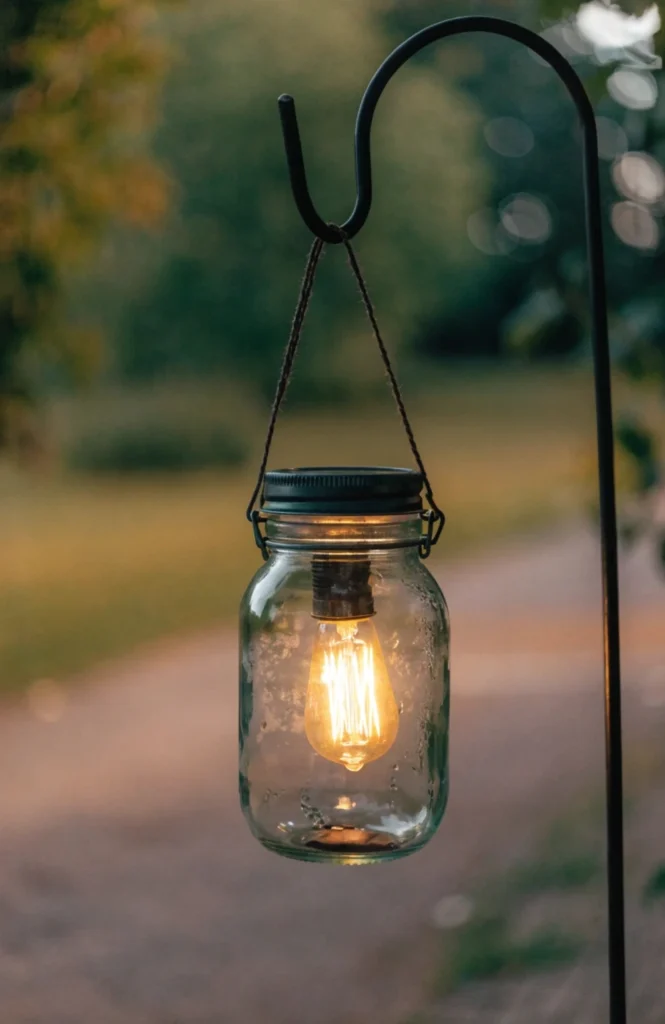
Wire and a shepherd’s hook to hang each jar run $8 to $15 per jar, and a small flameless candle inside costs another $3 to $5.
It works because hanging jars add height and movement to a display that ground-level jars alone can’t achieve, extending the decor upward into open space.
11. Add Fairy Lights Inside for a Glow
Stuffing a small strand of fairy lights inside each jar gave the whole table a soft glow once evening settled in.
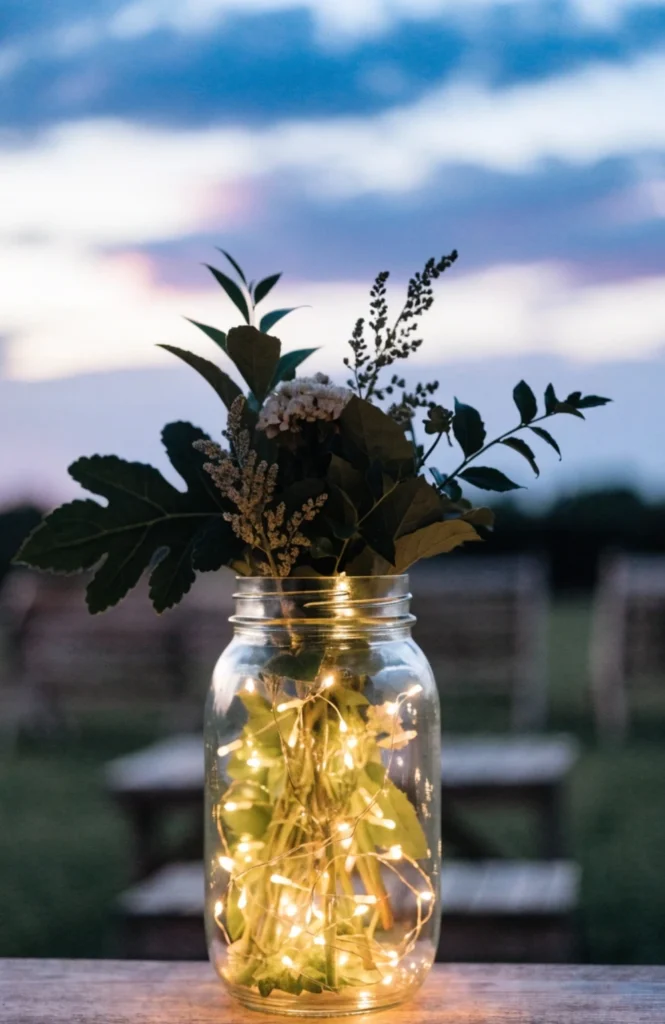
A battery-powered mini fairy light strand runs $6 to $12 per jar and fits easily inside a standard mason jar.
It works because it transforms a daytime floral display into a warm evening feature without needing any additional lighting fixtures nearby.
12. Use Flameless Candles for Safety
Switching to flameless candles meant the jars could sit safely on a table full of kids and pets without any fire risk.
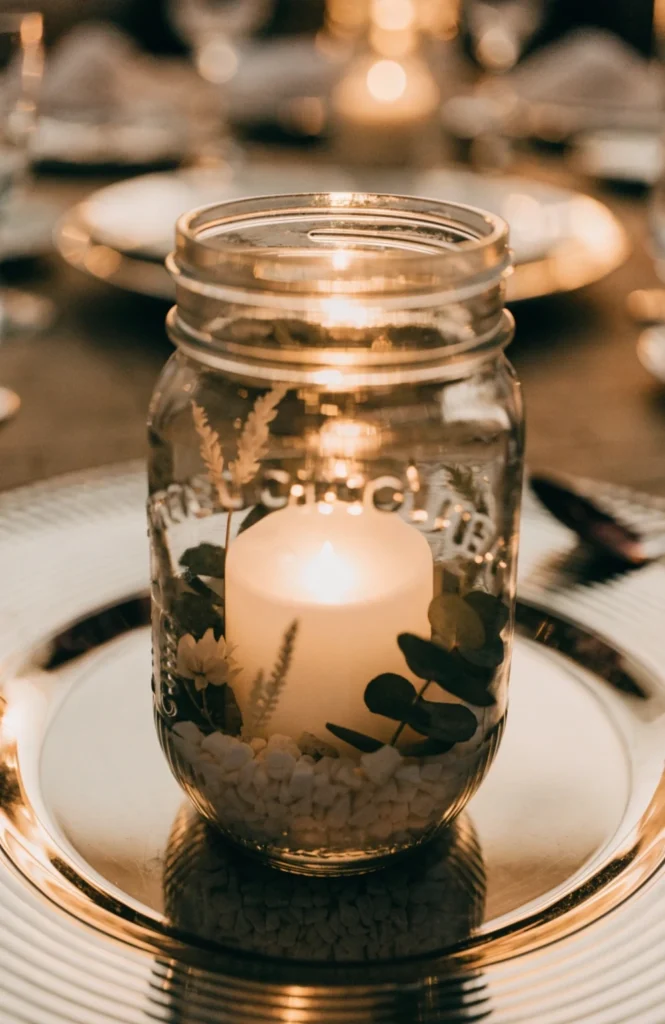
A set of flameless LED candles sized for jars runs $15 to $30 and typically includes a flicker effect and timer.
It works because it gives the same warm glow as a real candle without any fire risk, especially important with dried florals or twine nearby.
13. Create a Lace-Wrapped Candle Jar
Wrapping a strip of lace around a candle jar gave it a softer, more romantic feel than the twine-wrapped jars nearby.
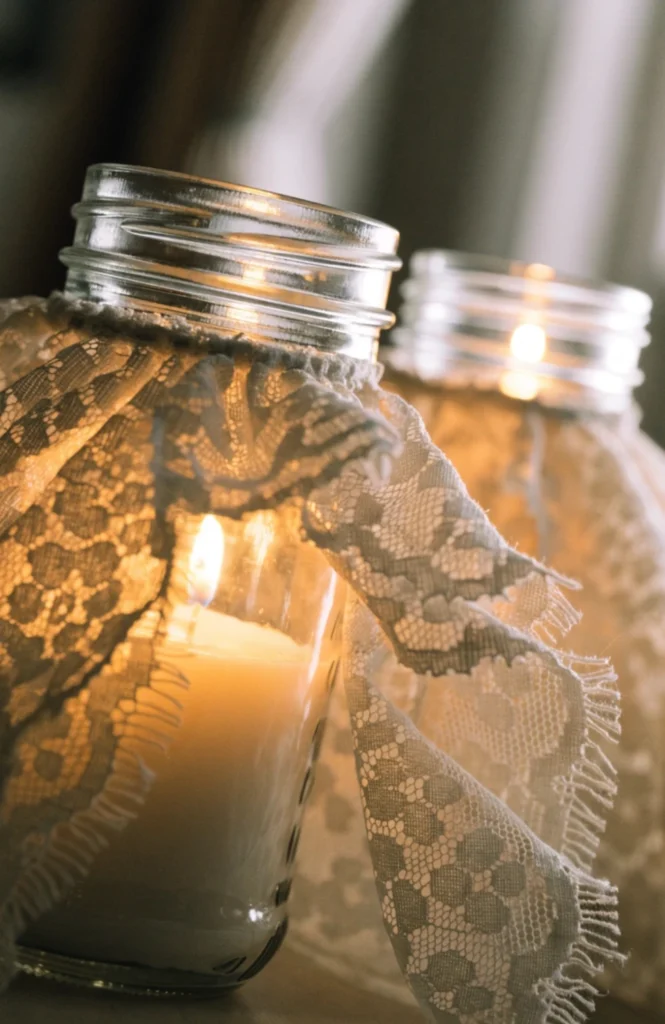
A roll of lace ribbon runs $5 to $10 and wraps several jars, giving a softer alternative to the more common twine wrap.
It works because lace adds a delicate, romantic texture that contrasts nicely against the rougher jute twine used elsewhere in the display.
Paint and Finish Techniques
14. Whitewash Jars for a Weathered Look
A thin whitewash coat gave the jars an aged, weathered look that made them look like they’d been sitting in a farmhouse for years.
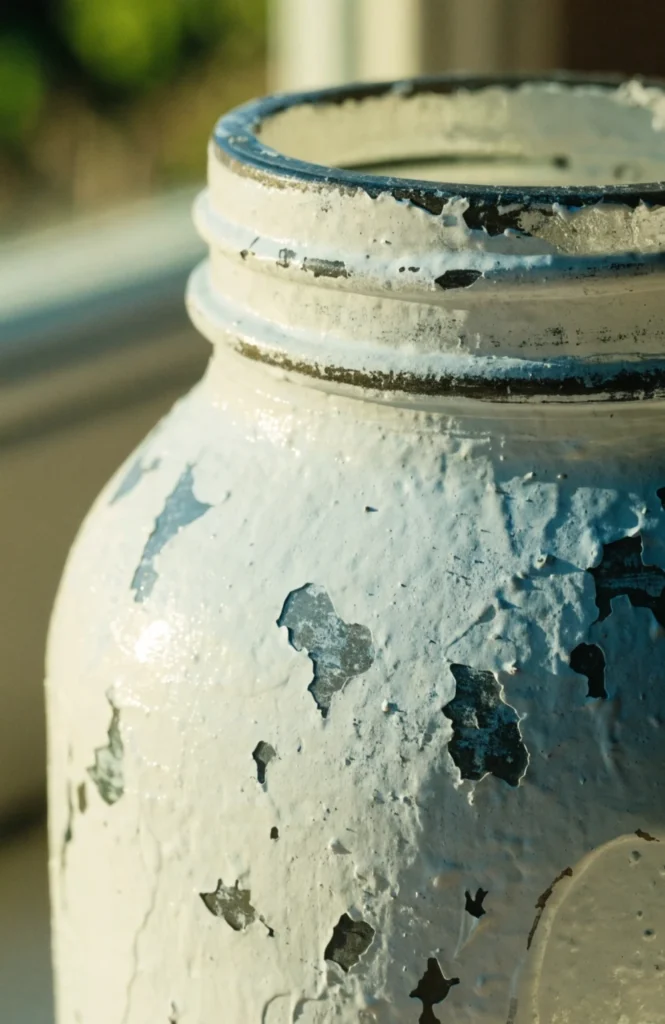
A small bottle of white acrylic paint diluted with water runs $5 to $10 and covers a dozen or more jars in a thin wash.
It works because a translucent whitewash lets some glass show through, giving the jar an authentically aged look rather than a solid, opaque coat of paint.
15. Add Chalk Paint for a Matte Finish
A solid coat of chalk paint turned a plain jar into something that looked more like ceramic pottery than repurposed glass.
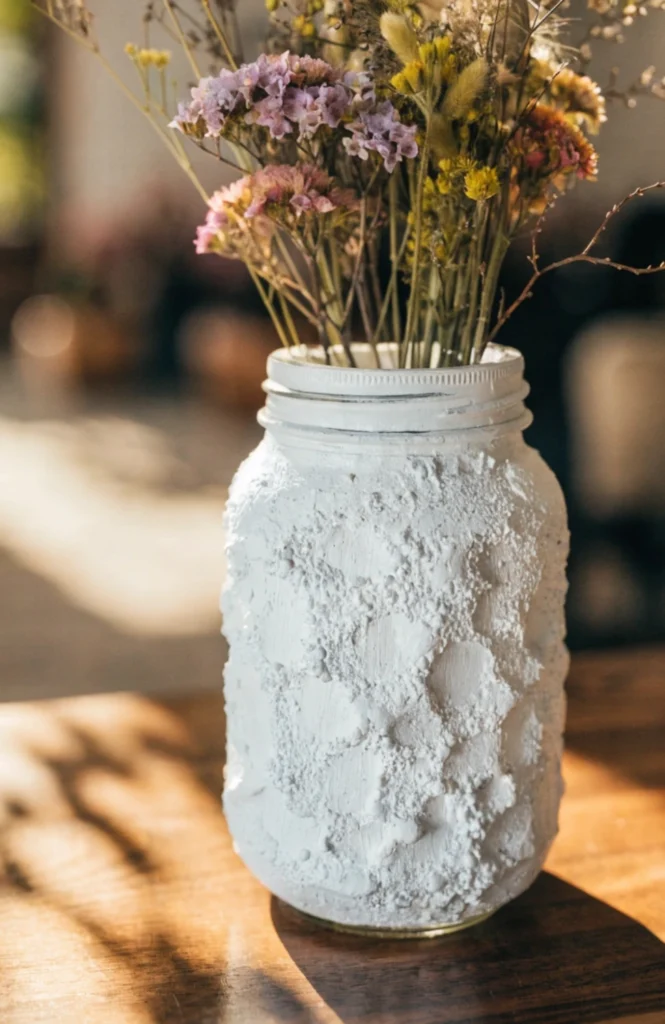
A small container of chalk paint runs $8 to $15 and covers several jars, drying to a flat, matte finish without needing a sealer.
It works because the matte, opaque finish disguises the jar’s original glass form entirely, letting it pass for a more expensive ceramic vessel.
16. Frost the Glass with Etching Spray
A light coat of etching spray gave the jars a soft, frosted look that diffused the candlelight beautifully once the sun went down.
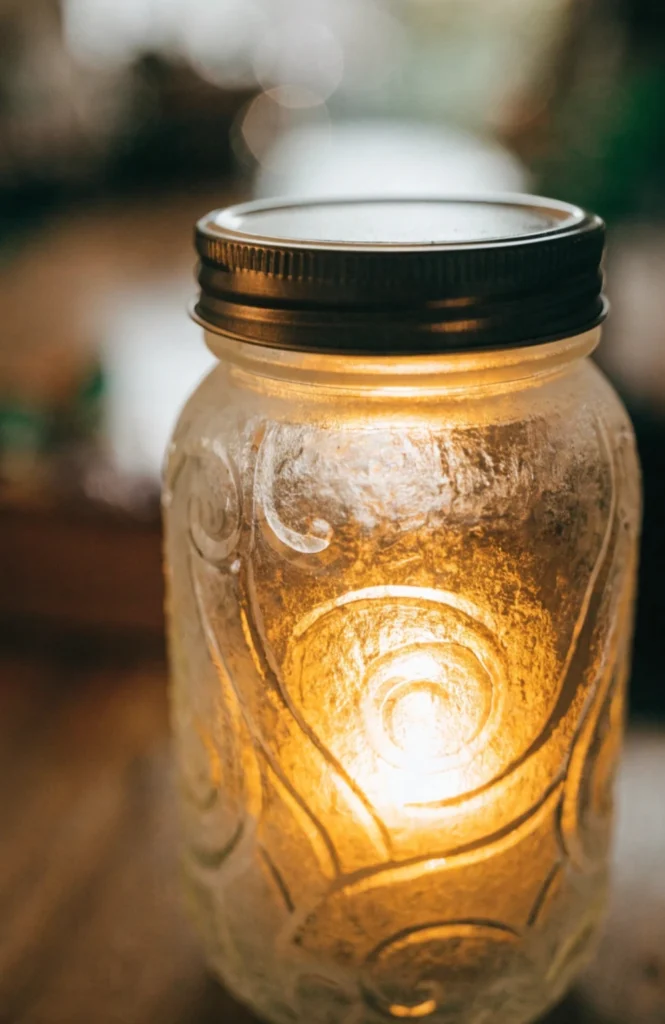
A can of glass etching or frosting spray runs $10 to $18 and covers several jars with light, even coats.
It works because frosted glass diffuses candlelight into a soft glow rather than a sharp point of light, adding to the overall ambiance after dark.
17. Dip-Dye the Bottom Half in Color
Dipping just the bottom third of each jar in a soft blush paint added color without covering the whole jar in an opaque coat.
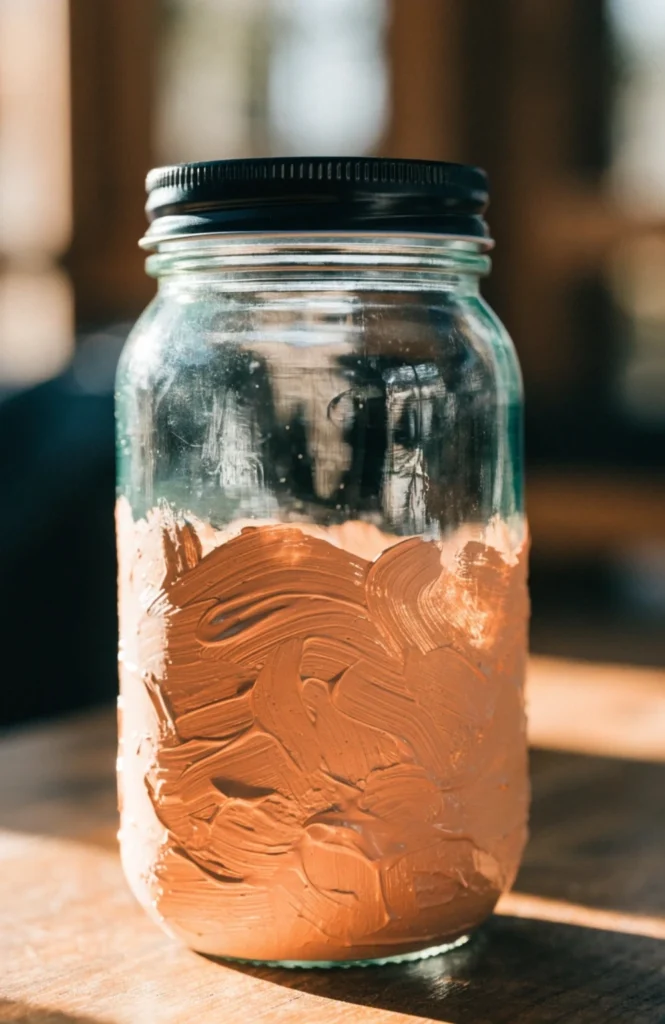
A small container of glass paint runs $6 to $12, and dipping rather than brushing gives a cleaner, more even color line.
It works because it adds a pop of color while keeping most of the jar’s clear glass visible, striking a balance between decorated and natural.
Grouping and Table Arrangements
18. Line a Row Down a Long Table Runner
A single row of jars evenly spaced down a burlap runner gave the whole table a clean, cohesive line of color and light.
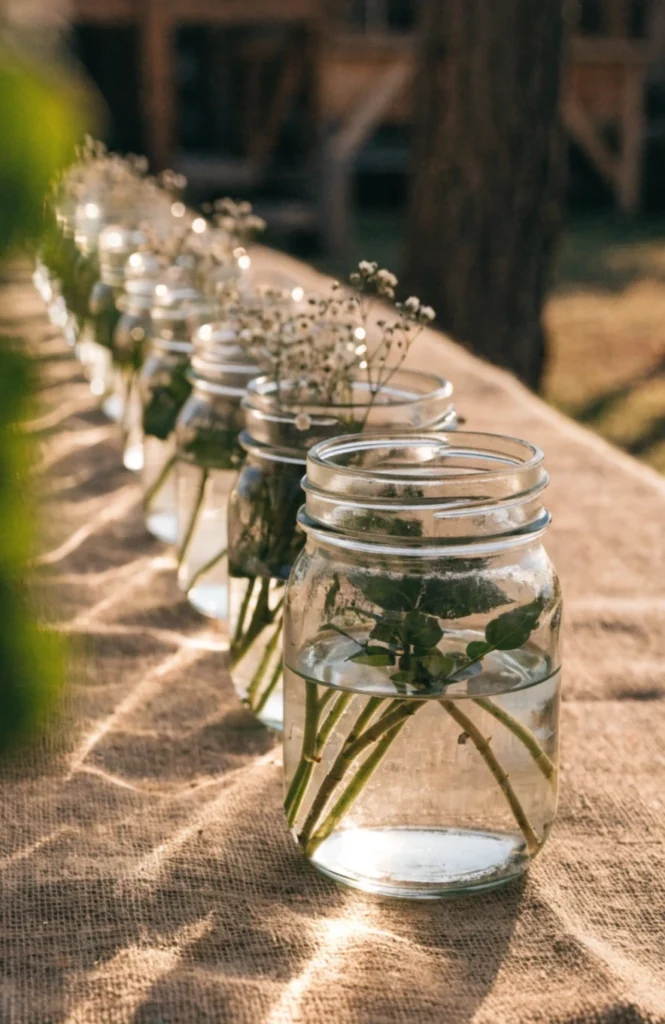
This uses jars you likely already have decorated, and a burlap table runner to place them on runs $10 to $20.
It works especially well on long banquet-style tables, where a single centered cluster would leave the rest of the table looking bare.
19. Cluster in a Wood Crate Centerpiece
Grouping five jars inside an old wood crate gave the centerpiece a defined boundary and made it easy to move as one piece.
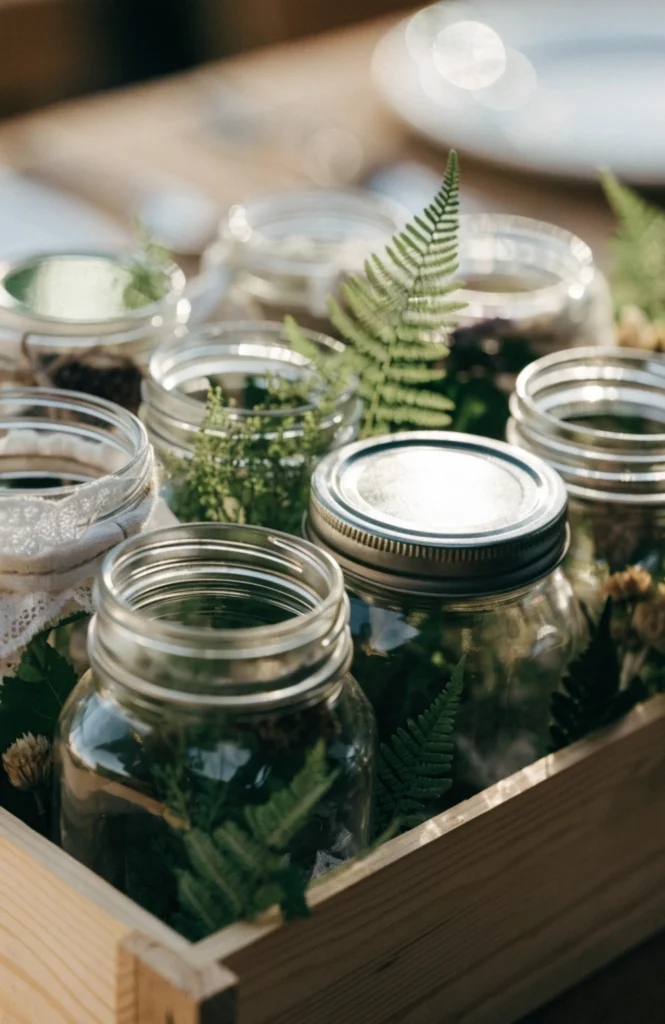
A small wood crate runs $12 to $25 and holds four to six jars comfortably depending on size.
It works because the crate visually contains the whole grouping, the same way a tray unifies a collection of smaller objects into one cohesive display.
20. Hang a Mixed Height Chandelier Style Display
Hanging jars at three different heights from a wood beam turned an ordinary ceiling into the most photographed spot at the whole event.
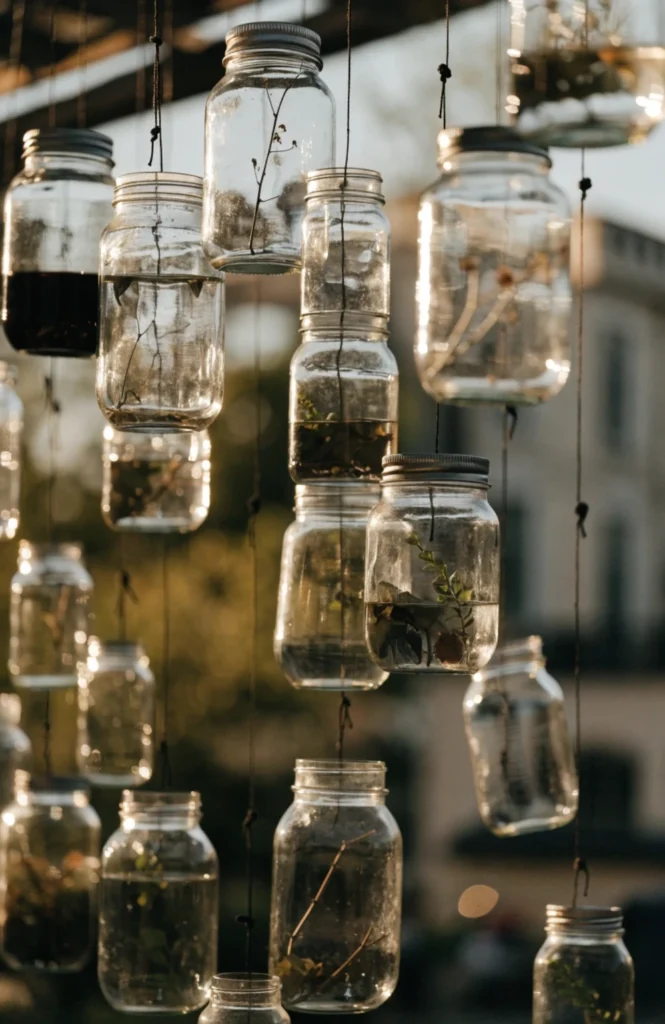
Wire, hooks, and a wood beam or frame to hang jars from run $30 to $60 for a full chandelier-style display of five to seven jars.
It works because it moves the display off the table entirely, adding a dramatic overhead element that most tablescapes don’t include.
21. Use as Individual Place Setting Markers
A small jar with one flower stem at each place setting gave every guest their own miniature centerpiece instead of one shared display down the middle.
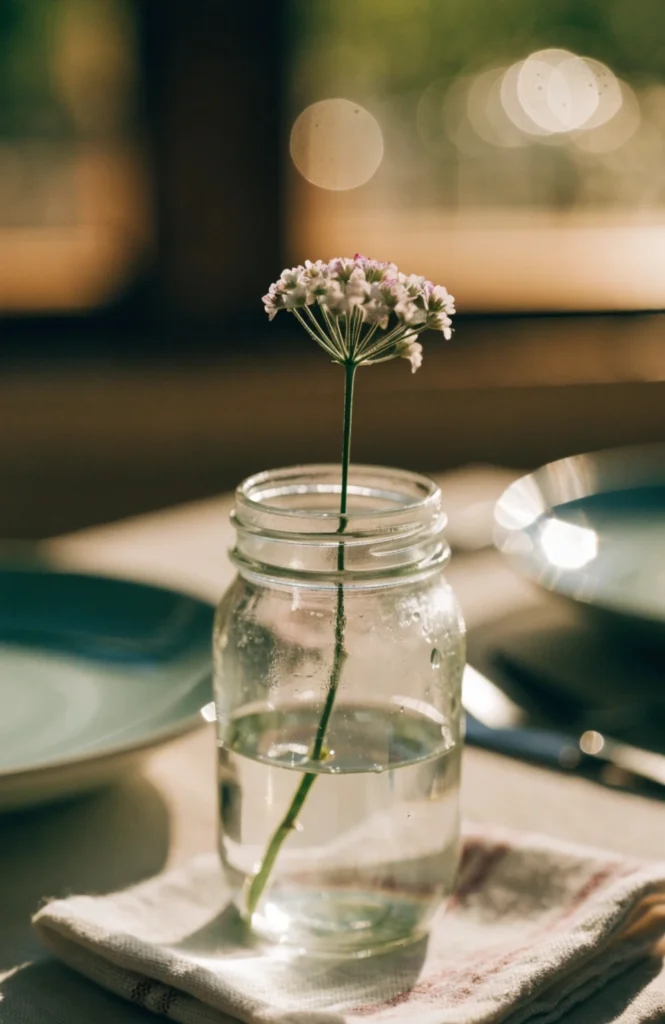
Small 4-ounce jars run $1 to $3 each, making individual place settings for a large group surprisingly affordable.
It works because it gives every guest a personal touch at their own seat, rather than relying on one shared centerpiece down the middle of a long table.
Conclusion
If you’re starting from a stack of saved jars, clean labels and a twine wrap cover the basic prep, then add wildflowers or a flameless candle for the simplest complete look. Vary the jar sizes and grouping style once you’re comfortable with the basics, a row down a runner for a long table, a crate cluster for a shorter one, and save the hanging chandelier display for when you want a real showstopper. The best mason jar centerpieces don’t try to hide what they are, they lean into the simple, slightly imperfect charm that makes rustic decor feel warm instead of overdone.
FAQ
How do I get labels off mason jars cleanly?
Soaking in warm soapy water for about 20 minutes, then rubbing any remaining sticky residue with a bit of cooking oil, removes most labels without special products.
Do I need to buy new mason jars for a centerpiece?
No, jars from pantry items like pasta sauce or pickles work just as well, and saving them over a few weeks is usually enough to gather a full set for free.
How do I keep fresh flowers looking good in mason jars for an event?
Fill jars with fresh water and add flower food if using cut flowers, and assembling them within a few hours of the event keeps blooms looking their freshest.