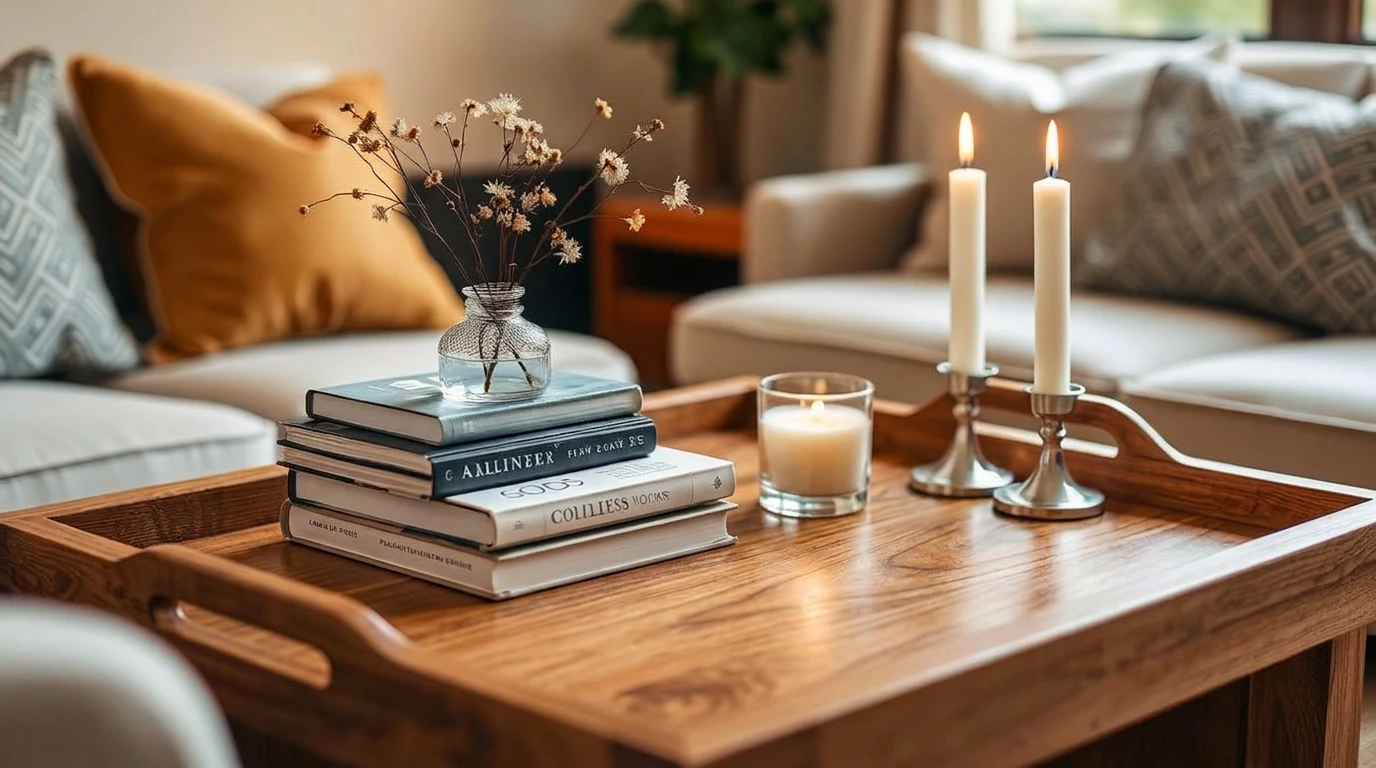
My coffee table tray sat there for months with just a candle and a coaster on it, and it never once looked styled, just tidy. What changed things was realizing a tray isn’t a place to corral leftover objects, it’s its own small vignette that needs the same layering, height variation, and restraint as any shelf or mantel display, just scaled down to fit a much smaller surface.
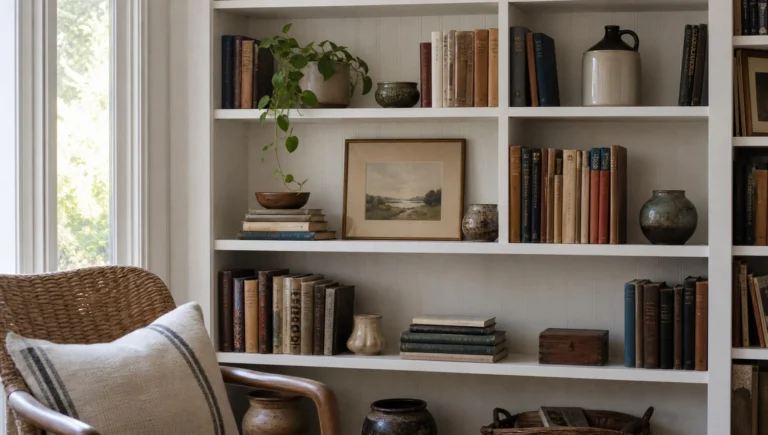
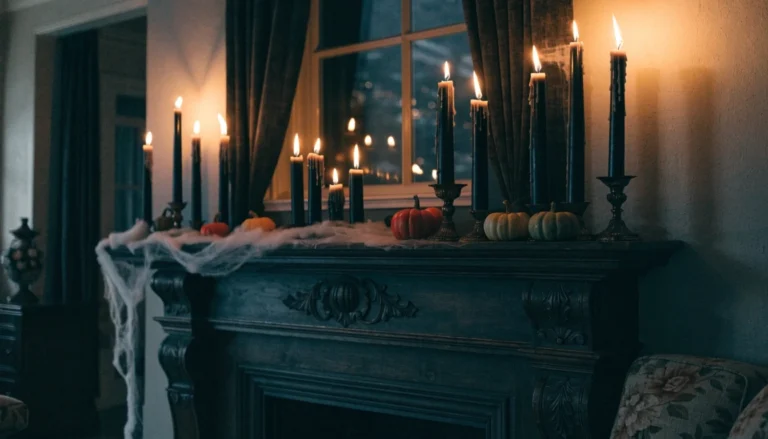
The ideas below are grouped by what they build, foundational styling principles first, then tray material choices, books and height, candles and lighting, natural accents, and the seasonal touches that keep the display feeling current. The same layering approach used in these bookshelf styling ideas applies directly to a coffee table tray too, vary height, group in odd numbers, and leave enough negative space that the tray doesn’t read as cluttered.
Before You Start
- Pull everything you’re considering onto the table first, then edit down, most tray displays improve by removing an item rather than adding one.
- Choose a tray sized to about two-thirds the width of the coffee table, large enough to anchor a display without overwhelming the whole surface.
- Keep at least one functional item nearby, coasters or a remote caddy, so the styled tray doesn’t compete with how the table actually gets used daily.
- Step back and view the tray from a normal seated position periodically while arranging, since that’s the actual angle it will be seen from most often.
Foundational Styling Principles
1. Work in Odd-Numbered Groupings
Switching from two candles to three changed the whole tray from tidy but flat to genuinely styled.
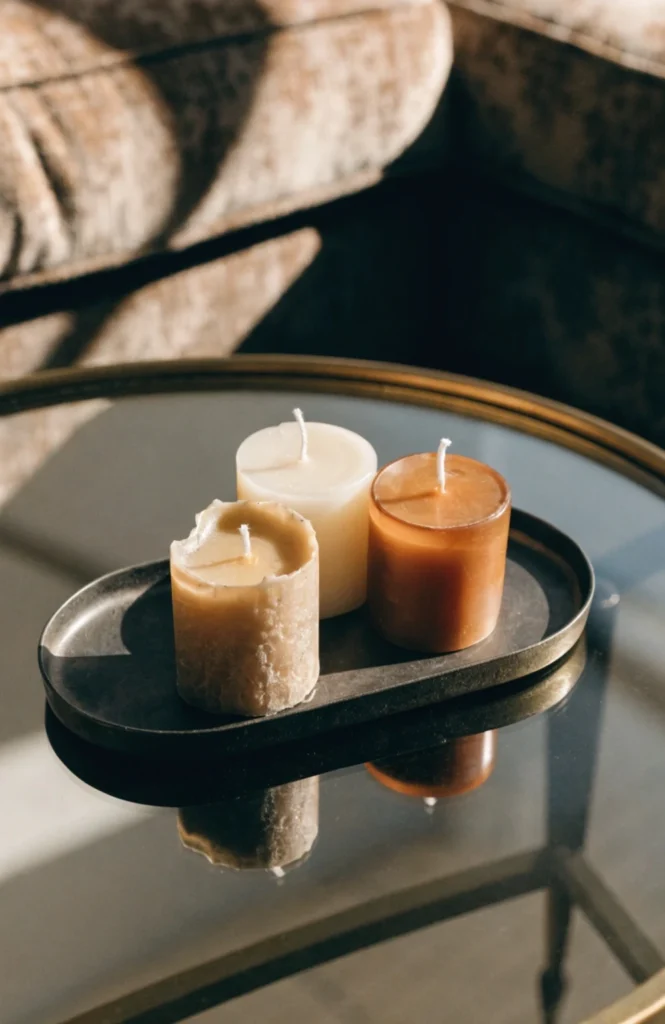
This costs nothing beyond what’s already sitting on the tray, since it’s purely a matter of how the objects are grouped rather than anything new to buy. Counting out items in threes or fives instead of pairs before placing them is the whole technique, and it takes just a minute to rearrange. This works whether you’re grouping candles, small vases, or decorative objects, and it’s one of the fastest fixes available if a tray already has the right pieces but still feels off.
It works because odd numbers create a natural visual asymmetry that the eye finds more interesting than an even, matched pair, a principle used throughout interior styling well beyond just coffee table trays. A pair of anything tends to read as a matched set, functional but static, while three or five of the same item creates a subtle rhythm as the eye scans across the tray. This is especially useful on a smaller surface like a tray, where every object carries more visual weight than it would spread across a larger table.
2. Vary Heights Across the Tray
Once I started stacking a book under one candle, the whole tray had a rhythm it was missing before.
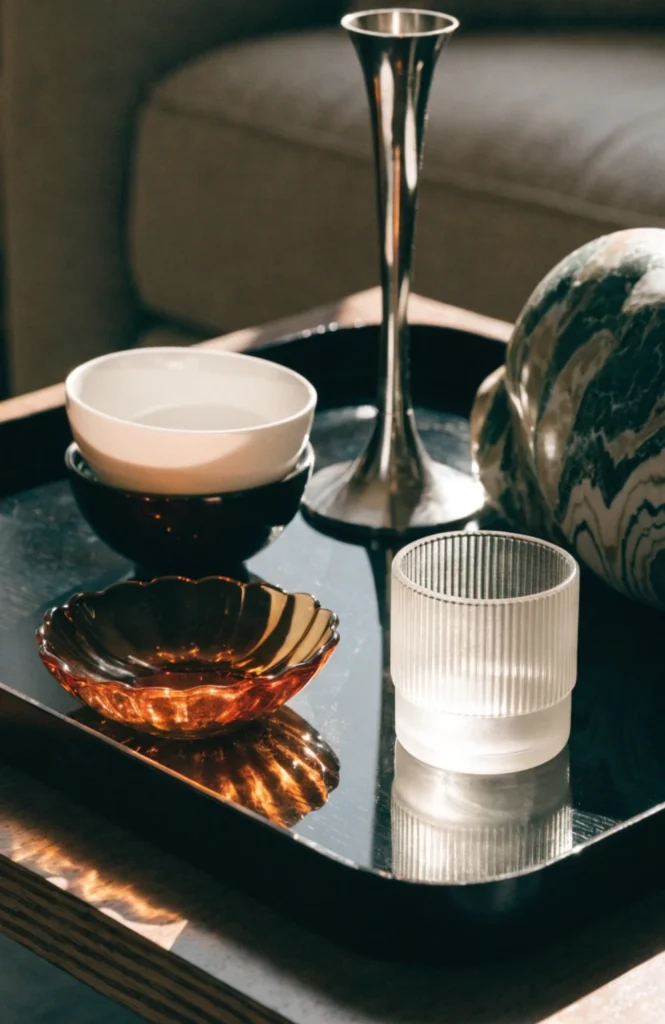
This costs nothing if you’re using books or objects you already own, though a small decorative riser built specifically for this purpose runs $10 to $20. Tucking a riser under just one or two elements, rather than every single item, keeps the height variation feeling natural rather than staged. The goal is a gentle stair-step across the tray, tall on one side, low on the other, not a dramatic peak dead center.
It works because varied height creates a visual path the eye follows across the tray instead of a flat row of same-sized objects that reads all at once and holds no lasting interest. A completely flat tray, even with nice objects on it, tends to look more like a catch-all than a styled vignette. This is especially important on a tray specifically, since its small footprint means flatness reads more obviously than it would on a larger surface like a shelf or mantel.
3. Anchor with One Larger Object
Adding one larger vase gave the smaller candles and objects around it something to visually support instead of all competing equally for attention.
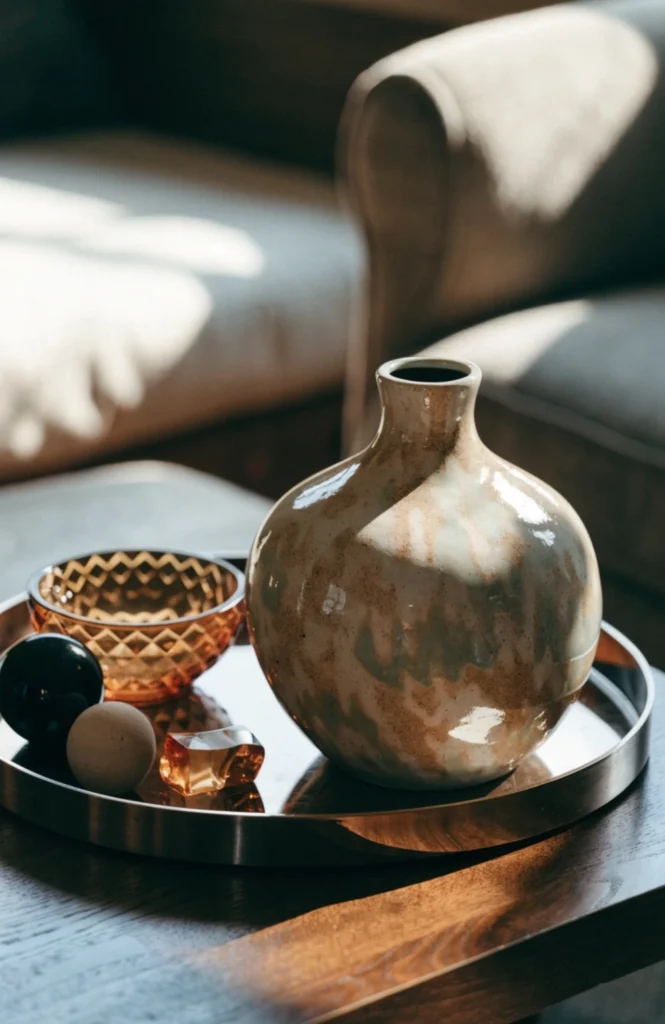
A larger anchor piece, a substantial vase, a sculptural object, or a bigger candle, runs $15 to $40 depending on what you choose and where you source it. Position the anchor slightly off-center rather than dead middle, since a perfectly centered focal point can feel rigid on a tray this size. Everything smaller should lead the eye toward this piece, arranged in a loose curve or cluster rather than scattered evenly around it.
It works because a single larger piece gives the eye a clear starting point before it moves on to the smaller supporting details, the same principle used in mantel and shelf styling more broadly. Without a clear anchor, a tray with several same-sized objects can look like a random assortment rather than a considered display. One dominant piece resolves that instantly, even when every other item on the tray stays exactly the same.
4. Leave Negative Space Around the Display
Pulling back two objects I’d originally planned to include made the remaining pieces stand out more, not less.
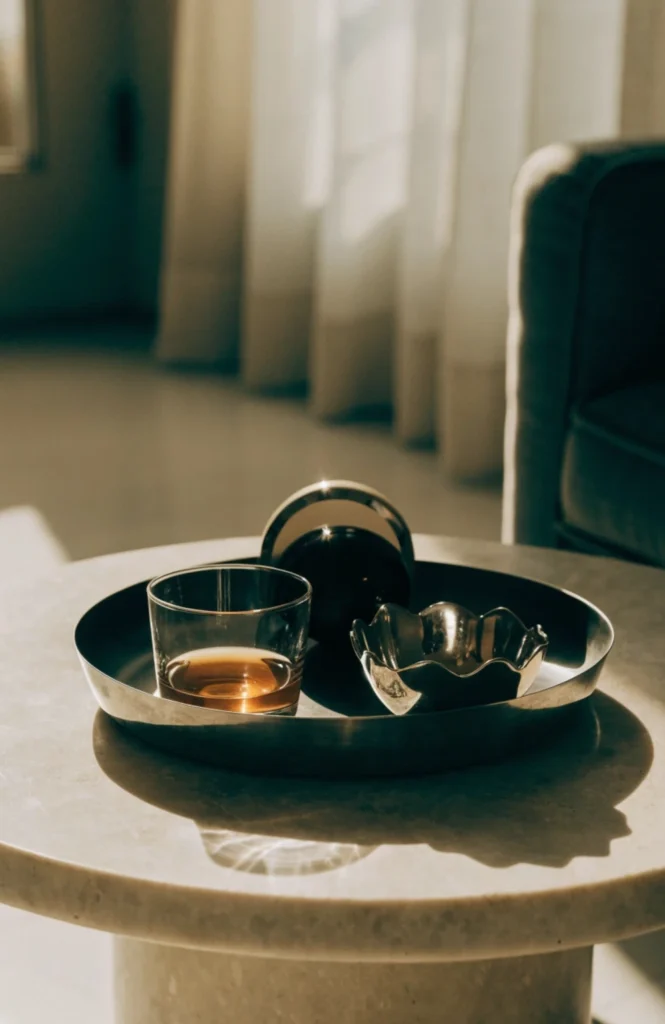
This is purely an editing decision and costs nothing, though it often means setting a few purchased pieces aside for a future rotation rather than using everything at once. Aim to fill roughly sixty to seventy percent of the tray’s visible surface, leaving the rest as breathing room around the grouped objects. Stepping back and asking whether the tray’s own material, wood grain, woven texture, glass, is still visible is a good habit to build into the process.
It works because empty space around a grouping gives the eye somewhere to rest, which is exactly what separates a curated tray from a cluttered one. A tray filled edge to edge starts to look like a catch-all surface rather than an intentional display, no matter how nice the individual objects on it are. This restraint is often the single biggest difference between a tray that looks professionally styled and one that just looks busy.
Tray Material and Shape Choices
5. Choose a Round Tray to Soften a Rectangular Table
Swapping a rectangular tray for a round one broke up all the hard right angles of the table and the sofa around it.
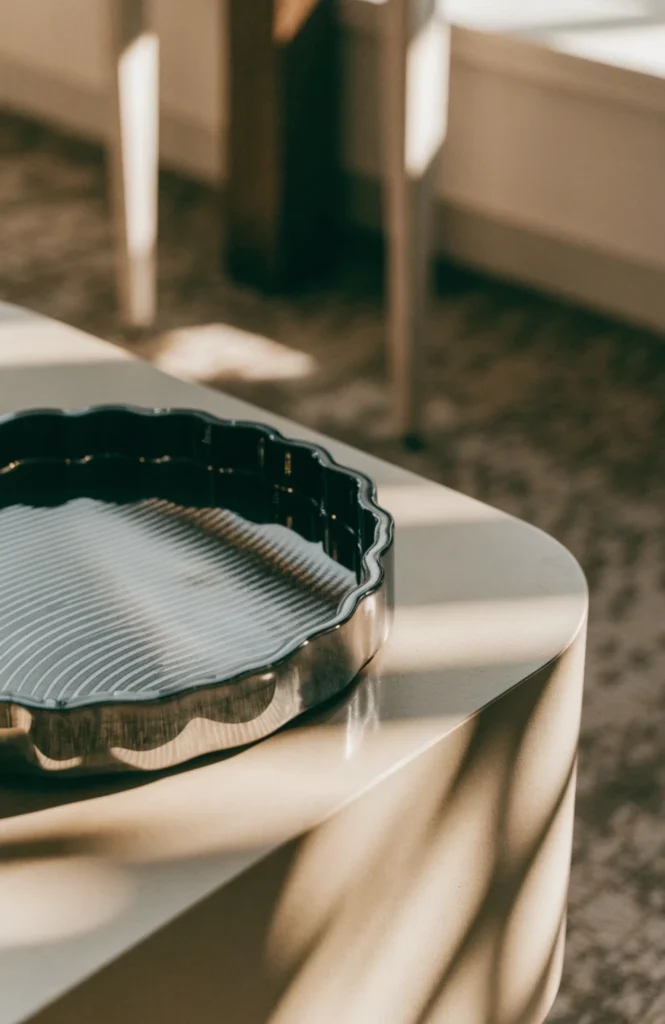
A round decorative tray runs $20 to $45 depending on material and size, and choosing one about 16 to 20 inches in diameter suits most standard coffee tables. A round shape reads as a deliberate contrast against a rectangular table, which is worth considering if the room already has a lot of straight lines from furniture and shelving nearby. It also tends to leave more usable edge space on either side for setting down a drink or a book.
It works because a round tray softens the visual geometry of a room where most furniture, tables, shelves, sofas, is already built on straight lines and right angles. That contrast in shape adds visual interest without requiring any change to the furniture itself, just a swap of the tray sitting on top of it. It’s a small change that ends up affecting how the whole coffee table area reads from across the room.
6. Use a Wood Tray for Warmth
A simple wood tray added warmth to a living room that had started to feel a little cold with all its glass and metal furniture.
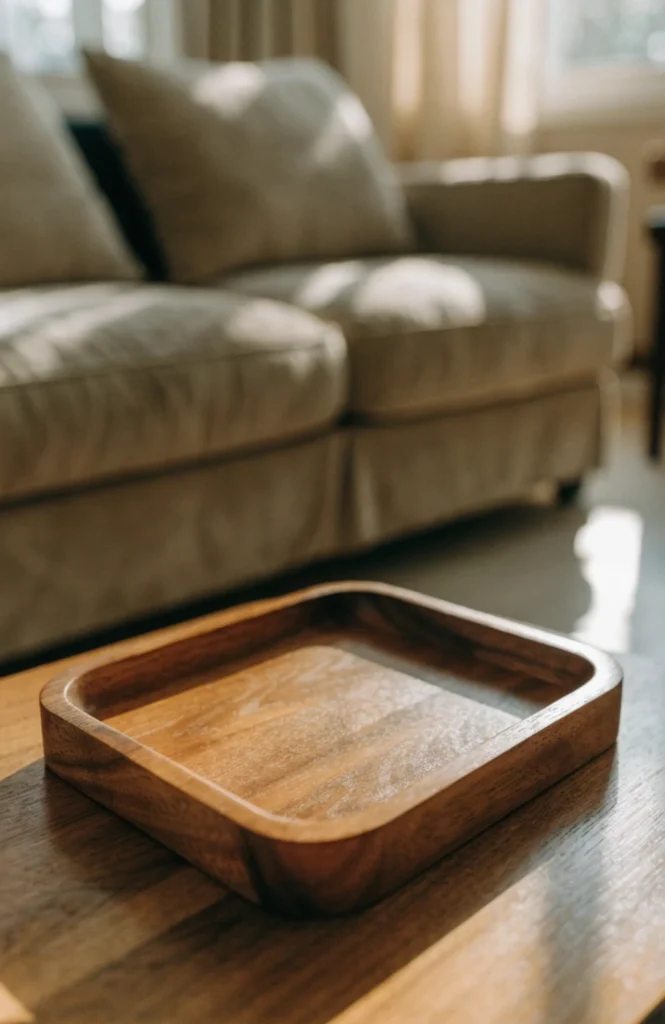
A solid wood tray runs $25 to $60 depending on wood type and size, with acacia and walnut being two of the more commonly available warm-toned options. Choosing a tray with visible grain, rather than a painted or heavily finished one, adds the most texture and warmth to the display. It also tends to be one of the more versatile tray materials, working equally well in modern, traditional, or farmhouse-leaning rooms.
It works because wood grain adds warmth that glass or metal trays don’t, which matters most in rooms already dominated by cooler materials like a glass coffee table or metal furniture legs. The natural variation in wood grain from piece to piece also gives the tray a bit of individual character that a mass-produced metal or acrylic tray usually lacks.
7. Add a Mirrored Tray for Extra Light
A mirrored tray reflected the candlelight around it in a way that made the whole coffee table area feel brighter in the evening.
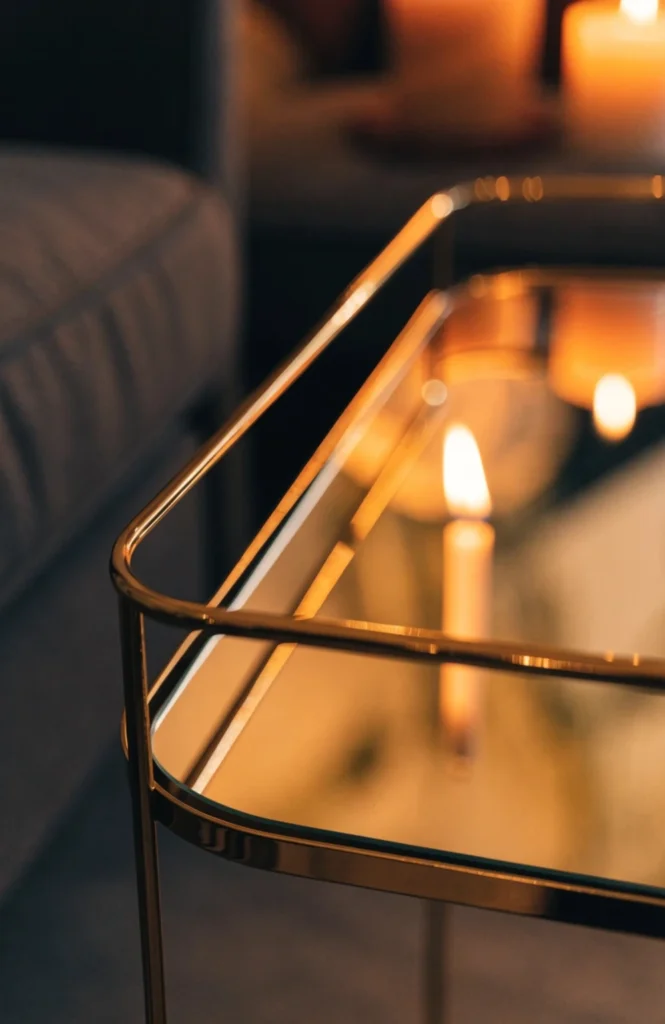
A mirrored tray runs $25 to $55 depending on frame material and size, and a simple metal-edged version tends to look less formal than an ornate one if you’re going for a more casual living room feel. It works especially well in a room without much natural light, since it bounces whatever ambient or lamp light is available back into the space. Wiping fingerprints off the mirrored surface regularly keeps it looking as reflective as intended.
It works because the reflective surface doubles the visual impact of anything placed on it, candles, small objects, even the light from a nearby window, making the whole display feel brighter and more expansive than a matte tray would in the same spot. It’s one of the few tray materials that actually changes how much light a room appears to have, not just how the tray itself looks.
8. Pick a Woven Rattan Tray for Texture
A woven rattan tray added a natural texture that none of my smoother, more polished objects could provide on their own.
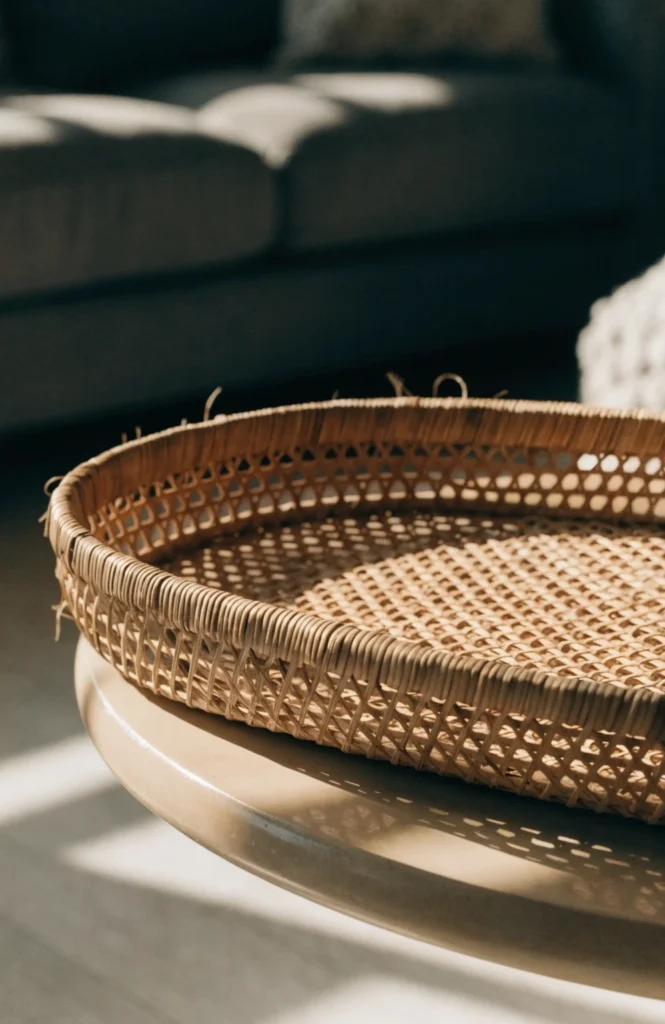
A woven rattan or seagrass tray runs $20 to $45 depending on size and weave density, and it pairs especially well in rooms leaning coastal, boho, or organic modern in style. The woven texture also does some visual work on its own, meaning the tray can carry a simpler, less filled arrangement without looking sparse. It’s lightweight enough to move easily if you want to shift the display for cleaning or rearranging furniture.
It works because the woven texture contrasts nicely against smoother objects like glass candle holders or ceramic vases, adding a layer of natural texture to the display before a single decorative object is even placed on it. That built-in texture is part of why a rattan tray often needs less additional styling to look finished compared to a plain metal or acrylic one.
Books and Height Elements
9. Stack Coffee Table Books as a Base Riser
Stacking two large books under a candle turned it into the tallest point on the tray without needing to buy a single new object.
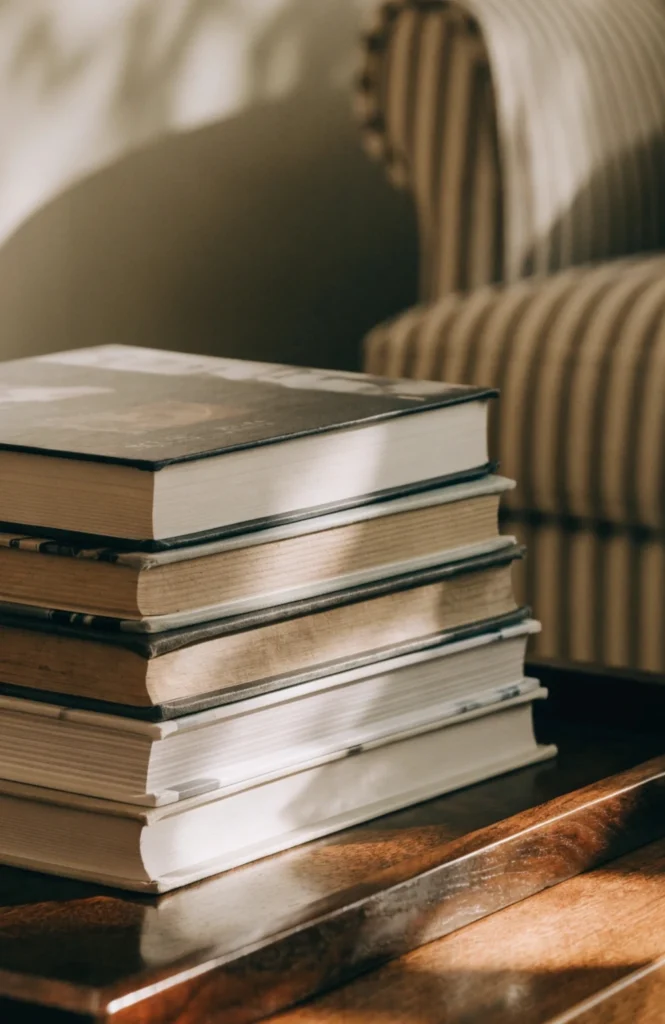
This costs nothing if you’re using books already on hand, making it one of the cheapest height-adding tricks available for a tray display. Large-format coffee table books, ideally with plain or muted spines, work best as a base since they add height without introducing a busy or distracting cover design. Two to three books stacked together is usually enough height for a tray, more than that can start to overwhelm the smaller surface.
It works because books add both height and color depending on their cover tones, doing double duty as both a functional riser and a visual layer in the display. It’s also an easy technique to reverse or adjust, since swapping which books are used or how high they’re stacked takes seconds compared to rearranging other elements on the tray.
10. Choose Books by Cover Color
Swapping in a few books with cream and tan spines instead of my mismatched collection made the stack look curated rather than random.
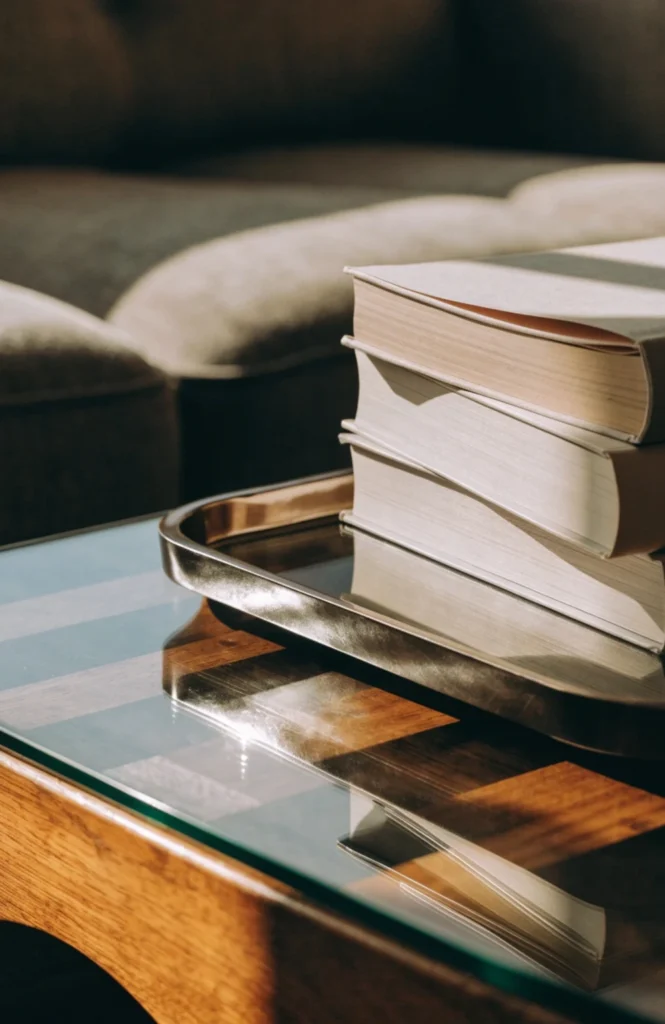
Coffee table books in neutral tones run $15 to $40 each new, though secondhand bookstores and thrift shops often carry large-format books for $3 to $10, making this an easy budget option. Grouping by color rather than subject matter is the key technique, since a stack of neutral-toned books reads as intentional even if the topics inside have nothing in common. Removing dust jackets in loud colors or patterns before stacking also helps keep the overall look cohesive.
It works because color-grouped spines create a cohesive visual block, the same principle behind why color-grouped shelves consistently photograph better than mixed ones. A stack of books in wildly different colors can pull focus away from the rest of the tray’s styling, while a neutral stack blends into the display as a supporting element instead.
11. Add a Small Object on Top of the Stack
Topping the book stack with a small carved object gave that corner of the tray a clear finishing point instead of just ending at a flat cover.
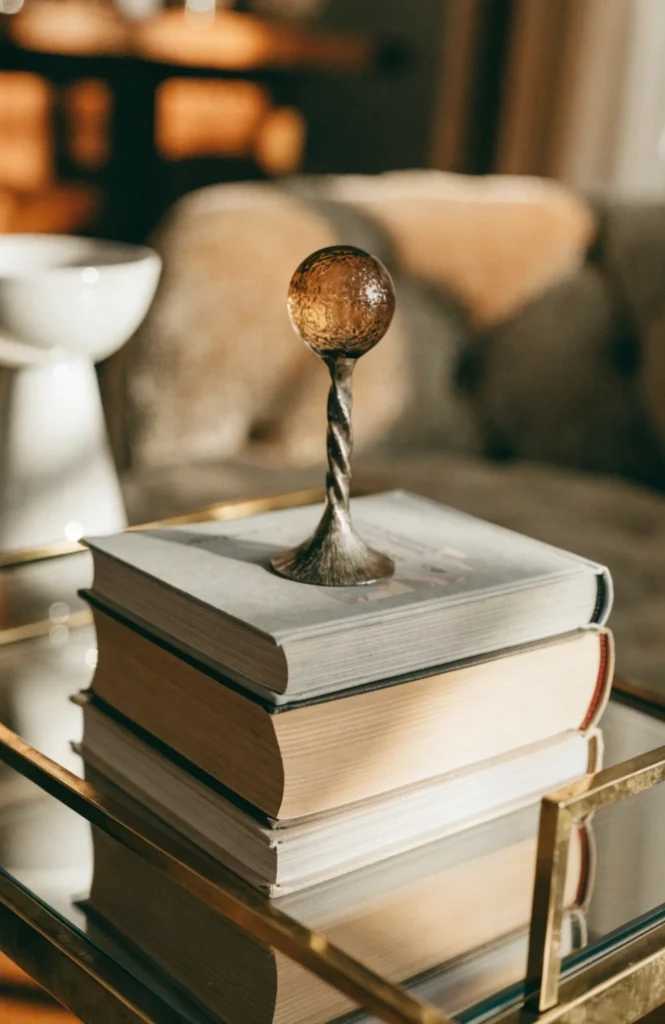
A small decorative object, a paperweight, a small sculpture, a piece of stone or crystal, runs $10 to $30 depending on material and size. Choosing something with a flat or stable base keeps it secure on top of the books rather than at risk of sliding off. This works especially well as a way to introduce one more texture or material, stone, metal, ceramic, into a display that might otherwise be mostly fabric or wood.
It works because it gives the tallest point of the tray a clear visual endpoint, rather than letting the stack of books simply trail off at the top. This small addition often makes the difference between a book stack that looks like an afterthought and one that reads as a deliberate part of the overall composition.
12. Use a Riser or Pedestal for Extra Height
A small wood pedestal gave one object real elevation without needing to build a whole stack of books to achieve the same effect.
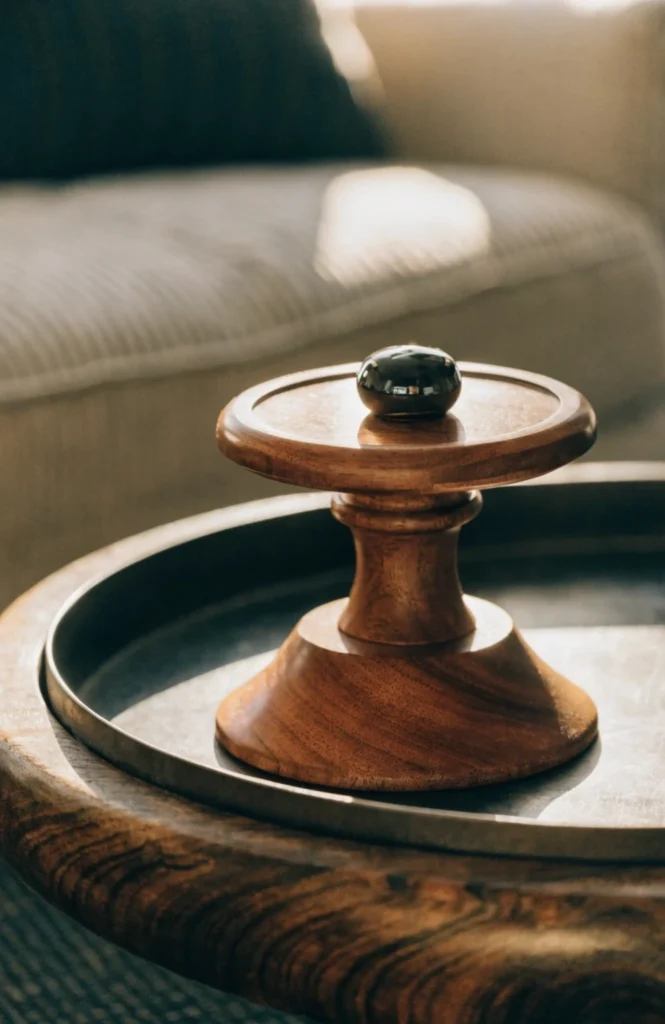
A small decorative pedestal or riser runs $12 to $30 depending on material, and it works well for elevating a single candle, a small plant, or a decorative object above the rest of the tray. Unlike a book stack, a dedicated riser has a smaller footprint, which can be useful on a tray that’s already fairly full with other items. It’s also reusable across different seasonal or thematic tray refreshes, since it’s a neutral base rather than a themed decorative piece.
It works because a pedestal shape lifts an object clearly above the rest of the tray’s surface, giving the display a defined high point without the bulk of a full book stack. This is especially useful on smaller trays where a stack of books might take up too much of the limited surface area relative to the height it adds.
Candles and Lighting
13. Add a Cluster of Taper Candles
A cluster of taper candles at slightly different heights gave the tray the same layered, evening ambiance I’d admired in styled photos.
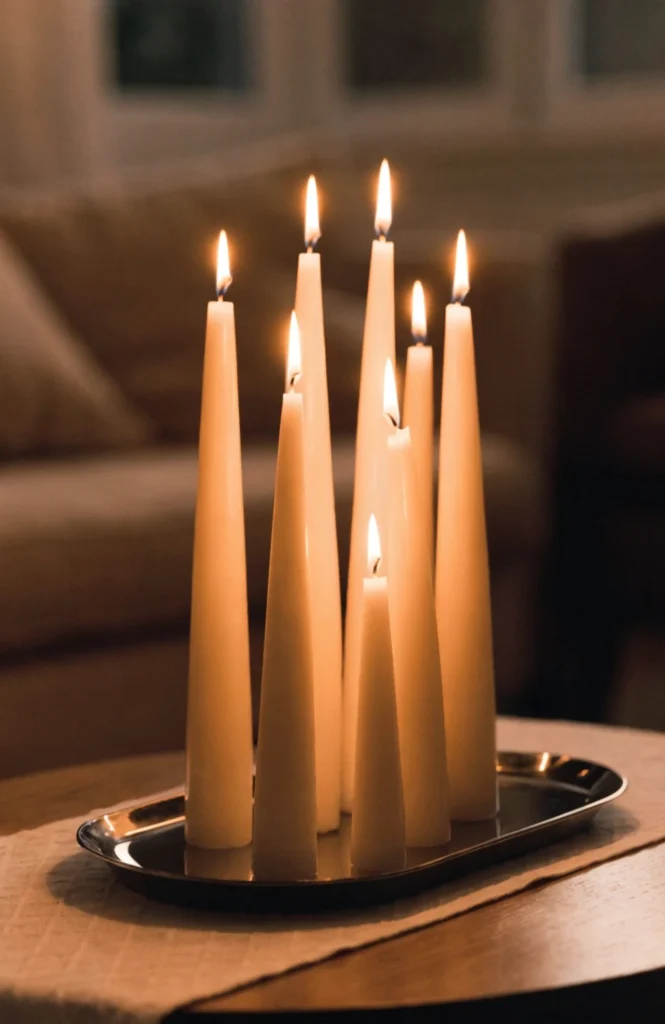
A set of taper candles runs $10 to $20, and small individual holders to keep them upright and stable cost another $15 to $30 for a set of three. Positioning them off-center, near the anchor object rather than dead center on the tray, keeps the arrangement from feeling too formal or evenly spaced. Always leave enough clearance from anything flammable nearby, books, dried florals, since an open flame on a smaller tray sits closer to everything else than it might on a larger surface.
It works because candlelight adds warmth and a bit of drama that daytime styling alone can’t provide, and it’s one of the few elements that actively changes the mood of the room once evening comes around. A coffee table tray with candles becomes functional in a completely different way after dark, doing more for the room’s ambiance than almost any other single styling choice on this list.
14. Use a Single Statement Pillar Candle
One large pillar candle became the tray’s anchor piece on its own, without needing any additional objects to fill out the space around it.
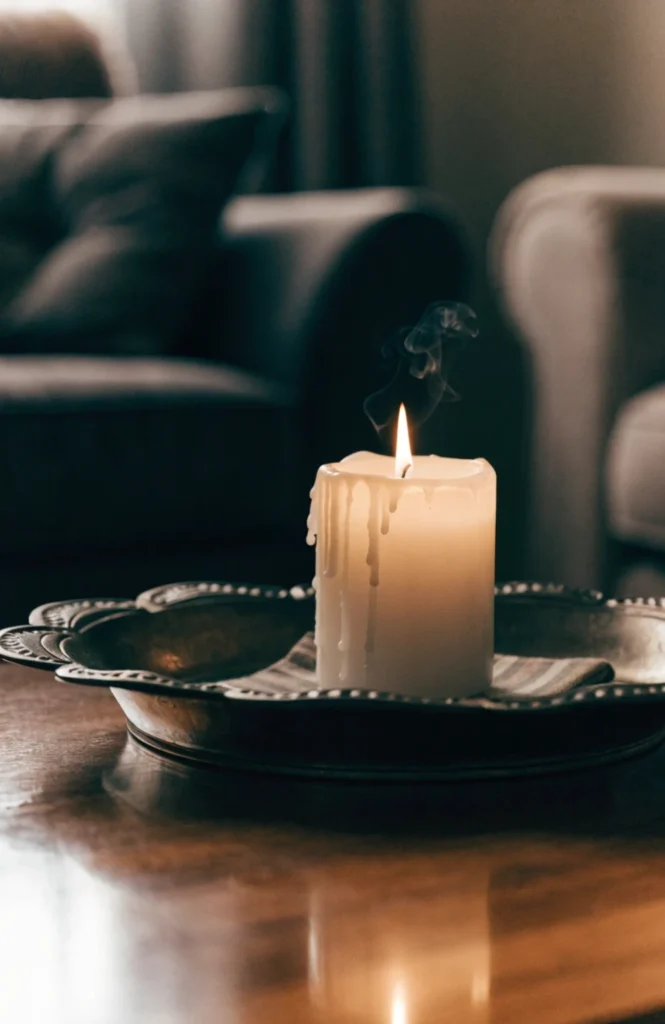
A large pillar candle runs $20 to $40 depending on size and scent, and choosing an unscented or lightly scented option avoids overwhelming a smaller living room. A single substantial candle can genuinely function as the anchor object discussed earlier in this list, meaning it may be the only large item needed on an otherwise simply styled tray. Pairing it with just one or two small supporting pieces, rather than a full cluster, keeps the whole look minimal and intentional.
It works because a single substantial candle carries enough visual weight to anchor the whole tray on its own, which is useful for anyone who prefers a simpler, less cluttered look over a fully layered display. It’s also one of the lowest-effort options on this entire list, since there’s no need to coordinate multiple objects or worry about grouping numbers.
15. Include a Small Lamp Beside the Tray
A small accent lamp placed just beside the tray, rather than on it, gave the coffee table area a warm glow without crowding the styled display itself.
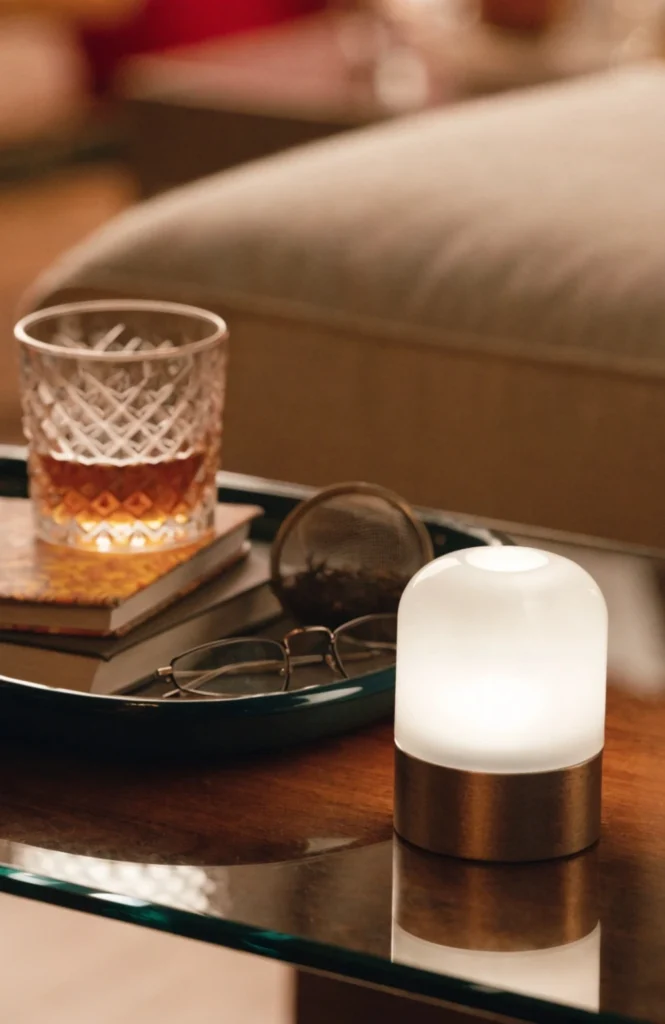
A small accent lamp runs $30 to $70 depending on base material and shade style, and placing it directly beside rather than on the tray keeps both elements visually distinct from each other. This works especially well on a larger coffee table where the tray alone doesn’t provide enough visual weight to anchor the whole surface on its own. A warm-toned bulb reinforces the cozy feel most living rooms are going for in the evening.
It works because it extends the warm, lit feeling of the tray display beyond its own small footprint, giving the whole coffee table area more visual presence without overcrowding the tray itself with additional objects. It also adds genuine practical lighting for reading or working at the coffee table, which candles alone can’t really provide.
Natural and Decorative Accents
16. Add a Small Vase with Fresh Stems
A small vase with just one or two fresh stems made the tray feel alive in a way that all the styled objects alone couldn’t quite achieve.
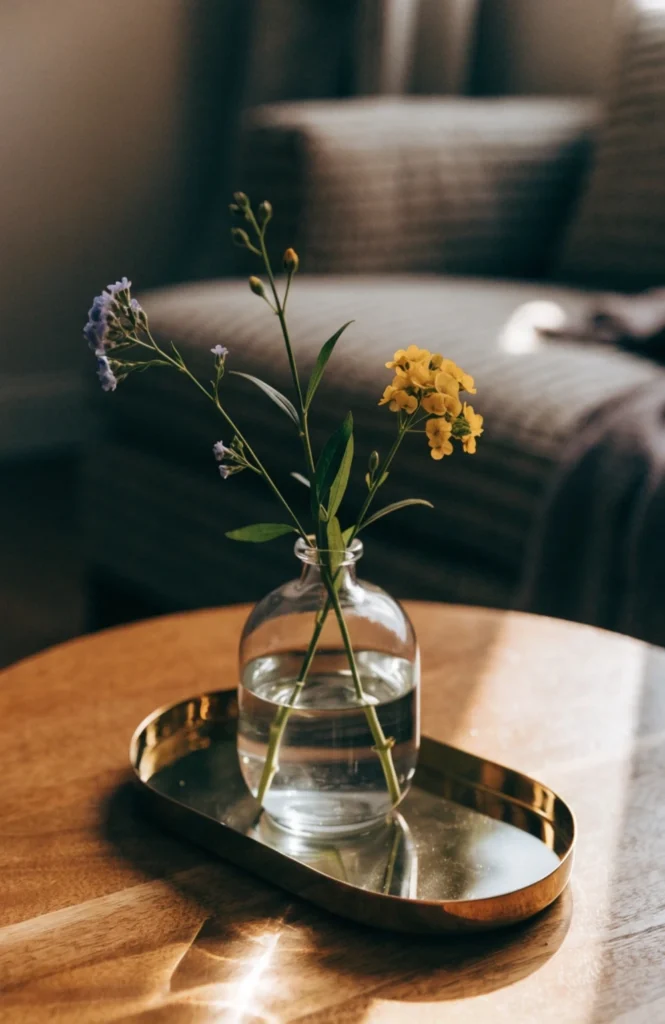
A small bud vase runs $10 to $25, and fresh stems from a grocery store or local florist cost another $5 to $15 depending on the season and variety chosen. Keeping the arrangement to just one or two stems, rather than a full bouquet, suits the tray’s smaller scale better and avoids overwhelming the rest of the display. Refreshing the water every few days keeps the stems looking their best for as long as possible.
It works because fresh greenery or blooms bring a living element into a display that’s otherwise made up entirely of static objects, adding a layer of texture and color that changes subtly over the days as the stems open or shift. It’s also one of the easiest elements to rotate seasonally, since swapping the stems takes seconds compared to restyling the whole tray.
17. Include a Decorative Bowl for Small Items
A small ceramic bowl gave loose items like remote batteries and spare change a proper spot instead of them cluttering the tray’s surface.
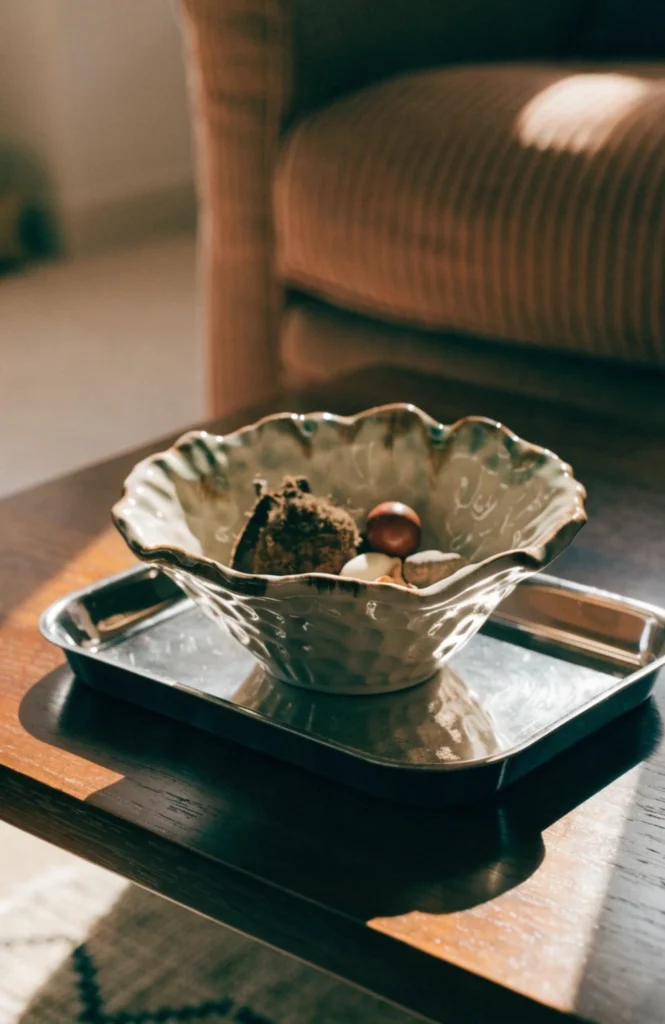
A decorative ceramic or wood bowl runs $15 to $35 depending on size and material, and it works well positioned near the tray’s edge where it’s easy to reach without disturbing the rest of the display. This is one of the more functional additions on the whole list, since it genuinely solves the problem of small loose items accumulating on an otherwise styled surface. Choosing a bowl in a neutral tone keeps it blending into the display rather than becoming its own competing focal point.
It works because it contains small daily items in one defined spot, the same containment principle that keeps any styled surface, a shelf, a vanity, a tray, from looking scattered. Without a designated bowl, loose items tend to spread across the tray over time, slowly undoing whatever careful arrangement was there to begin with.
18. Add a Piece of Sculptural Object Art
A small sculptural piece became the tray’s most-mentioned object once guests noticed it sitting among the more everyday items.
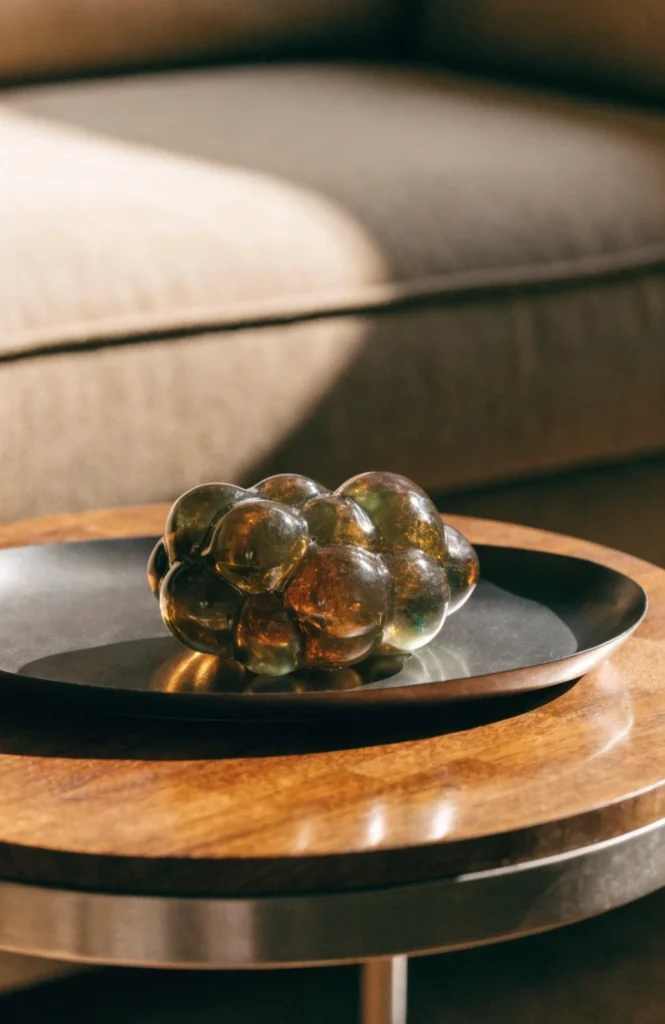
A small decorative sculpture or art object runs $20 to $60 depending on material and where it’s sourced, with pieces from artisan markets or secondhand shops often costing less than retail home decor versions. Choosing an abstract or organic shape rather than a literal figure tends to fit more styles of room without feeling out of place. Positioning it as the tray’s secondary focal point, just behind the main anchor object, gives it room to be noticed without competing for the top spot.
It works because a piece of genuine sculptural interest adds a layer of intentionality that purely functional objects, candles, bowls, books, don’t always provide on their own. It signals that the tray was curated rather than just assembled from whatever was on hand, which is often the detail that makes a display feel elevated rather than merely tidy.
19. Use a Small Plant for Greenery
A small potted succulent added greenery to the tray without any of the maintenance worries that came with the fresh-cut stems I’d tried before.
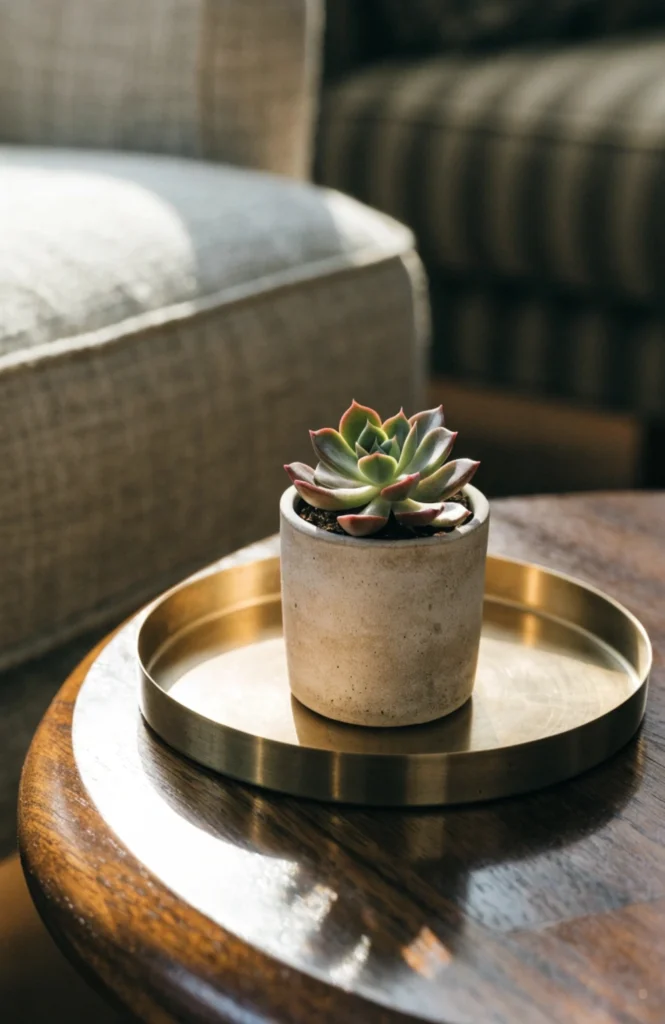
A small potted succulent or low-maintenance plant runs $10 to $25 depending on variety and pot style. Choosing a plant that tolerates the living room’s actual light conditions matters more here than almost anywhere else in the home, since a tray display near a shaded corner needs a different plant than one near a bright window. Because it’s a genuinely living object, it also needs the least restyling of anything on this list, staying part of the display indefinitely with just occasional watering.
It works because a small living plant brings a permanent green element into the display without the upkeep that fresh-cut flowers require, striking a middle ground between static decor and genuinely living greenery. It’s also one of the more forgiving additions if the tray sees regular use, since a sturdy succulent handles the occasional bump far better than a delicate glass vase would.
Seasonal and Personal Touches
20. Rotate Accents Seasonally
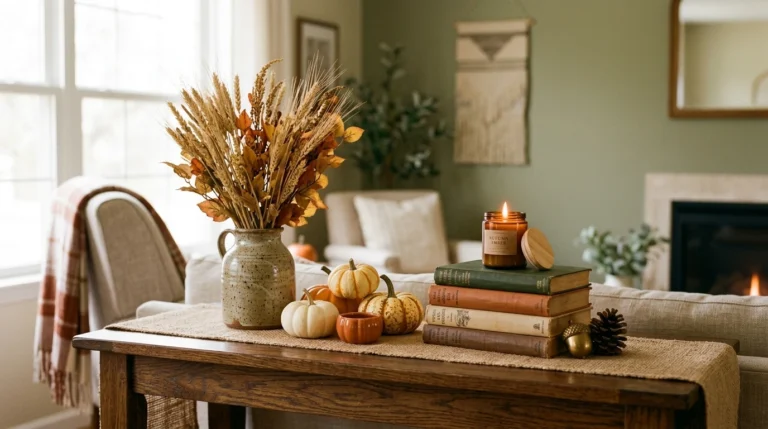
Swapping the summer greenery for a small pumpkin and pinecones each fall meant the same tray worked as a display all year without ever needing new furniture.
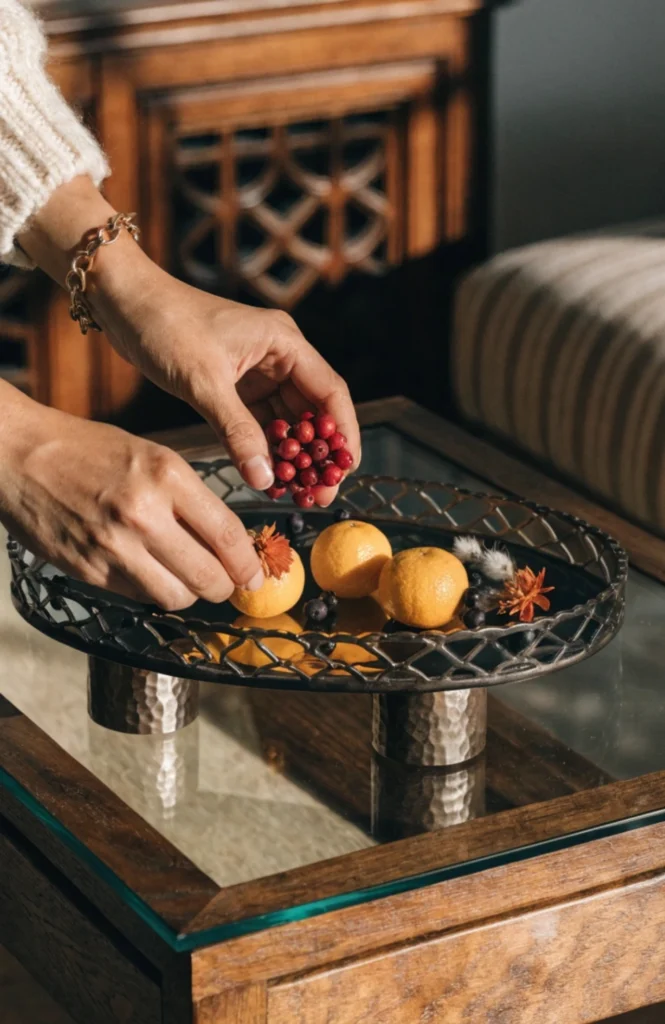
This saves money over time rather than costing extra, since keeping one quality tray and rotating a handful of seasonal accents costs far less than restyling the whole coffee table area every few months. Storing each season’s small accent pieces in a labeled bin makes the swap quick, usually under ten minutes once everything is sorted. Planning two or three seasonal sets in advance, rather than shopping fresh each time, also helps keep the overall look consistent year over year.
It works because it treats the tray as a permanent, reusable base rather than a one-time purchase, which is both more cost-effective and more sustainable than buying new decor for every season. The tray itself, especially a good wood or woven one, only gets more character over time, while the smaller accents on top can shift freely with the seasons without ever needing to replace the vessel that anchors the whole display.
21. Add a Coaster Stack for Function
A small stack of coordinating coasters tucked onto the tray meant guests always had somewhere to set a drink without disturbing the rest of the display.
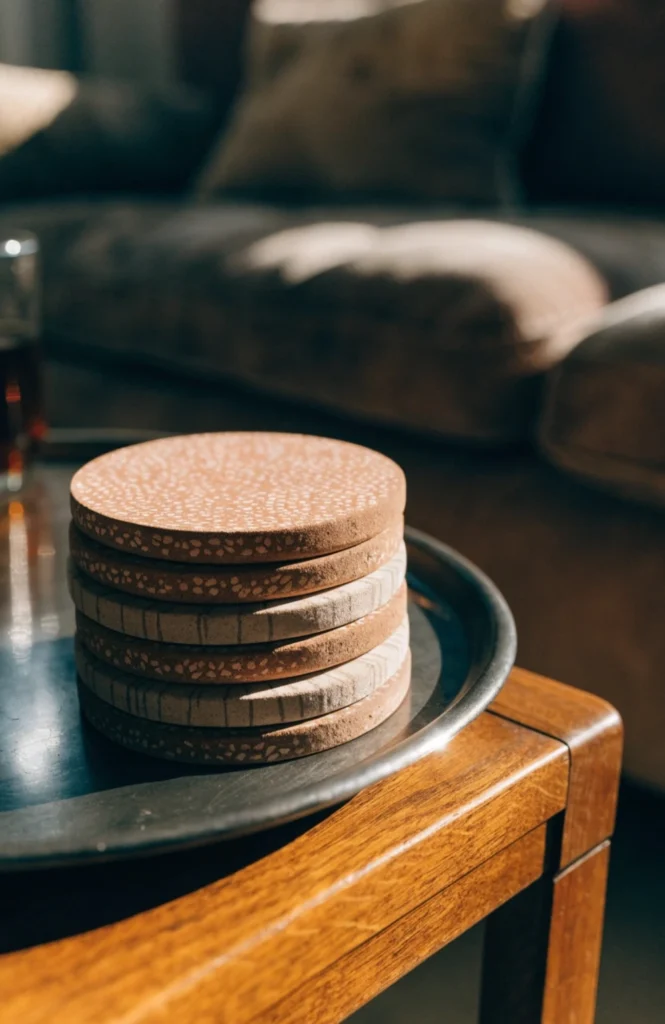
A set of four to six coasters runs $15 to $30 depending on material, with cork, marble, and wood all being common options that fit a variety of styles. Stacking them neatly in one corner of the tray, rather than spreading them loose, keeps them from disrupting the overall arrangement. Choosing a set that coordinates with the tray’s material, wood coasters on a wood tray, for example, helps them blend in as part of the display rather than standing out as a purely functional add-on.
It works because it solves the real, everyday problem of where to set a drink without requiring guests to disturb a carefully arranged tray, which matters more than it might seem in a living room that actually gets used daily. A styled tray that’s too precious to touch eventually gets pushed aside in practice, while one with a built-in, obvious function stays in place and gets used as intended.
22. Include a Small Personal Object
A small carved object from a trip years ago is the one piece guests always ask about first, more than any candle or vase on the tray.
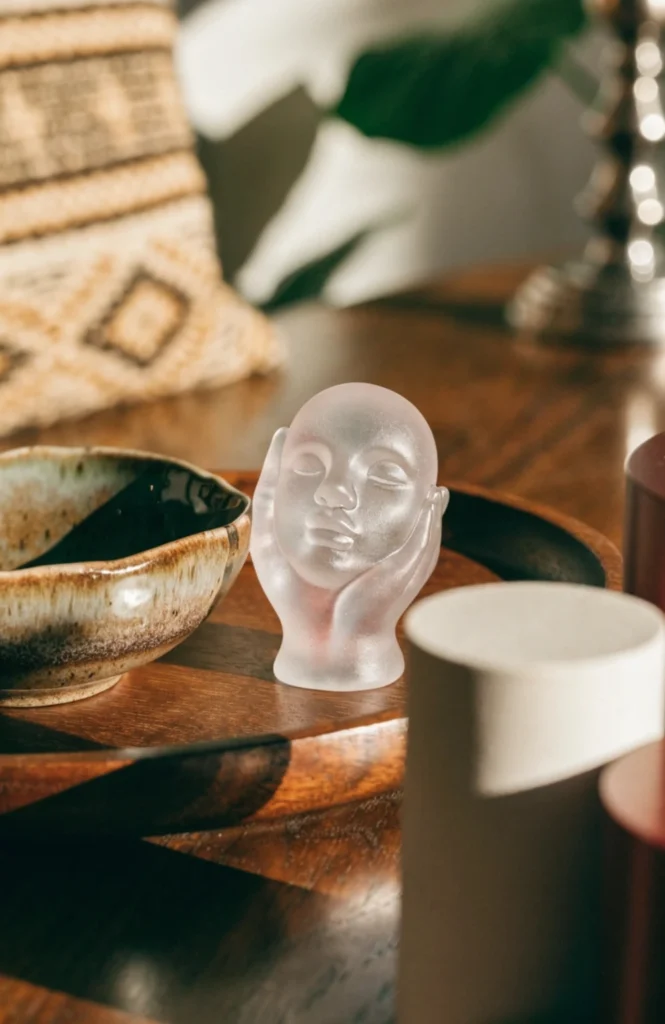
This isn’t really about price since it’s typically an item already owned, and its value in the display comes entirely from meaning rather than cost. Choosing something small enough to tuck naturally among the other objects, rather than something that dominates the tray, keeps it feeling like a personal touch rather than a separate display item competing for attention. It’s worth rotating which personal object gets featured occasionally, since a fresh detail here and there keeps the whole tray from feeling static over time.
It works because a tray made entirely of purchased decor, however well arranged, doesn’t have much of a story to tell, while one small personal object gives the whole display a reason for being exactly the way it is. It’s a detail that costs nothing but adds a layer of meaning that no amount of additional candles or vases could replicate on their own.
23. Add a Scented Candle for Sensory Layer
Swapping in a subtly scented candle meant the tray added something beyond how it looked, changing how the whole room smelled too.
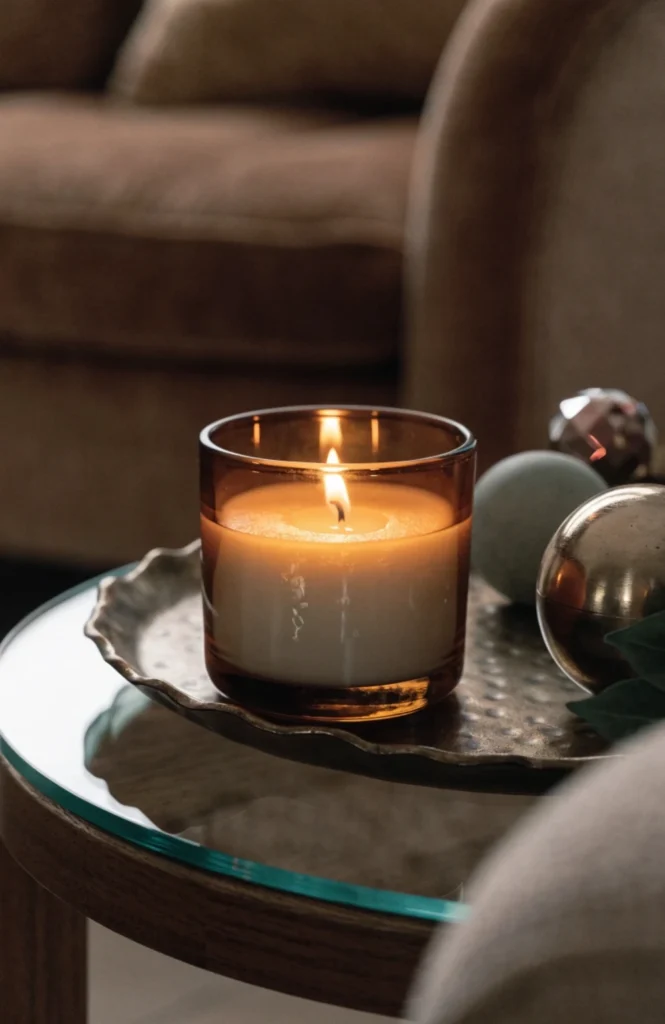
A scented candle in a neutral vessel runs $20 to $35, and choosing a subtle scent like a light woodsy note or a soft vanilla avoids overwhelming guests seated close by. Placing it near the tray’s edge, rather than buried among other objects, makes it easy to actually light and use rather than just serving as decoration. Unscented options work just as well if a strong fragrance isn’t wanted in a smaller living room.
It works because scent is a sensory layer most tray styling skips entirely, and it’s one of the cheapest ways to make the whole coffee table area feel finished beyond just visually. A well-chosen scent becomes part of how the room is remembered, which is more than most purely visual decor choices can claim on their own.
Conclusion
If you’re starting with a bare tray, pick one anchor object and a book stack first, then build outward with varied heights and odd-numbered groupings, that foundation alone gets a tray most of the way to looking styled before a single candle is added. Layer in candles and a small vase next, then finish with the small personal touches, a meaningful object, a favorite scent, that turn a nice display into one that actually feels like part of your home. The trays that hold up best over time aren’t the most elaborately filled ones, they’re the ones that still leave room to actually set down a drink.