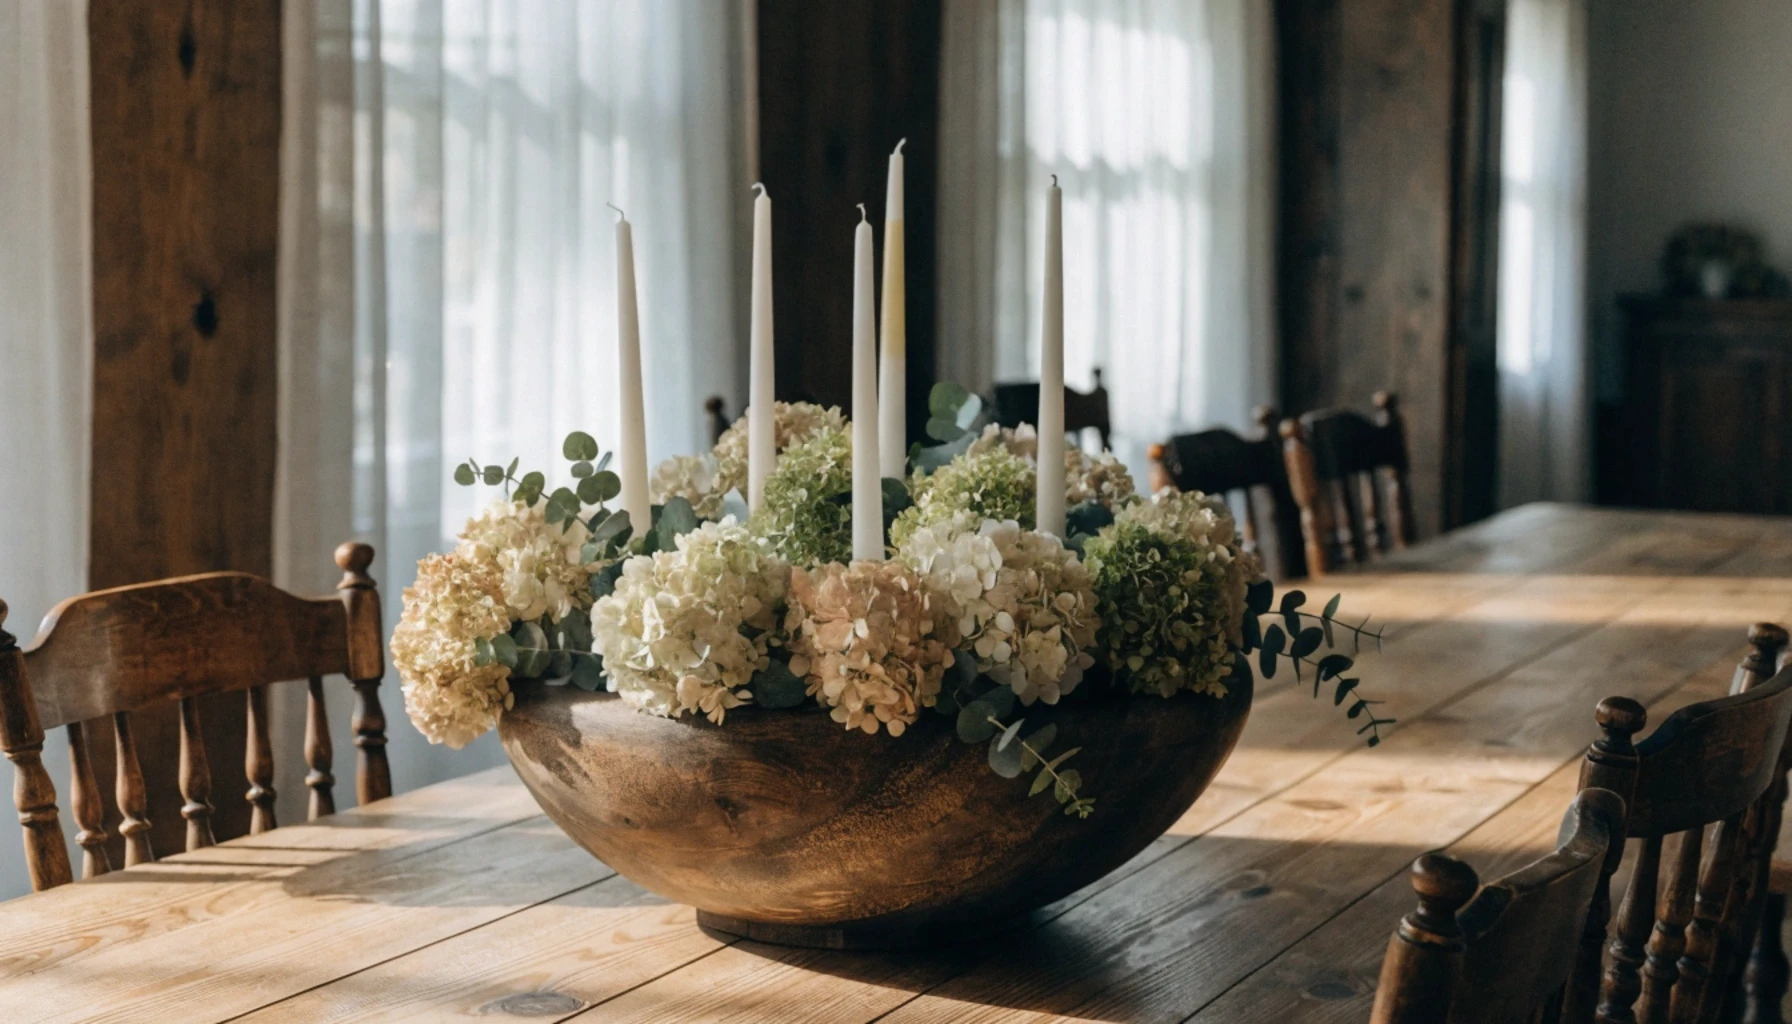
My grandmother’s old dough bowl sat empty on a shelf for years before I finally filled it with dried hydrangeas and set it on the dining table, and it became the single piece guests comment on most at every gathering since. A dough bowl centerpiece works because the bowl itself already has history and texture built in, so styling it well is mostly about restraint, filling it enough to look intentional without burying the wood that made it special in the first place.
The ideas below are grouped by what they build, foundational styling basics first, then natural fillers, candles and lighting, texture and color, the bowl itself, and the small finishing touches that make the display feel complete. The same layering principles used in these bookshelf styling ideas apply directly to a dough bowl too, vary height, group in odd numbers, and let the vessel’s own texture do some of the visual work.
Before You Start
- Pull everything you’re considering out onto the table first, then edit down, most dough bowl displays improve by removing an item rather than adding one.
- Work within a tight, muted palette, two to three tones at most, so the bowl’s natural wood grain stays the visual anchor rather than competing with bright colors.
- Leave some bare wood visible at the edges rather than filling the bowl completely, a partially exposed bowl reads as more intentional than one packed edge to edge.
- If you’re using real candles, always keep the flame clear of any dried florals or greenery inside the bowl to avoid fire risk.
Foundational Styling Basics
1. Work in Odd-Numbered Groupings
Switching from two candle clusters to three changed the whole feel of the bowl from tidy but flat to genuinely styled.
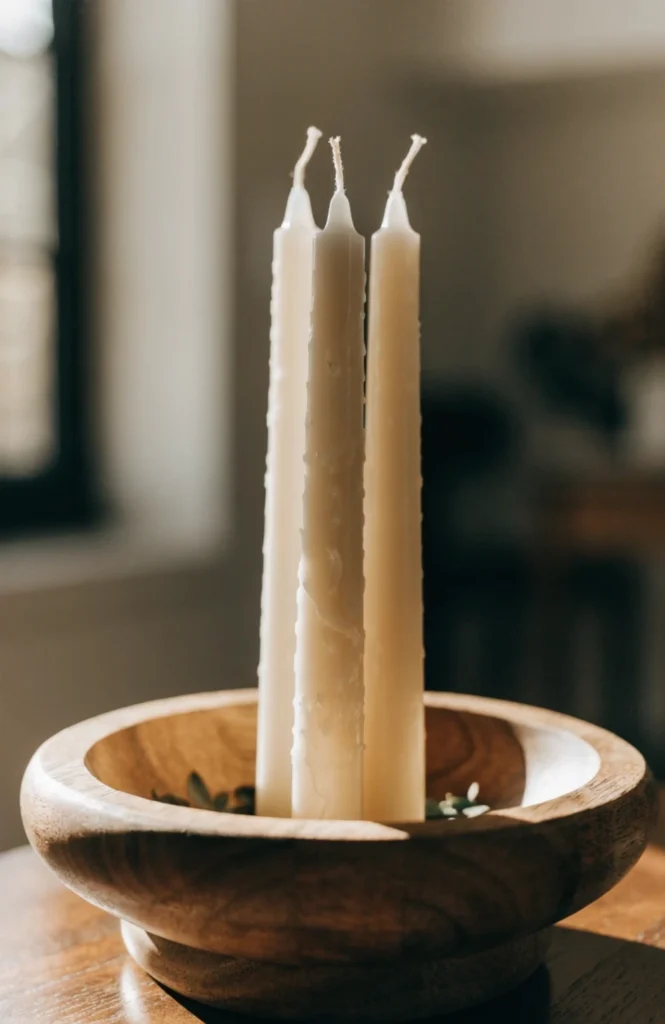
This costs nothing beyond what you’re already using inside the bowl, since it’s purely a matter of how you group the items rather than anything you need to purchase. If you’re working with candles, pinecones, or dried stems, simply count out groups of three, five, or seven instead of pairs before placing them. The change is instant and doesn’t require moving anything else in the arrangement, just a quick recount of what’s already sitting in front of you.
It works because odd numbers create a natural visual asymmetry that the eye finds more interesting than an even, evenly spaced pair, which is a principle used throughout interior styling well beyond just dough bowls. A pair of anything tends to read as matched furniture, functional but static, while three or five of the same item creates a subtle rhythm as the eye moves across the display. This is one of the fastest, cheapest fixes available if a centerpiece already has all the right pieces but still feels flat.
2. Vary Heights Within the Bowl
Once I started tucking a small riser under one candle, the whole arrangement had a rhythm it was missing before.
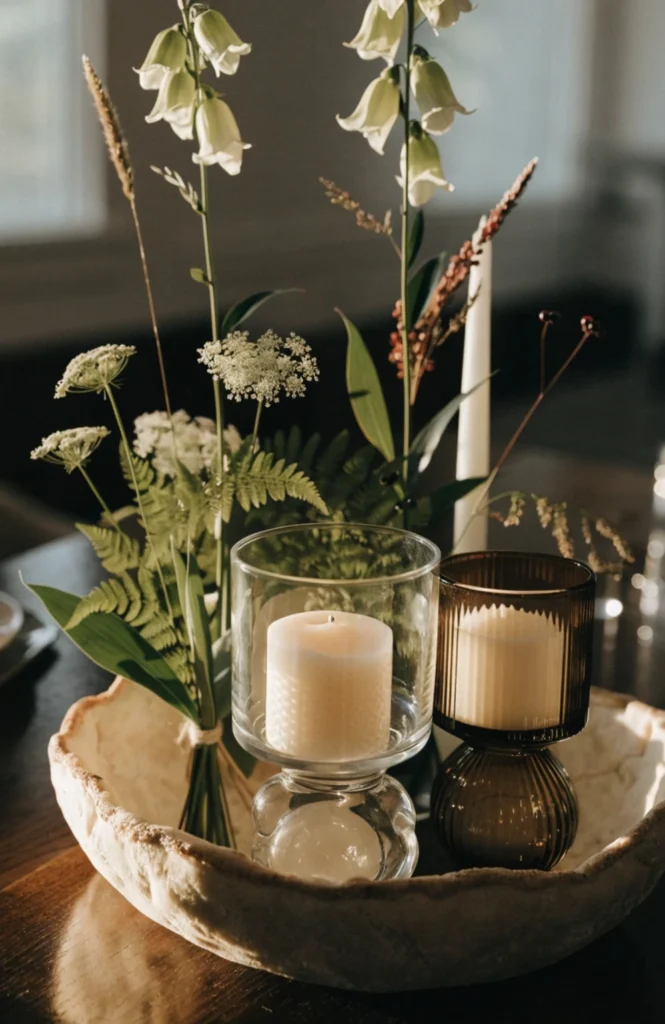
A small wood block or a few stacked coasters used as a hidden riser costs little to nothing if you already have spare pieces around the house, though a set of small decorative risers built for this purpose runs $10 to $20. Tucking the riser under just one or two elements, rather than every single item in the bowl, keeps the height variation feeling natural rather than staged. The goal is a gentle stair-step effect across the display, not a dramatic peak in the center.
It works because varied height creates a visual path the eye follows across the display, rather than a flat row of same-sized objects that reads all at once and holds no lasting interest. A completely flat arrangement, even a beautiful one, tends to photograph and feel static, while a bowl with two or three different elevation points invites a longer look. This is especially useful in a long, narrow dough bowl where a single flat row can otherwise look like items were simply set down rather than arranged.
3. Leave the Wood Grain Visible as Part of the Display
Pulling back two of the items I’d originally planned to include let the bowl’s actual carved grain show through, and it looked far better than the fuller version.
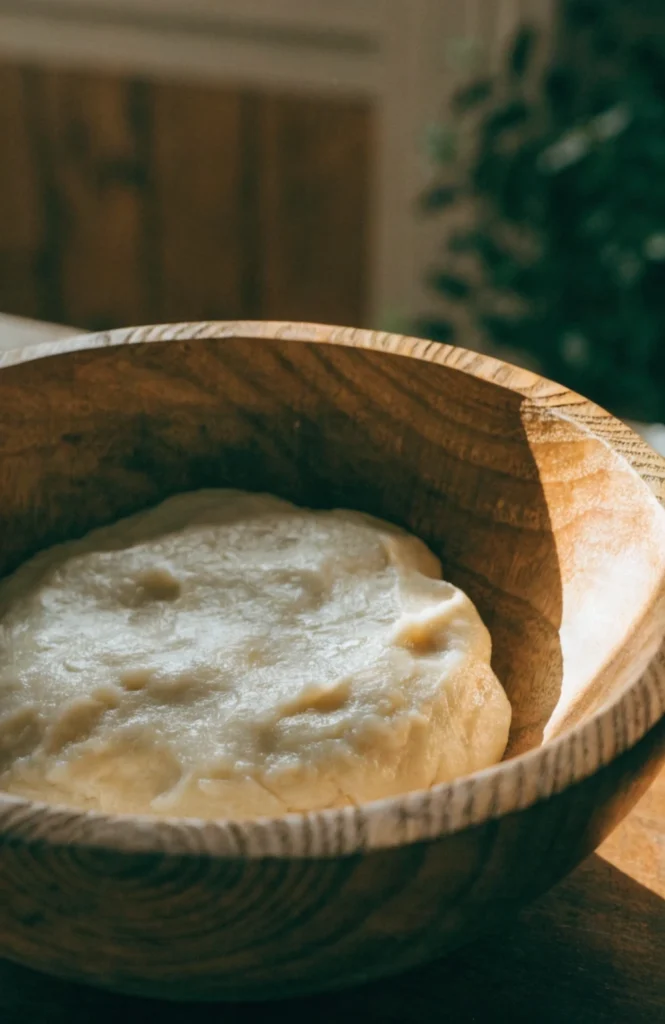
This is purely an editing decision and costs nothing, though it often means setting a few purchased fillers aside for a future rotation instead of using everything at once. Try filling roughly sixty to seventy percent of the bowl’s visible surface, leaving the remaining wood exposed along the edges or in a few gaps between groupings. Stepping back after each addition and asking whether the bowl itself is still visible is a good habit to build into the process.
It works because the wood grain, knots, and carved marks are what made the bowl worth using as a centerpiece in the first place, and burying all of that under decor defeats the actual point of choosing a dough bowl over a plain tray or basket. A dough bowl’s texture and history are part of the display, not just a container for it, so letting some of that surface breathe keeps the whole arrangement feeling authentic rather than like a generic bowl filled with props.
4. Anchor with One Larger Filler Item
Adding one larger hydrangea cluster gave the smaller pinecones and stems around it something to visually support instead of all competing equally for attention.
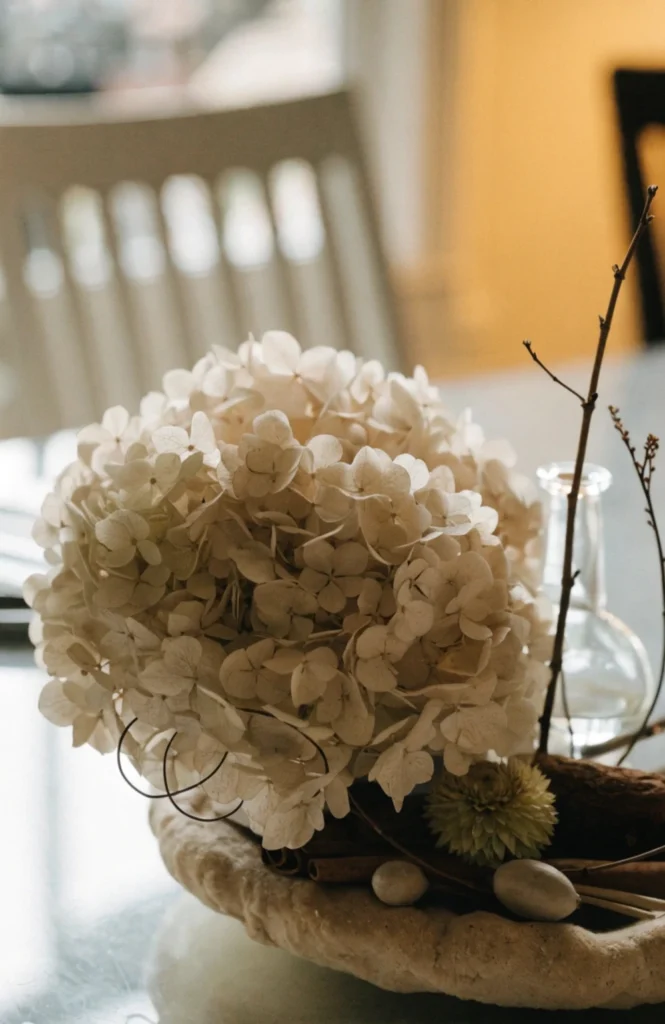
A larger anchor item, a substantial dried hydrangea bunch, a bigger pillar candle, or a small piece of driftwood, runs $10 to $30 depending on what you choose and where you source it. Position the anchor slightly off-center rather than dead middle, since a centered focal point can feel rigid in an organically shaped bowl. Everything smaller should be arranged to lead the eye toward this piece rather than pull attention away from it.
It works because a single larger piece gives the eye a clear starting point before it moves on to the smaller supporting details, which is the same principle used in mantel and shelf styling more broadly. Without a clear anchor, a bowl full of several same-sized items can start to look like a random assortment rather than a considered display. One dominant piece resolves that immediately, even if every other item stays exactly the same.
Natural and Seasonal Fillers
5. Fill with Dried Hydrangea Heads
A cluster of dried hydrangea heads filled the bowl with soft texture and color that held up for months without any watering or upkeep.
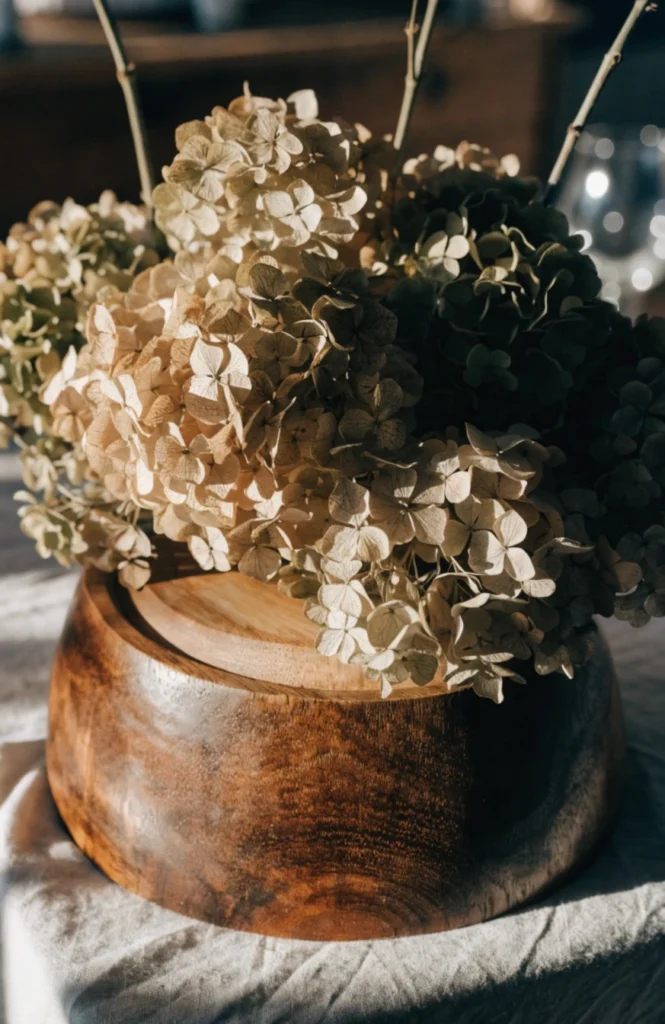
Dried hydrangea stems run $8 to $18 each depending on size and color, and two to three heads are usually enough to fill a medium dough bowl generously. Air-drying your own hydrangeas from the garden costs nothing beyond the time it takes, typically two to three weeks hanging upside down in a dry space. Either way, the papery, slightly faded texture that develops during drying is exactly what gives the filler its soft, muted character.
It works because dried hydrangea heads are dense enough to fill significant volume in the bowl without needing dozens of individual stems, making them one of the most efficient fillers available for the cost. Their muted, papery color also fits naturally into almost any farmhouse palette, whether the rest of the room leans warm or cool, and they hold their shape and color for months rather than wilting like fresh-cut flowers would within days.
6. Add Faux or Real Moss for Texture
Tucking preserved moss into the gaps between the other fillers softened all the harder edges of the candles and pinecones sitting nearby.
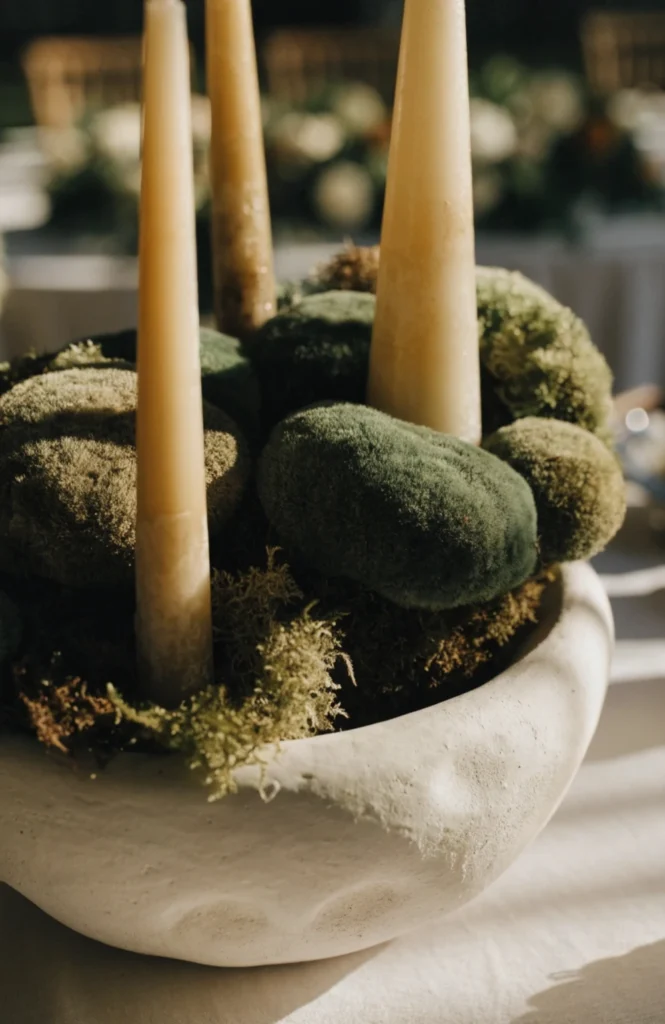
A bag of preserved sheet moss runs $8 to $15 and covers enough surface area for several dough bowl arrangements, since only small tufts are needed at a time. Tucking bits of it around the base of taller items, rather than spreading it as a flat layer, gives it a more natural, slightly overgrown look. It also happens to hide any hot glue or floral wire used to secure other elements in place, which keeps the whole display looking cleaner up close.
It works because moss softens the harder edges of glass, wax, and pinecone textures elsewhere in the bowl, adding an organic, slightly overgrown texture that keeps the display from feeling too polished or store-bought. It’s also one of the lowest-cost fillers on this entire list relative to how much visual texture it contributes, since a small amount goes a long way when tucked strategically rather than spread evenly.
7. Use Dried Orange Slices for Warmth
A handful of dried orange slices scattered among the greenery added a warm pop of color and a faint citrus scent that no artificial filler could replicate.
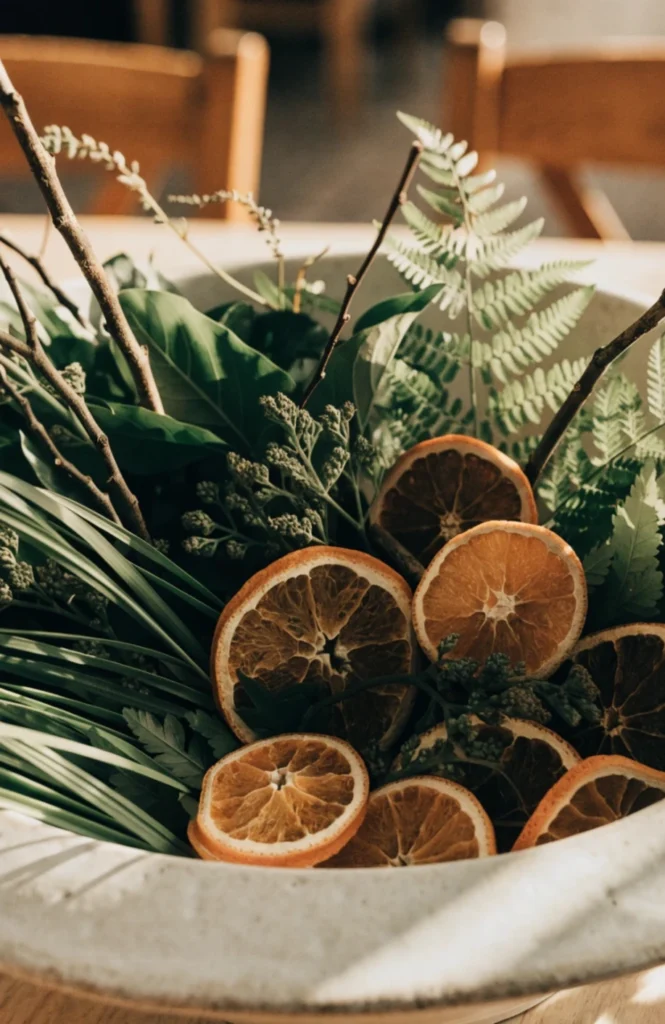
Dried orange slices cost $6 to $12 for a bag of pre-dried ones from a craft or grocery store, or you can dry your own in a low oven over several hours for just the cost of the oranges themselves. Scattering five to eight slices among the greenery, rather than clustering them all together, distributes the color evenly across the whole bowl. Because they’re a genuinely organic material, expect some natural color variation from piece to piece, which actually adds to the handmade feel.
It works because the warm orange tone reads as seasonal without being an obvious cliché like a plastic pumpkin, and it brings a genuine, food-based warmth into an otherwise entirely decorative display. The faint citrus scent that lingers for the first few weeks is a bonus most purchased decor simply can’t offer, adding a sensory layer that makes the centerpiece feel more like a real, lived-in detail of the home rather than a staged prop.
8. Include Pinecones for Seasonal Texture
A handful of pinecones gathered from the yard filled out the base of the bowl for essentially no cost at all.
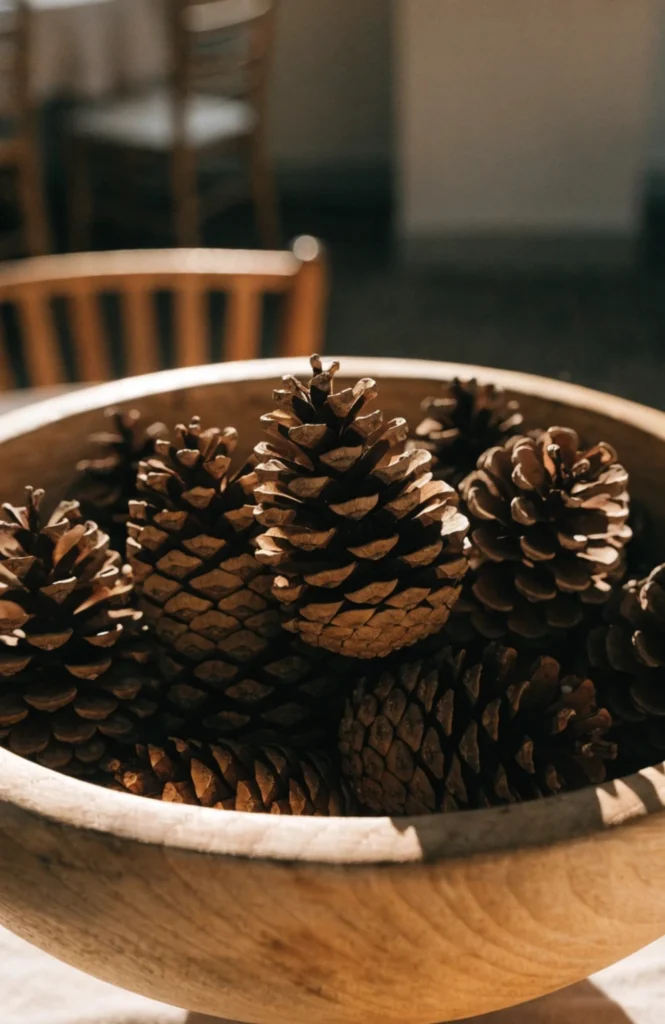
Pinecones can often be gathered for free outdoors during fall, or a bag of them runs $5 to $12 from a craft store if you don’t have easy access to a wooded area. A quick bake at a low oven temperature kills off any insects hiding inside gathered pinecones before you bring them indoors, a step worth not skipping. Mixing a few different sizes, rather than using all the same size, adds more visual texture to the base layer of the display.
It works because pinecones fill volume at the base of the bowl cheaply while adding genuine natural texture that manufactured fillers rarely match, and their neutral brown tone works with almost any color palette layered on top. They’re sturdy enough to last for years if stored properly between seasons, making them one of the better long-term investments on this list even though the upfront cost is minimal.
9. Add Cotton Stems for Softness
A few cotton stems tucked among the other fillers added a soft, cloud-like texture that balanced out all the harder pinecones and wood surfaces.
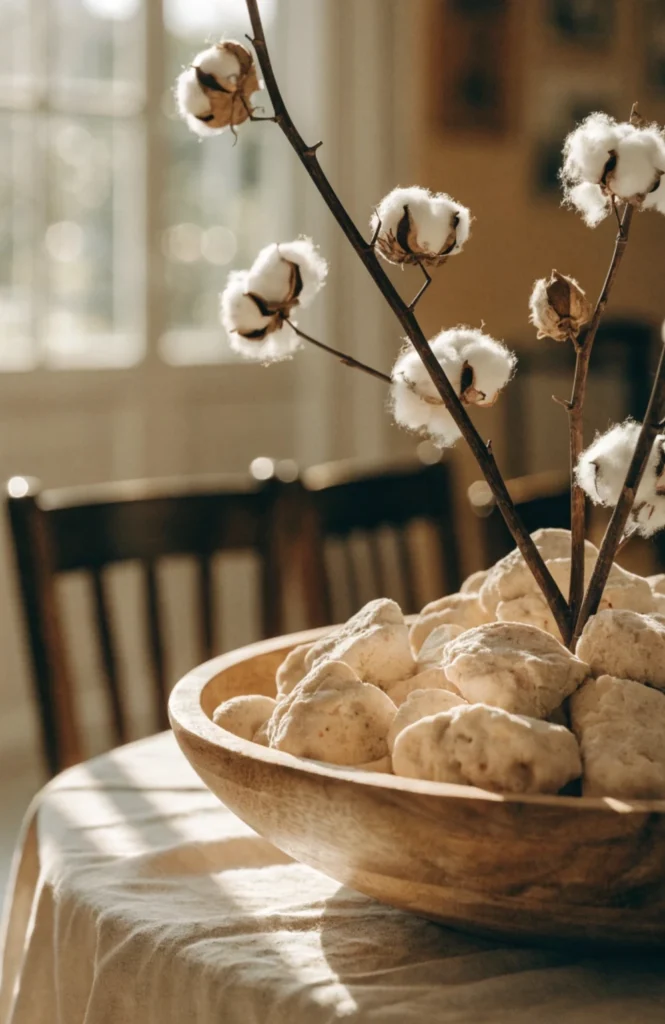
Dried cotton stems run $8 to $15 for a bundle of several stems, and just two or three tucked into the arrangement are usually enough to make a visible difference. They hold their shape indefinitely without any special care, unlike fresh florals that need regular water changes, which makes them one of the lowest-maintenance fillers on this whole list. Trimming the stems to varying lengths before placing them helps them tuck naturally among the other elements rather than sticking up in a uniform row.
It works because the soft, rounded cotton bolls add a completely different texture than anything else typically found in a farmhouse centerpiece, breaking up all the harder surfaces, wood, glass, pinecones, with something visually soft and tactile. That contrast in texture is often what separates a genuinely interesting display from one that, however nice, ends up feeling a little one-note.
Candles and Lighting
10. Nestle in a Cluster of Taper Candles
A cluster of taper candles at slightly different heights gave the bowl the same layered, dinner-party look I’d admired in photos but never managed myself.
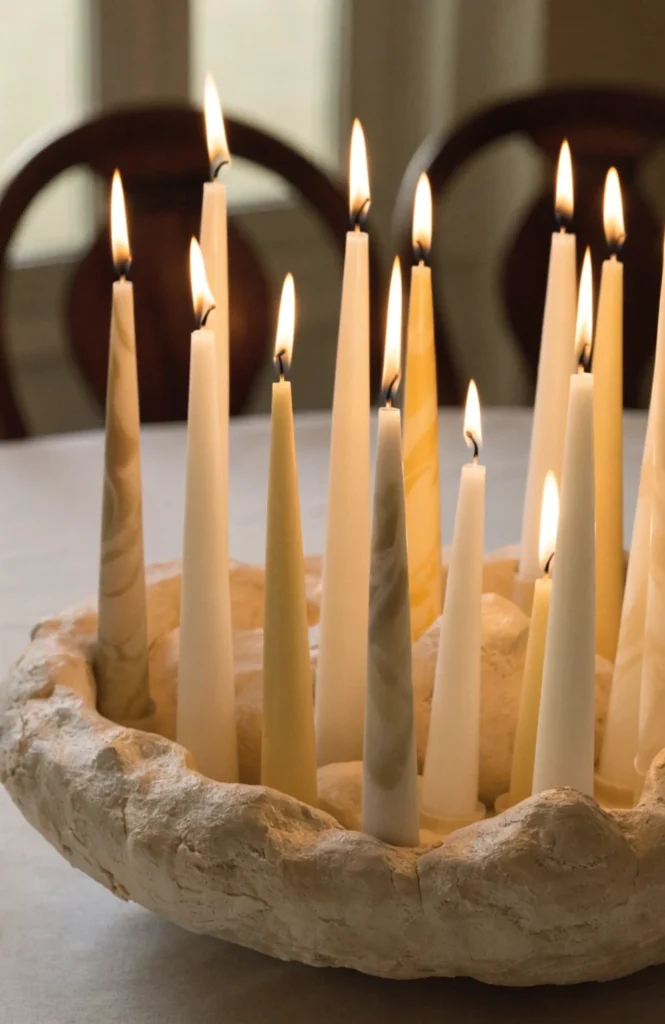
A set of taper candles runs $10 to $20, and small taper holders to keep them upright inside the bowl’s curved base cost another $15 to $30 for a set of three or five. Because the bowl’s interior curves rather than sits flat, individual holders are usually necessary to keep the candles stable rather than trying to stand them directly in loose filler. Positioning them slightly off-center, with the anchor filler nearby, keeps the arrangement from looking too formal or evenly spaced.
It works because candlelight adds warmth and a bit of drama that daytime styling alone can’t provide, and it’s one of the few centerpiece elements that actively changes the mood of a room once evening comes around. A dough bowl already carries a warm, rustic feel, and taper candles reinforce that without needing to add anything overtly seasonal or thematic to achieve the effect.
11. Use Flameless Pillar Candles for Safety
Switching to flameless pillars meant I could leave the centerpiece lit through an entire dinner party without worrying about anyone reaching across it.
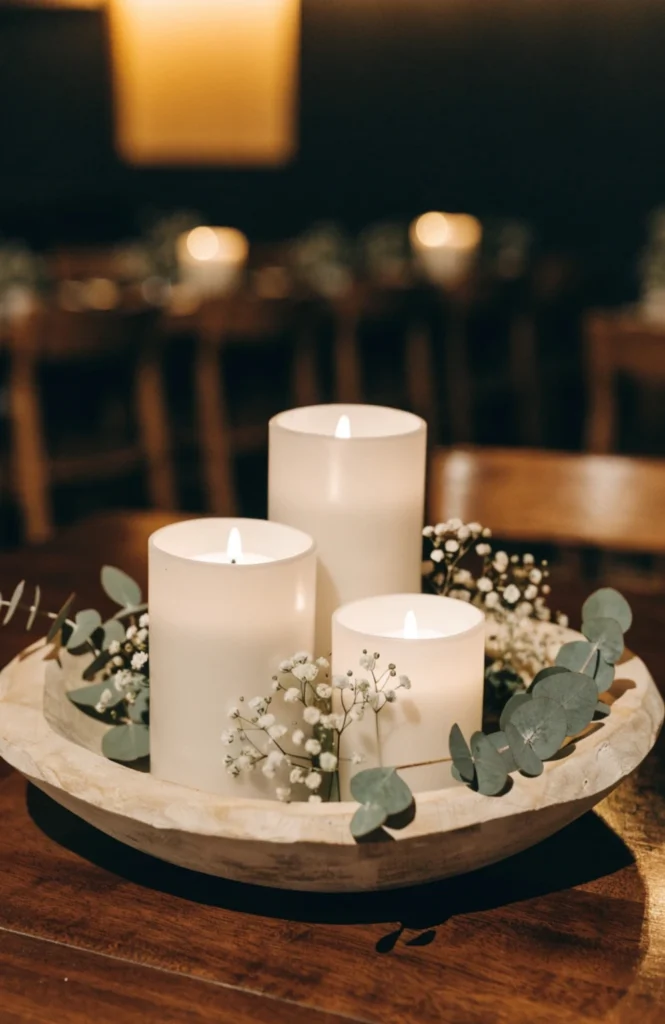
A set of flameless LED pillar candles runs $25 to $45, and most include a built-in flicker effect along with a timer for automatic evening use. Because there’s no open flame, they can sit directly against dried florals and other flammable fillers without any fire risk, which opens up far more styling flexibility than real candles allow inside a wooden bowl. Most rechargeable or battery versions last for months between charges or battery swaps.
It works because it delivers the same warm glow as real candles without the fire risk that comes with an open flame sitting directly inside dried, flammable material, which matters more in a wooden bowl than almost any other centerpiece vessel. This is especially worth considering if the bowl regularly sits on a dining table used by kids or pets who might brush past it.
12. Add a Small Lantern Beside the Bowl
A small lantern placed just beside the bowl, rather than inside it, gave the whole tablescape an additional light source without crowding the arrangement itself.
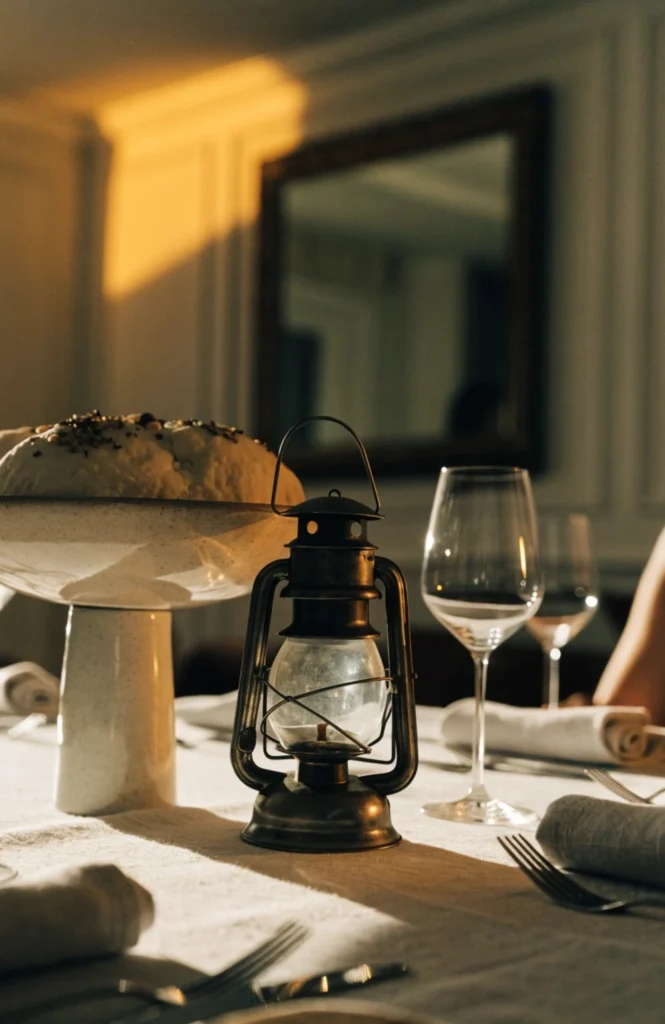
A small decorative metal or glass lantern runs $15 to $35 depending on size and finish, and placing it directly beside rather than inside the bowl keeps both elements visually distinct. This works especially well on a longer dining table where the bowl alone might not provide enough visual weight to anchor the whole surface. A flameless candle or small LED insert keeps the lantern usable without any fire safety concerns.
It works because it extends the lit, warm feeling of the centerpiece beyond the bowl’s own footprint, giving the whole tablescape more visual weight without overcrowding the bowl itself with additional items. It also adds a secondary height point on the table, which helps the display read as a fuller tablescape rather than a single isolated bowl sitting alone.
13. Include Fairy Lights Tucked Among the Fillers
A thin strand of fairy lights woven through the greenery gave the bowl a soft glow for evening gatherings without needing to add any bulky lanterns.
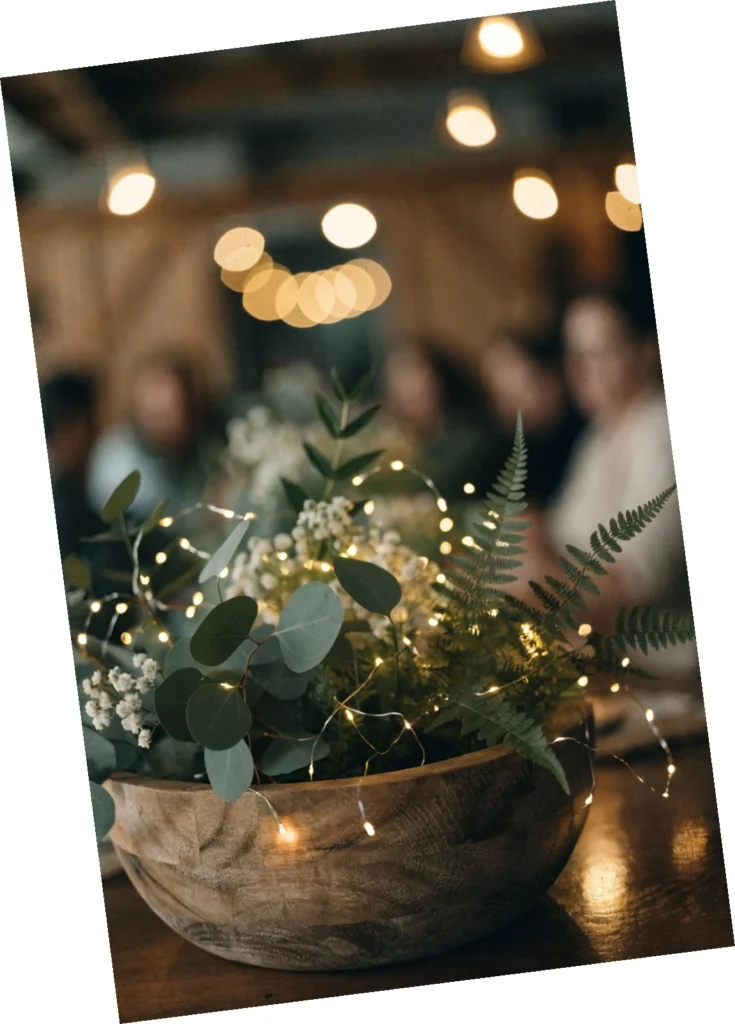
A battery-powered strand of warm white fairy lights runs $10 to $18, and the battery pack can be tucked underneath the fillers or hidden behind the bowl itself. Weaving the strand loosely through the dried stems and pinecones, rather than laying it flat across the top, lets the light peek through in a more natural, scattered way. Most battery packs include a timer function, so the lights can turn on automatically each evening without needing to be switched on by hand.
It works because it adds a soft, ambient glow that changes the display’s mood after dark without needing any bulky lanterns or standalone light fixtures nearby. The lights themselves stay mostly hidden within the fillers during the day, so the centerpiece looks completely natural in daylight and then transforms into something warmer once evening comes around.
Texture and Color Layers
14. Stick to a Neutral, Muted Palette
Swapping bright artificial flowers for cream and tan dried stems made the bowl look far more elegant than my earlier, more colorful attempt.
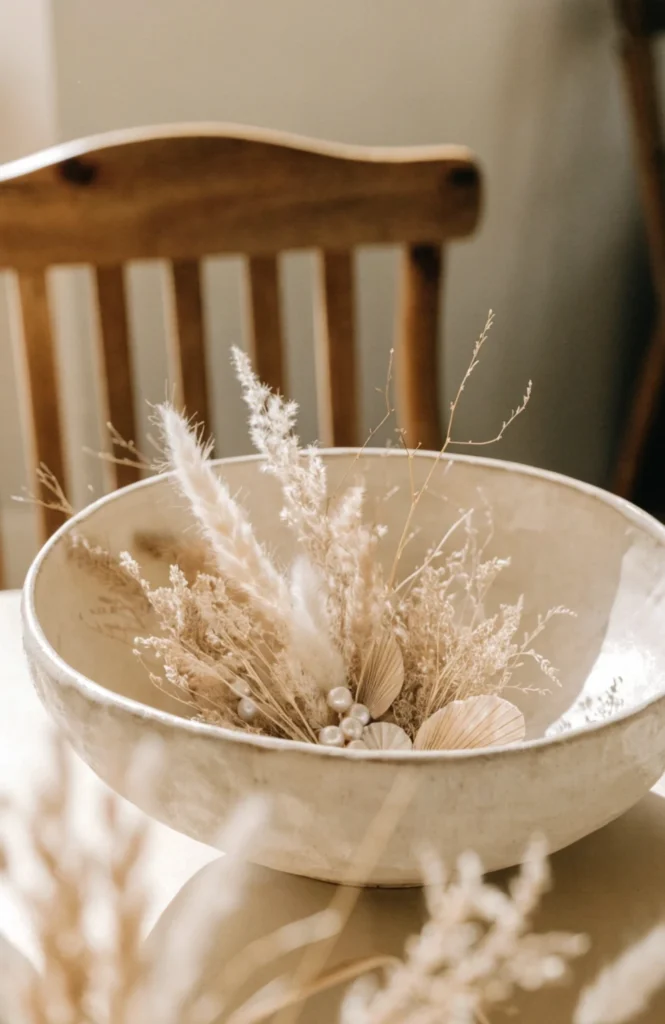
This is largely a styling and sourcing decision rather than a specific purchase, though muted-toned dried florals typically cost about the same as brightly colored ones, generally $8 to $20 per stem or bunch depending on variety. Look specifically for cream, tan, sage, and dusty rose tones when shopping, since these read as more sophisticated and timeless than saturated primary colors. A muted palette also means the centerpiece transitions easily between seasons without needing a complete overhaul each time.
It works because a muted palette photographs and reads as more elegant and timeless, while bright, saturated colors can start to feel more like a themed party display than a piece of everyday home decor. This restraint is part of what makes farmhouse styling in general feel calm and lived-in rather than loud, and it’s especially important in a dough bowl, where the wood’s own warm brown tones already provide plenty of visual richness on their own.
15. Mix Matte and Glossy Textures
Adding one glossy glass element among the mostly matte dried florals gave the display a bit of shine that balanced out all the flat, textured surfaces.
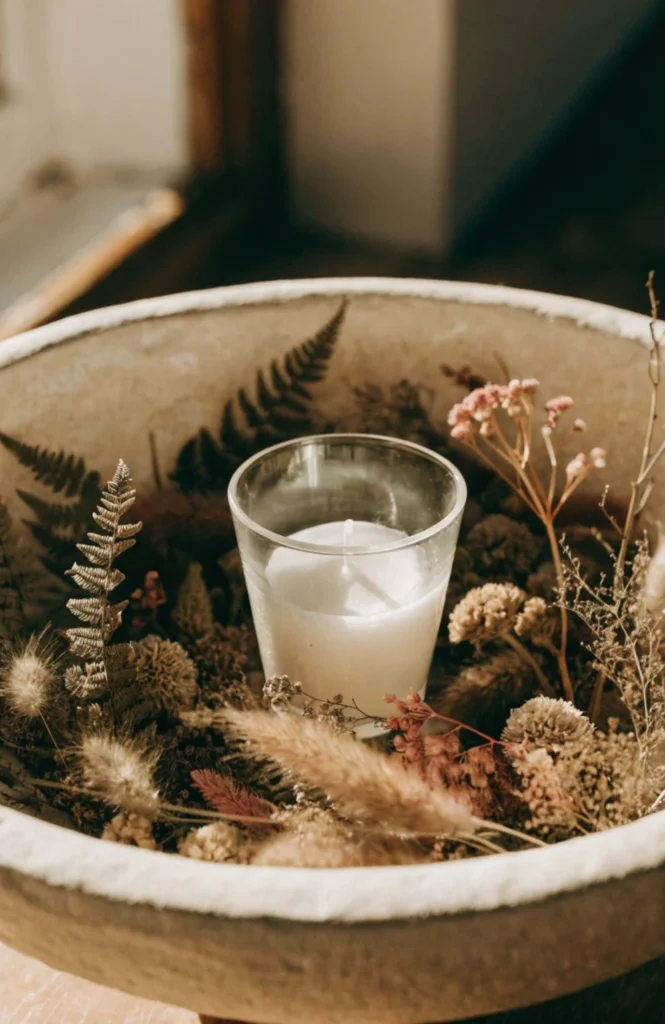
A small glass votive or glossy ceramic accent piece runs $10 to $25 depending on size and material, and just one or two pieces are enough to introduce contrast without overwhelming the mostly matte palette. Placing the glossy element near the anchor piece, rather than scattered separately, keeps the display’s overall visual weight balanced. Most craft and home stores carry small glass or ceramic pieces specifically sized for tucking into centerpiece arrangements like this one.
It works because a bit of shine against mostly matte, dried textures adds contrast the same way a metallic accent might in a mantel display, keeping the whole arrangement from feeling entirely flat or one-dimensional. Without at least one glossy or reflective element, an all-matte dough bowl can start to look a little dusty or dull, even when everything inside it is fresh and well-arranged.
16. Add a Touch of Black for Contrast
A single black taper candle among the cream and tan fillers gave the whole bowl a sharper, more grounded contrast than an all-neutral palette provided alone.
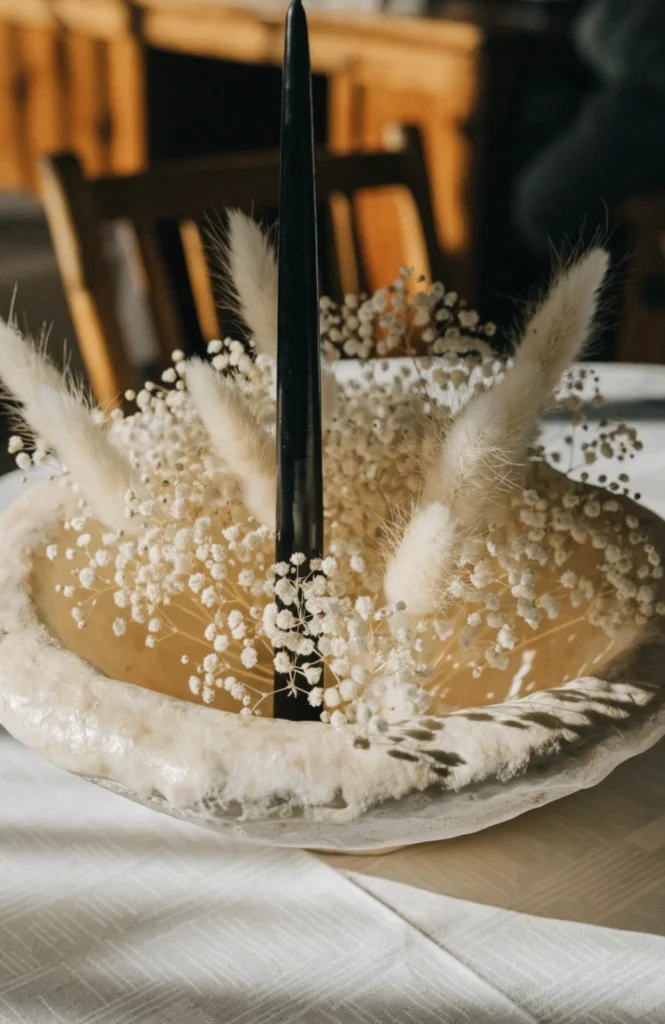
A black taper candle or a small piece of dark-toned pottery runs $5 to $20 depending on what you choose, and using just one small black element is usually enough, since more than that can start to compete with the wood tone rather than complement it. Positioning the black accent slightly off-center draws the eye without dominating the overall composition. This works particularly well if the rest of the room already includes some black hardware or fixtures that the accent can echo.
It works because a small amount of black provides sharp, grounding contrast against an otherwise entirely warm, neutral palette, which is the same principle used to add depth to any monochromatic color scheme. Without any darker anchor point, an all-cream, all-tan arrangement can start to blur together visually, and one black element gives the eye somewhere definite to land.
17. Layer in Woven or Rattan Balls
A small cluster of woven rattan balls added a rounded, natural shape that broke up all the more linear stems and candles nearby.
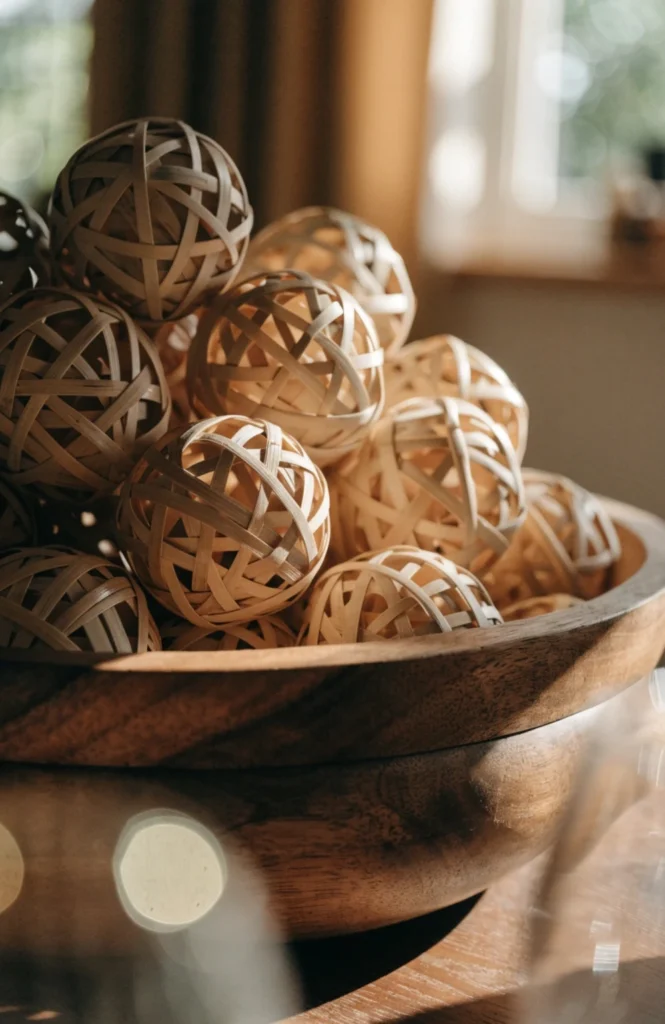
A set of small decorative woven rattan balls runs $12 to $25 for a set of several, and they’re widely sold specifically for use in bowl-style centerpieces like this one. Grouping three or four together in one corner of the bowl, rather than scattering them individually throughout, keeps them reading as an intentional cluster rather than stray filler. Their neutral tan tone blends easily into almost any farmhouse palette without needing to be color-matched precisely.
It works because the rounded shape and woven texture contrast nicely against the straighter lines of candles and dried stems, adding another layer of natural texture without introducing a new color into the arrangement. They’re also extremely lightweight and durable, meaning they can be reused across seasons and repositioned easily whenever the rest of the display gets refreshed.
Vessels and Bowl Choices
18. Choose an Oversized Dough Bowl for a Dining Table
Sizing up to a genuinely oversized bowl for our dining table meant it finally had the visual presence to anchor the whole surface instead of looking undersized in the middle.
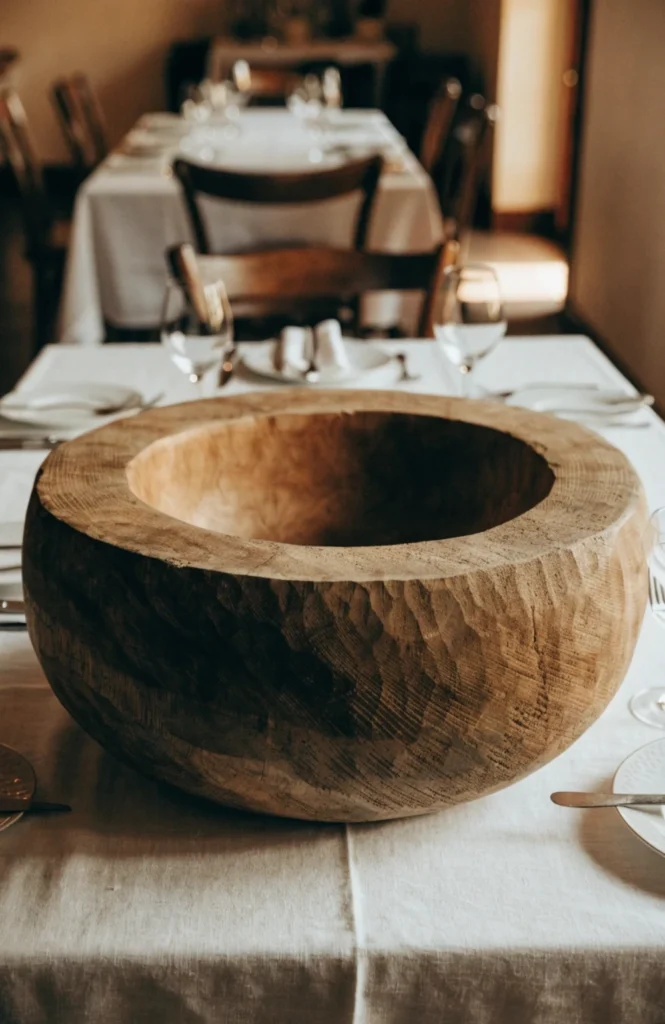
An oversized dough bowl, typically 30 inches or longer, runs $80 to $200 depending on wood type and whether it’s antique or new reproduction. A longer bowl works especially well on a dining table that seats six or more, since a smaller bowl can look lost on that much surface area. Measuring your table’s width before buying ensures the bowl leaves enough clearance on either side for place settings and serving dishes.
It works because a properly sized bowl gives a long dining table the visual weight it needs as a centerpiece, whereas an undersized bowl on a large table can look like an afterthought rather than an intentional focal point. The larger surface area also gives you more room to work with when it comes to varying height and grouping fillers, making some of the other styling techniques on this list easier to execute well.
19. Use a Mini Dough Bowl for a Side Table
A smaller dough bowl on the side table let me bring the same farmhouse texture into a room that didn’t have space for a full-sized dining piece.
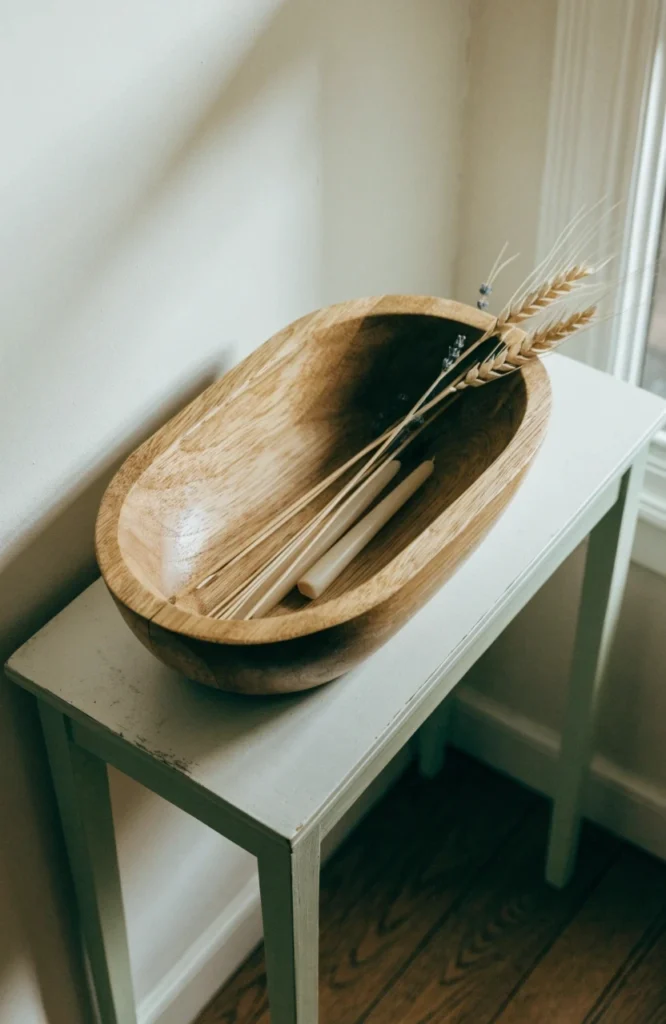
A mini dough bowl, typically 10 to 16 inches long, runs $20 to $50 depending on wood type and finish, considerably more affordable than the larger dining table versions. These smaller bowls work well filled with just a handful of items, a few candles, a small cluster of dried stems, since they don’t have the surface area to support a large, elaborate arrangement. They’re also easy to move around the house seasonally, unlike a heavier oversized bowl that tends to stay in one spot.
It works because it brings the same warm, textured farmhouse look into smaller spaces, an entryway table, a side table, a kitchen counter, where a full-sized dough bowl simply wouldn’t fit or make visual sense. It’s also a lower-commitment way to try the whole dough bowl centerpiece concept before investing in a larger, more expensive piece for the dining table.
20. Pick an Antique Dough Bowl for Authentic Character
Finding a genuinely antique dough bowl at an estate sale gave the centerpiece a depth of character that no new reproduction quite managed to replicate.
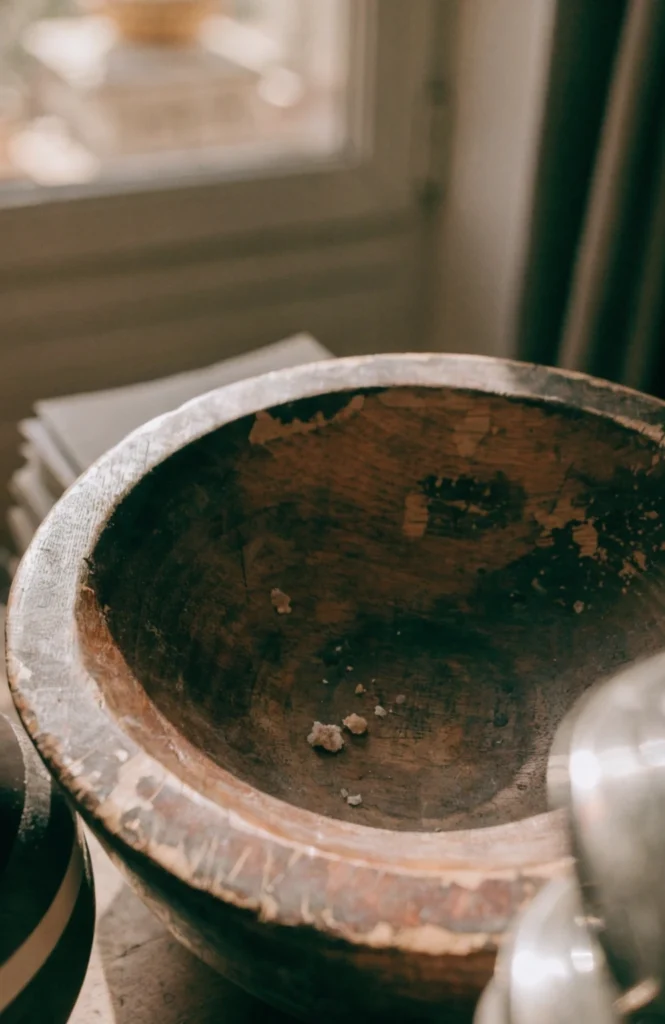
An authentic antique dough bowl runs $60 to $180 depending on age, size, and condition, typically found at estate sales, antique malls, or specialty antique dealers online. Genuine wear, cracks, and unevenness in an antique bowl are part of its history rather than flaws to avoid, and most dealers will note the bowl’s approximate age and origin if known. It’s worth asking whether the bowl has been treated with food-safe oil recently if you plan to use it near food, since older pieces sometimes need reconditioning.
It works because genuine age and wear carry a kind of authenticity that no new reproduction can fully replicate, no matter how well-made, and that history is a large part of what makes a dough bowl centerpiece feel meaningful rather than purely decorative. An antique piece also tends to have a slightly asymmetrical, hand-carved shape that adds visual interest even before a single filler item is added.
21. Use a Painted Dough Bowl for a Colorful Twist
Painting the interior of a plain dough bowl a soft sage green gave it a modern farmhouse twist without losing any of the original carved shape.
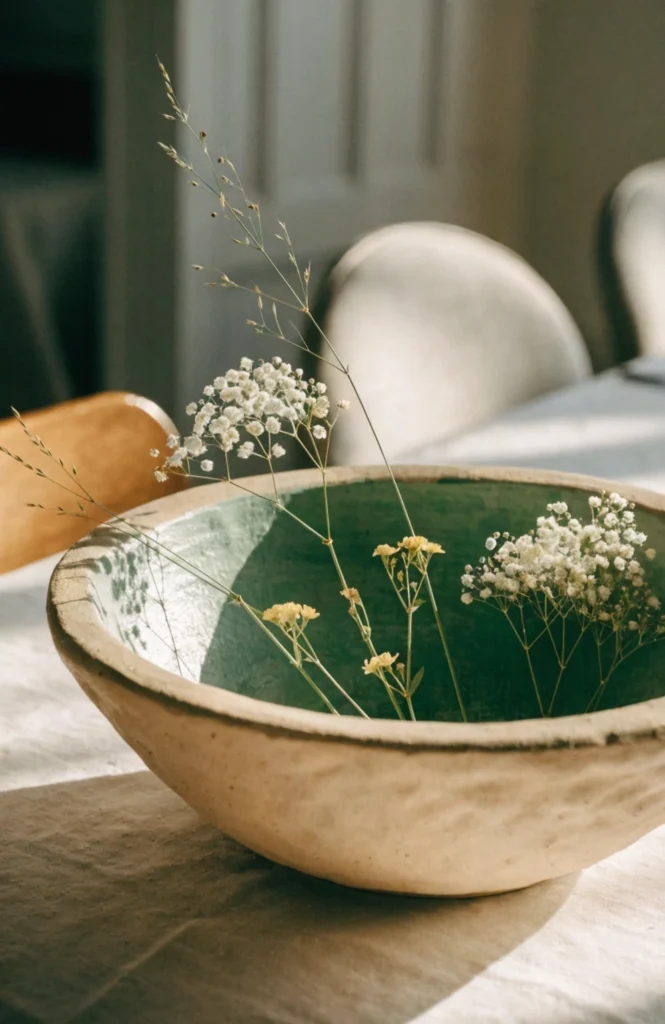
A quart of milk paint or chalk paint runs $15 to $25, and painting only the interior of the bowl while leaving the exterior natural wood keeps some of the original character visible from the outside. This works especially well on a newer, less expensive bowl that doesn’t carry much inherent antique value, since painting an authentic antique piece can reduce its collectible worth. Sanding lightly before painting helps the finish adhere evenly across the bowl’s carved interior curves.
It works because a painted interior adds a modern, colorful twist to a traditionally rustic piece, letting it fit into a more updated farmhouse or transitional style room rather than a strictly traditional one. It’s also a good option if you’ve inherited or found a plainer bowl without much natural grain character worth showing off on its own.
Finishing Touches
22. Add a Runner Underneath the Bowl
A simple linen runner underneath the bowl gave the whole tablescape a finished base layer before a single filler item was even added.
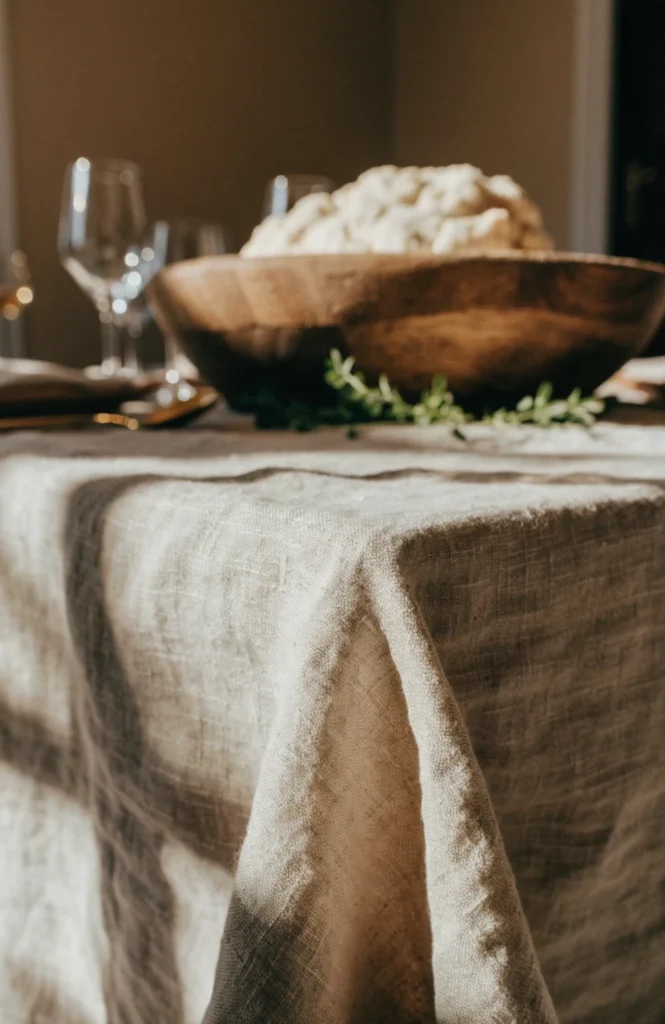
A linen or cotton table runner runs $15 to $35 depending on length and fabric quality, and choosing a neutral tone keeps it flexible with whatever fillers end up going inside the bowl. Letting the runner extend a few inches beyond either end of the bowl gives the display a defined footprint on the table rather than letting the bowl sit directly on bare wood. A slightly wrinkled, linen-look fabric tends to suit the farmhouse aesthetic better than a stiff, perfectly pressed one.
It works because it grounds the whole display and adds a layer of texture underneath the bowl itself, the same way a rug anchors furniture in a living room. Without a runner, a dough bowl can look like it’s simply been placed on the table rather than styled as part of a considered tablescape, and the runner is often the missing piece that ties the whole look together.
23. Include a Small Personal Object
Tucking in a small carved object from a trip years ago is the one piece guests always ask about first, more than the flowers or candles ever get mentioned.
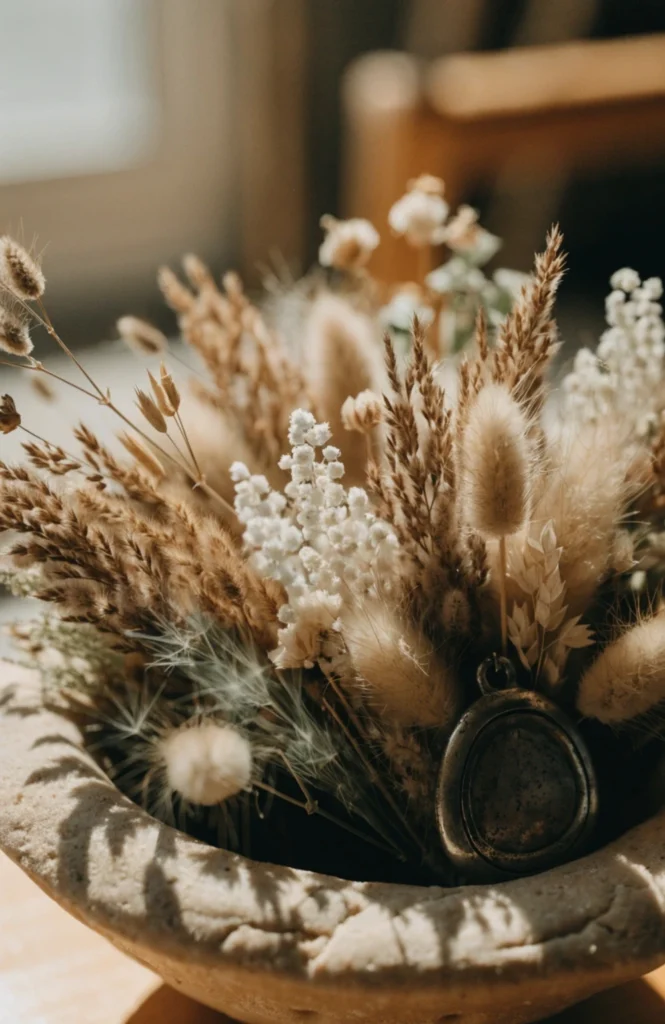
This isn’t really about price since it’s typically an item you already own, and its value in the display comes from meaning rather than cost. Choosing something small enough to tuck naturally among the other fillers, rather than something that dominates the whole bowl, keeps it feeling like a subtle personal touch rather than a separate display item competing for attention. It’s worth rotating which personal object gets featured occasionally, since a fresh detail here and there keeps the whole centerpiece from feeling static over time.
It works because a centerpiece made entirely of purchased seasonal filler, however well arranged, doesn’t have much of a story to tell, while one small personal object gives the whole display a reason for being exactly the way it is. It’s a detail that costs nothing but adds a layer of meaning that no amount of additional dried florals could replicate on their own.
24. Add Greenery Trailing Over the Edge
Letting a bit of trailing eucalyptus spill over the bowl’s edge softened the hard line where the wood met the tabletop.
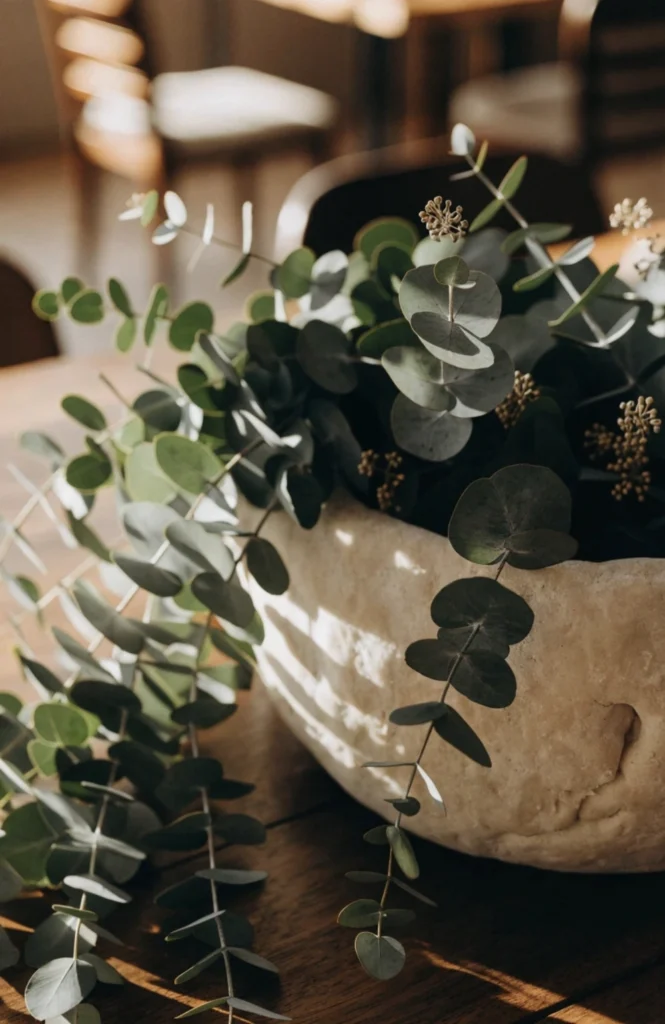
Preserved eucalyptus or trailing greenery stems run $8 to $18 per bunch, and just one or two stems are usually enough to create a subtle trailing effect without overwhelming the arrangement. Positioning the trailing stems near one end of the bowl rather than both ends keeps the effect feeling intentional rather than like the greenery is simply falling out. Preserved greenery holds its shape and color for months, unlike fresh-cut stems which would need frequent replacing.
It works because it softens the hard line where the bowl’s rim meets the table surface, extending the display slightly beyond the vessel’s own physical boundary in a way that feels organic rather than overflowing. This small detail is often what separates a centerpiece that looks contained and boxy from one that reads as lush and abundant, even when the total amount of filler used is roughly the same.
25. Rotate Fillers Seasonally
Swapping the summer greenery for pinecones and dried orange slices each fall meant the same bowl worked as a centerpiece all year without ever needing to buy a new vessel.
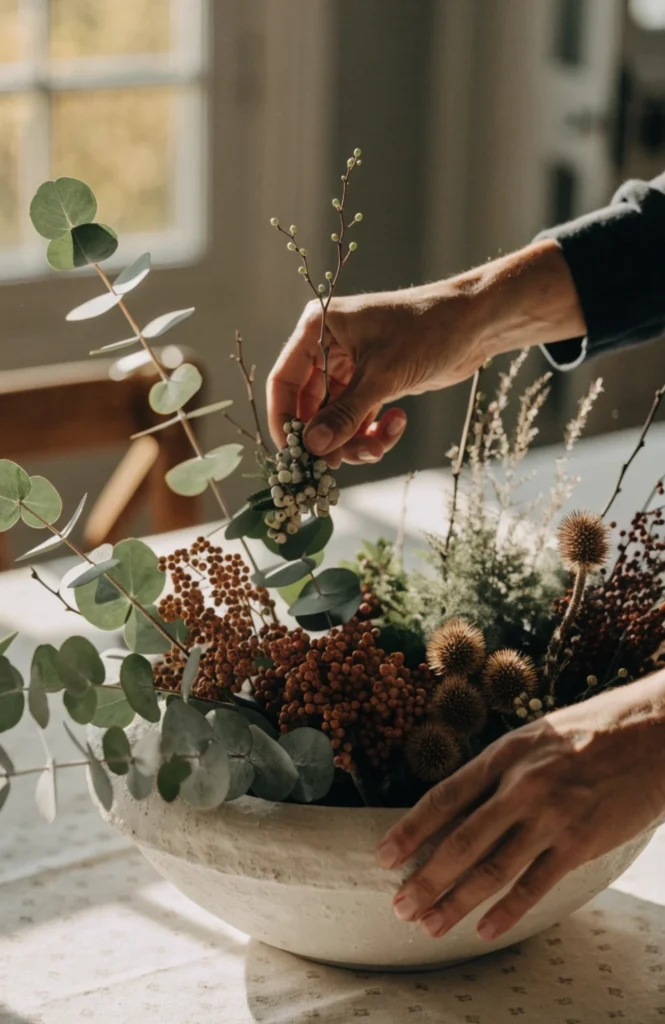
This saves money over time rather than costing extra, since keeping just one quality dough bowl and rotating a handful of seasonal fillers costs far less than buying a completely new centerpiece for every season. Storing each season’s fillers in labeled bins makes the rotation quick, usually under fifteen minutes once everything is sorted and easy to find. Planning two or three seasonal filler sets in advance, rather than shopping fresh each time, also helps keep the overall look consistent year to year.
It works because it treats the bowl as a permanent, reusable base rather than a one-time seasonal purchase, which is both more cost-effective and more sustainable than replacing the whole centerpiece every few months. The bowl itself, especially a good antique or well-made one, only gets more character over time, while the fillers inside it can shift freely with the seasons without ever needing to touch the vessel that started it all.
Conclusion
If you’re starting with a bare bowl, pick a muted palette and one anchor filler item first, then build outward with varied heights and odd-numbered groupings, that foundation alone gets a dough bowl most of the way to looking styled before you add a single candle. Layer in candles and a runner underneath next, then finish with the small personal touches, a trailing stem, a meaningful object, that turn a nice display into one that actually feels like part of your home. The dough bowls that hold up best over time aren’t the most elaborately filled ones, they’re the ones where the wood itself is still allowed to be the star.
FAQ
What size dough bowl should I get for my table?
A bowl around 30 inches or longer works well for a dining table seating six or more, while a mini dough bowl under 16 inches suits a side table, console, or smaller kitchen counter.
Do I need real candles for a dough bowl centerpiece?
No, flameless LED candles give the same warm glow without any fire risk near the dried florals and greenery typically used as fillers, and they can be left lit for hours without supervision.
How often should I refresh the fillers in a dough bowl?
Most dried fillers hold their look for two to three months before starting to fade or shed, making a seasonal rotation, roughly four times a year, a reasonable schedule for most households.