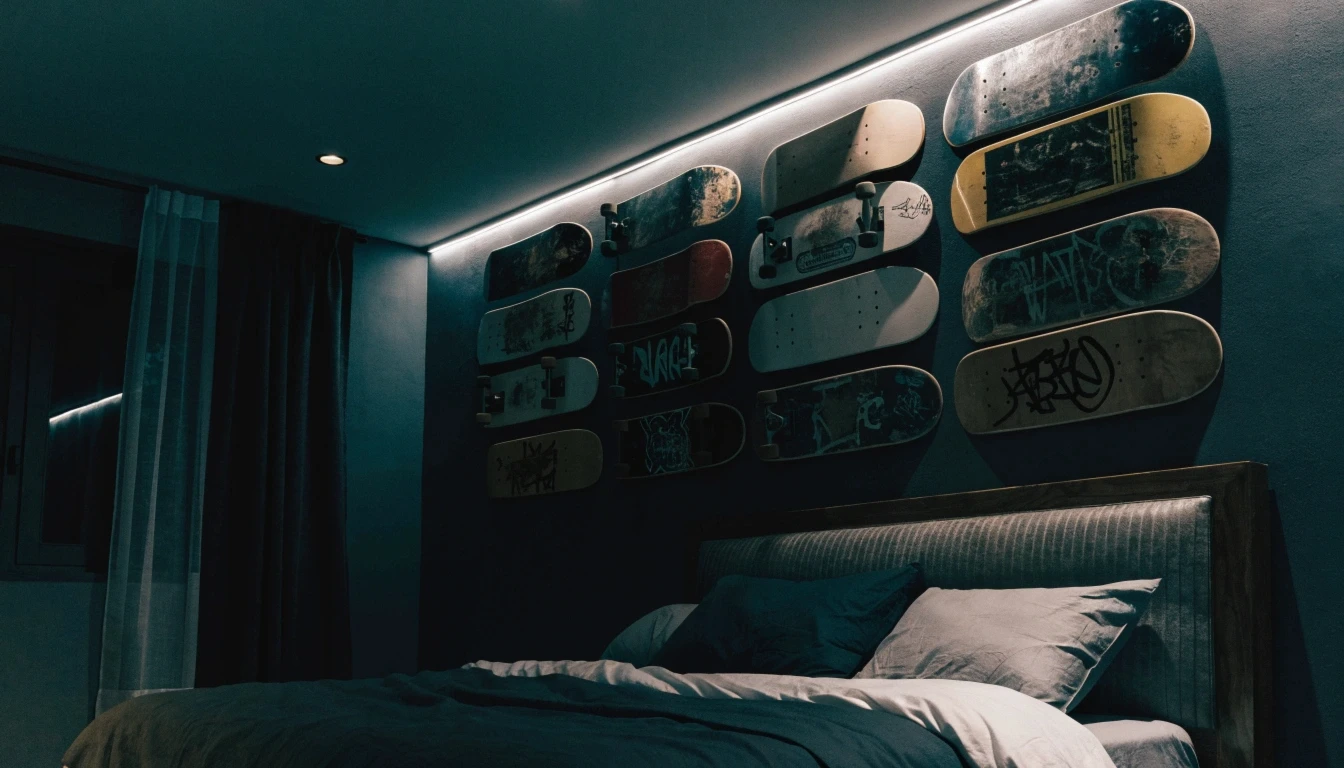
My nephew’s room used to have a pile of old skateboard decks stacked in the closet, boards he’d outgrown or cracked but couldn’t bring himself to throw out. Mounting a few of them on the wall instead of storing them away turned out to be the easiest, cheapest way to give the room real personality, no expensive art required, just decks he already owned arranged with a little intention.
The ideas below are grouped by what they build, mounting basics first, then how to actually arrange the decks, complementary wall elements, color and lighting, and functional shelving to round out the space. If the room also needs a study corner, pair this with a few ideas from these homework station ideas for small spaces, since a skate-themed wall and a compact desk setup work well side by side.
Before You Start
- Lay decks out on the floor first to plan the arrangement before drilling any mounts into the wall.
- Use mounts rated for the deck’s actual weight, a loaded deck with trucks still attached is heavier than a bare deck and needs sturdier hardware.
- Pick one focal wall rather than spreading decor across every wall in the room, a concentrated display reads as more intentional.
- Mix in at least one non-skate element, a poster, a light, a shelf, so the wall doesn’t read as a single-note theme.
Mounting and Display Basics
1. Use Low-Profile Wall Mounts for a Floating Look
Switching to low-profile mounts made the decks look like they were floating flush against the wall instead of sticking out on bulky brackets.
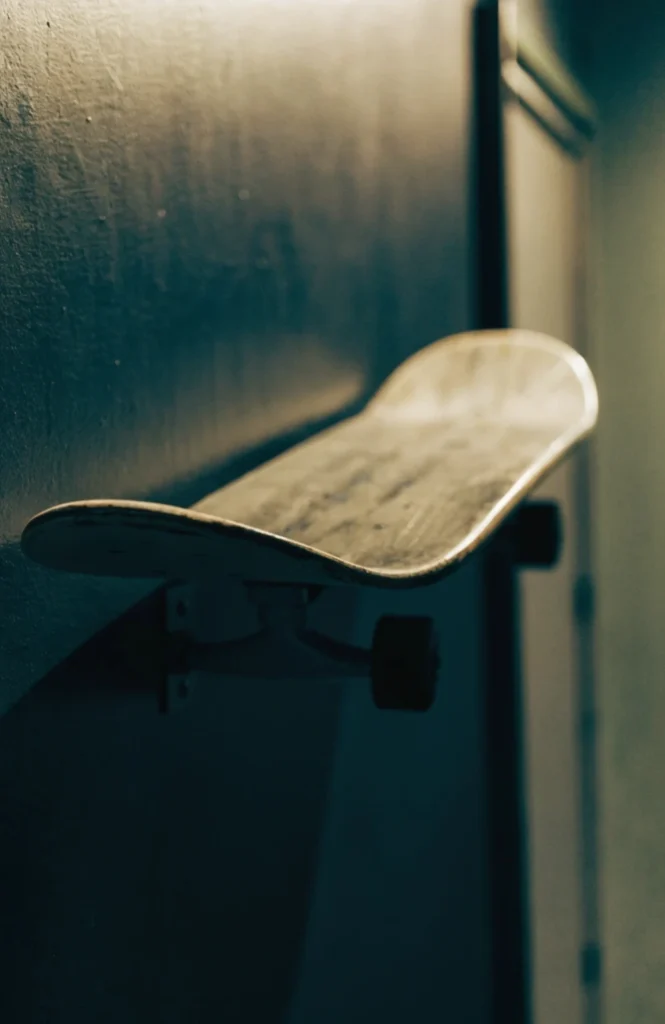
A set of low-profile skateboard wall mounts runs $8 to $15 per deck, and most kits include the screws needed for installation.
It works because a flush, minimal mount keeps the focus on the deck’s graphic rather than on visible hardware, giving the display a cleaner overall look.
2. Choose a Focal Wall Instead of Scattering Boards
Concentrating every deck on one wall instead of spreading them around the room made the display look like a real gallery moment instead of random decoration.
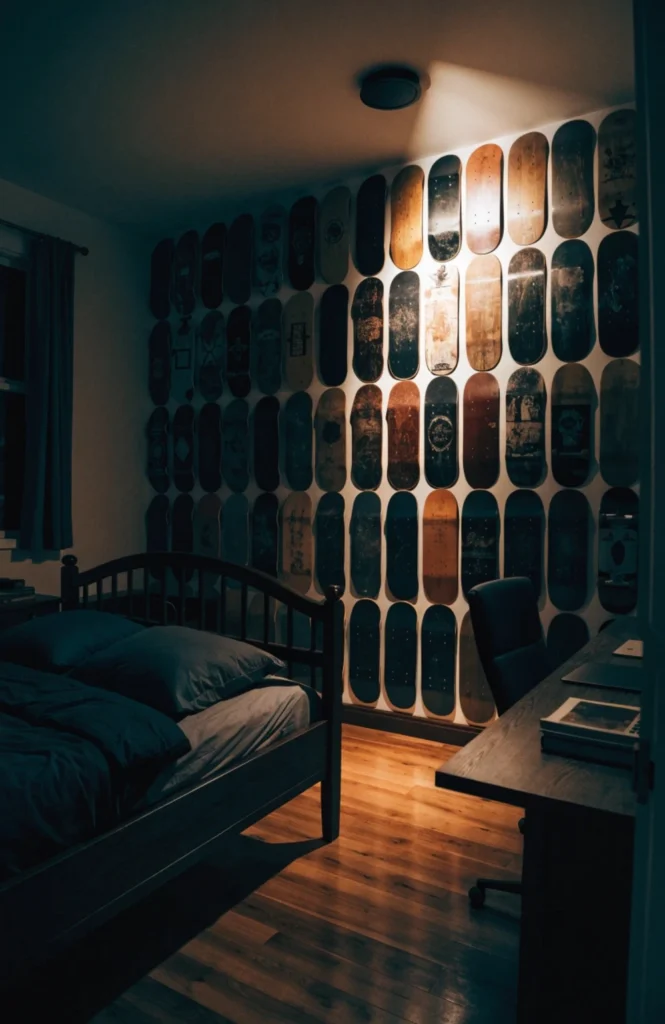
This is a planning decision rather than a purchase, and it doesn’t add any cost beyond the mounts themselves.
It works because concentrating the display on one wall gives it more visual impact than the same number of decks scattered thinly across the whole room.
3. Angle Decks Diagonally for Movement
Tilting a few decks at slight angles instead of keeping everything perfectly vertical gave the wall a sense of motion that felt more true to skating itself.
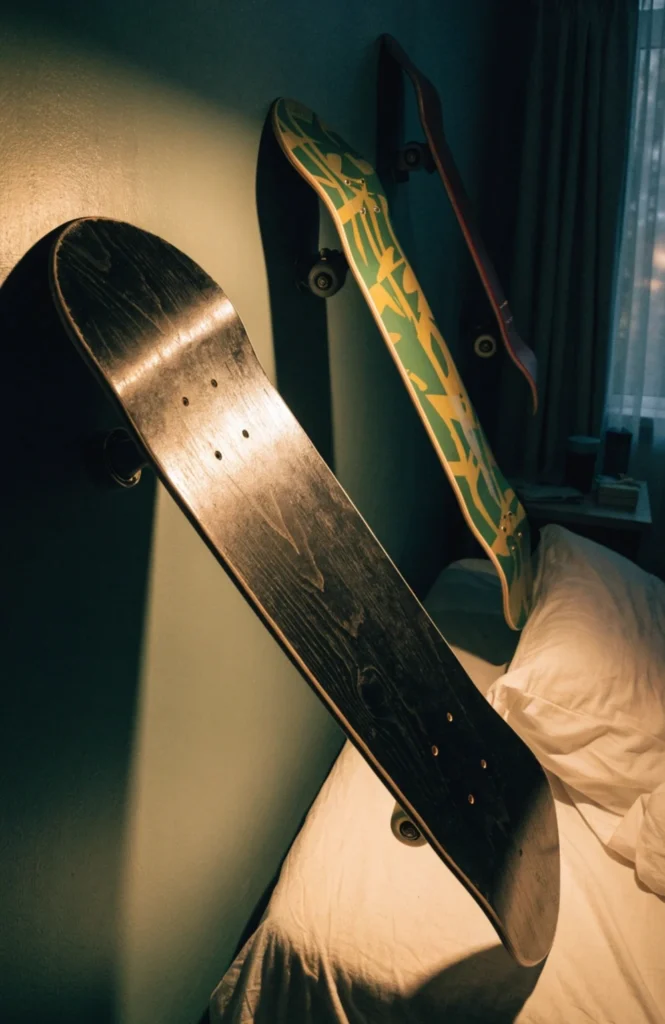
This costs nothing extra beyond the mounts, it’s purely a matter of how you position them during installation.
It works because a slight diagonal angle adds energy and movement to the display, which fits the skate theme better than a rigid, perfectly aligned grid.
4. Mix Mounted Decks with Functional Ones
Keeping one deck on a functional rack instead of every board being purely decorative reminded me the room still belonged to someone who actually skates.
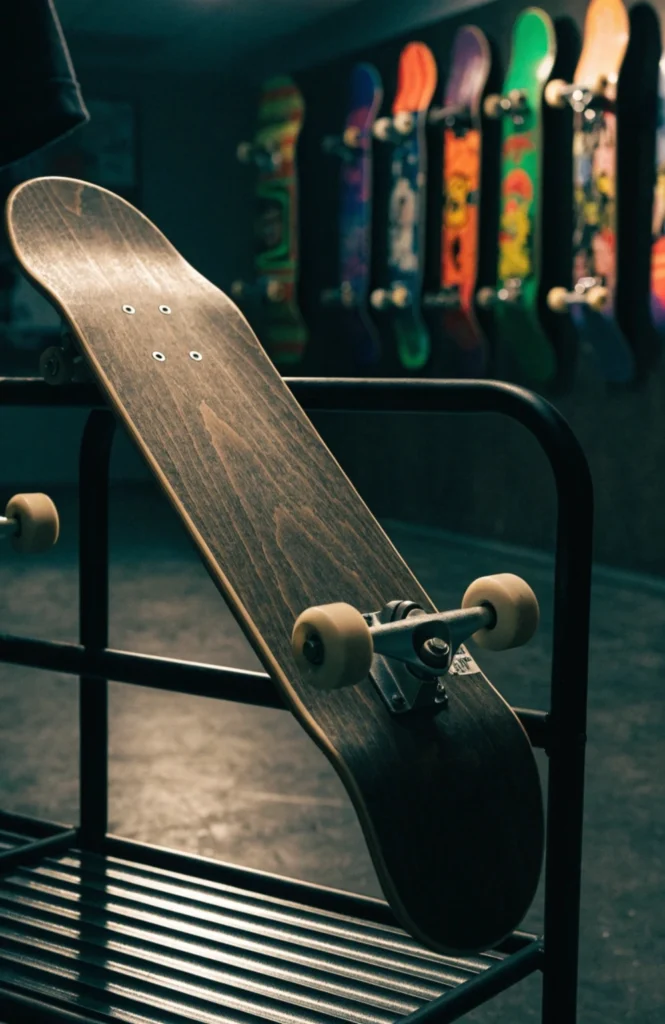
A wall-mounted functional skateboard rack runs $15 to $30 and holds a board ready to grab and go, unlike a permanently mounted display piece.
It works because mixing a functional rack among the decorative decks keeps the room feeling lived-in and actually used, not just staged for looks.
Skateboard Deck Arrangements
5. Create a Grid Pattern with Matching Decks
Arranging identical-sized decks in a clean grid gave the wall a more graphic, gallery-like feel than a loose scatter of mismatched sizes.
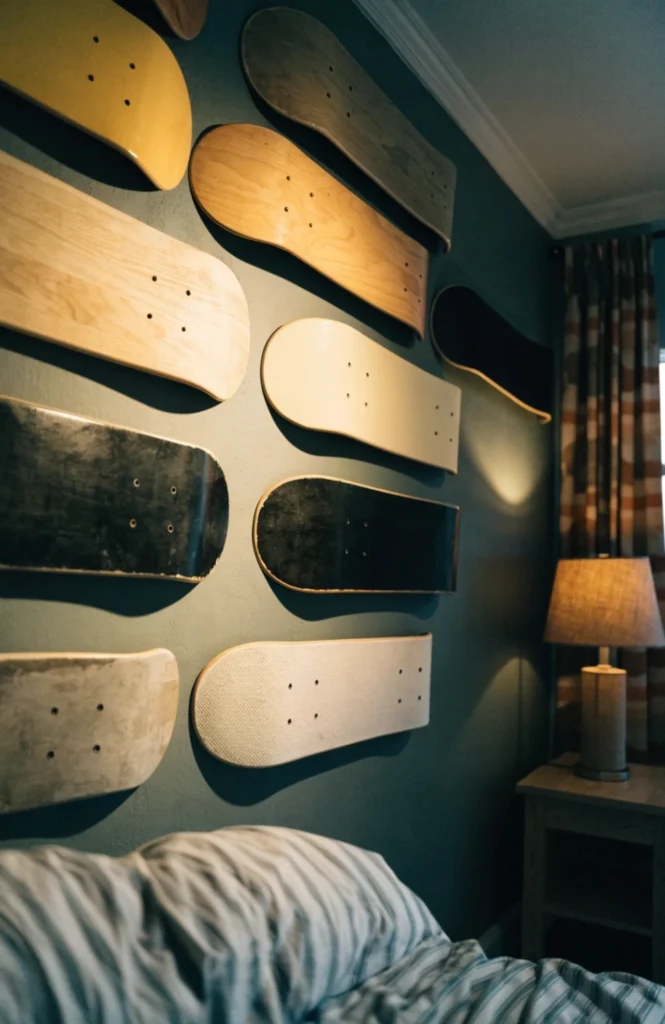
New or secondhand decks run $15 to $50 each depending on brand and graphics, so a grid of four to six decks costs $60 to $300 total.
It works because a uniform grid reads as a deliberate, curated collection, similar to how a gallery wall of matching frame sizes looks more intentional than mismatched ones.
6. Build an Asymmetrical Cluster Arrangement
Grouping decks in a loose, asymmetrical cluster instead of a rigid grid felt more authentic to the skate culture the room was going for.
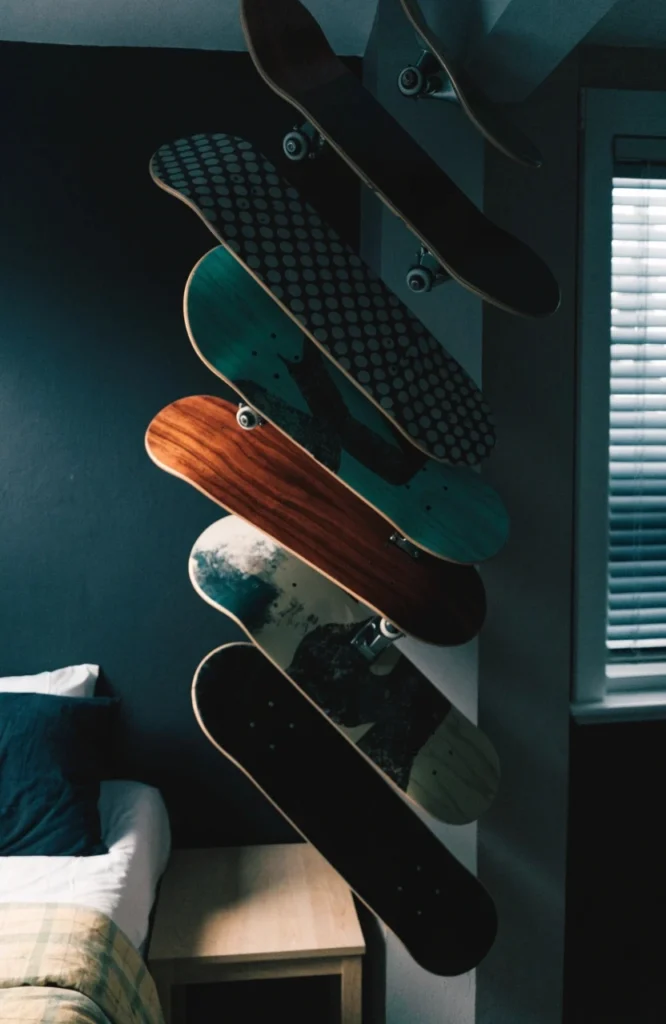
This uses the same decks and mounts as a grid layout, just arranged with varied spacing and overlap rather than uniform alignment.
It works because an asymmetrical layout feels more organic and collected over time, which tends to fit a skate aesthetic better than a perfectly ordered grid.
7. Use a Single Statement Deck as a Centerpiece
One bold graphic deck mounted alone above the bed made more of a statement than a whole wall of smaller ones.
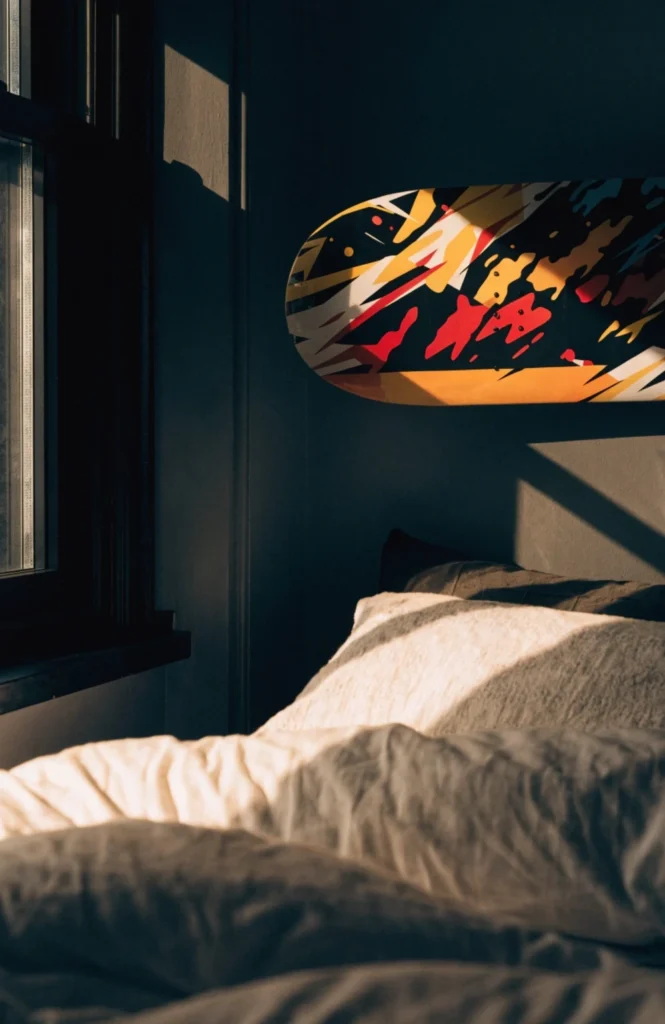
A single standout deck with striking graphics runs $25 to $60, and mounting it alone gives it room to be the clear focal point.
It works well in smaller rooms where a full wall of decks might feel like too much, letting one strong graphic carry the whole theme.
8. Layer Decks of Different Sizes for Depth
Mixing a few smaller cruiser decks in with standard-sized ones added variety that a uniform set of identical boards didn’t have.
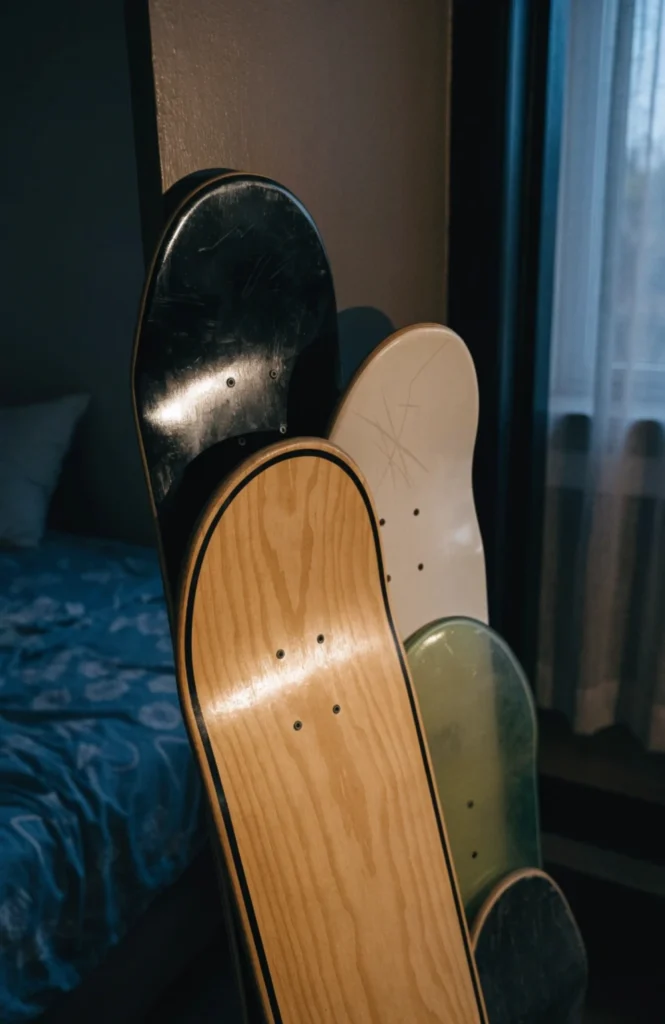
Decks in varying sizes, from mini cruisers to standard decks, run $15 to $50 each depending on size and brand.
It works because varied sizes add visual depth to the arrangement, the same principle that makes any grouped display more interesting than uniform, identical pieces.
Complementary Wall Elements
9. Add Concert or Skate Brand Posters
A couple of skate brand posters mixed in with the mounted decks filled gaps between boards without needing more decks than the collection actually had.
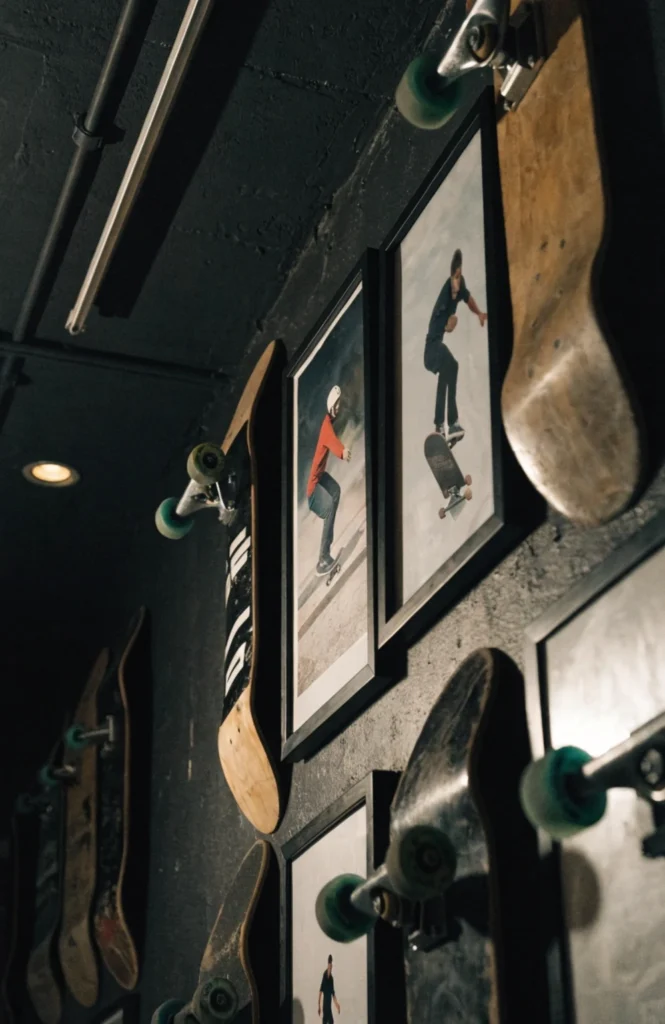
Posters run $10 to $25 each, and simple black frames for a few of them cost another $10 to $20 per frame.
It works because posters fill gaps between decks at a lower cost than adding more boards, and they reinforce the skate and music culture the room is drawing from.
10. Include Black and White Photography
A black and white action shot from a local skate park added a more personal, less commercial touch than the branded posters alone.
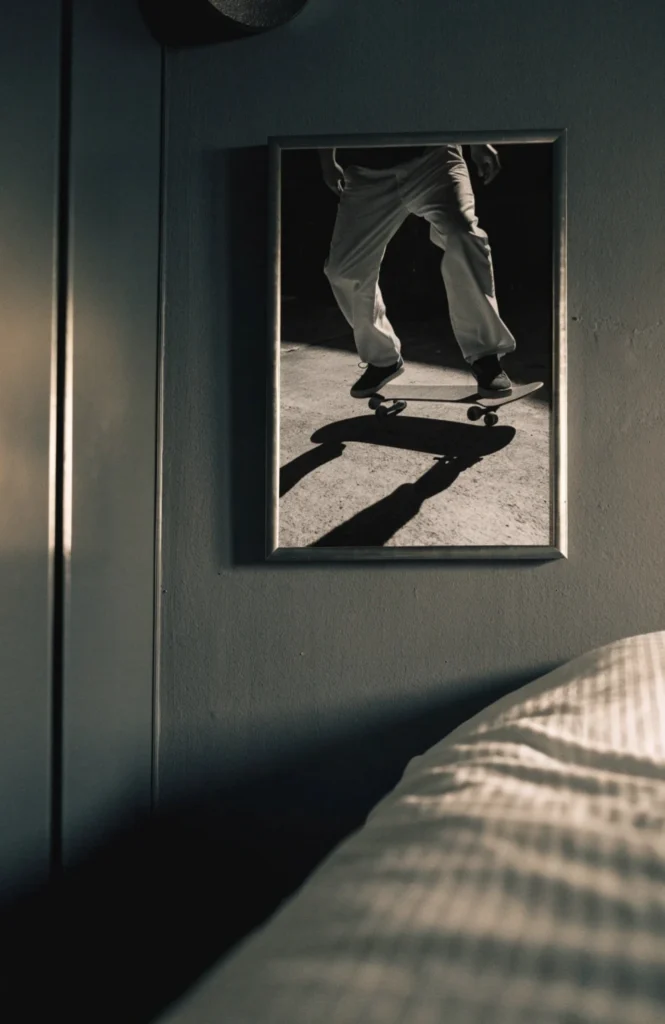
A printed black and white photo in a simple frame runs $15 to $35 depending on size.
It works because black and white photography adds a more editorial, less commercial feel to the wall than branded posters alone, balancing the display’s overall tone.
11. Add Neon Signage for an Edgy Accent
A small neon sign added a genuinely edgy focal point that the decks and posters alone couldn’t achieve on their own.
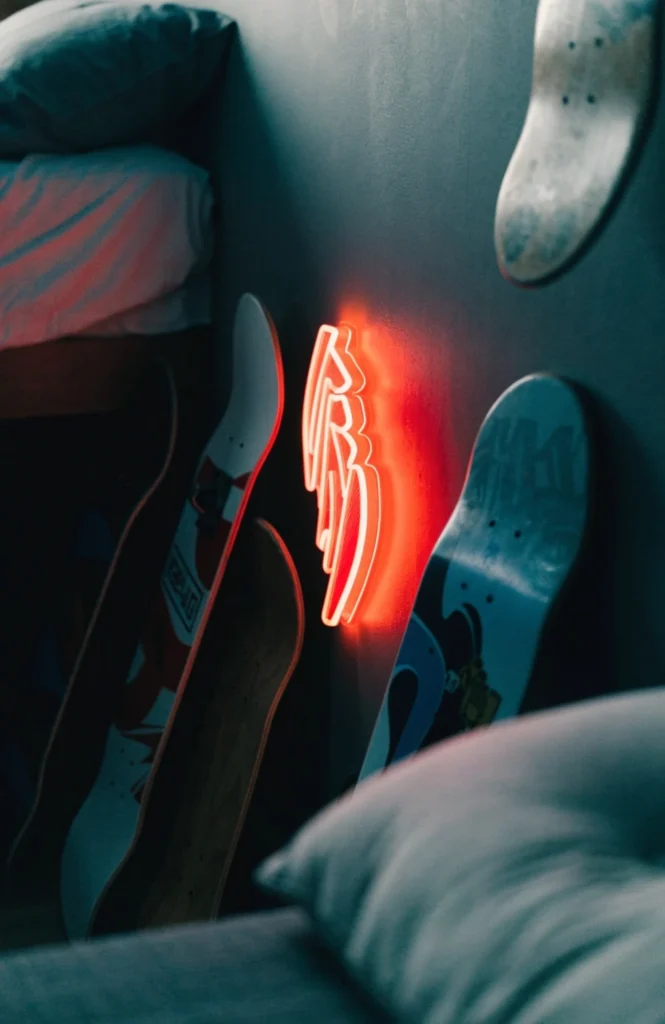
An LED neon-style sign runs $30 to $70 depending on size and design, considerably cheaper than real glass neon.
It works because neon adds both color and a genuinely edgy visual element, and LED versions run cool enough to leave on for hours without any real neon safety concerns.
12. Use Stickers or Decals on a Feature Panel
A dedicated panel covered in stickers gave all the loose skate stickers a real home instead of them ending up stuck randomly across the room.
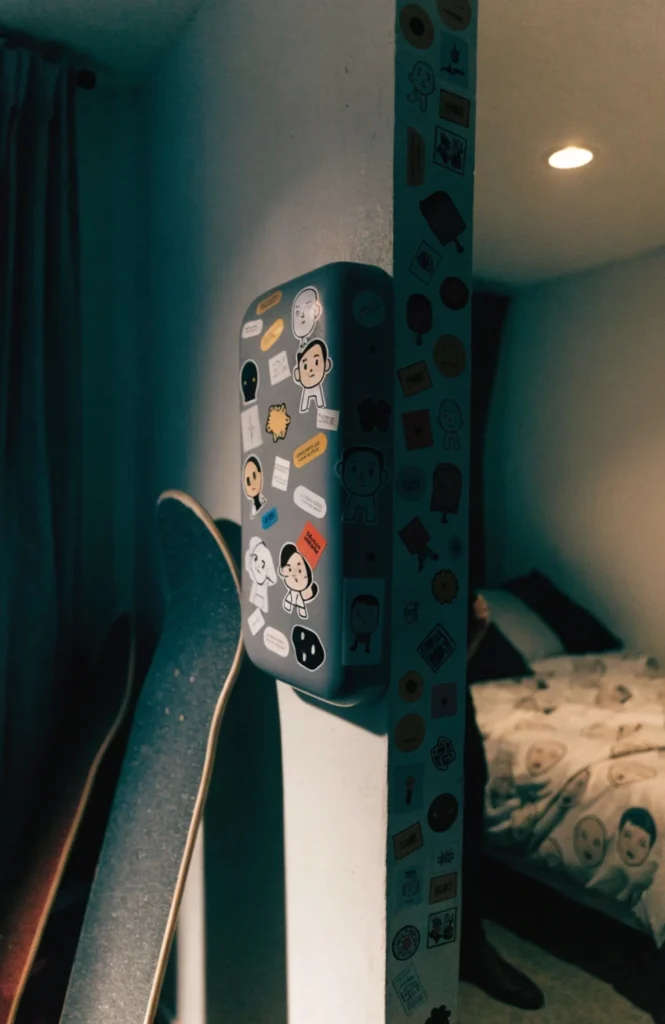
A plain wood or metal panel to cover in stickers runs $15 to $30, and stickers themselves typically cost $2 to $5 each if you’re building up a collection.
It works because it contains an inherently chaotic collection, stickers, into one defined panel rather than letting them spread randomly across walls and furniture.
Color and Lighting
13. Paint an Accent Wall in Charcoal or Black
Painting the focal wall a deep charcoal made every colorful deck graphic pop far more than it did against the room’s original white wall.
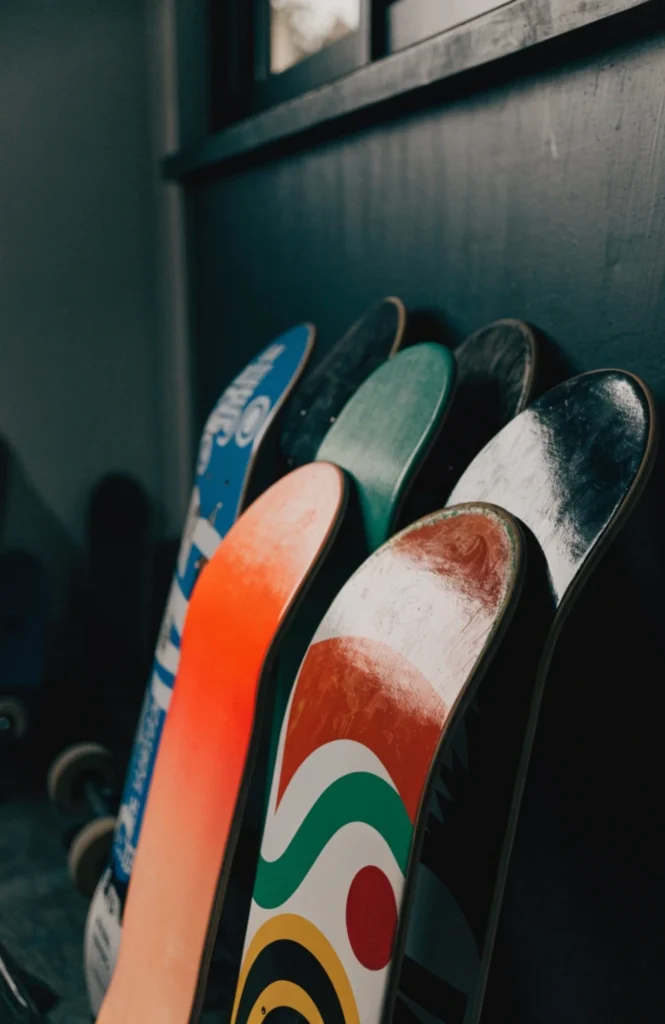
A quart of charcoal or matte black paint runs $18 to $30, and most single accent walls need just one to two quarts.
It works because a dark background makes colorful deck graphics stand out more dramatically than they would against a plain white wall.
14. Add Track Lighting to Highlight the Display
A small track light aimed at the deck wall gave it the same spotlight treatment a real gallery would use.
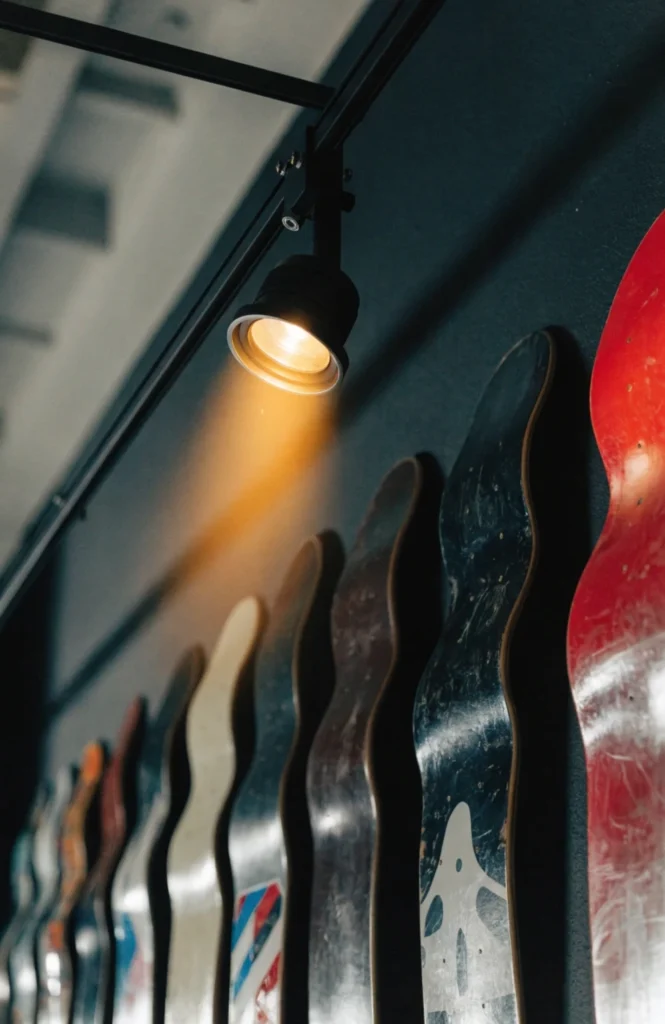
A small plug-in track light kit runs $30 to $60 and requires no hardwiring for a basic setup.
It works because directed lighting treats the deck display like actual gallery art, drawing more attention to it than the room’s general ambient lighting alone.
15. Use LED Strip Lighting Behind the Boards
A strip of color-changing LED lights behind the decks added a glow that made the whole wall feel like it belonged in a skate shop.
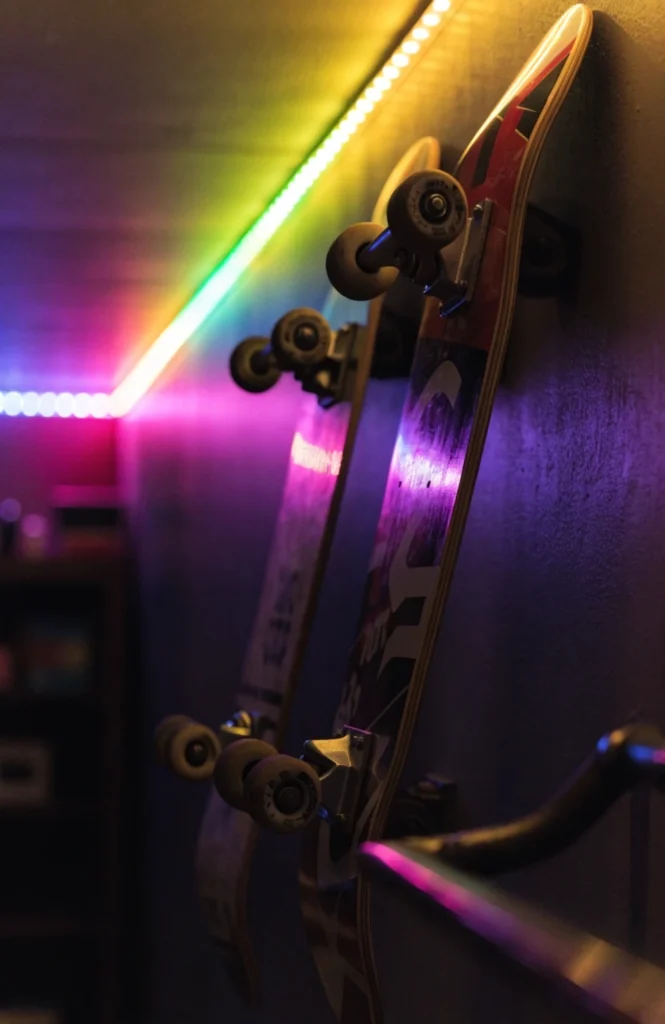
A color-changing LED strip light kit with remote runs $15 to $30 and mounts easily with adhesive backing.
It works because backlighting adds a glowing edge behind the decks, and color-changing versions let the room’s mood shift without needing to change any physical decor.
16. Add a Colorful Graffiti-Style Mural Panel
A small graffiti-style panel behind the display added the kind of bold color the rest of the room’s neutral tones were missing.
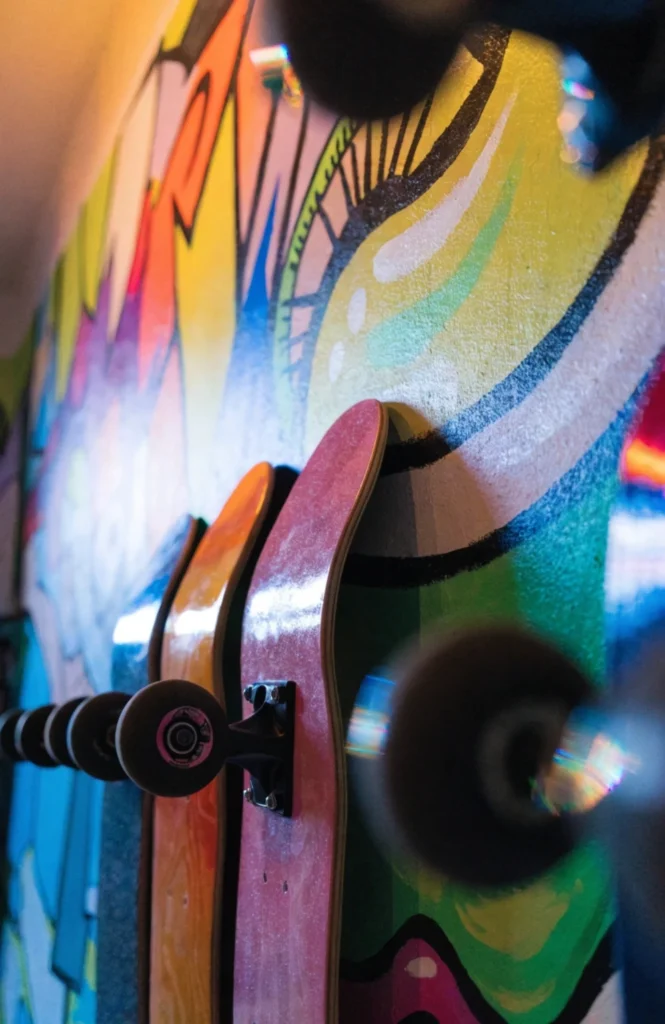
A pre-painted graffiti-style panel or removable wallpaper mural runs $40 to $90 depending on size.
It works because it introduces bold, saturated color that reinforces the street and skate culture aesthetic without requiring a full wall painted freehand.
Shelving and Functional Display
17. Add a Floating Shelf Below the Display
A single floating shelf under the decks gave a spot for smaller collectibles that didn’t fit anywhere else in the arrangement.
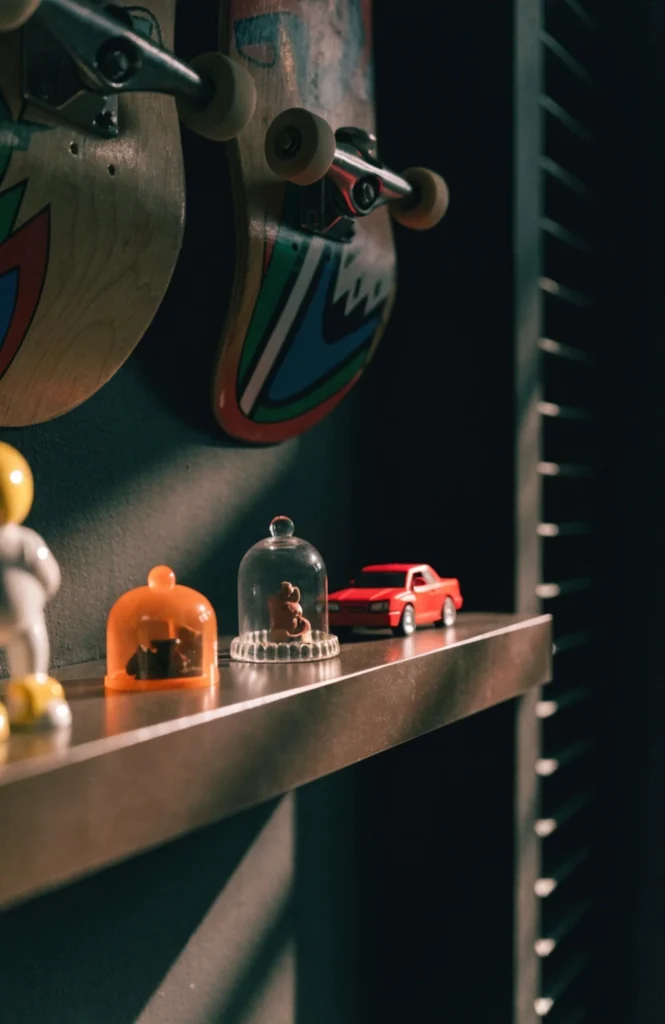
A floating wood or metal shelf runs $20 to $45 depending on length and material.
It works because it adds a functional surface for smaller items, sneaker collectibles, small figures, without competing with the deck display above it.
18. Use a Wall Rack for Extra Boards and Gear
A dedicated rack for helmets and extra wheels kept gear from ending up in a pile on the floor beneath the display.
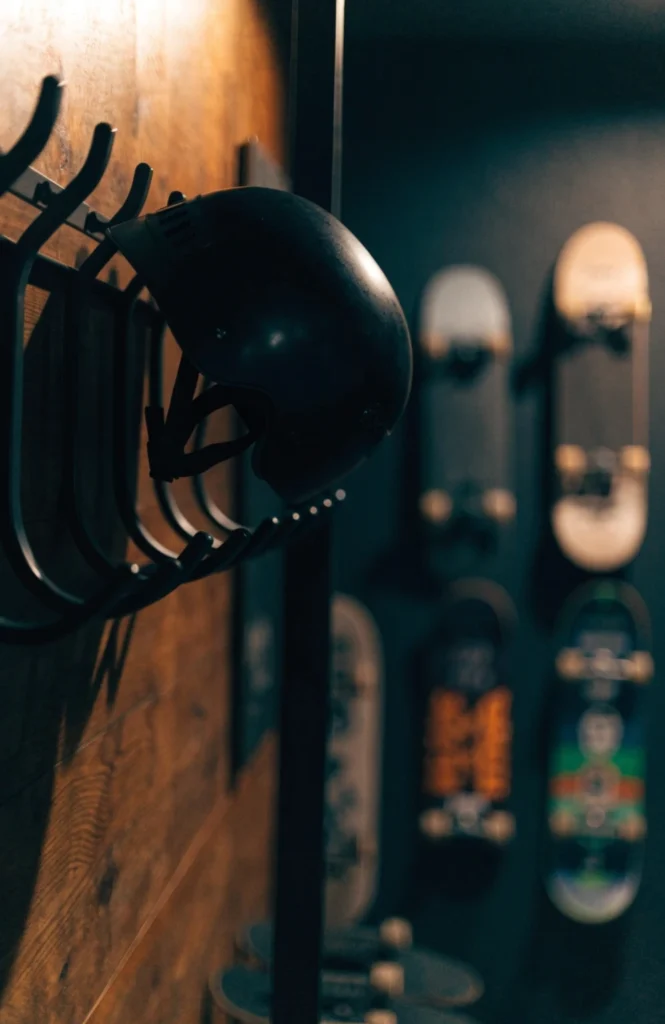
A wall-mounted gear rack runs $15 to $35 and holds helmets, pads, or extra hardware near the boards themselves.
It works because it gives functional gear a defined home near the display, keeping it from cluttering the floor beneath an otherwise styled wall.
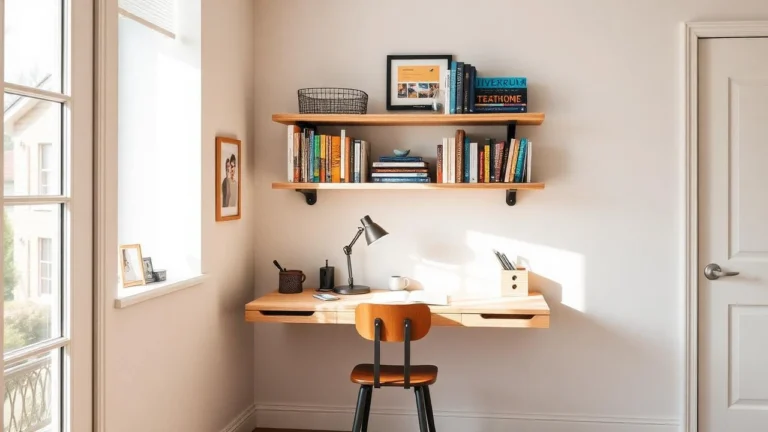
19. Include a Small Desk Area Nearby
Setting up a small desk facing the deck wall meant it became something to look up at while studying instead of decor confined to another part of the room.
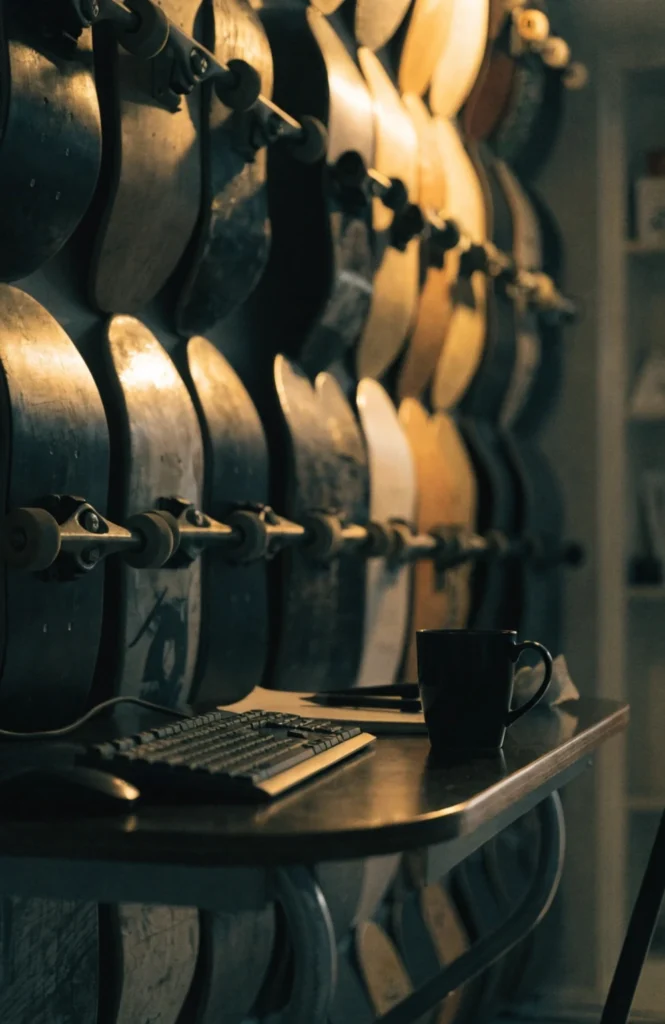
A compact desk runs $80 to $180 depending on size and material, and positioning it to face the display gets the most visual use out of both areas.
It works because it puts the display somewhere it’s actually seen regularly, rather than tucked behind furniture or out of the main sightline of the room.
20. Add a Storage Bin for Helmets and Pads
A simple bin near the door held all the safety gear that used to just get dropped wherever it landed after a skate session.

A canvas or wire storage bin runs $15 to $30 and holds helmets, pads, and other gear that doesn’t need to be on permanent display.
It works because it gives bulkier safety gear a defined, out-of-sight home, keeping the styled wall display from competing visually with everyday equipment.
Conclusion
If you’re starting with just a couple of decks, mount them on a charcoal accent wall with low-profile hardware, that combination alone reads as intentional rather than sparse. Add posters and lighting next to fill in the gaps, then finish with a shelf or rack once the main display is in place. The best skateboard walls aren’t the ones with the most boards, they’re the ones that mix decoration with function, a few decks worth actually riding, not just looking at.
FAQ
How do I mount a skateboard deck without damaging the wall?
Low-profile wall mounts designed specifically for decks use minimal screws and are the standard method, causing far less wall damage than trying to improvise with other hardware.
How many skateboard decks do I need for a wall display?
Even three to four decks can make a strong statement when paired with posters or lighting, you don’t need a huge collection to make the display feel complete.
What wall color works best behind skateboard decor?
Charcoal or matte black backgrounds make colorful deck graphics stand out more than a plain white wall, giving the whole display more visual punch.