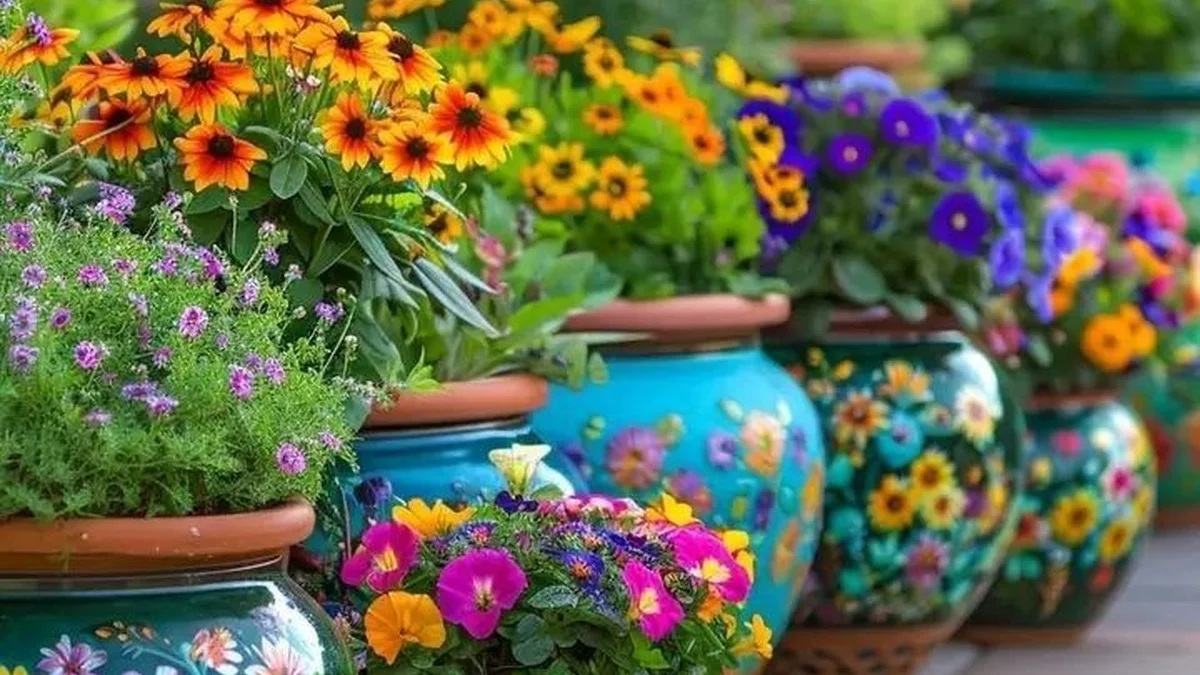
Plain terracotta pots do the job, but painted pots do the job with personality. A little paint turns a 3 dollar pot into the thing people notice first on your porch or patio. Before you pick a color, check what to look for in a good decor pot so the planter itself is right too.
You do not need artistic skill for most of these ideas. Solid colors, stripes, dots, and simple patterns all look great with basic supplies and a steady hand, and mistakes sand off easily.
These 21 ideas cover easy techniques, bold patterns, and themes for every style. Each one includes the paint to use, how to seal it for outdoors, and what it costs, so your pots look good for more than one season.
Quick Picks
- Smallest budget: one solid color of outdoor acrylic paint transforms a terracotta pot for about 3 to 5 dollars.
- Best for beginners: painter tape stripes and sponge dots need zero drawing skill and always look crisp.
- Longest lasting: sealed with an outdoor clear coat, painted pots hold up 2 to 3 seasons before touch ups.
- Easiest kid project: handprints and simple animal faces make sweet gifts and fun afternoon crafts.
Before You Start
- Clean the pots first. Scrub off dirt and soak new terracotta for 30 minutes so paint grips instead of peeling.
- Use outdoor acrylic or patio paint. Craft acrylic works indoors, but outdoor formulas resist sun and rain far better.
- Prime porous terracotta. One coat of primer stops the clay from drinking your paint and gives brighter color.
- Seal when fully dry. Two light coats of outdoor clear sealer protect the design, and seal the inside rim too.
- Let paint cure before planting. Wait 24 to 48 hours so the finish hardens, then add soil and plants.
Easy Paint Techniques
1. Go Bold With One Solid Color
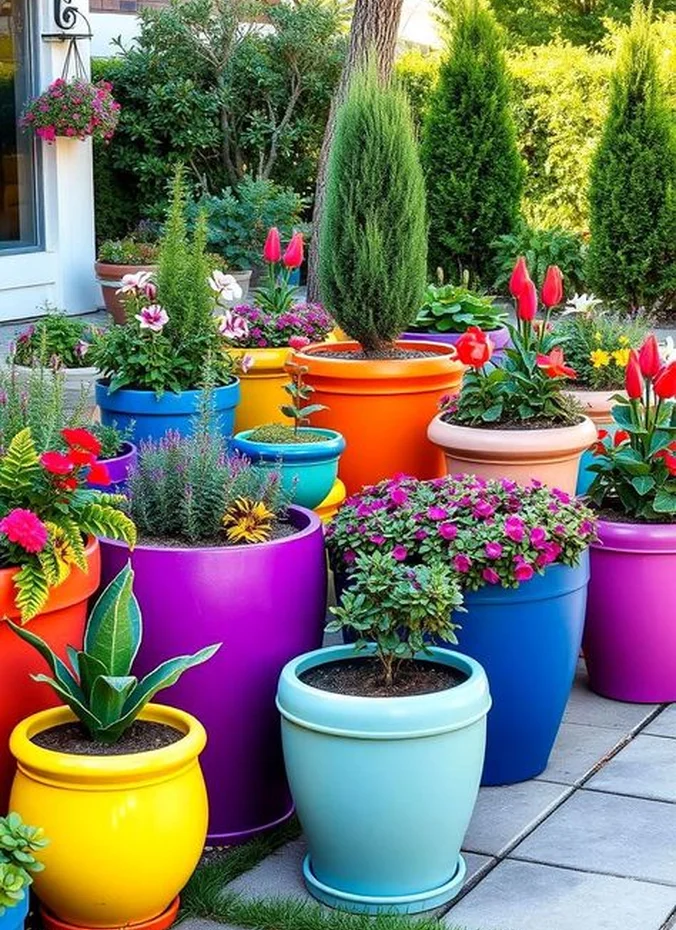
One confident color is the fastest way to make plain pots look designed. Pick a shade that echoes your door, your cushions, or your favorite flowers, and paint a whole group to match.
A small bottle of outdoor acrylic costs 3 to 5 dollars and covers several small pots. Two thin coats beat one thick coat every time for smooth, lasting color. Satin finish paint hides brush marks better than high gloss on the curved clay surface. Group three pots in the same color but different sizes for a display that looks professionally styled.
2. Dip Dye Two Tones
Dip dyeing gives you a crisp two tone pot with almost no skill: paint the top one color, the bottom another, and let the line between them be the design. It looks modern and intentional.
Use painter tape for a sharp line or freehand it for a softer edge. This technique costs nothing extra beyond your two paint colors and looks great in groups of three. Let the first color dry fully overnight before taping, or the tape will pull the paint right off. A clear sealer over the tape line keeps the two colors from bleeding together in the rain.

3. Try a Soft Whitewash
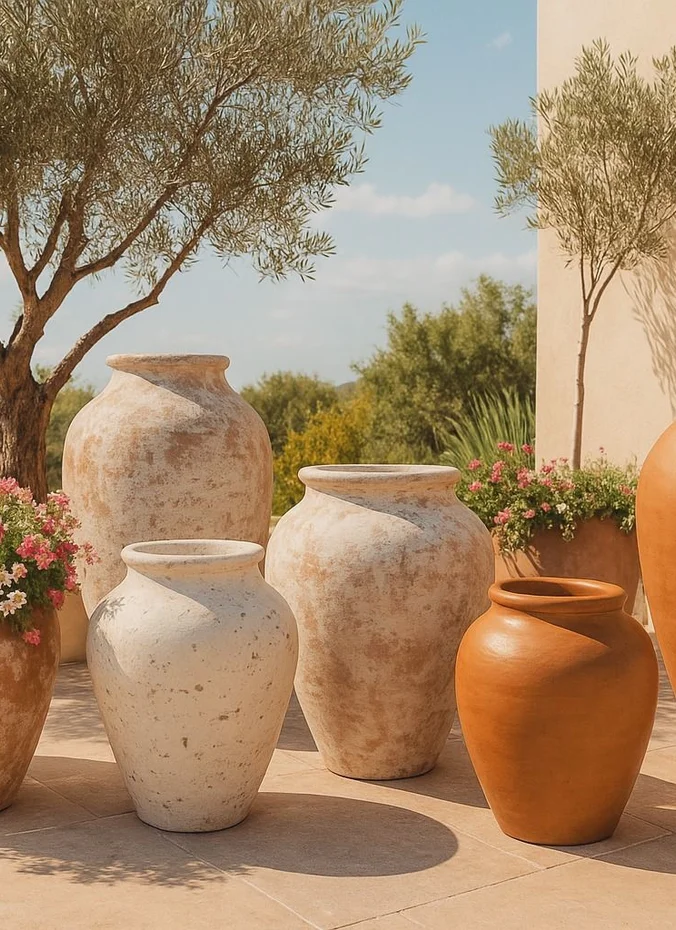
Whitewash lets the warm terracotta show through a thin veil of white, which suits farmhouse and coastal styles perfectly. It softens bright orange clay into something calm and pretty.
Mix white paint half and half with water, brush it on, and wipe back the excess with a rag. The whole project takes 20 minutes plus drying time. Test the wash on the pot bottom first to dial in the exact transparency you want. Whitewashed pots look best with trailing plants like pothos or string of pearls spilling over the edge.
4. Paint a Chalkboard Patch
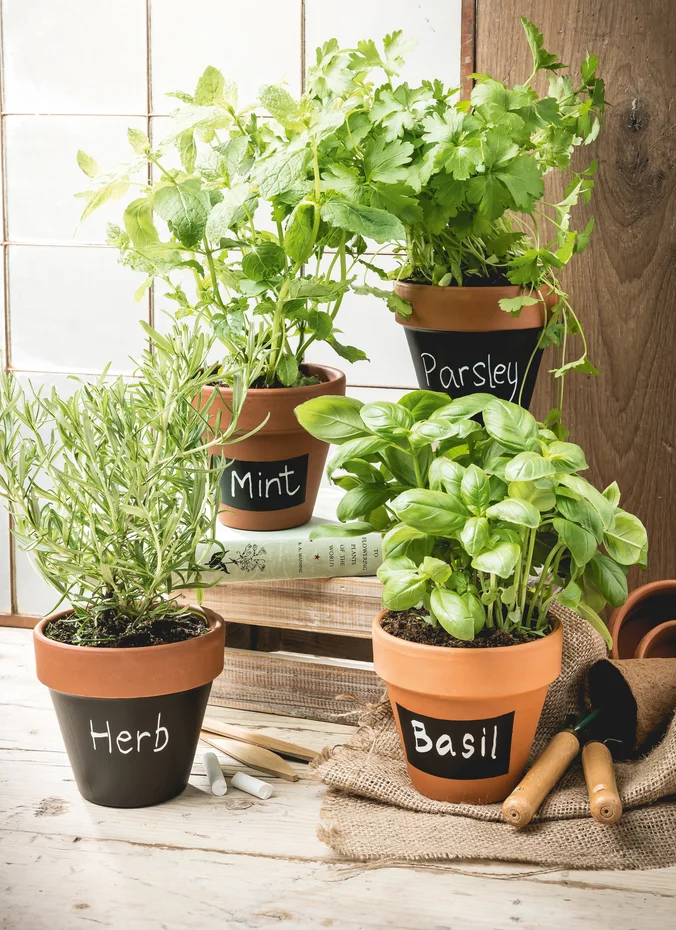
A chalkboard paint rectangle on each pot lets you label herbs and seedlings in chalk and change the names anytime. It is practical for a kitchen herb garden and cute everywhere else.
Chalkboard paint costs 6 to 10 dollars for a small can. Paint two coats on a smooth patch, cure it for 3 days, then rub chalk over the whole area once before writing for the cleanest lines. Keep a damp cloth nearby while labeling so you can wipe and rewrite until the lettering looks right. Chalk markers give brighter lines than stick chalk and still wipe off with a damp cloth.
5. Add a Metallic Rim
A metallic gold or copper rim makes even a simple painted pot look expensive. It catches the light beautifully and pairs well with deep greens, navy, black, or white bases.
Metallic craft paint runs 4 to 7 dollars. Paint the rim with a small flat brush in two coats, and keep the line even by resting your hand on the pot edge as you turn it. Metallic paint shows every fingerprint while wet, so handle the pot by the base only. Copper and rose gold metallics look softer than yellow gold against pastel pot colors.

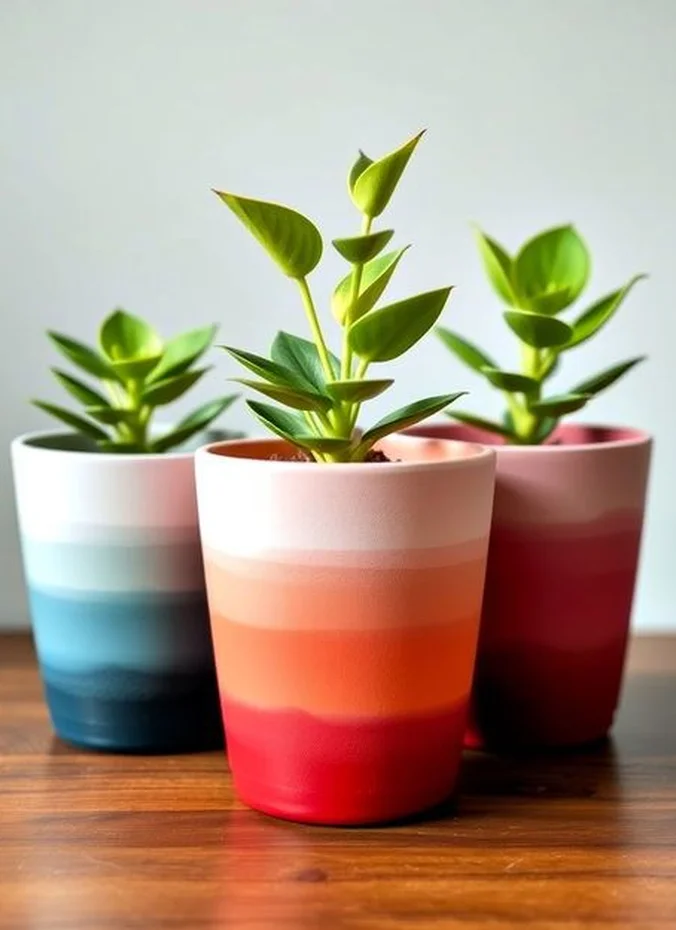
6. Fade an Ombre Blend
Ombre blends one color into another from dark to light, and it is easier than it looks. Paint the dark shade on the bottom third, the light shade on top, and blend where they meet while both are wet.
Work in small sections so the paint stays workable. A sponge helps feather the transition, and the result looks like a sunset on a pot. A dry brush dragged lightly over the blend zone softens any harsh line between the two shades. Three shades of the same color family blend more smoothly than two high contrast colors.
7. Splatter a Terrazzo Effect
Flicked speckles of paint mimic trendy terrazzo stone and hide imperfections beautifully. No two pots look alike, which is exactly the charm.
Load an old toothbrush with thinned paint and flick it with your thumb for fine speckles. Layer two or three colors over a neutral base and seal well, since texture holds dirt. Lay newspaper under and around the pot, since flicked paint travels farther than you expect. A matte sealer keeps the speckled texture looking like real stone instead of shiny plastic.

Patterns That Pop
8. Paint Crisp Stripes
Stripes are timeless and foolproof with painter tape. Horizontal stripes feel classic, vertical stripes feel modern, and a single wide stripe feels bold and graphic.
Tape the design, press the edges firmly, and paint two thin coats. Pull the tape while the second coat is still slightly tacky for the sharpest lines. Remove the tape at a 45 degree angle while the paint is tacky for the cleanest possible edge. Thin stripes near the rim plus one wide stripe at the base create a pleasing balanced pattern.
9. Dot It With Polka Dots
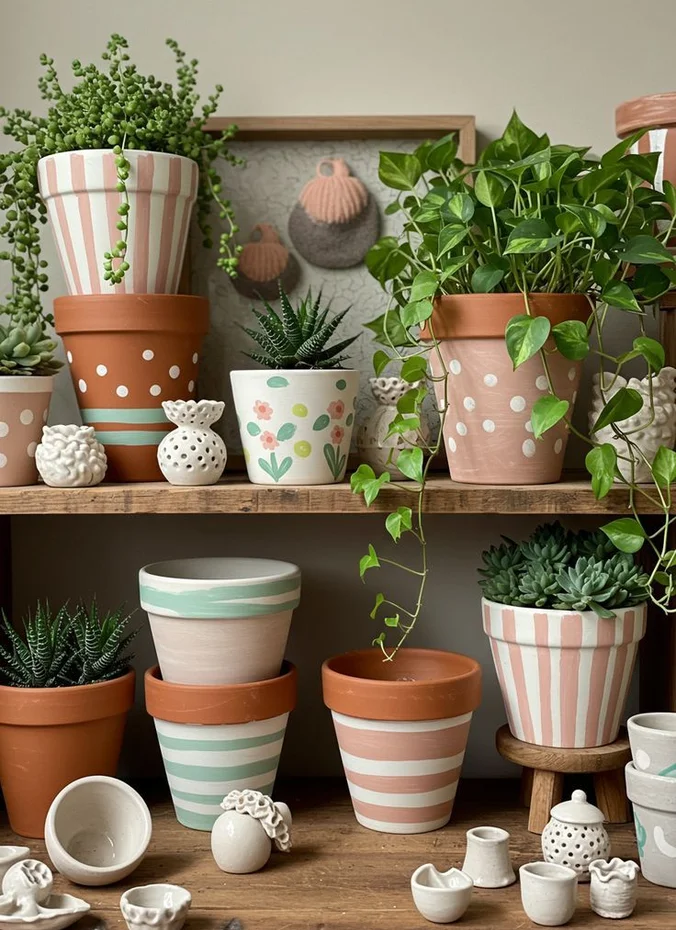
Polka dots bring instant cheer and need nothing fancier than a pencil eraser or a round sponge. Even spacing matters more than perfect circles, so mark a light grid first.
Dip your tool, dab off the excess, and press straight down. Two sizes of dots in two colors look playful without getting busy. Chalk a faint grid on the pot first so the dot spacing stays even all the way around.
10. Block a Bold Checkerboard
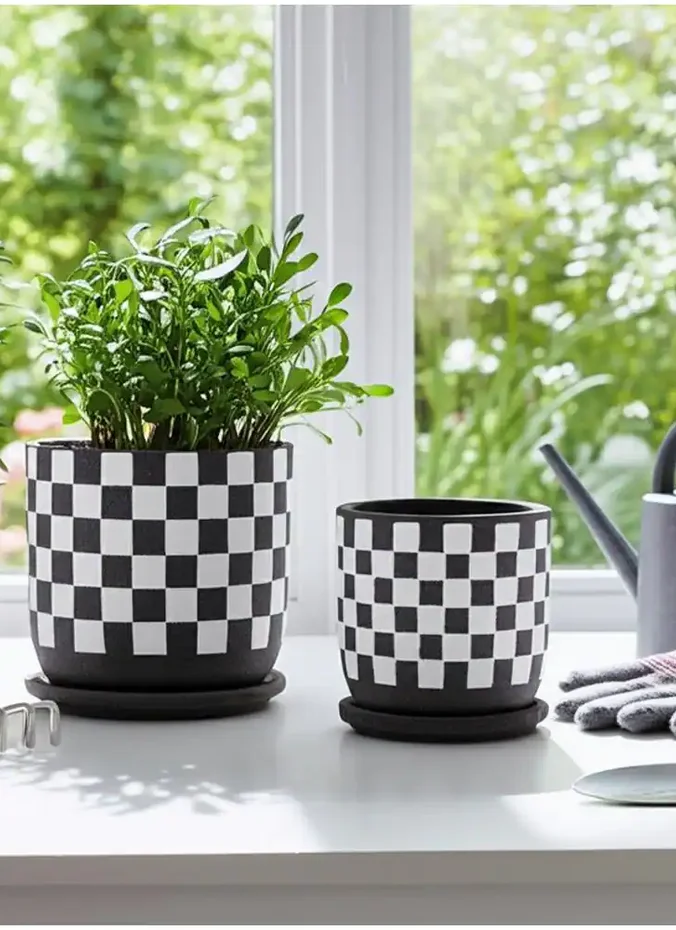
A checkerboard pattern turns a pot into a statement piece that anchors a whole porch grouping. Black and white is classic, but try green and cream or blue and white for a softer take.
Map the squares with tape on a light base coat, then fill alternating squares. It takes patience, but the graphic payoff is huge for such cheap materials. Start the pattern at the front center of the pot so any uneven spacing lands at the back.
11. Triangle Up a Geo Print
Triangles and simple geometric shapes give pots a modern, designed feel that suits succulents and snake plants perfectly. Stick to two or three colors for a clean look.
Cut triangle stencils from cardstock or tape and sponge the paint on lightly. Repeat the same motif around the pot for a pattern that looks printed. A ruler and pencil make quick work of marking even triangles before you paint.
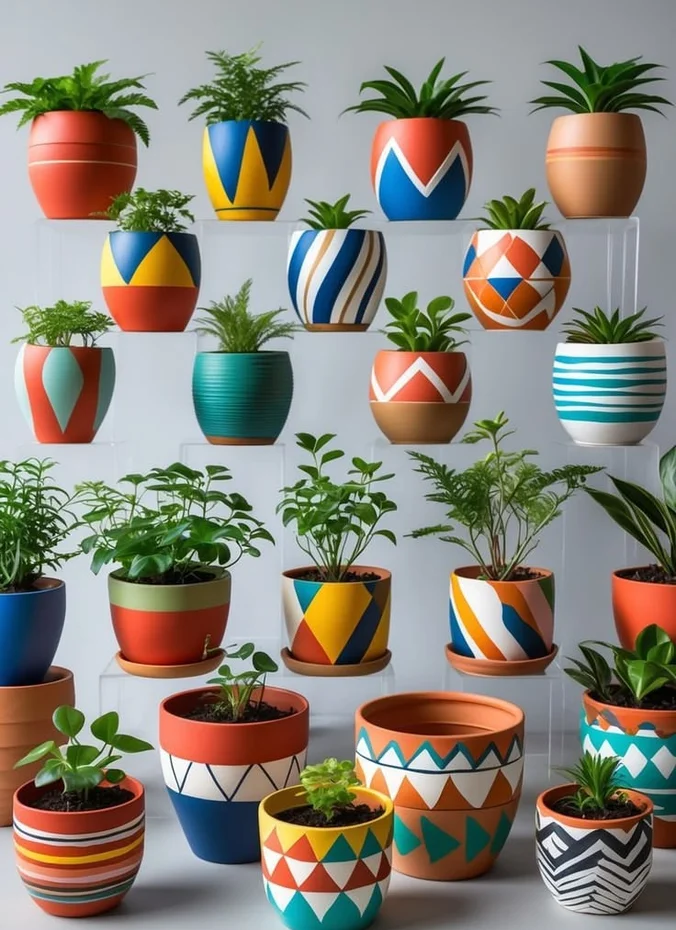
12. Hand Paint Simple Florals
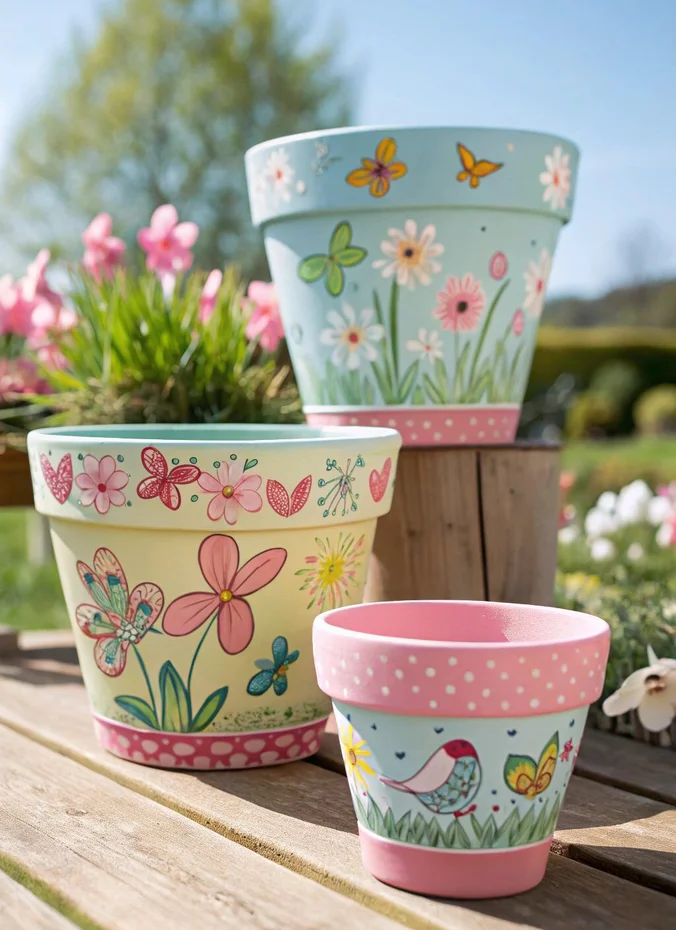
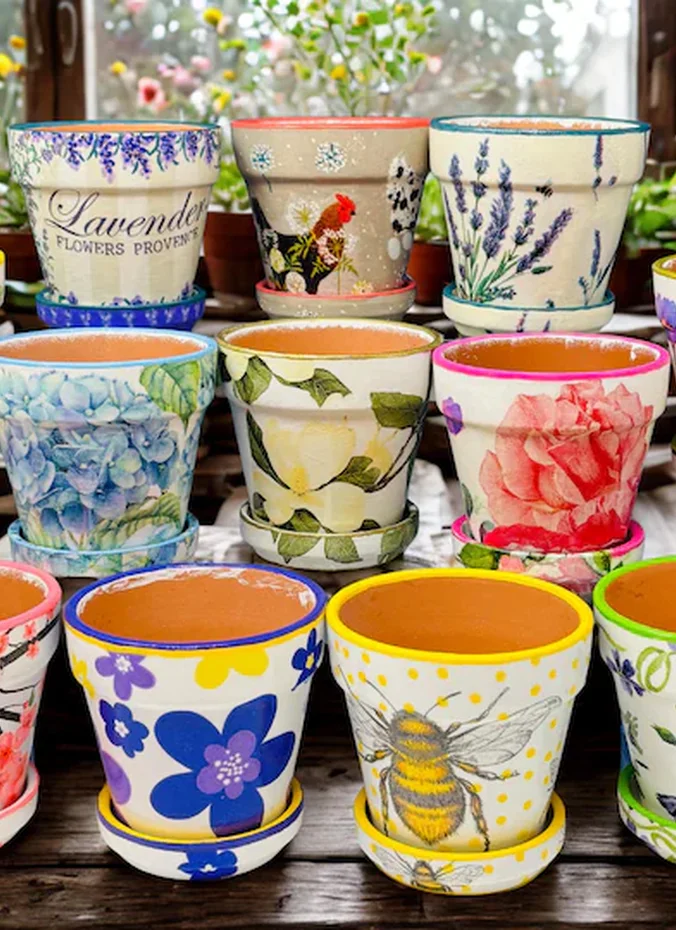
Simple five petal flowers and leaf sprigs look charming even from a shaky hand, because folk art style forgives wobbles. Cluster them around the pot like a garland.
Use the round end of a paintbrush for petals and a liner brush for stems. For more planting inspiration to fill these pots, see our window box flower ideas, which suit containers too. Practice the flower shape on paper first, then commit to the pot with confidence.
13. Zest It With Citrus
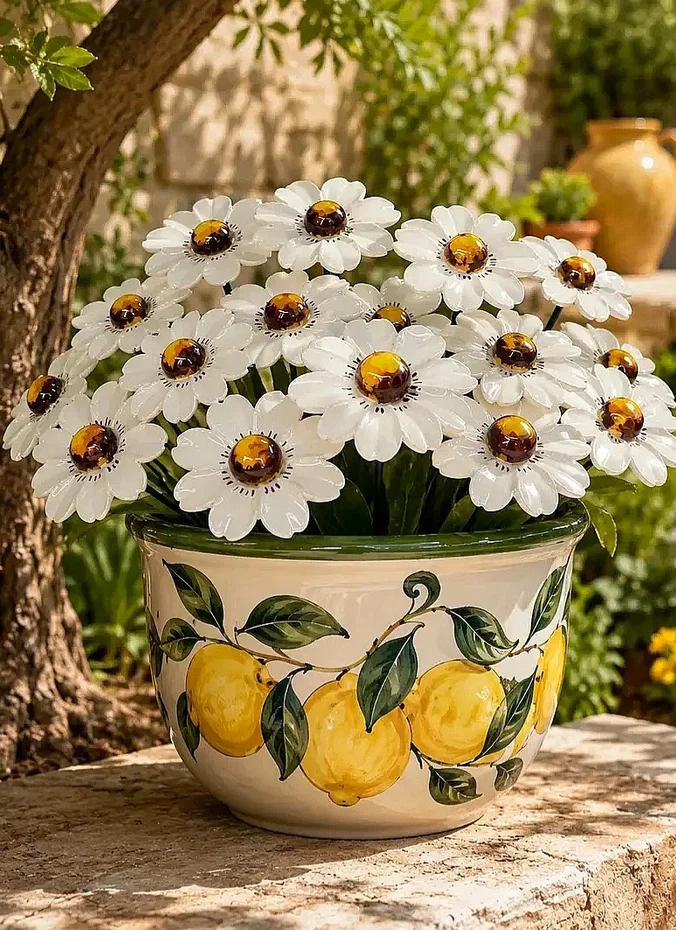
Lemons, oranges, and limes painted on a white or navy pot scream summer and look adorable with actual citrus or herbs planted inside. The shapes are simple: circles, leaves, and a few dots.
Sketch lightly in pencil first, then fill with bright yellows and greens. A clear sealer is a must here, since bold colors fade fastest in full sun. A tiny brush and a steady table edge to rest your wrist on keep the small details crisp.
14. Rainbow Arch, Boho Style
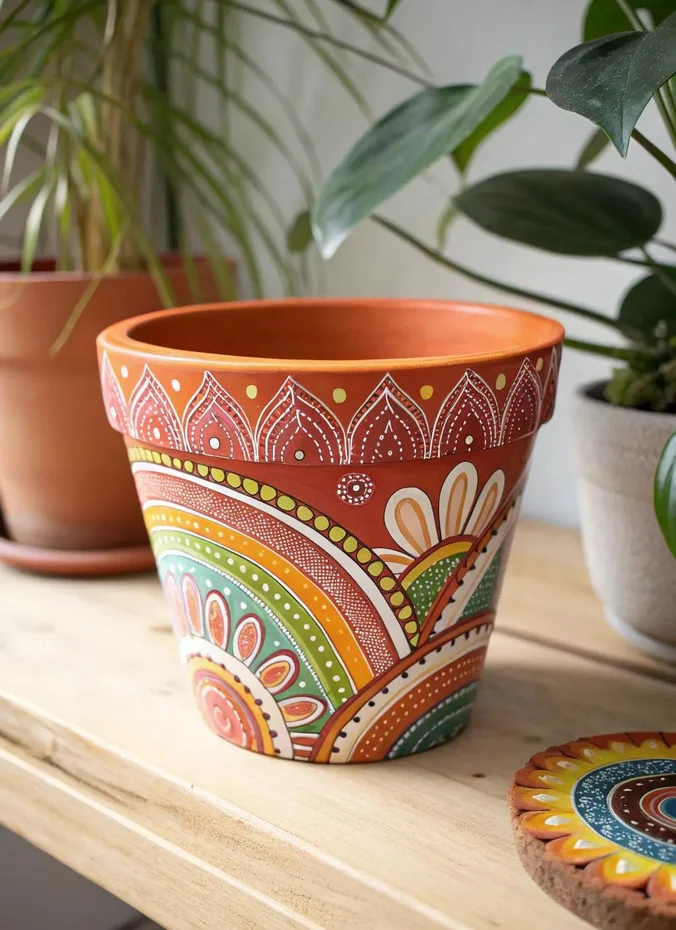
The boho rainbow arch in warm terracotta, mustard, and sage tones fits right in with rattan and macrame decor. It is just concentric arches, so anyone can paint it.
Draw the arches with a compass or trace lids in graduated sizes. Keep the palette earthy and the lines slightly imperfect for that handmade boho feel. Trace each arch with chalk before painting so the curves stay smooth and even.
Themes for Every Style
15. Farmhouse White With Lettering
Matte white pots with simple black lettering like herbs, bloom, or gather nail the farmhouse look. They look especially good grouped with galvanized metal and wood.
Use letter stencils or a steady hand with a paint pen for the words. If you love this style, our raised garden bed ideas pair beautifully with farmhouse containers. A clear matte sealer over the lettering keeps the words readable through seasons of watering.

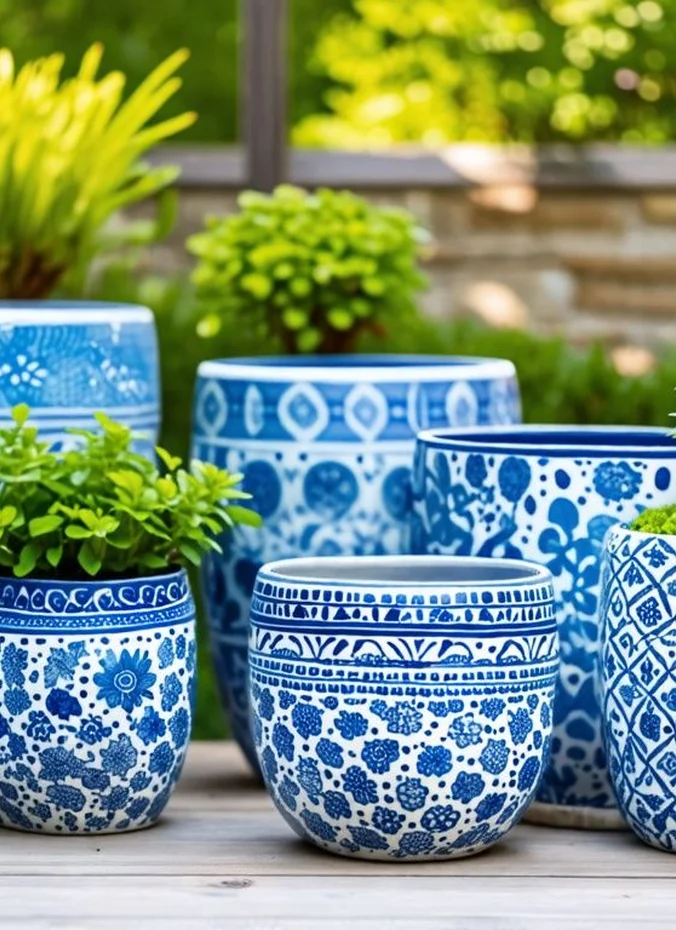
16. Coastal Blues and White
Layered blues and crisp white bring the coast to any porch, no ocean required. Try horizontal waves, simple stripes, or a blue base with a white rim.
Pick two blues plus white and keep the designs simple. These pots look best with grasses, succulents, or white flowers that echo the palette. Tape wave lines look best with two shades of blue plus the white base showing through.
17. Paint Cute Animal Faces
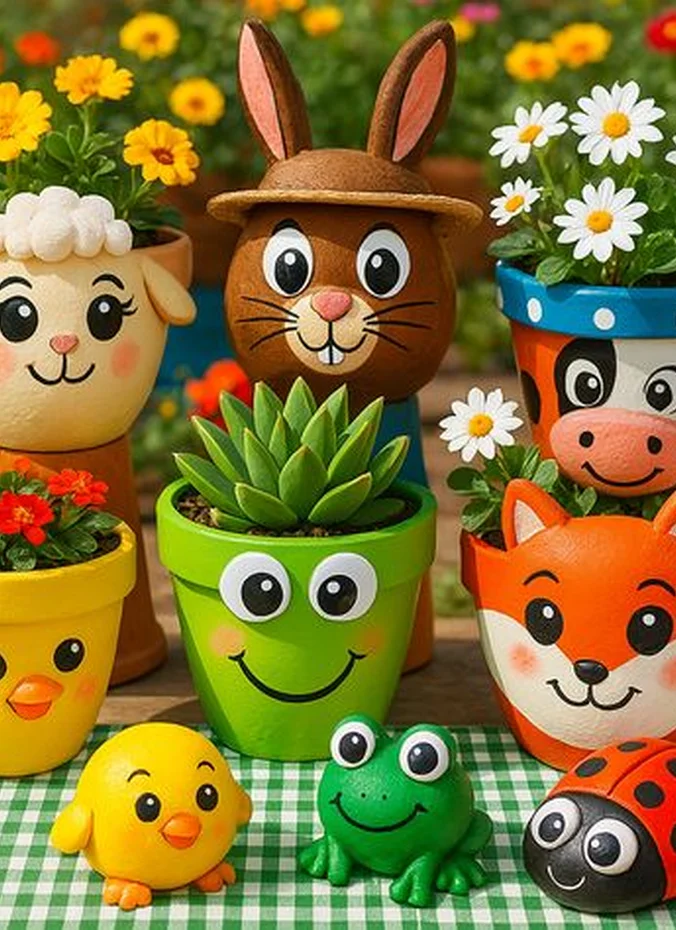
Cat, fox, or bee faces on small pots delight kids and adults alike. The designs are just circles, triangles, and dots arranged into a face, so they are very forgiving.
Paint the face on the upper third of the pot and let the plant become the hair. These make wonderful handmade gifts for teachers and grandparents. Seal the finished faces with two coats since kids will want to touch and carry these pots.
18. Number Big Pots for the Porch
Painting your house number on a large porch pot is practical and pretty: guests find you faster and the entry looks styled. Use big bold numerals in a contrasting color.
Stencil the numbers for clean edges and seal extra well, since porch pots face the most weather. Flank the door with a matching pair for symmetry. Reflective paint for the numbers helps delivery drivers spot your house after dark.

19. Let Kids Add Handprints
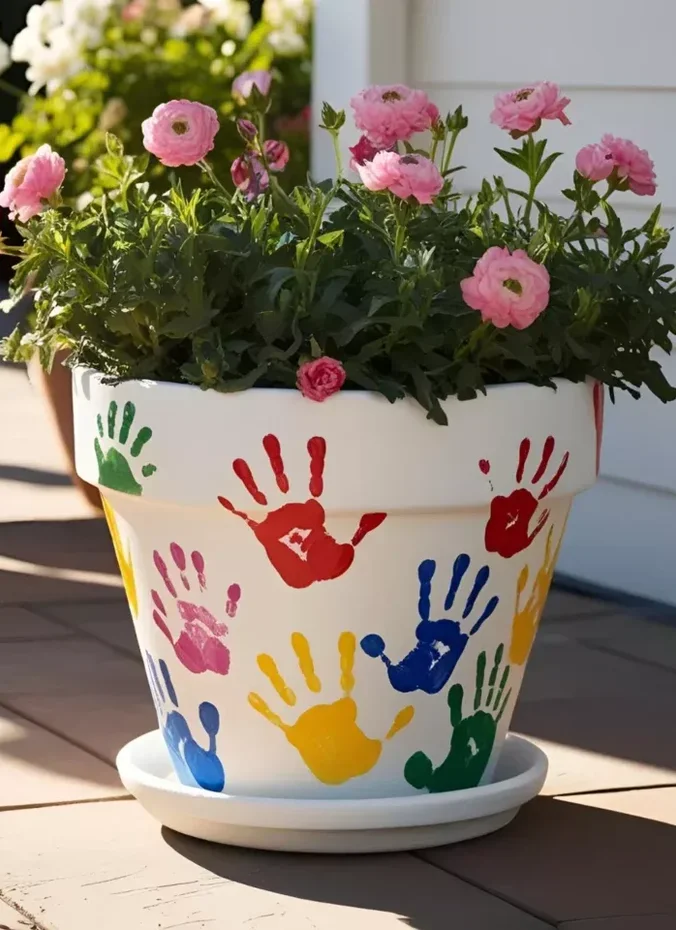
Handprint flowers, with each print as a petal set, make keepsake pots grandparents will treasure. It is a perfect rainy afternoon craft that ends with a real gift.
Use washable paint for little hands and seal the finished pot well. Write the child name and year on the bottom before sealing to preserve the memory. Have wipes ready for quick cleanup, since painted hands touch everything within reach.
20. Go Spooky for Fall
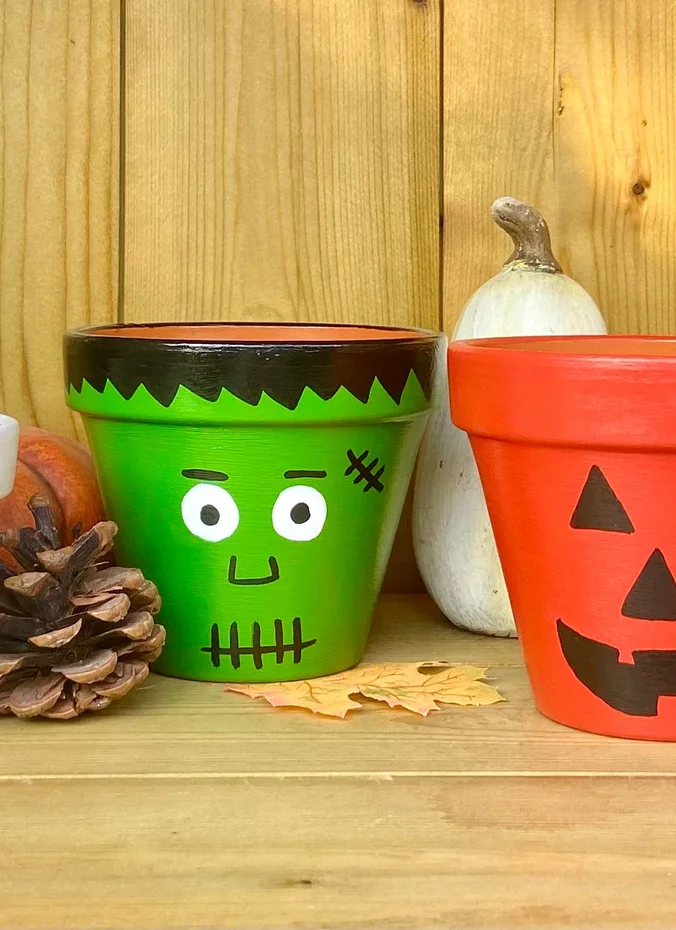
Jack o lantern faces, ghosts, and candy corn stripes turn ordinary pots into fall decor that holds mums beautifully. They are fun to paint and kids love helping.
Orange, black, and white craft paint is all you need. These are seasonal, so skip the heavy sealer and just bring them in when frost threatens. Battery tea lights inside the pots make the painted faces glow on Halloween night.
21. Gild a Holiday Pair
Deep red and green pots with gold accents hold poinsettias or small evergreens through the holidays. They look far more special than plain nursery pots by the front door.
Paint them in November and seal well for winter weather. For styling the rest of your seasonal entry, our small patio decorating ideas work for porches too. Store holiday pots nested with tissue between them so the paint survives until next year.

Budget Tips
- Buy the small bottles. A 2 ounce bottle of outdoor acrylic paints three to four small pots, so you never need big cans.
- Start with terracotta. At 1 to 3 dollars each, clay pots are the cheapest canvas and the paint grips them best.
- Share supplies with a friend. Split the cost of primer, sealer, and brushes, then host a painting afternoon together.
- Use what you own for tools. Old toothbrushes splatter, pencil erasers dot, and credit cards make straight lines.
- Paint in batches. Priming and sealing six pots at once wastes far less product than doing them one by one.
- Shop end of season sales. Garden centers clear out pots for 50 to 75 percent off in late summer, perfect for fall projects.
- Seal everything. A 8 dollar can of clear sealer protects 20 plus pots and doubles how long the paint lasts outdoors.
Common Mistakes to Avoid
- Skipping the cleaning step. Dusty or damp pots make paint peel within weeks, so scrub and dry every pot first.
- Painting in direct hot sun. Paint dries too fast to level out, leaving brush marks, so work in shade or on mild days.
- Using indoor craft paint outside. It fades and flakes in one season, while outdoor formulas last two to three years.
- Forgetting to seal the inside rim. Water wicks from the soil into unsealed paint and lifts it from behind.
- Planting before the paint cures. Wet soil against soft paint ruins the finish, so wait the full 24 to 48 hours.
Frequently Asked Questions
What kind of paint stays on flower pots outdoors?
Outdoor acrylic or patio paint made for porous surfaces lasts longest on terracotta. Always prime first and finish with two coats of outdoor clear sealer for 2 to 3 seasons of color. Look for paint labeled for outdoor or multi surface use, and avoid anything marked indoor only.
Do I need to seal painted flower pots?
Yes, sealing is what makes the paint survive rain and sun. Use a clear outdoor sealer in two light coats, including the inside rim where soil moisture creeps in. Spray sealers give the smoothest finish, while brush on types offer thicker protection in fewer coats.
Can you paint plastic flower pots?
You can, but plastic needs a plastic primer or a paint made for plastic, since regular acrylic peels off the slick surface. Lightly sanding first also helps the paint grip. Rinse plastic pots with soapy water first, since mold release residue from manufacturing repels paint.
How long should painted pots dry before planting?
Wait 24 to 48 hours after the final sealer coat so the finish fully hardens. Planting too soon traps moisture against soft paint and ruins the design. In humid weather give it an extra day, since moisture in the air slows the curing process.
Will painted pots hurt my plants?
No, once fully cured the paint is inert and safe. Just avoid painting the inside where roots sit, and make sure drainage holes stay open so water flows freely. Terracotta still breathes through the unpainted bottom, which keeps roots healthy.
Conclusion
Painted flower pots are proof that small projects make big impressions. A few dollars of paint and an afternoon turn forgettable containers into the colorful heart of your porch or garden.
Start with the technique that matches your confidence. Solid colors and stripes never fail, and you can work up to florals and faces once you see how forgiving paint really is.
Seal them well, plant them full, and enjoy. Your garden gets an instant lift, your pots get a second life, and you get the satisfaction of making it all yourself.