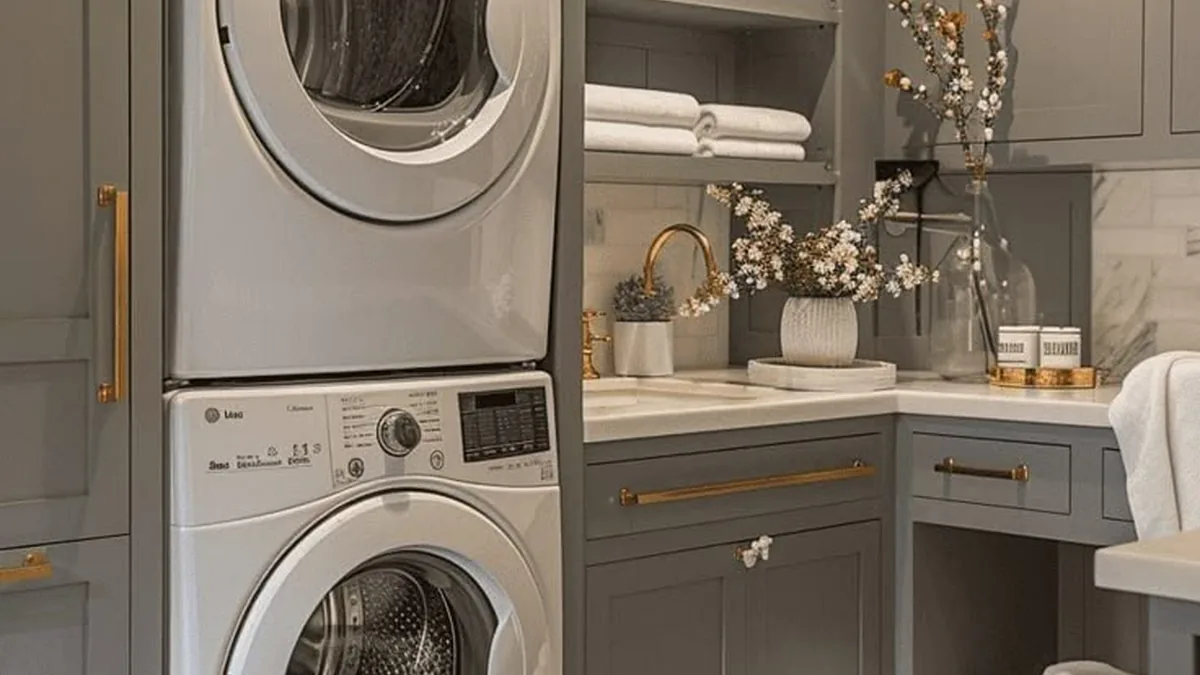
A stacked washer and dryer is the ultimate small space hero. It washes and dries a full family load in the footprint of a single machine, freeing up precious square feet for storage, folding, or just breathing room.
The challenge is making the stack look good and work well, not just fit. Venting, vibration, detergent storage, and reaching the controls a
ll need a little thought. Get those right and a stacked pair feels like a luxury instead of a compromise.
These 21 ideas cover where to put the stack, how to store everything around it, and the finishing touches that make laundry day nicer. If your whole laundry area is tight, see our small narrow laundry room ideas for more space saving layouts.
Quick Picks
- Best hidden setup: a hallway closet stack behind sliding barn doors disappears when laundry day ends.
- Best storage add: open shelves above the machines plus a slim rolling cart beside them.
- Best renter trick: a curtain instead of doors and peel and stick wallpaper, both fully reversible.
- Best small upgrade: puck lights under the shelves and a rug runner make the nook feel finished.
Before You Start
- Measure twice. Record the width, depth, and height of your space plus the door swing before shopping.
- Check venting and hookups. Dryers need an exterior vent or a ventless model, and both machines need water and power.
- Confirm the floor is level and strong. Stacked machines vibrate, and a wobbly floor makes noise and walking.
- Buy the stacking kit. Use the kit made for your exact models so the dryer locks safely onto the washer.
- Plan detergent storage. Pods, liquid, and dryer sheets need a home within reach of the machines.
Making the Stack Work in Small Spaces
1. Stack in a Hallway Closet
The hallway closet is the classic stacked laundry spot for a reason. It is central, out of the way, and usually just deep enough for a full size pair.

Remove the closet doors or replace them with bifold or sliding doors for full access. Add a shelf above the machines for detergent, and a small light inside since closets are dark. Keep a folding drying rack nearby for delicates.
Check that the closet depth fits your machines with room for hoses behind. Most need 30 to 32 inches of depth including connections, so measure before you commit.
2. Stack Inside a Kitchen Cabinet Run
In small homes and apartments, the kitchen often hosts the laundry. A stacked pair built into the cabinet run looks intentional and keeps plumbing simple.
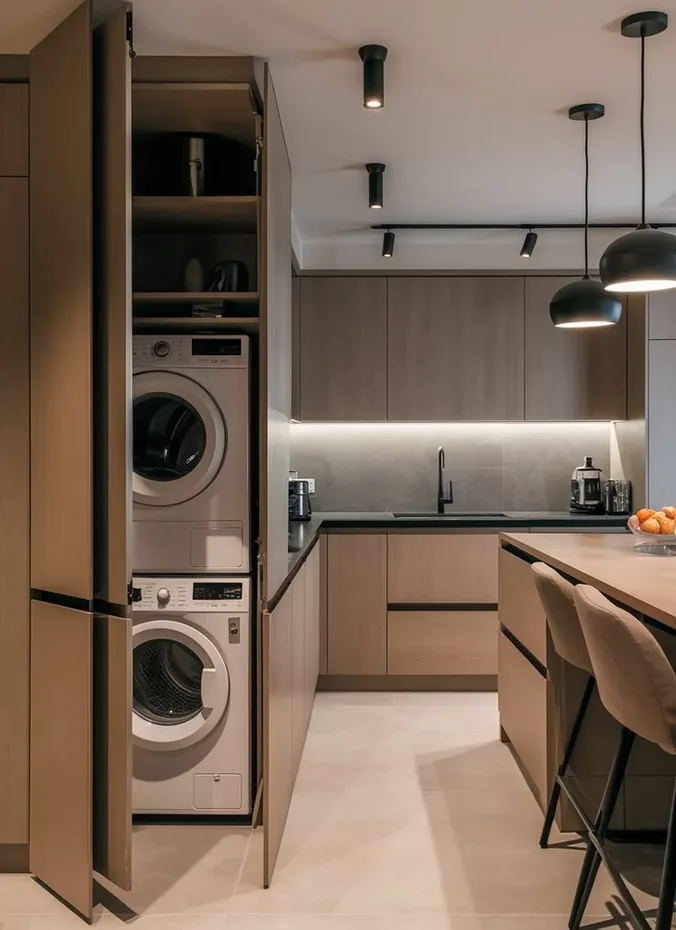
Use a tall cabinet frame around the machines with a matching door or open front. Leave ventilation gaps at the top and sides, since washers and dryers need air flow to run safely and last longer.
This setup shines in rentals where the kitchen is the only room with water hookups. A curtain panel on a tension rod hides the machines in seconds when guests come over.
3. Stack Behind Sliding Barn Doors
Sliding barn doors turn a laundry nook into a design feature. Closed, they look like stylish wall decor. Open, they reveal a fully working laundry station.

Mount the track on a header board fixed to studs, since the doors plus hardware are heavy. Barn doors need wall space on one or both sides to slide open, so this suits wider walls better than tight hallways.
Choose a door style that matches your home, from rustic wood to sleek painted panels. Soft close hardware stops the satisfying but loud slam.
4. Stack in a Bathroom Nook
Tucking the stack into a bathroom nook puts laundry steps from the shower and the hamper. Dirty clothes go straight in, clean clothes come straight out.

Use a moisture resistant paint and good ventilation, since bathrooms are humid. A pocket door or curtain keeps the machines hidden without stealing swing space from the small room.
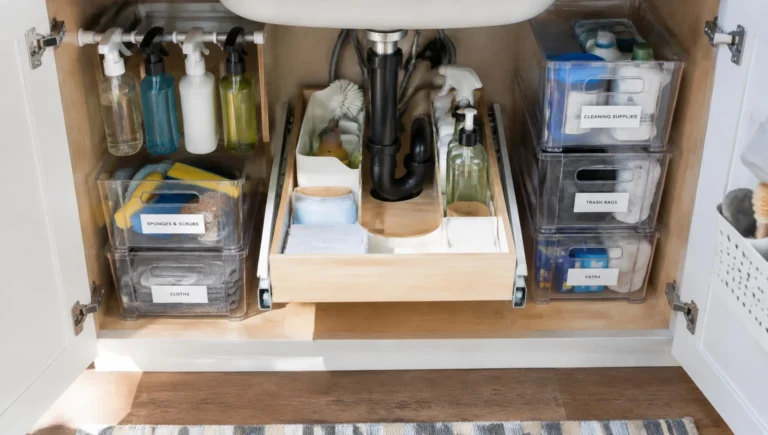
This layout works beautifully in primary suites. For more bathroom storage ideas around your new nook, see our under bathroom sink organization ideas.
5. Stack in a Mudroom Corner
The mudroom is where dirty clothes are born, so washing them there just makes sense. Sports gear, muddy jeans, and school uniforms go from floor to washer in one step.
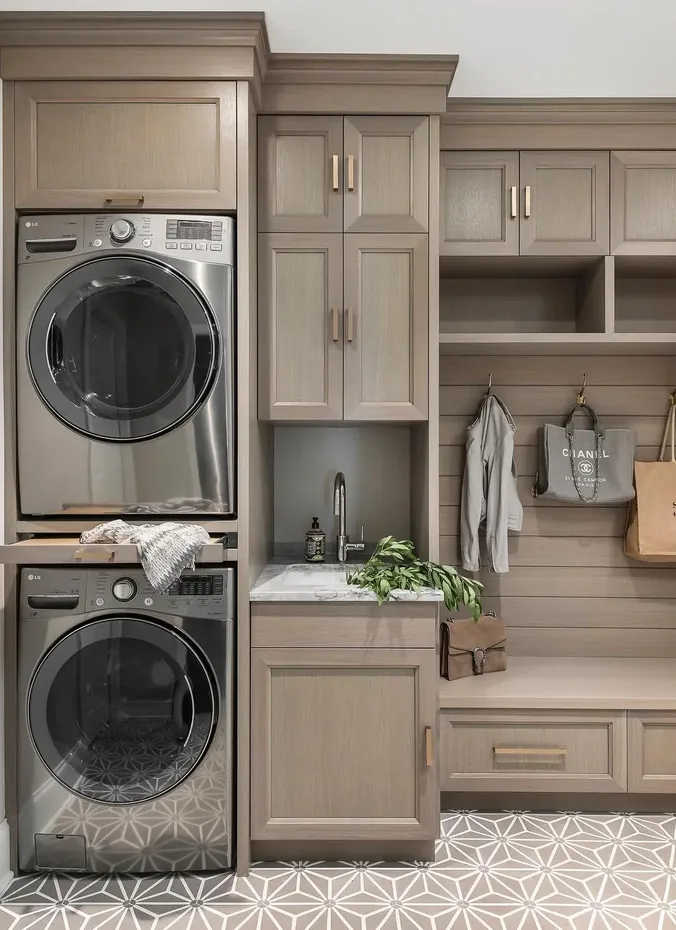
Dedicate one corner to the stack and flank it with cubbies or hooks for each family member. A washable rug underfoot handles the drips and dirt that come with the territory.
Add a utility sink nearby if plumbing allows. Soaking stained clothes before they hit the washer saves rewashing and rescues favorite shirts.
6. Front Load Pair With Stacking Kit
Only front load machines can stack, and only with the right kit. The stacking kit brackets the dryer to the washer so the tower stays put through spin cycles.
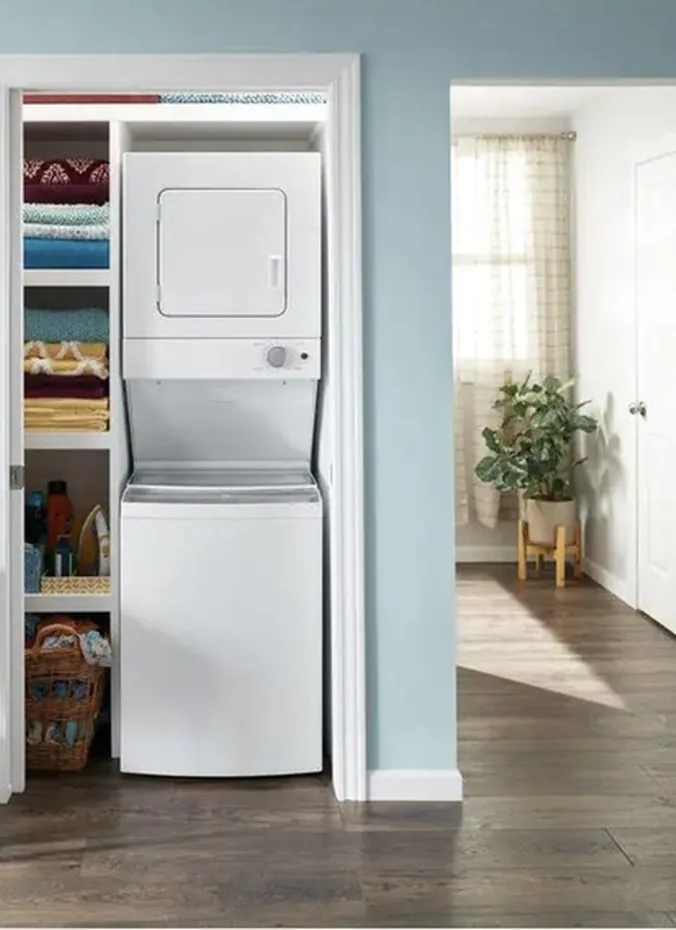
Always use the stacking kit made for your exact brand and models. Generic kits may not fit right, and an unsecured dryer on top of a washer is a safety hazard. The kit usually costs 30 to 60 dollars.
Leave the washer door ajar between loads to prevent mildew, and wipe the door gasket monthly. Front loaders are efficient but need this small habit to stay fresh.
7. Stack in a Pantry Turned Laundry Room
A spare pantry or oversized closet converts into a surprisingly roomy laundry space. The existing shelves become instant detergent and supply storage.
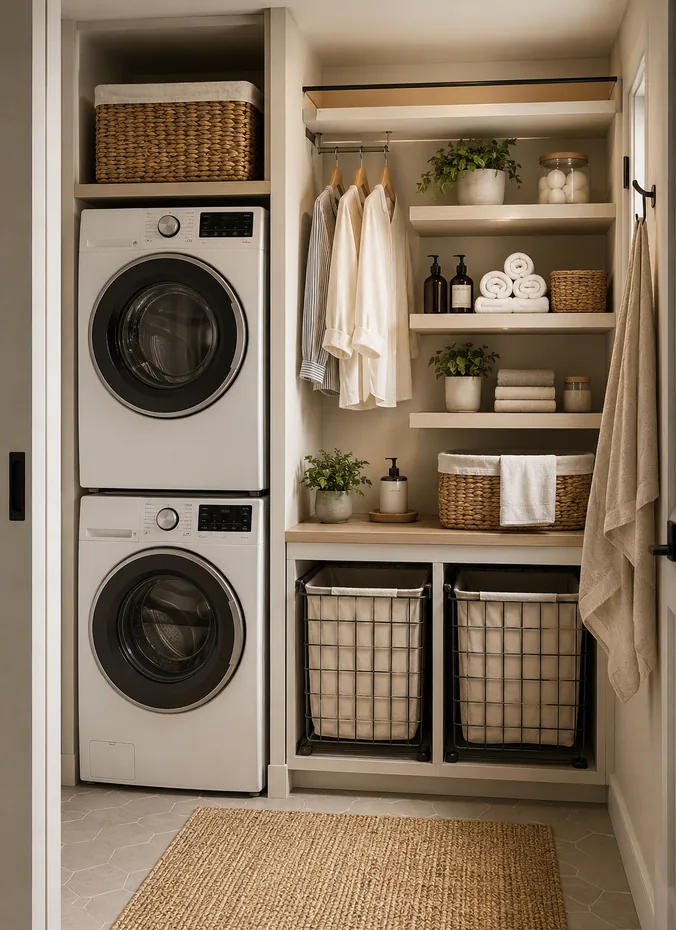
Keep the upper shelves for laundry supplies and add a hanging rod beneath one shelf for delicates and hang dry shirts. A small stool tucked inside helps shorter family members reach the dryer controls.
Vent the dryer properly even in a converted space, since lint and moisture need an exit. A ventless heat pump dryer skips the ductwork entirely if running a vent is impossible.
Storage Around the Stack
8. Open Shelves Above the Machines
The wall above a stacked pair is prime storage real estate. Two or three open shelves hold detergent, dryer sheets, and baskets without eating any floor space.
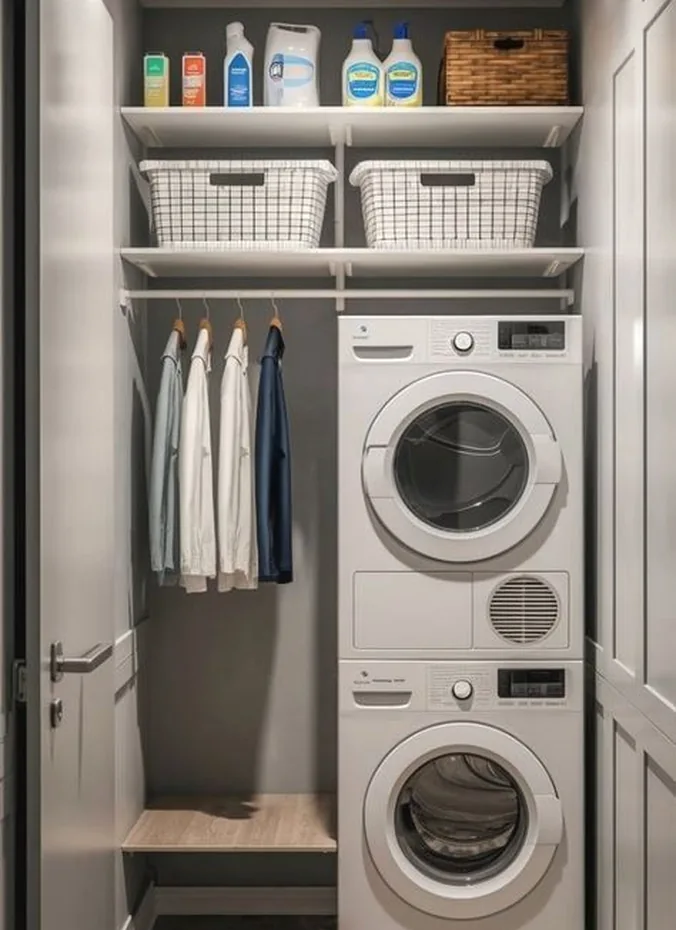
Mount shelves on studs with brackets rated for the weight, since detergent is heavy. Keep everyday items on the lowest shelf within easy reach, and store back stock up high.
Leave a few inches of clearance above the dryer for heat and vibration. Sturdy wood shelves suit farmhouse style, while white floating shelves keep a modern nook clean.
9. Slim Rolling Cart Beside the Machines
A slim rolling cart slides into the gap beside the machines and turns dead space into storage. It is the perfect home for stain removers, dryer balls, and spare pods.
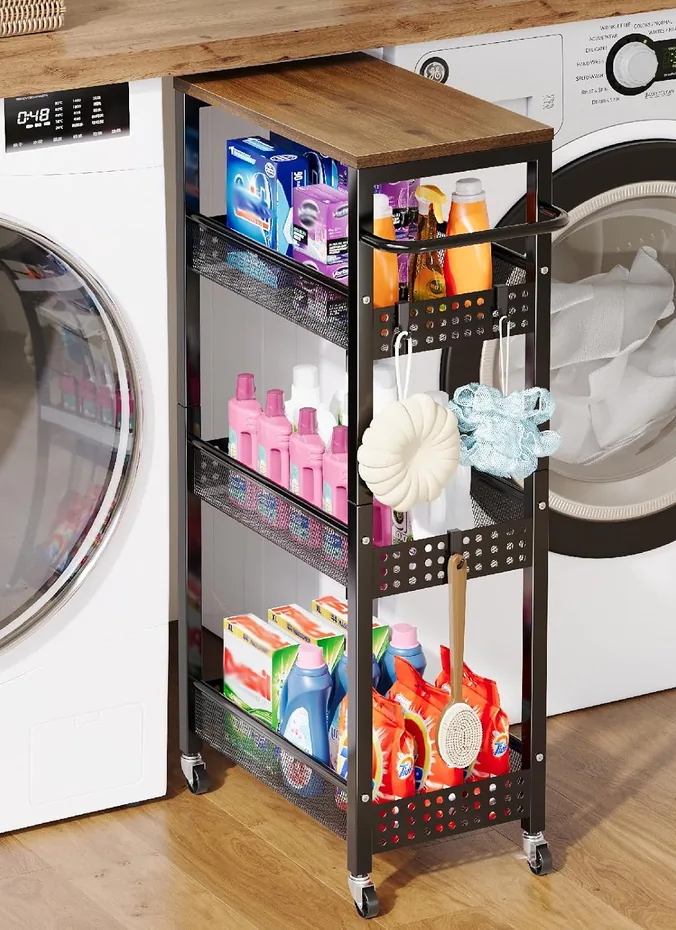
Measure the gap before buying, since carts come in widths from five to ten inches. Choose one with multiple tiers and a top tray for the items you grab every load.
The cart rolls out for full access and tucks away invisibly. At 20 to 40 dollars, it is one of the cheapest storage upgrades with the biggest daily payoff.
10. Wall Mounted Drying Rack Nearby
Not everything should go in the dryer. A wall mounted folding rack gives delicates and air dry clothes a home right next to the machines.
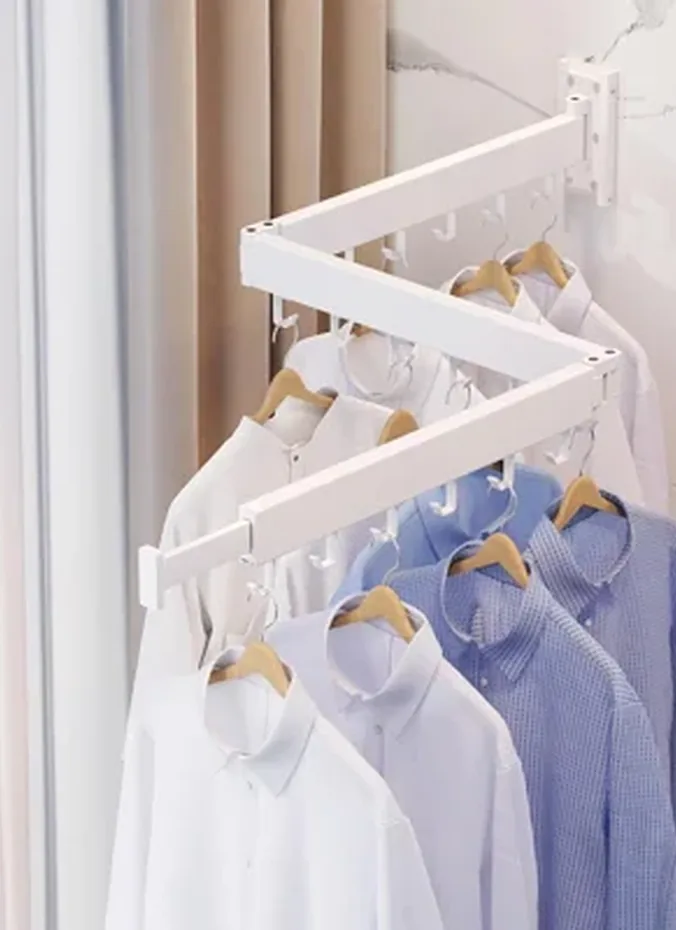
Accordion style racks fold flat against the wall when not in use, taking up zero space. Mount it within arm’s reach of the washer so wet clothes transfer in one motion.
Air drying extends the life of elastic, prints, and workout gear. A 25 dollar rack pays for itself by saving your favorite pieces from dryer damage.
11. Overhead Cabinet With a Flip Up Door
An overhead cabinet with a flip up door hides supplies behind a clean front and never bangs anyone in the head. It is the tidiest storage option for the space above the stack.
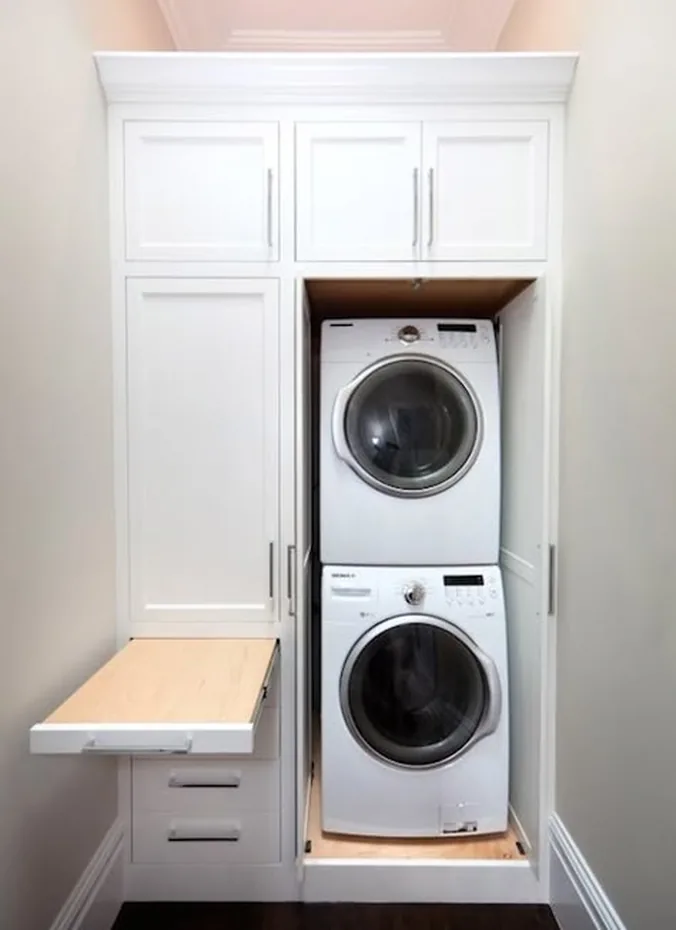
Flip up doors stay open on their own while you grab what you need, then push shut with one hand. Choose a cabinet depth of 12 to 15 inches so it does not loom over the machines.
Stock it with back up supplies and cleaning tools, keeping daily items on an open shelf below for speed. Matching the cabinet to nearby trim makes the whole nook look built in.
12. Laundry Basket Nook Under a Shelf
Every laundry station needs a basket parking spot. A dedicated nook under a shelf keeps hampers off the floor and the path clear.
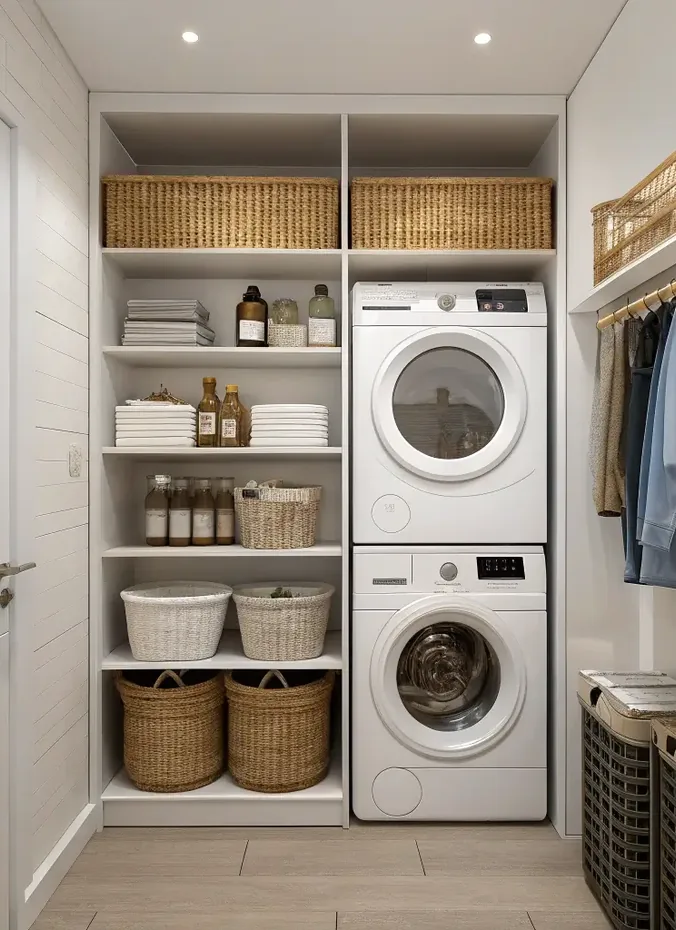
Leave a 24 inch wide open space under the lowest shelf, sized to your favorite baskets. Use two baskets to pre sort lights and darks, so wash day starts halfway done.
Pull out baskets with handles make carrying easy, and a nook keeps them from migrating around the house. Label the baskets if sorting is a family affair.
13. Pegboard for Supplies on the Side Wall
A pegboard on the side wall turns supplies into wall art. Hang stain sticks, brushes, clothespins, and small baskets where you can see and grab them.
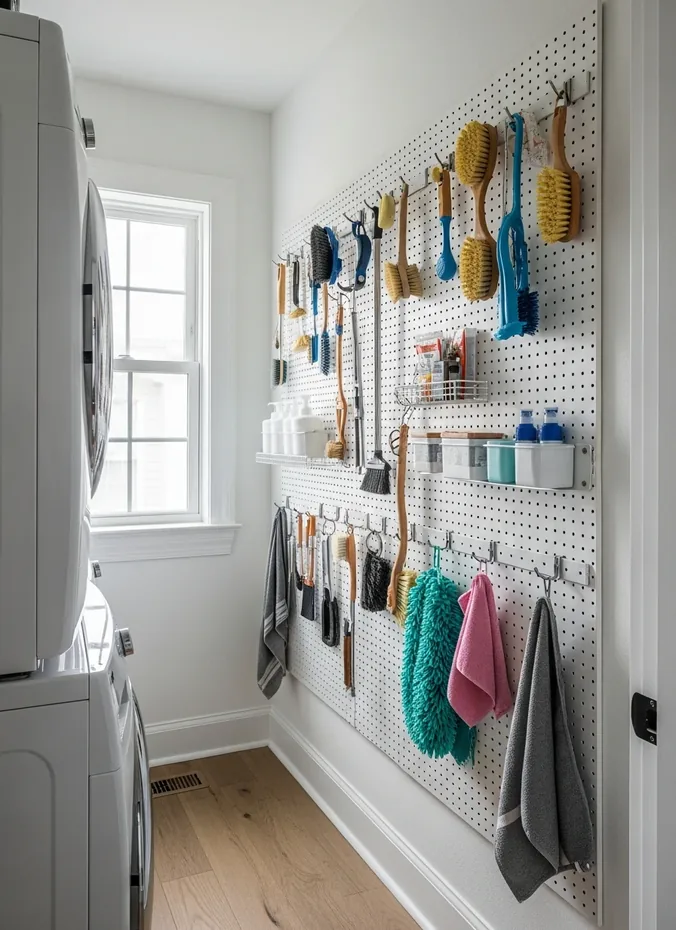
Paint the pegboard to match your walls for a built in look, or a fun color for personality. Standard hooks and small shelves fit any pegboard, so rearrange as your needs change.
Pegboard costs under 20 dollars for a good sized panel and installs with a few screws. It is perfect for renters too, since the holes are easy to patch later.
14. Pull Out Hamper Drawer
A pull out hamper drawer hides dirty laundry inside cabinetry and rolls out smoothly on wash day. It is the most polished way to handle the hamper problem.
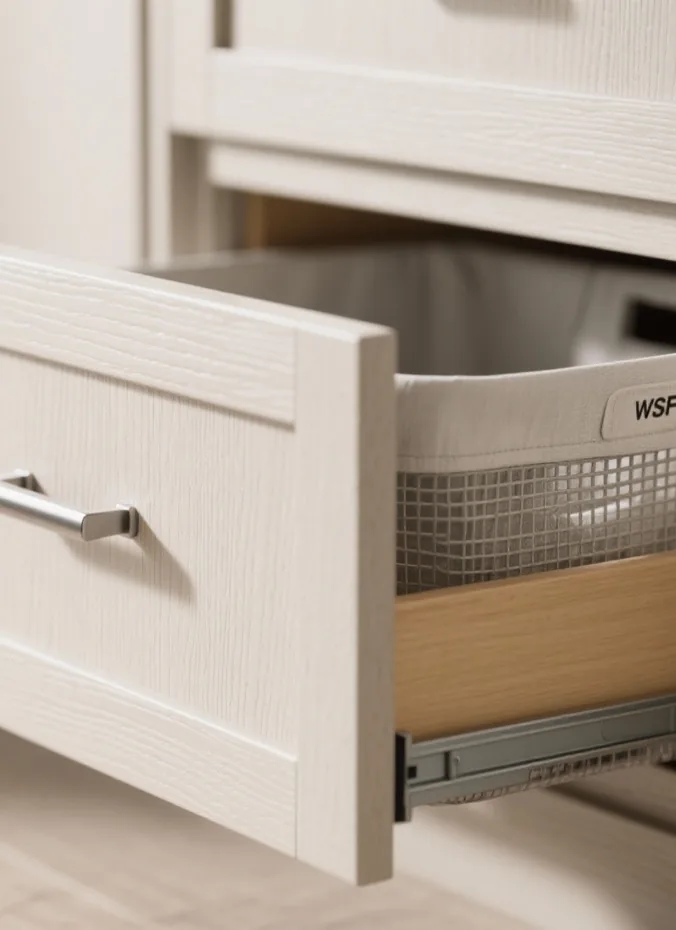
Retrofit a base cabinet with a pull out hamper kit, or build one into new cabinetry beside the stack. Ventilated canvas bags keep air moving so clothes stay fresh until wash day.
Two side by side hampers sort lights and darks automatically. The closed drawer keeps the laundry area looking tidy even mid week.
Style and Finishing Details
15. Curtain Instead of Doors for Softness
A curtain softens a laundry nook in a way doors cannot. It hides the machines, adds fabric warmth, and costs very little.

Hang a curtain panel on a tension rod inside the nook frame, choosing a washable fabric in a color you love. Tie backs hold it open on laundry day and let it fall closed when you are done.
Curtains are ideal for renters since they need no drilling beyond a tension rod. Swap the fabric seasonally for a fresh look in minutes.
16. Peel and Stick Wallpaper Backdrop
The wall behind your machines is a tiny canvas for big personality. Peel and stick wallpaper adds pattern and color with zero commitment.

Choose a bold print since the area is small and mostly hidden, which makes it the perfect spot for a pattern you love but would not use in a big room. One roll usually covers the whole nook.
Peel and stick removes cleanly, so landlords approve and commitment phobes relax. Wipeable vinyl versions handle laundry room humidity best.
17. Paint the Closet a Fun Color
A surprise pop of color inside the laundry closet makes opening the doors a little joyful. Since the space is small, even a bold shade feels fun rather than overwhelming.
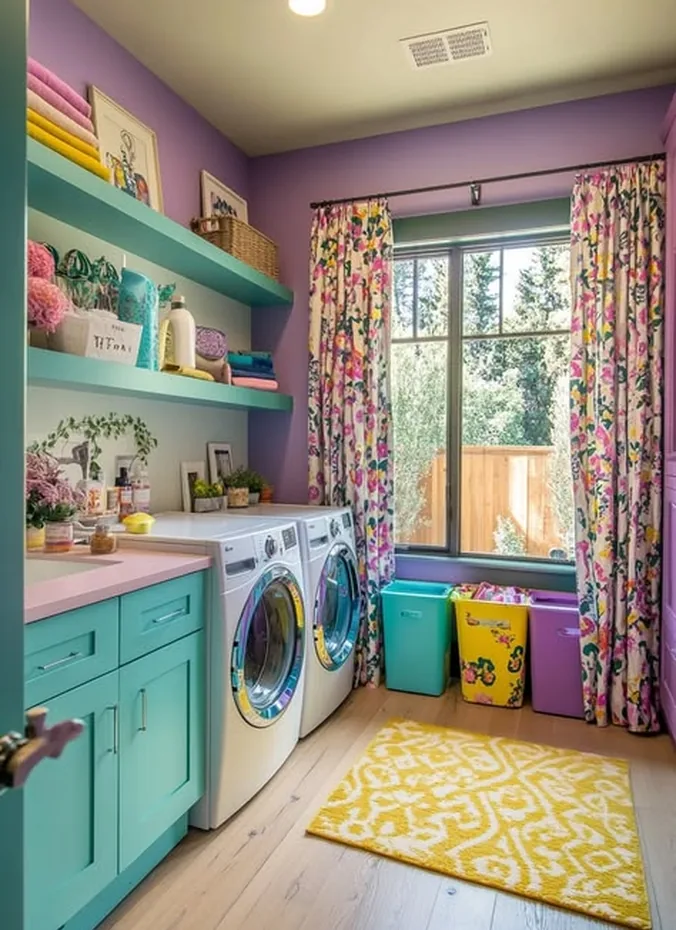
A quart of paint covers most laundry nooks for under 15 dollars. Try a cheerful yellow, a fresh green, or a deep navy that makes white machines pop.
Use a satin or semi gloss finish that wipes clean. Paint the inside back wall only for a quick accent, or go all in on every surface for full drama.
18. Decorative Sign Above the Machines
A fun laundry sign adds humor to a chore space. Wash, dry, fold, repeat signs are classic, but pick words that make you smile.

Hang the sign centered above the stack at eye level, or lean a framed print on the shelf. Wood, metal, and canvas signs all work, so match the material to your nook style.
Signs cost 10 to 30 dollars and need just one nail or a command strip. It is a small touch that makes the laundry corner feel like part of the home.
19. Rug Runner to Warm the Floor
Laundry rooms usually have cold hard floors. A washable rug runner adds warmth, cushions your feet, and catches the odd dropped sock.
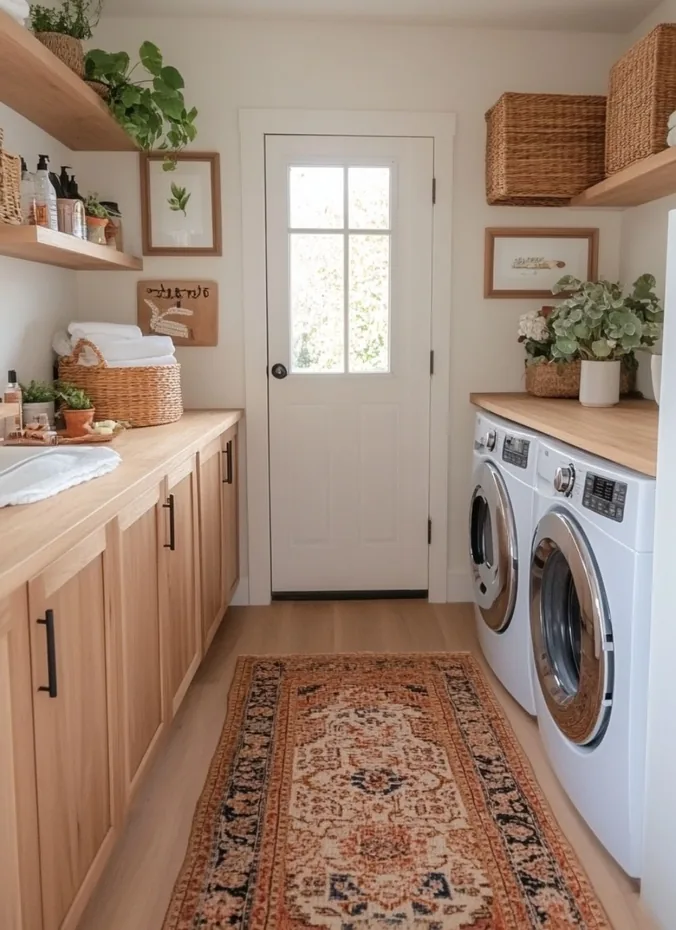
Choose a low pile, machine washable runner that fits the space in front of the machines. Dark patterns hide lint and the occasional bleach spot better than light solids.
Runners cost 20 to 40 dollars and wash easily when they get grimy. A rug pad underneath stops sliding on tile or vinyl floors.
20. Puck Lights Under the Shelves
Laundry nooks are notoriously dark. Battery puck lights stuck under the shelves fix that in minutes with no wiring at all.
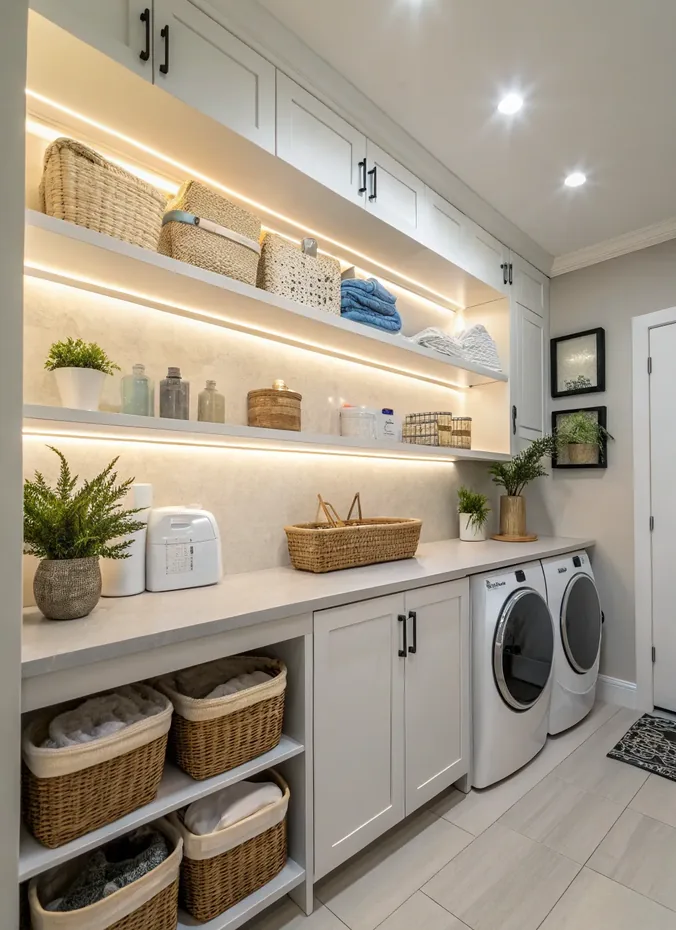
Press two or three puck lights under each shelf, spacing them evenly. Tap to turn on, or choose motion sensor versions that light up when you walk in with an armful of laundry.
A pack of six costs around 15 dollars and the batteries last for months. Good light also helps you spot stains before clothes go in the wash.
21. Vent and Hose Covers for a Clean Look
Exposed hoses and vents make even a nice stack look messy. Simple covers tidy the connections into a clean, finished look.
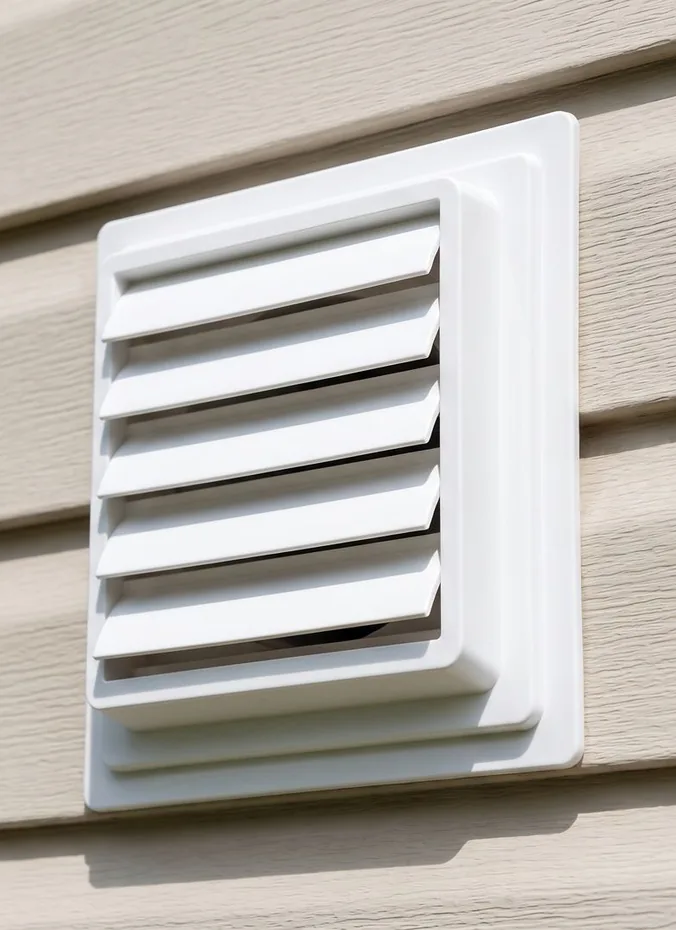
Use a recessed dryer vent box in the wall so the machine sits closer, and route hoses through a simple cover panel. Keep everything accessible, since you still need to reach connections for maintenance.
A shallow cabinet or a removable panel in front of the connections hides the clutter while staying service friendly. This detail separates a pro looking install from a DIY afterthought.
Budget Tips
- Keep the machines you have. Styling the space around them costs far less than new machines.
- Paint is cheapest. One quart transforms a laundry closet for under 15 dollars.
- Use peel and stick. Wallpaper and tiles made for renters upgrade walls with no commitment.
- Shop secondhand shelves. Solid wood shelves from thrift stores cost a few dollars and hold detergent fine.
- Buy the rolling cart. At 20 to 40 dollars it adds more storage than any other single buy.
- Light with pucks. Battery lights skip electrician bills entirely.
- Do it in stages. Shelves this month, paint next month, and the cost never stings.
Common Mistakes to Avoid
- Skipping the stacking kit. An unsecured dryer on a washer is dangerous, so always use the proper kit.
- Blocking ventilation. Machines need air flow around them, so do not seal them into an airtight box.
- Forgetting the door swing. Measure how doors and drawers open so nothing hits the machines.
- Storing detergent overhead unsafely. Heavy jugs on high shelves are an accident waiting to happen.
- Ignoring noise. Add anti vibration pads under the washer if the stack sits near bedrooms.
Frequently Asked Questions
Can any washer and dryer be stacked?
No, only front load machines designed for stacking, using the stacking kit made for those exact models. Top load washers cannot be stacked because the lid needs to open.
How much space does a stacked washer and dryer need?
Most stacked pairs need about 27 inches wide, 30 to 32 inches deep including hoses, and 75 to 80 inches of height. Measure your space and compare against the specific models before buying.
Is a stacked washer and dryer harder to use?
The dryer controls sit high, which can challenge shorter users, so keep a sturdy step stool nearby. Otherwise daily use feels the same, and many people prefer bending less for the washer.
Do stacked dryers need a vent?
Standard dryers need an exterior vent, but ventless heat pump and condenser dryers do not. Ventless models cost more up front and dry a bit slower, but they work anywhere with power.
How do I reduce vibration in a stacked pair?
Level the machines carefully, use anti vibration pads under the feet, and avoid overloading the washer. A solid floor helps most, so stacks on upper floors may need extra attention.
Conclusion
A stacked washer and dryer proves that small spaces do not mean small function. With the right spot, smart storage, and a few personal touches, your laundry setup can work beautifully and look like it belongs in a design magazine.
Start with the practical wins, like the stacking kit, the rolling cart, and the shelves. Then add the fun stuff, like paint, wallpaper, and good lighting. Each layer makes laundry day a little less of a chore.
For first apartments and tiny homes especially, the stack is freedom. See our first apartment living room ideas for making the rest of a small space work just as hard.