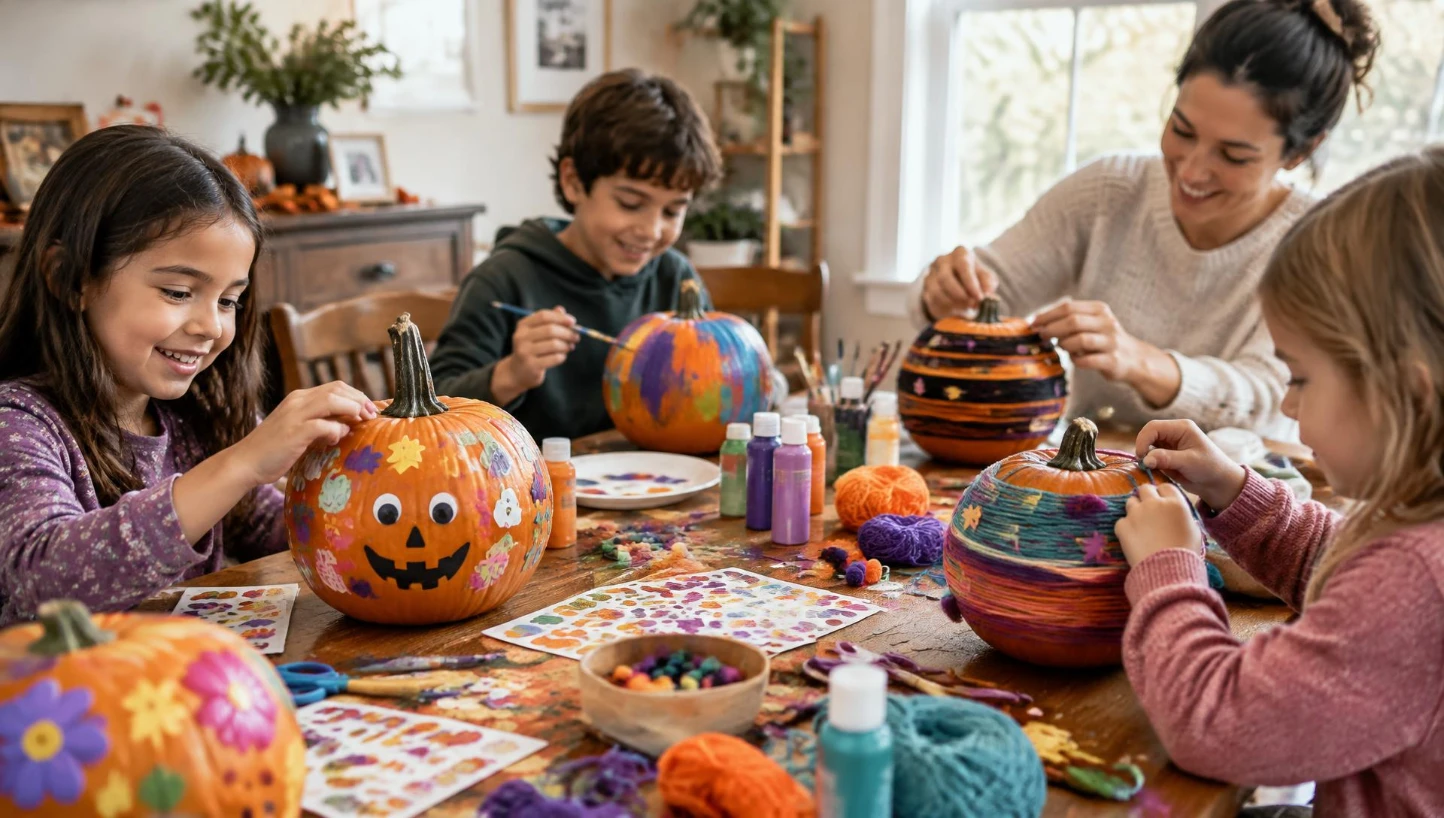
Pumpkin carving with kids has a reputation for ending in either a botched knife job or a meltdown over a design that didn’t turn out right, and most families quietly dread it a little. The fix isn’t more patience, it’s picking a decorating method that actually matches your kid’s age and skill level instead of handing everyone the same knife.
Safety experts are consistent on this point: young kids should stay away from sharp tools entirely, with paint, stickers, and push-in pieces doing the job just as well without the risk. Older kids ready for something closer to real carving have safer middle-ground options too, and every idea below is sorted by exactly how much of the sharp stuff is involved.
Quick Picks
- Best for toddlers: Glow-in-the-dark puff paint
- Best for grade schoolers: A punch kit with a paper template
- Best for a group activity: Cookie cutter and mallet carving
- Best for zero mess: Washi tape and sticker faces
Did You Know? No-carve pumpkins actually last significantly longer than carved ones, since there’s no exposed flesh for bacteria and mold to break down. A painted or decorated pumpkin can often stay fresh looking for weeks past Halloween itself.
Before You Start
- Match the method to the age. Paint and stickers for toddlers, punch kits and mallets for grade schoolers, real tools only for older kids with direct supervision.
- Never leave a child alone with any cutting tool, even a kid-marketed one. Supervision matters more than the tool’s safety rating.
- Set up on a dry, stable, well-lit surface. A wobbly or wet workspace causes more accidents than the tools themselves.
- Let an adult handle seed scooping and any initial cutting. Kids can take over once the sharp part of the job is done.
- Have cleanup supplies ready before you start. Paint, glue, and pumpkin guts are far less stressful with a plan already in place.
No-Carve Paint and Color Ideas
1. Glow-in-the-dark puff paint designs
This idea does double duty as a daytime craft and a nighttime surprise.
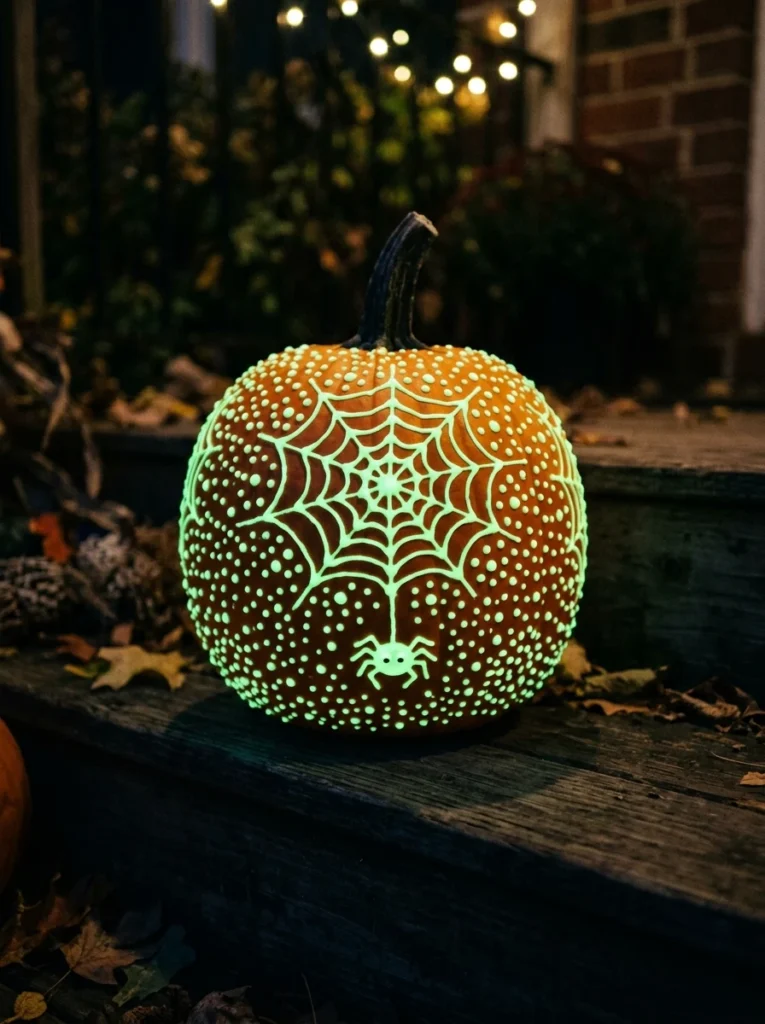
Puff paint in a glow-in-the-dark formula lets kids draw a classic jack-o-lantern face, dots, or a spider web that looks ordinary in daylight and lights up after dark.
It’s genuinely mess-free compared to carving, and the reveal moment once the lights go out tends to be a bigger hit with kids than the decorating itself.
2. Melted crayon wax pumpkins
A colorful technique that only needs a hair dryer and some old crayons.
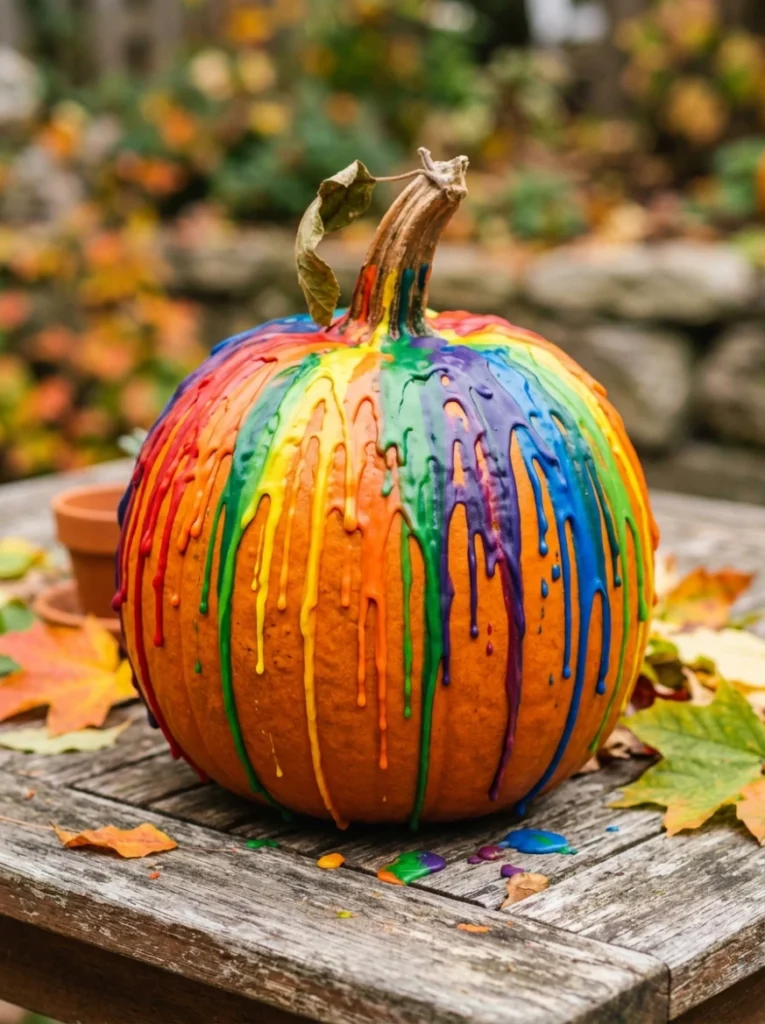
Peeled crayon pieces glued around the top of the pumpkin melt and drip down the sides once a hair dryer is aimed at them, creating a colorful, one-of-a-kind wax pattern.
Letting kids choose their own crayon colors makes this feel like their own creative decision rather than following a template.
3. Simple marker or paint pen faces
The most basic version on this list, and still a genuine favorite for a reason.
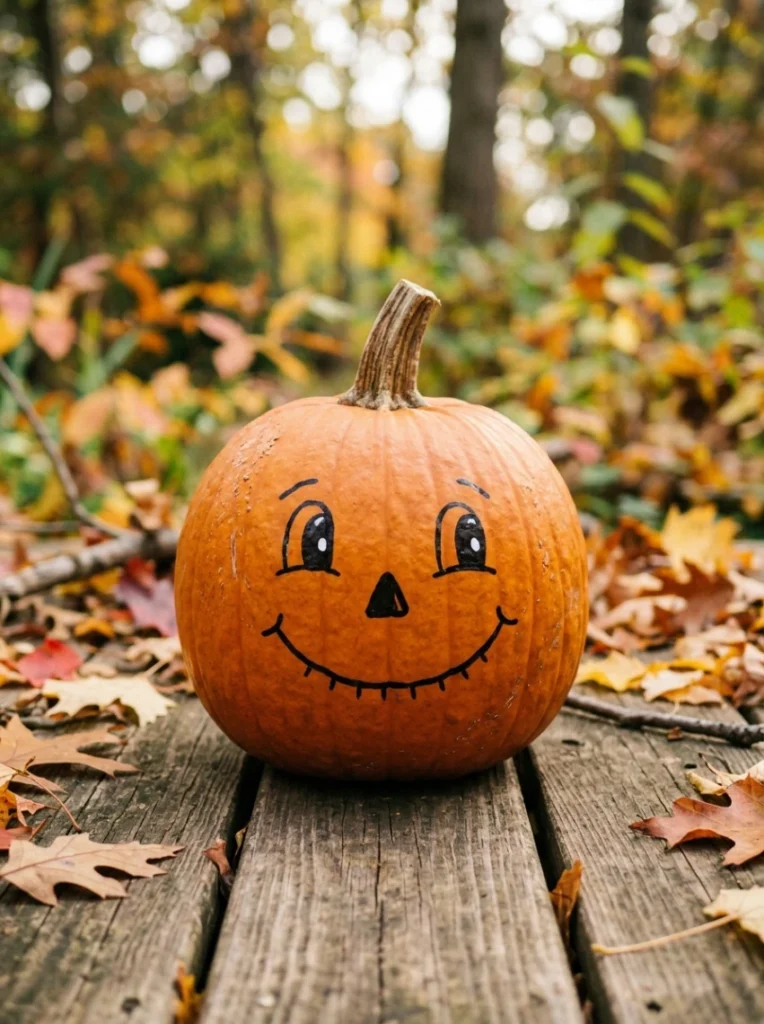
Washable markers or paint pens let even very young kids draw their own jack-o-lantern face directly onto the pumpkin, no cutting or gluing required at all.
This is the fastest idea on the entire list to set up, and it works equally well on a real pumpkin or a faux one for repeated use.
4. Sprinkle donut pumpkins
A playful, food-inspired design that photographs adorably.
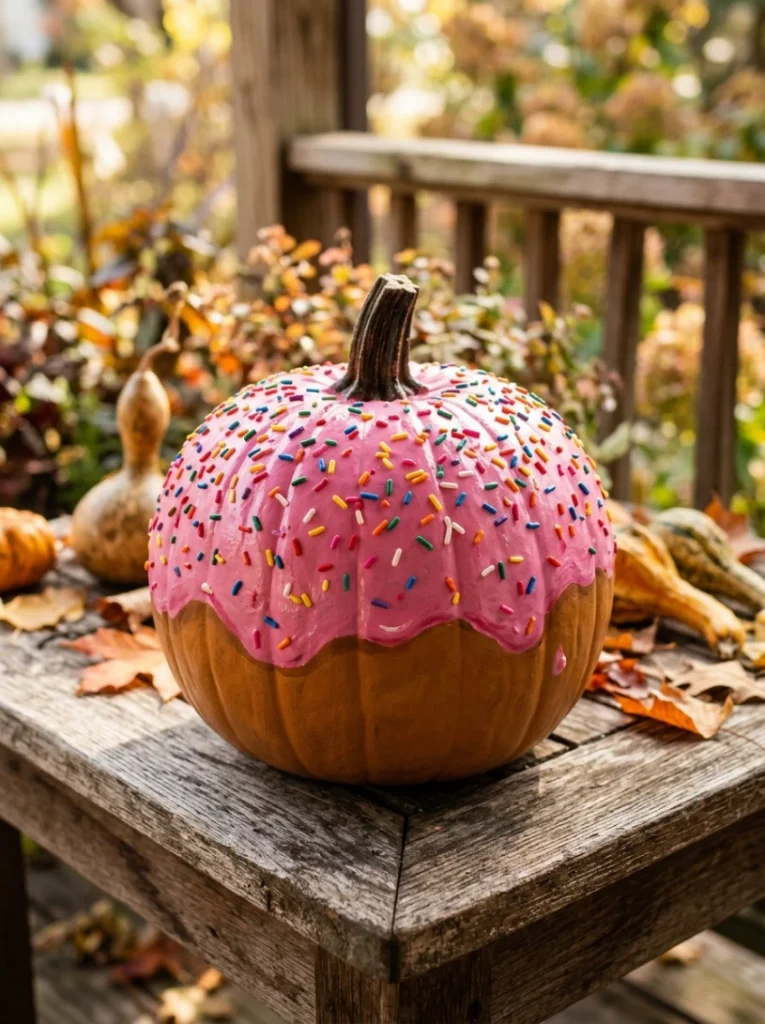
Painting a pumpkin’s top half in a solid frosting color, then covering it in real or craft sprinkles, turns it into a giant donut instead of a spooky face.
This idea works especially well for a less scary, more whimsical Halloween display that still feels festive.
5. Leaf decoupage pumpkins
A nature-based craft that pairs well with an actual fall walk.
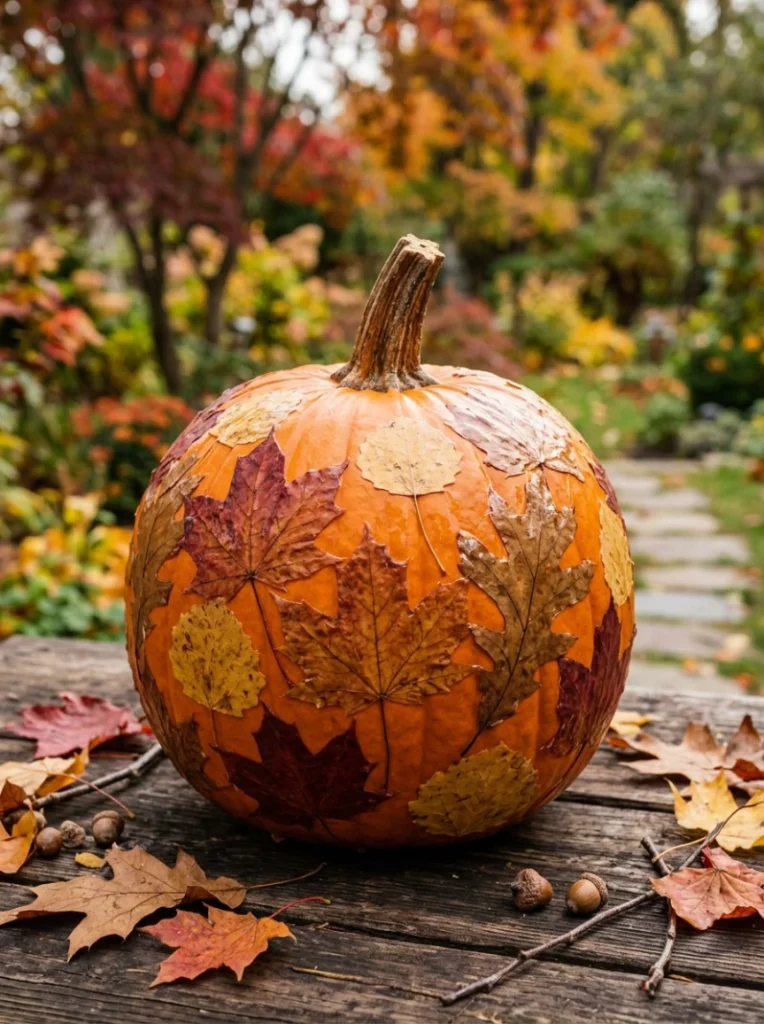
Real fall leaves, collected on a walk and adhered with a thin layer of Mod Podge, cover the pumpkin in genuine autumn texture and color.
Foraging the leaves first turns this into a two-part activity, an outdoor walk followed by a craft, rather than just a single sit-down project.
Pro Tip: Seal any painted or decorated pumpkin with a clear acrylic spray once the design is dry. It protects the artwork from rain if it’s displayed outside and extends how long the whole design holds up.
Glued and Textured No-Carve Ideas
6. Googly eye monster pumpkins
An easy favorite that never seems to get old with younger kids.
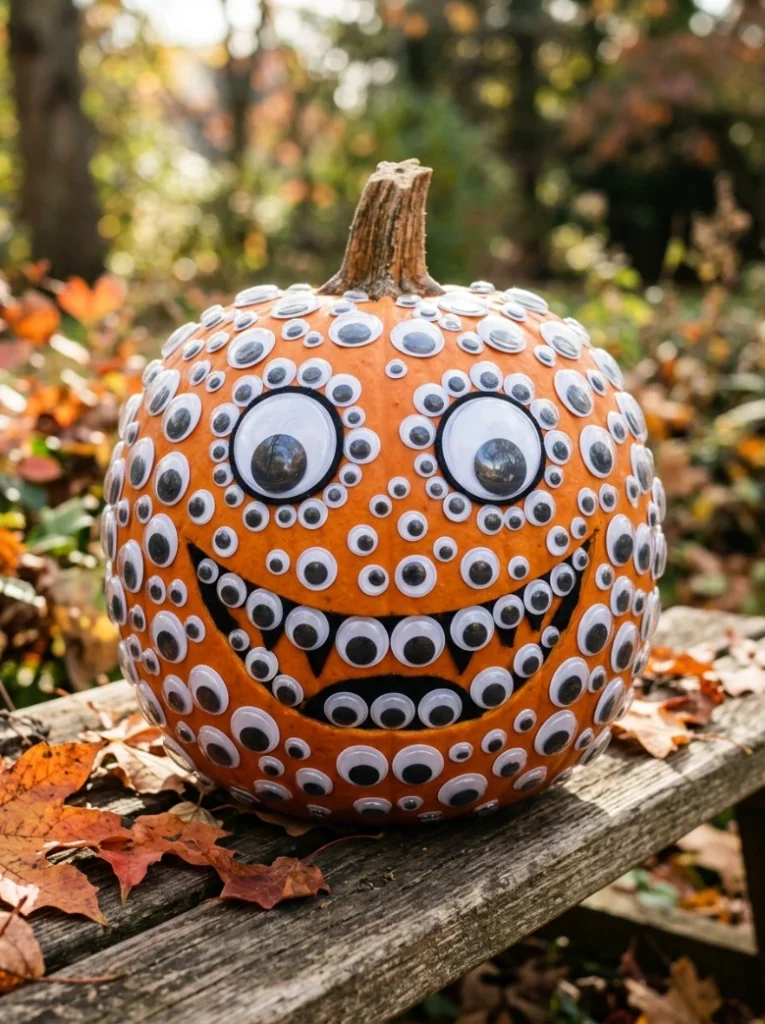
Gluing googly eyes of different sizes all over the pumpkin’s surface turns it into an instant, silly monster with almost no skill required.
This is one of the simplest ideas on this entire list to prep ahead of time, since it only needs glue and a bag of eyes from the craft store.
7. Pumpkin mummies wrapped in gauze
A classic Halloween look that comes together in minutes.
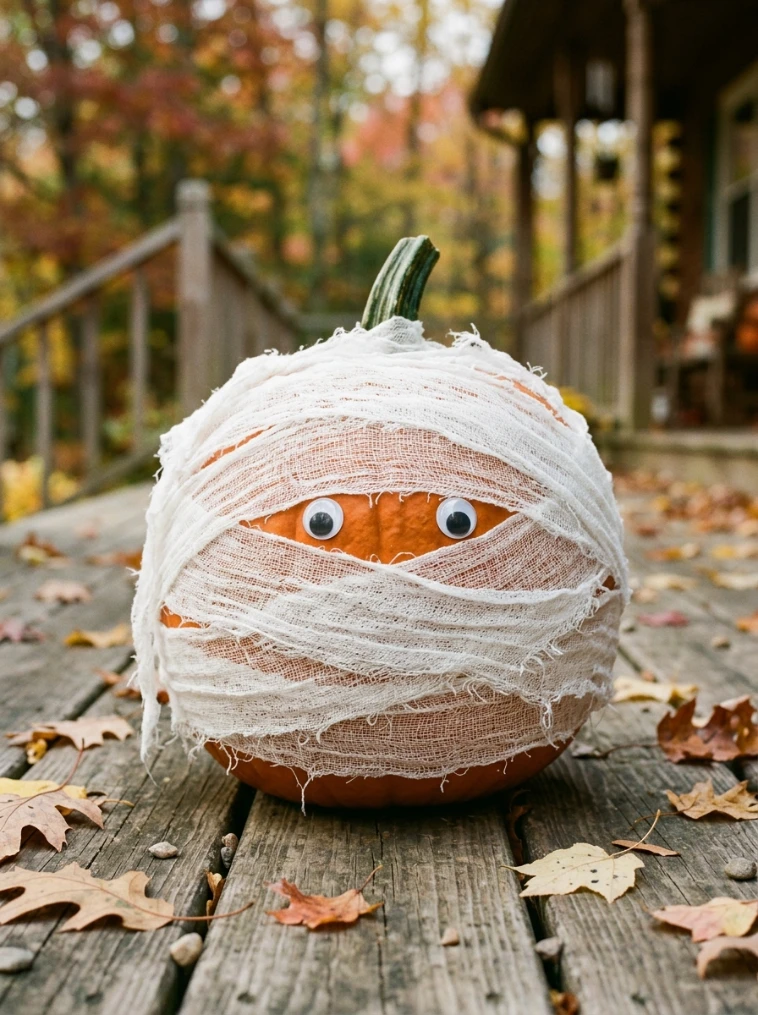
Wrapping a pumpkin loosely in white gauze or cheesecloth, then adding two googly eyes peeking through the wrap, creates an adorable mummy with zero cutting involved.
Kids can help with the wrapping directly, which makes this a genuinely hands-on group activity rather than one adult doing all the work.
8. Sunflower seed owl pumpkins
A textured design that doubles as a lesson in patience for younger kids.
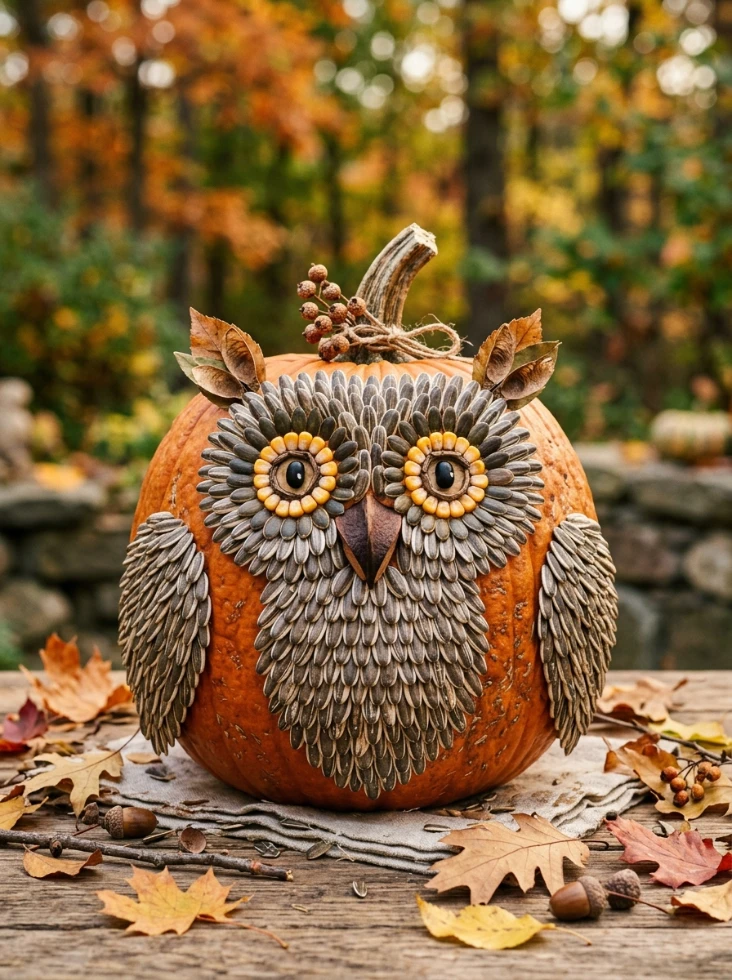
Sunflower seeds glued in overlapping rows create a feathered texture that, with two large circular eyes added, turns a plain pumpkin into an owl.
The same technique works for a fox or raccoon design too, just by changing the seed pattern and adding different features.
9. Washi tape geometric patterns
A completely mess-free option that works well even indoors on a rug.
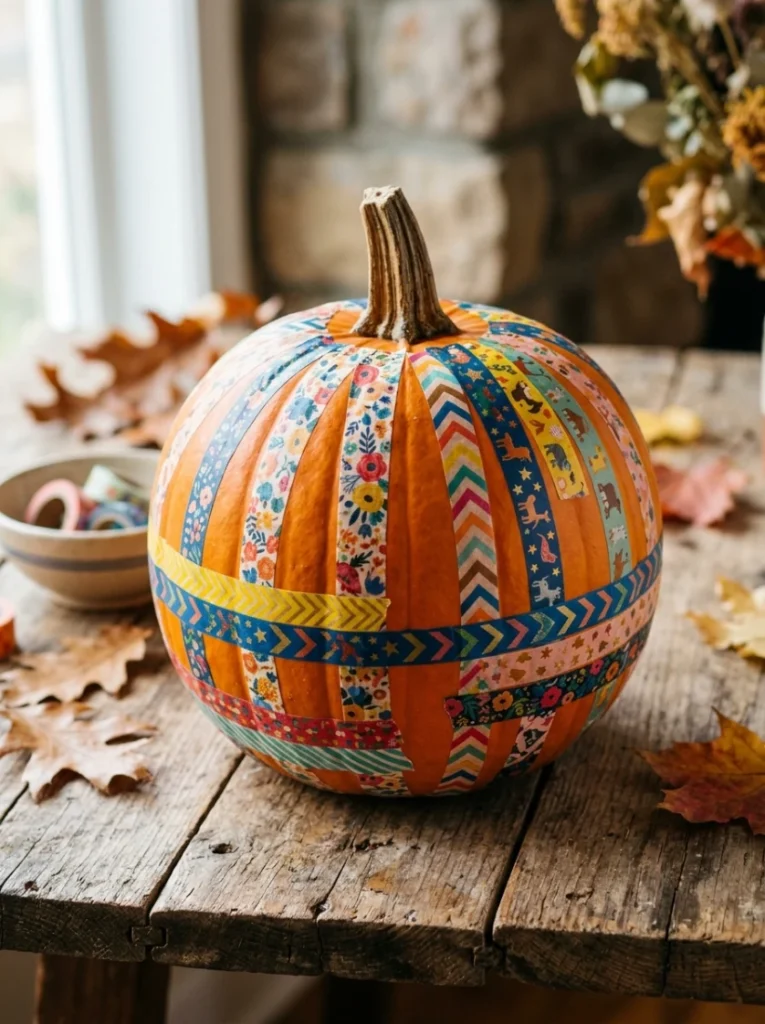
Strips of colorful, patterned washi tape stuck directly onto the pumpkin create bold geometric designs without any paint, glue, or cleanup at all.
This is the best choice on this list for a spontaneous, no-prep activity, since washi tape peels off just as easily if a design needs a redo.
10. Pom-pom and button monster faces
A tactile craft that lets kids build a face piece by piece.
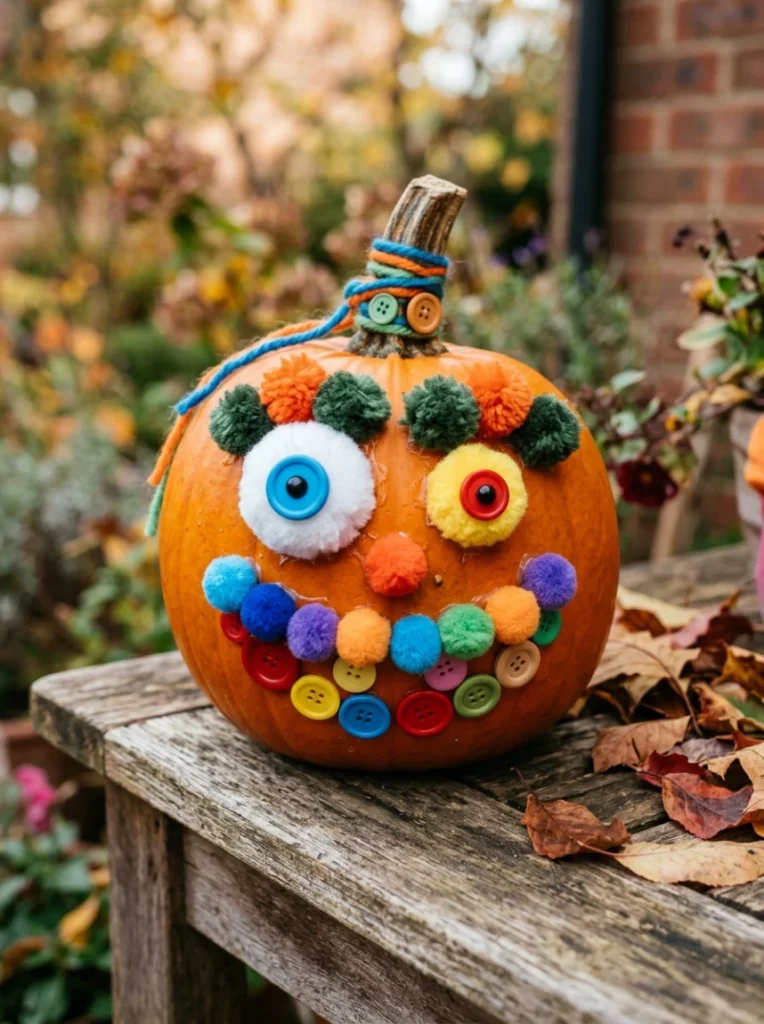
Gluing pom-poms, buttons, and felt scraps onto the pumpkin lets kids design their own creature face using whatever craft supplies happen to be on hand.
This works particularly well as a sensory activity for younger kids who enjoy handling different textures while they create.
Pro Tip: Use a low-temperature glue gun rather than a full heat one for any glued design, or stick to craft glue entirely for younger kids. Hot glue guns cause more minor burns during pumpkin crafts than parents expect.
Safer Carving Alternatives for Kids
11. Punch kit designs with paper templates
This is the recommended middle ground for kids who want something closer to real carving.
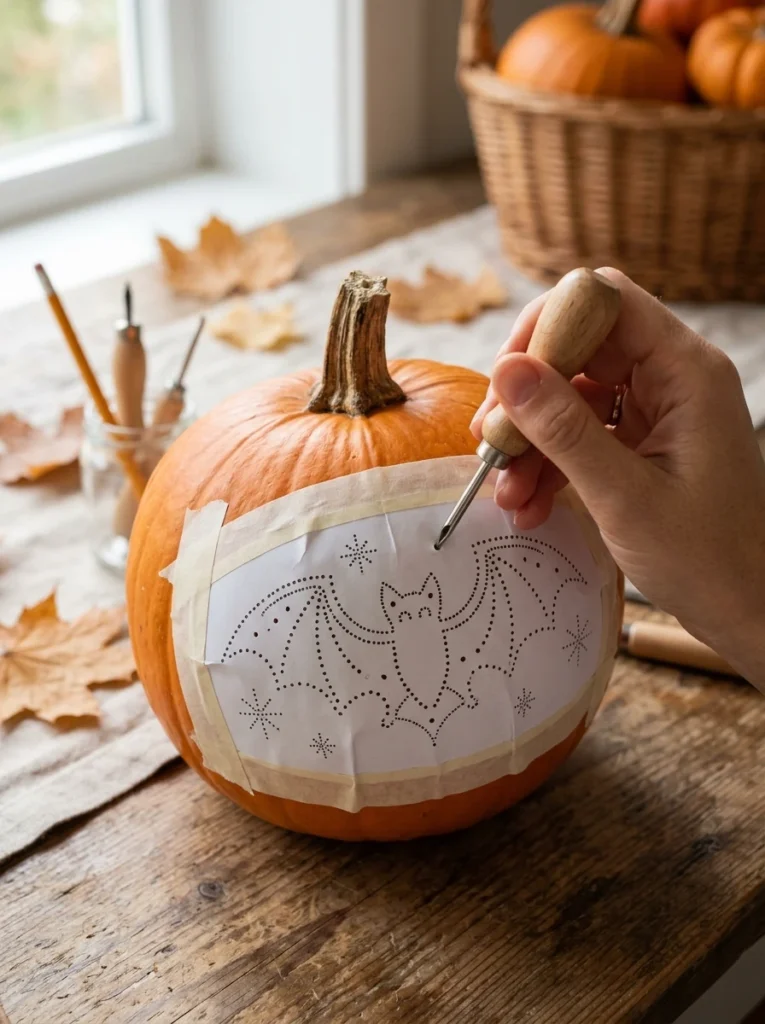
A punch kit uses a paper pattern taped to the pumpkin, with a blunt punch tool that pushes through the paper and pumpkin skin without any blade at all.
This method is specifically recommended for kids still building the hand-eye coordination and grip strength that real carving tools require.
12. Cookie cutter and mallet carving
A satisfying, low-risk technique that still produces a real cut-out design.
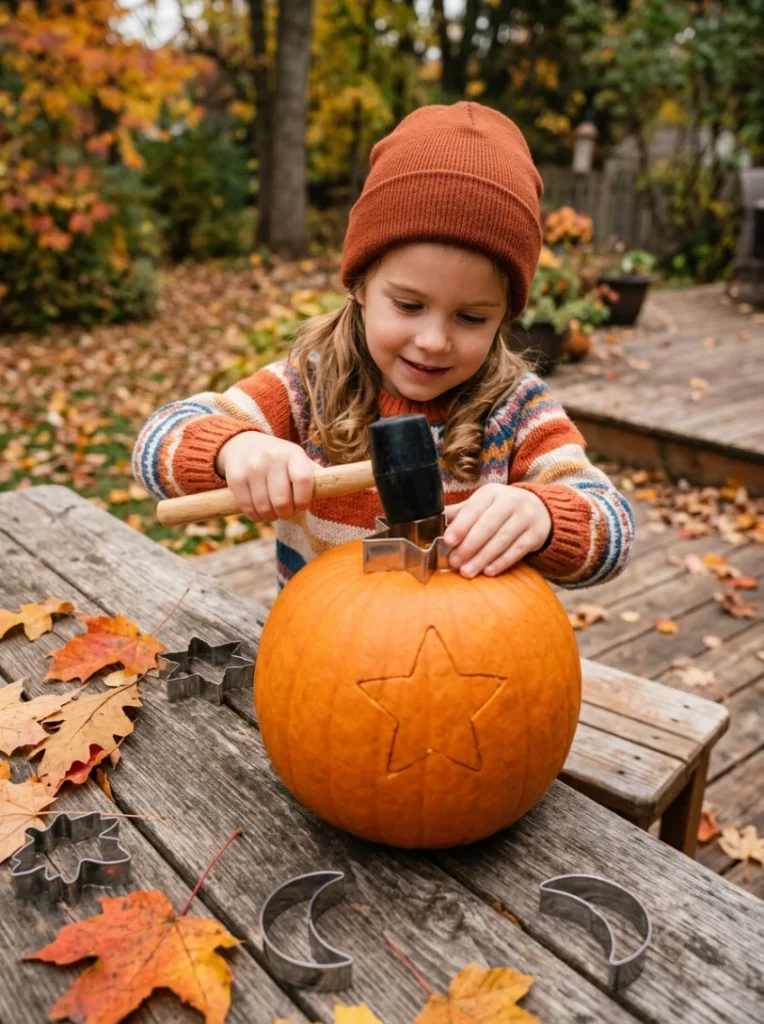
Pressing a metal cookie cutter into the pumpkin’s surface and tapping it gently with a rubber mallet cuts a clean shape without ever putting a blade in a kid’s hand.
Star, moon, and cat shapes all work particularly well with this method, and the mallet tapping itself tends to be half the fun for kids.
13. Drilled dot patterns for a lit-up effect
A design that leans on an adult-operated tool while still involving kids in the planning.
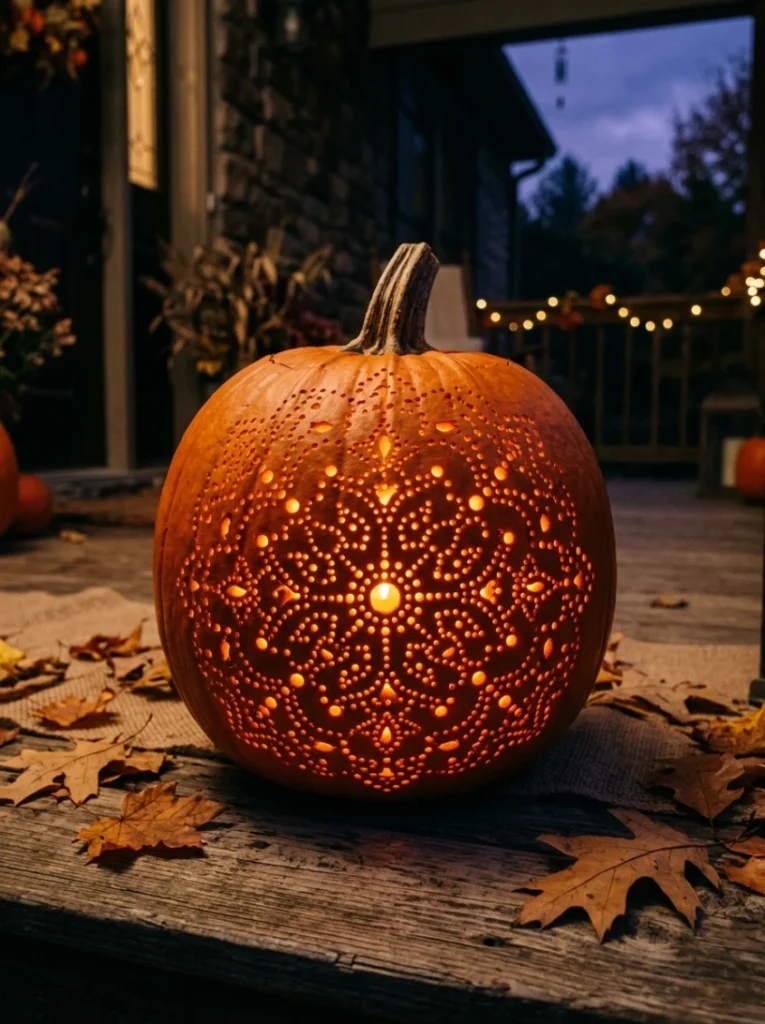
An adult drilling a pattern of small holes, following a design the kids helped plan out, creates a glowing dotted effect once a light is placed inside.
This is a strong option for a family that wants kids genuinely involved in the design process without handing them any tool themselves.
14. Foam pumpkin carving with kid-safe tools
A practice-friendly option that removes the real mess and most of the actual risk.
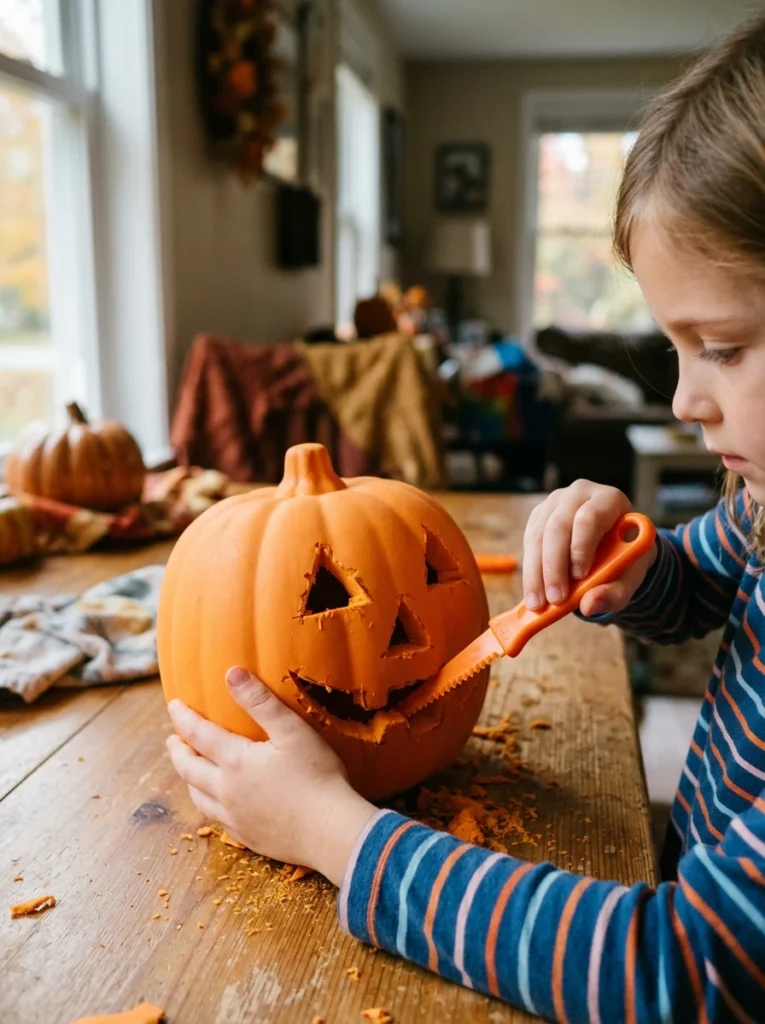
Craft foam pumpkins carve just like the real thing with kid-marketed serrated tools, but without any seeds, mess, or risk of the pumpkin’s tougher skin catching a tool.
These are reusable too, so a design gone wrong is just a chance to try again rather than a wasted pumpkin.
15. Adult-carved base with kid-added stickers or gems
A genuine collaboration that splits the job by actual skill level.
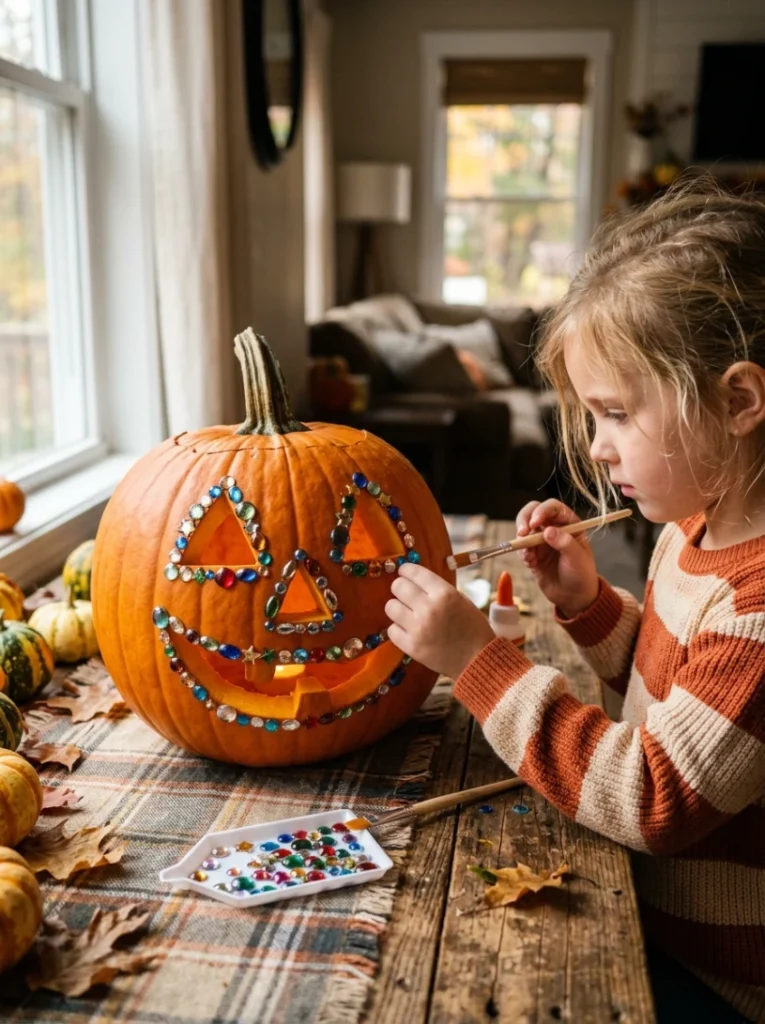
An adult handles the actual cutting, then hands the finished jack-o-lantern to the kids to add rhinestones, gems, or stickers around the carved edges.
This lets everyone genuinely contribute to one shared pumpkin instead of each person needing their own separate project.
Pro Tip: If you do let an older kid try a real serrated pumpkin tool, have them carve while sitting at a sturdy table rather than standing. It gives them far more control and cuts down significantly on slips.
Themed Character Pumpkins
16. Mr. Potato Head style push-in pieces
A repeat-use idea that uses toys kids probably already have.
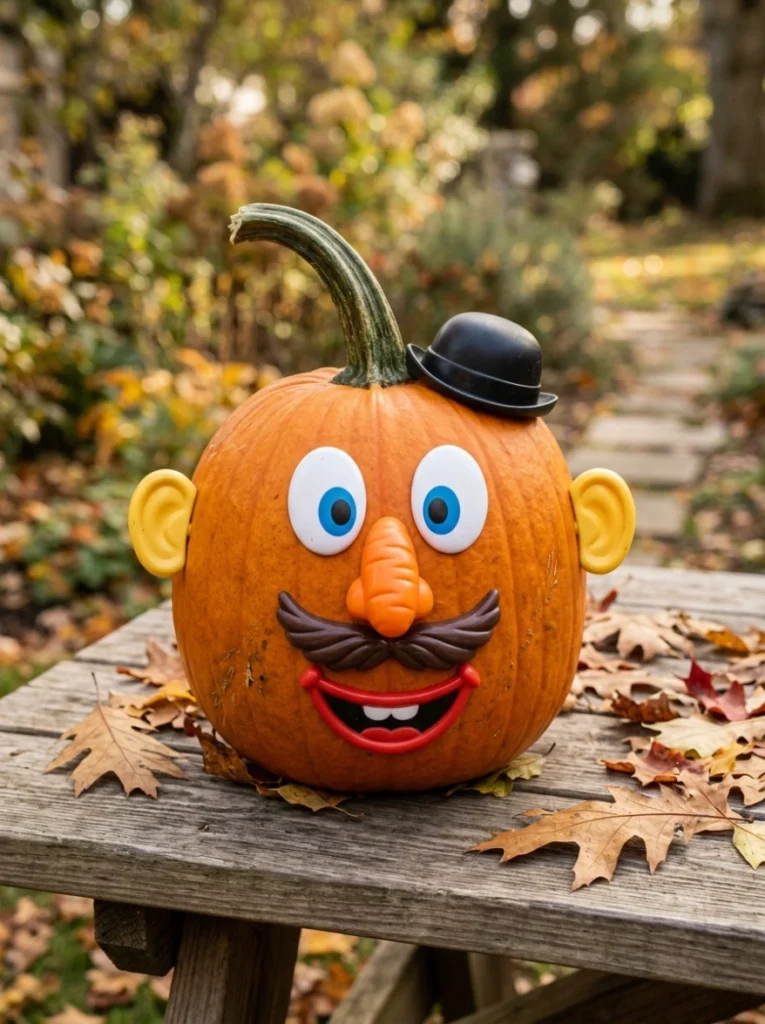
Plastic push-in pieces, whether from an actual toy set or a pumpkin-specific kit, twist directly into the pumpkin’s skin to build a face with zero cutting or mess.
Since the pieces pull back out, kids can rearrange the whole face as many times as they want before settling on a final design.
17. Animal face pumpkins
A design direction that steers away from spooky entirely.
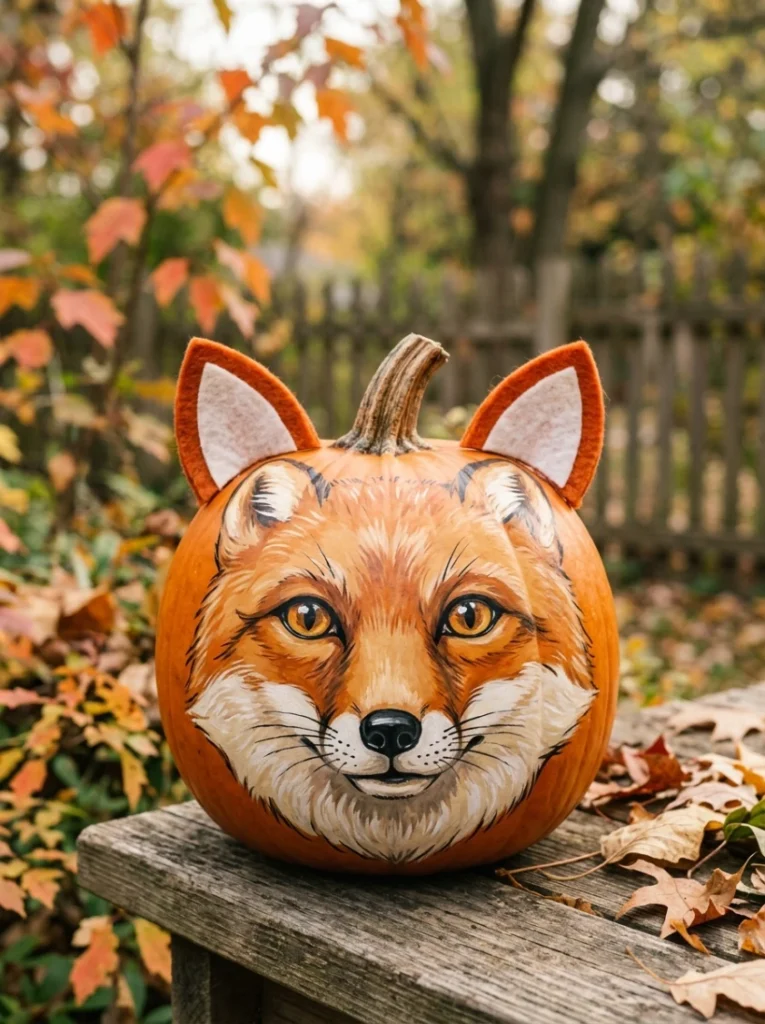
Painting a pumpkin as a fox, cat, or owl face, using paint for the base color and glued felt or paper for ears, gives younger kids a friendly alternative to a scary jack-o-lantern.
This direction works well for a preschool class project too, since the designs stay simple and completely non-frightening.
18. Favorite character pumpkins
Letting a kid’s current obsession lead the design keeps them genuinely invested.
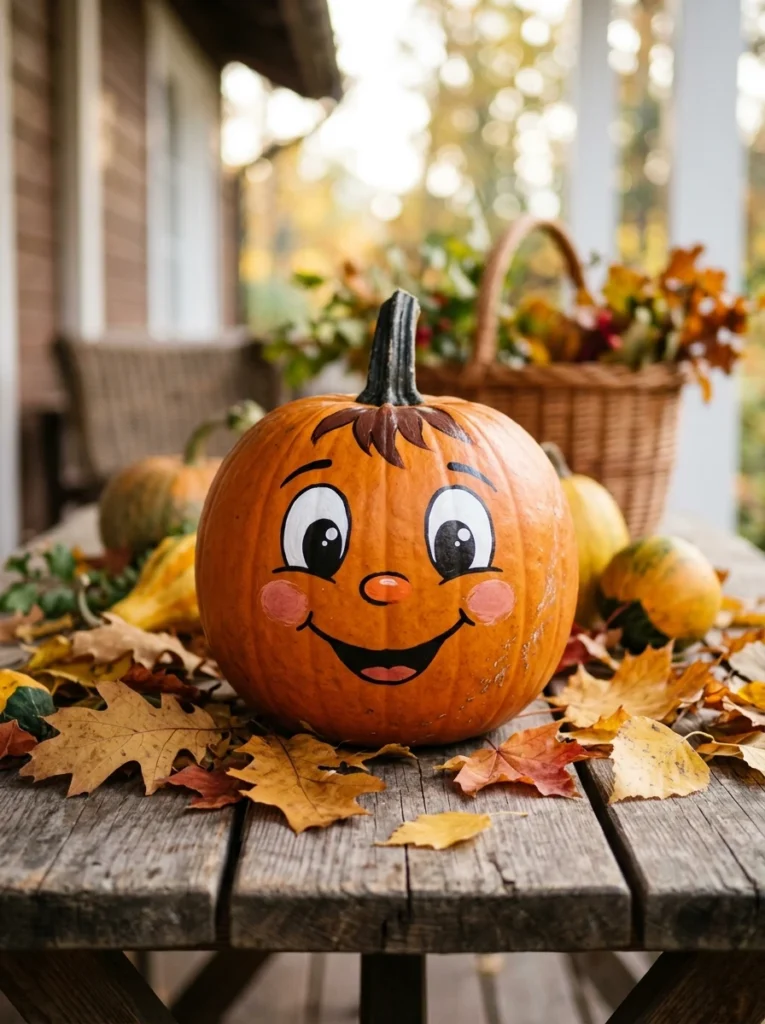
Painting a pumpkin to resemble a simple, recognizable cartoon character or animal a child already loves makes the whole project feel personal rather than generic.
Sketching the design in pencil first, then having a kid fill it in with paint, keeps this approachable even for a fairly detailed character.
19. Alphabet letter pumpkins
An educational twist that works well for a group of siblings or classmates.
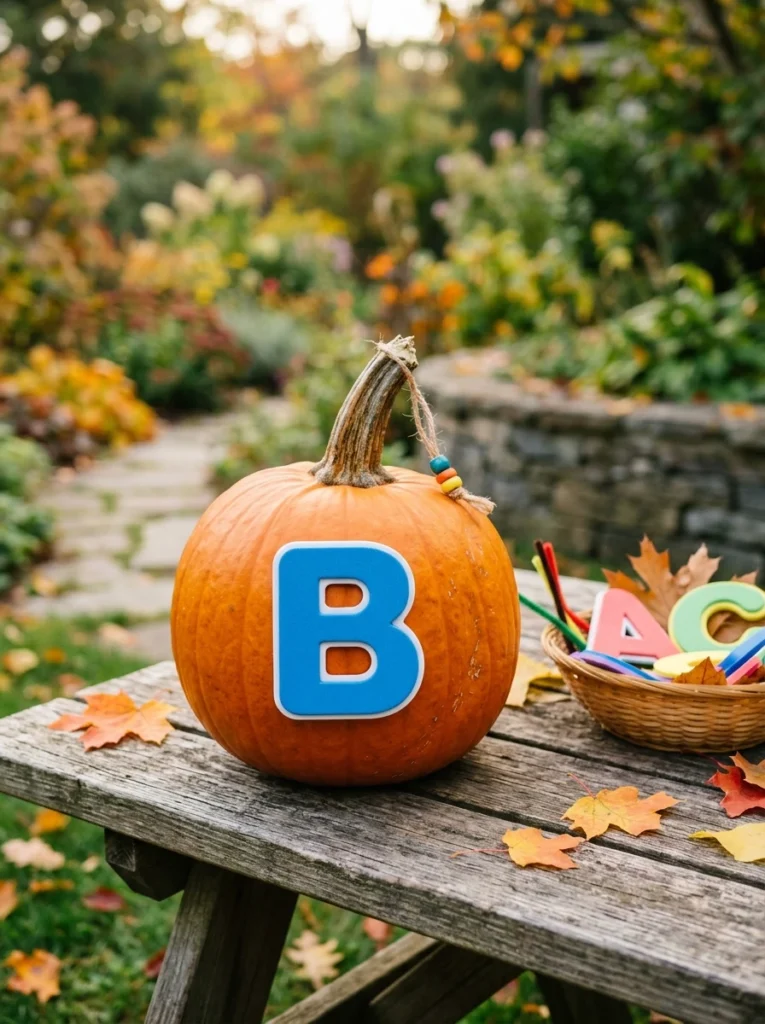
Foam alphabet letters glued onto a pumpkin can spell a name, a word, or just display a single initial, doubling as both decor and a simple letter recognition game.
This is an especially good fit for a family with several kids, where each child decorates their own pumpkin with their own initial.
Pro Tip: Sketch any character or letter design lightly in pencil before adding paint or glued pieces. It gives kids a guide to follow without the pressure of getting the first attempt exactly right.
Sensory and Toddler-Friendly Ideas
20. Sensory texture pumpkin play
An activity built around exploring textures rather than producing a finished design.
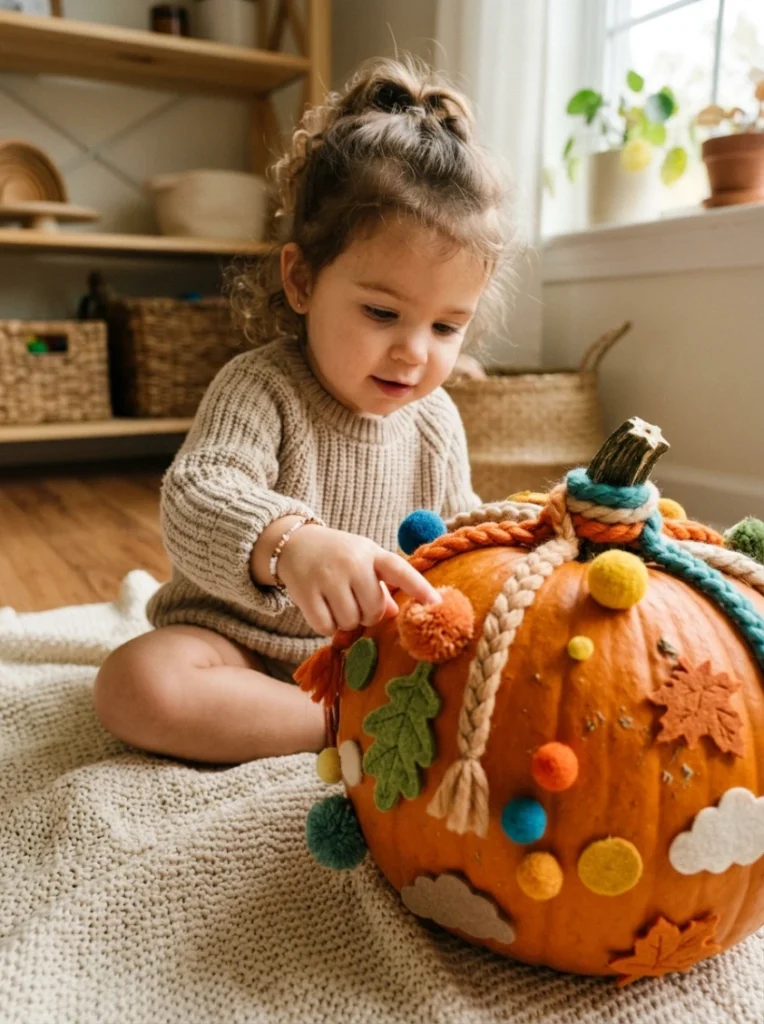
Attaching different textured materials, felt, yarn, bubble wrap, sandpaper, to sections of a pumpkin gives toddlers a hands-on sensory experience rather than a design to complete.
This idea works well specifically because the goal is exploration, not a finished, photo-ready pumpkin.
21. Yarn-wrapped spider web pumpkins
A simple technique that toddlers can genuinely help with start to finish.
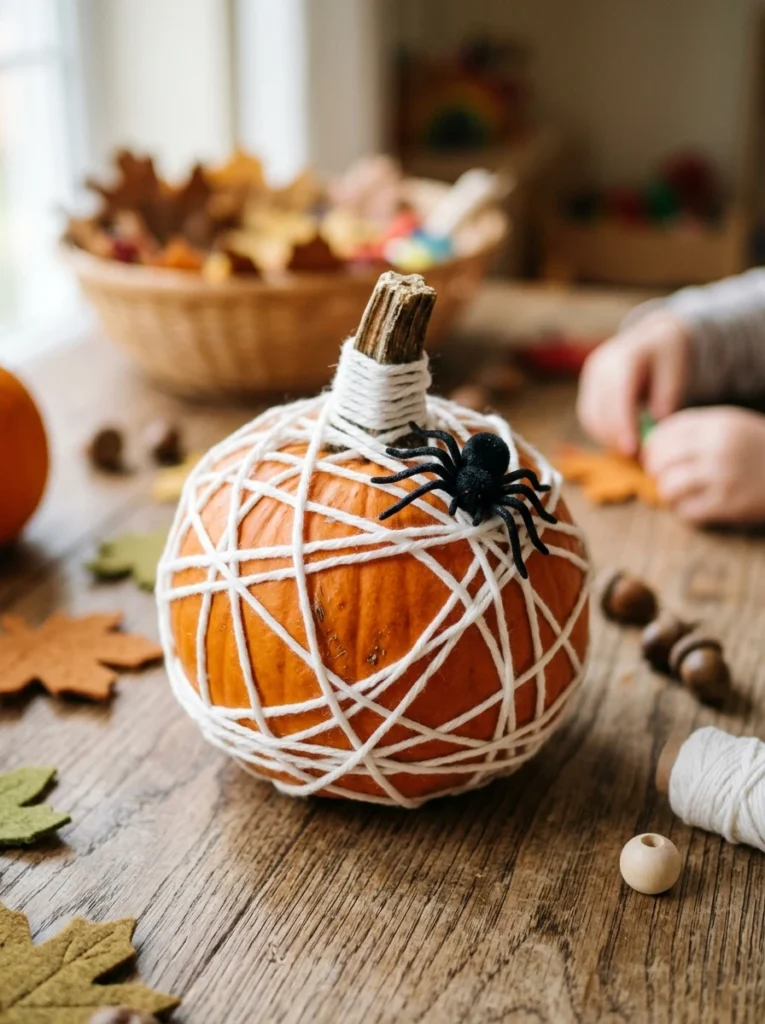
Simple kitchen twine or yarn, wrapped around a pumpkin in a loose criss-cross pattern, creates a web effect that toddlers can help build without needing any fine motor precision.
Adding a plastic spider on top finishes the look and gives the whole project a clear, satisfying endpoint.
22. Sticker-only pumpkins
The absolute simplest option for the youngest crafters.
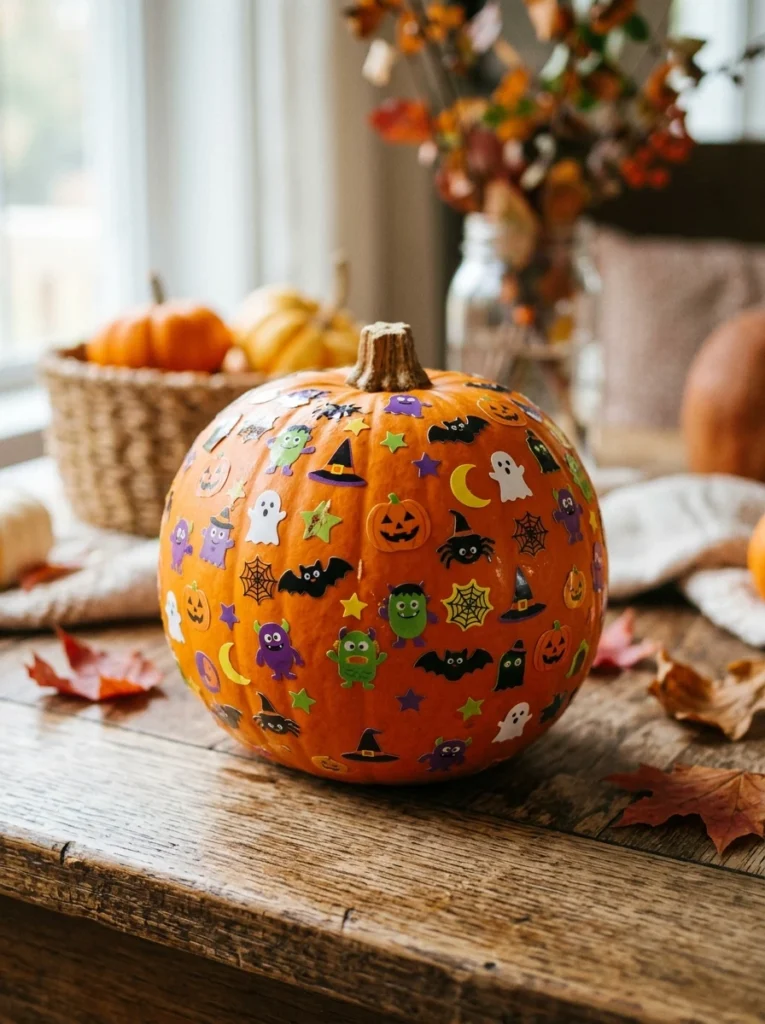
A bag of Halloween-themed stickers and a plain pumpkin is genuinely all this idea needs, letting even the youngest toddlers participate fully without any supervision risk at all.
This is the easiest idea on the entire list to prep for, and it holds a toddler’s attention surprisingly well.
23. Painted handprint pumpkins
A keepsake-style project that captures a moment in time, not just a design.
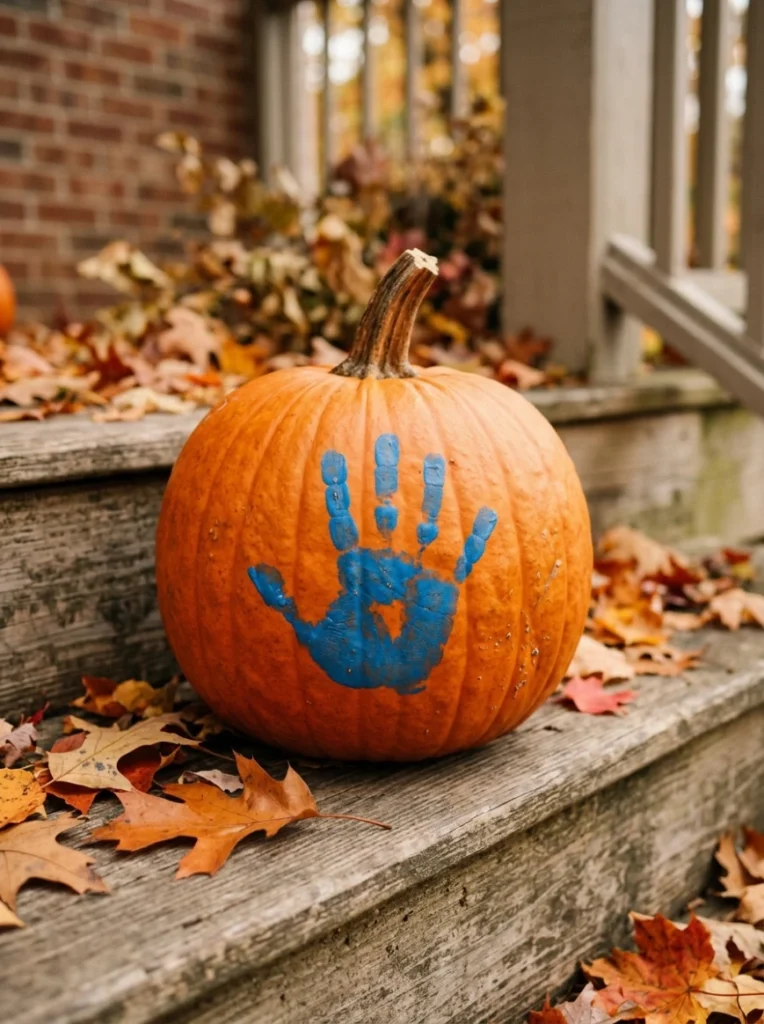
A single small handprint, painted directly onto the pumpkin and turned into a simple shape like a spider or a bat, becomes a keepsake worth photographing before it’s eventually composted.
This is a strong pick for a family that wants at least one pumpkin each year to double as a growth milestone, not just seasonal decor.
Common Mistakes to Avoid
- Handing a real carving knife to a child too young to safely control it, regardless of how simple the design seems.
- Leaving kids unsupervised with any cutting tool, even ones marketed specifically as kid-safe.
- Skipping a stable, dry work surface, which causes more slips and accidents than the tools themselves.
- Choosing a design too advanced for the child’s actual skill level, which usually ends in frustration rather than fun.
Frequently Asked Questions
At what age can kids safely help carve a real pumpkin?
Most safety guides recommend keeping young children away from actual blades entirely, with punch kits or mallet-and-cookie-cutter methods as safer options once a child has developed enough coordination, usually school age and up, and always with direct supervision.
Do no-carve pumpkins last longer than carved ones?
Yes, since there’s no exposed flesh for bacteria and mold to break down, a painted or decorated pumpkin typically holds up for weeks longer than a carved one.
What’s the easiest pumpkin decorating idea for a toddler?
Stickers require no supervision risk at all and hold a toddler’s attention well, while yarn-wrapped webs and sensory texture play are close seconds for slightly more hands-on options.
Conclusion
The best kid friendly pumpkin carving ideas aren’t about finding a way to let kids use real tools sooner, they’re about matching the activity to what a child can actually handle safely and enjoy. Start with paint, stickers, or a punch kit depending on age, save the real blades for adults or closely supervised older kids, and let the finished pumpkins take their place on the porch or front yard display once the whole family’s creations are done.