I used to shove every book I owned onto whatever shelf had room, spine out, tallest to shortest, and call it done. Then a friend pointed out that her bookshelf ideas looked like something out of a magazine while mine looked like a returns pile, and the difference wasn’t more books, it was restraint and a little bit of technique. That conversation sent me down a two-year rabbit hole of rearranging my own shelves more times than I’d like to admit.
What I learned is that good bookshelf styling isn’t about hiding the fact that you read, it’s about letting the books themselves do the decorating. The “bookshelf wealth” look that’s been everywhere lately isn’t really about owning more books, it’s about mixing vertical and horizontal stacks, leaving breathing room, and layering in a few objects that mean something to you. Once I stopped treating my shelves as pure storage, they became one of the most complimented parts of my living room.
Everything below I’ve actually tried on my own shelves or a friend’s, and I’ve priced out the tools and small additions so you know what you’re working with. I’ve grouped these by technique, arrangement methods, color and texture tricks, mixing in objects, and shelf setups themselves, so you can pull one idea or rebuild the whole thing this weekend.
Before You Start
- Pull every book off the shelf before you start. It sounds excessive, but restyling around books that are already in place almost always means you just recreate the same cluttered arrangement.
- Sort by color and size first, then worry about genre or sentimental grouping. Visual cohesion reads instantly, alphabetical order does not.
- Leave real negative space. Filling every inch of a shelf reads as storage, not styling. Aim for shelves that are roughly 70 to 80 percent full, not packed edge to edge.
- If your shelves are open and visible from multiple angles, style the back panel too. A plain white or painted back adds contrast that makes the objects in front pop.
- Rotate a few items seasonally instead of buying more decor. Moving three or four objects around every few months keeps the shelf feeling fresh without new spending.
Arrangement Techniques
1. Mix Vertical and Horizontal Stacks on Every Shelf
This one change did more for my shelves than any object I ever added to them.
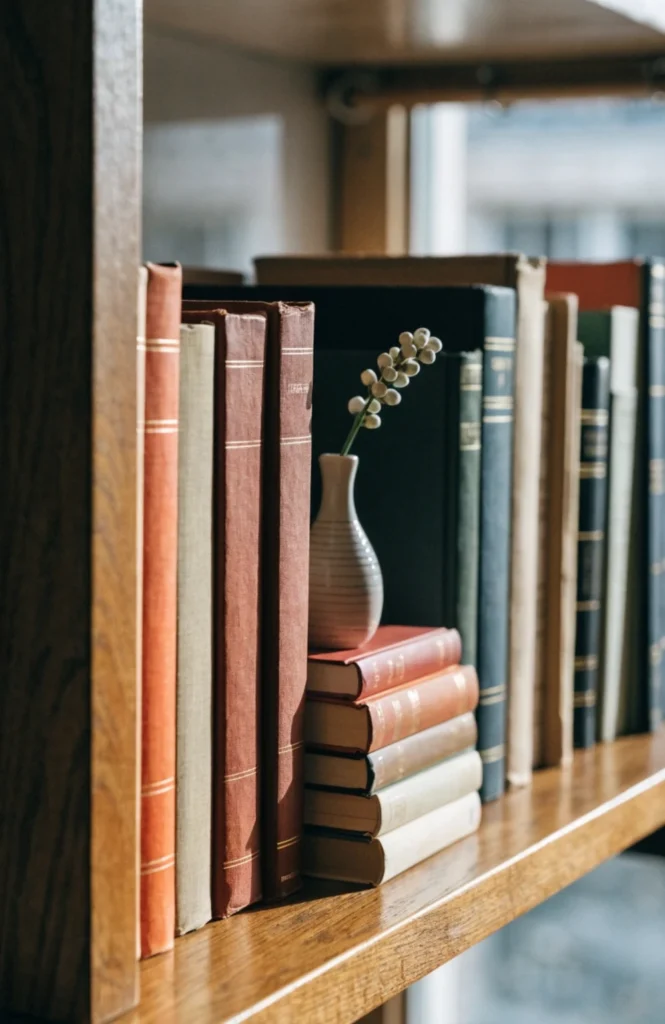
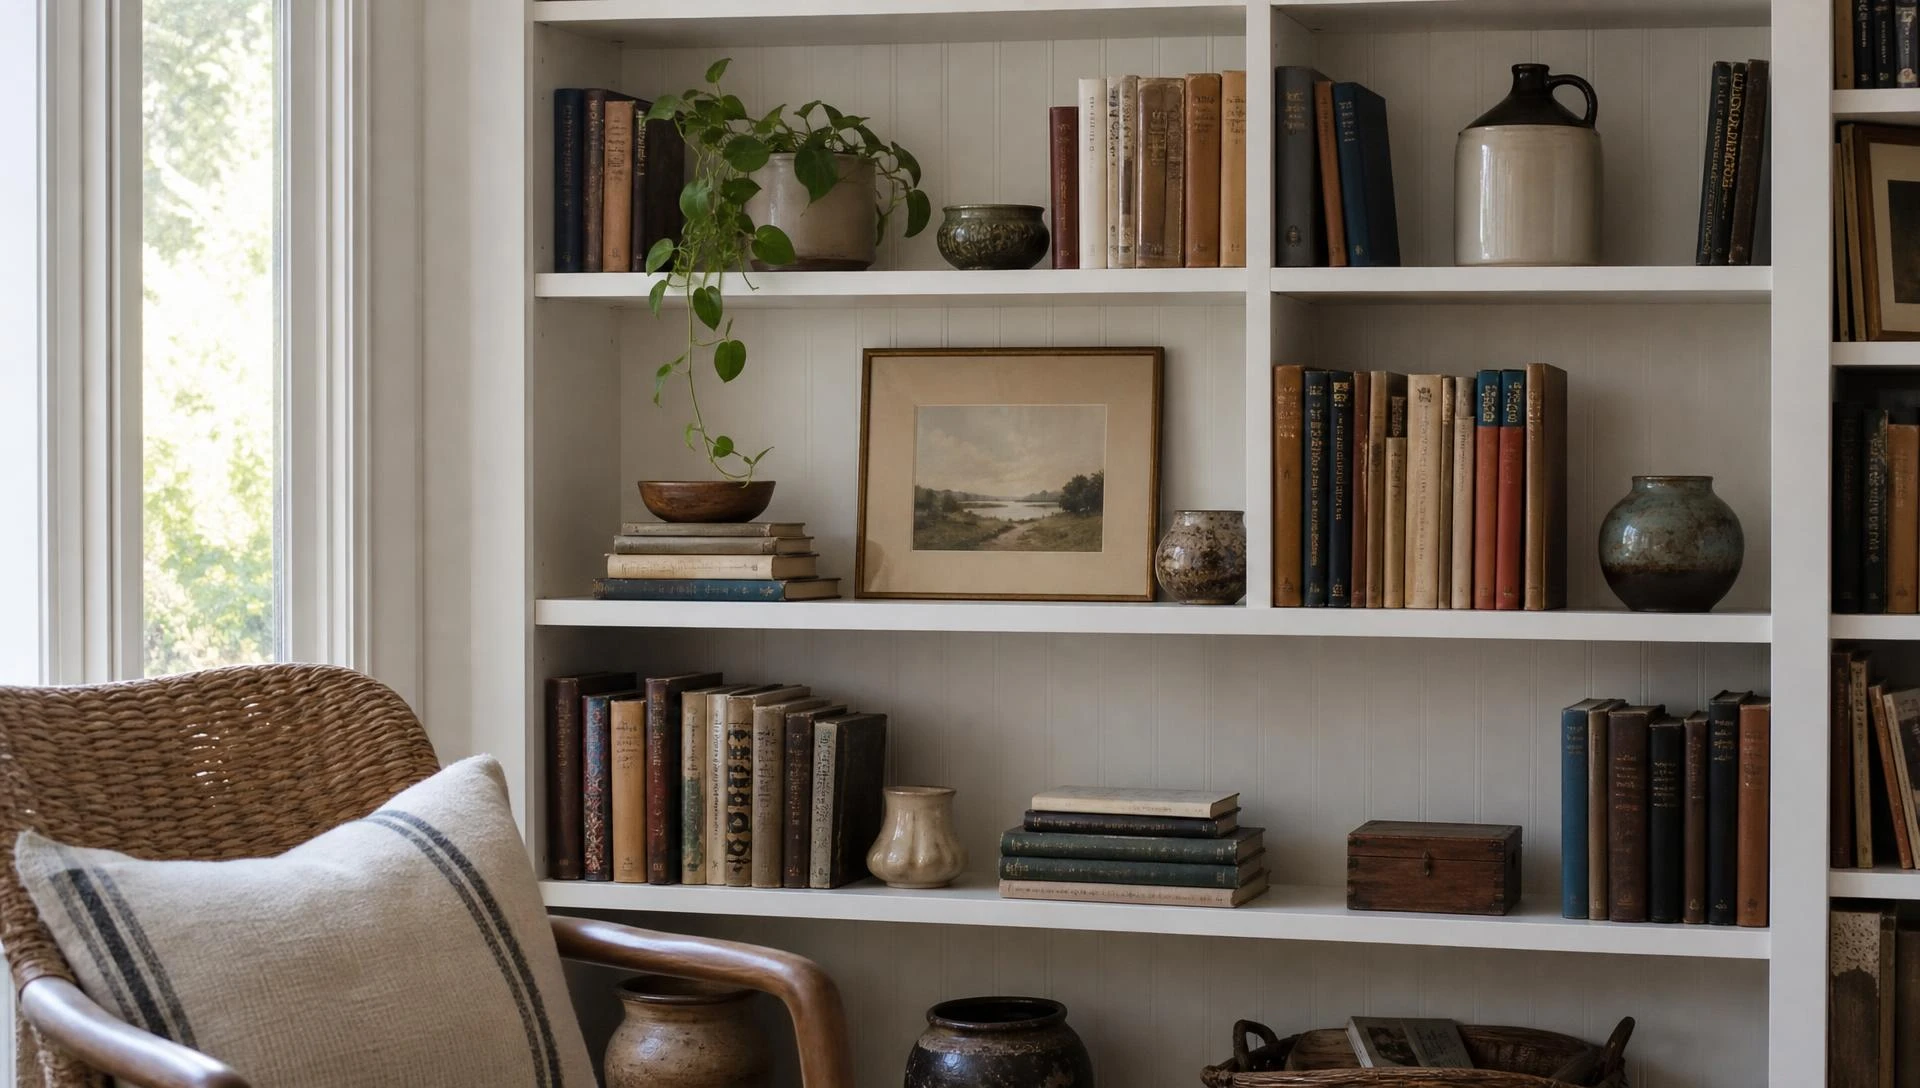
Stand roughly two-thirds of the books upright in small clusters of three to six, then stack the remaining third horizontally in short piles of two to four, placed either beside or on top of the vertical groupings. No purchase required, just twenty minutes of rearranging.
It works because pure vertical rows read as a library card catalog, while horizontal stacks break up that rigid line and create the small platforms decorators use to display objects on top.
2. Color Block Your Spines Into a Gradient
I resisted this for years thinking it looked gimmicky, then tried it on one shelf and changed my mind completely.

Arrange books along a single shelf in a loose color gradient, cream to tan to rust to deep brown, for example, rather than a jarring rainbow. This works with books you already own, you’re just resorting them, though it can take an hour or two to fully sort a large collection.
It works because a gradient reads as calm and intentional rather than chaotic, and it’s a completely free way to make mismatched book covers look like they were chosen together.
3. Turn a Few Books Spine-In for Texture
This trick gets noticed by other book people and almost no one else, which is exactly the point.

On one or two shelves, turn a small cluster of three to five books so the page edges face out instead of the spine, creating a soft, textured block of cream or ivory paper against the surrounding spines. Best done with books you’re not trying to identify by title anyway.
It works because it adds a textural break from rows of flat spines, and the pale page-edge blocks act almost like a neutral design element, similar to how a designer might use a plain ceramic vase as a palette cleanser between busier objects.
4. Leave One Full Shelf Deliberately Empty
The empty shelf gets more comments than any of the full ones, which still surprises me.
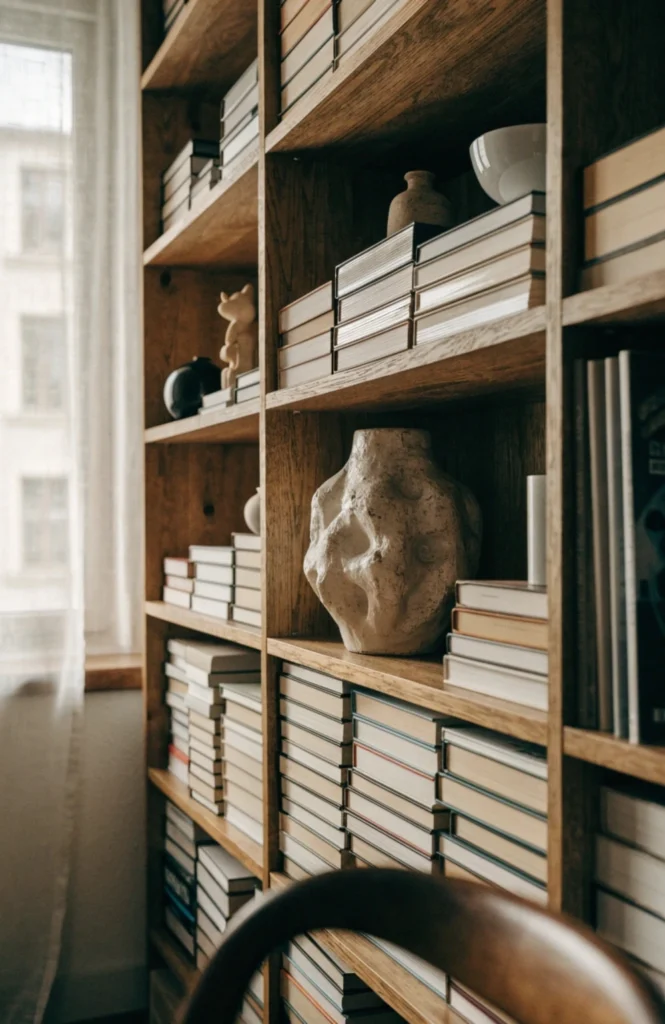
On a tall shelving unit with five or more shelves, leave one shelf holding just a single object, a sculptural vase, a framed photo, or a small plant, rather than any books at all. No cost involved, just restraint.
It works because it gives the eye a place to rest, and on a shelf that would otherwise be visually busy top to bottom, one quiet gap makes everything around it look more curated by comparison.
Color and Texture
5. Try Full “Book Drenching” in One Room
This is the trend that’s been everywhere in design circles this year, and it’s more approachable than it looks in photos.

Book drenching means filling every visible shelf in a room with books in a cohesive, saturated color palette, rather than spreading them thin, turning the shelving itself into the room’s main design statement. It works with an existing collection over time, no need to buy new books just for color.
It works because the density and cohesion mimics the look of a real, lived-in personal library, the opposite of the sparse, staged single-shelf display that can feel more like a furniture showroom than a home.
6. Add a Bold Wallpaper Backing Behind Open Shelves
The wallpaper backing turned my plain white shelf into something that looked custom-built.
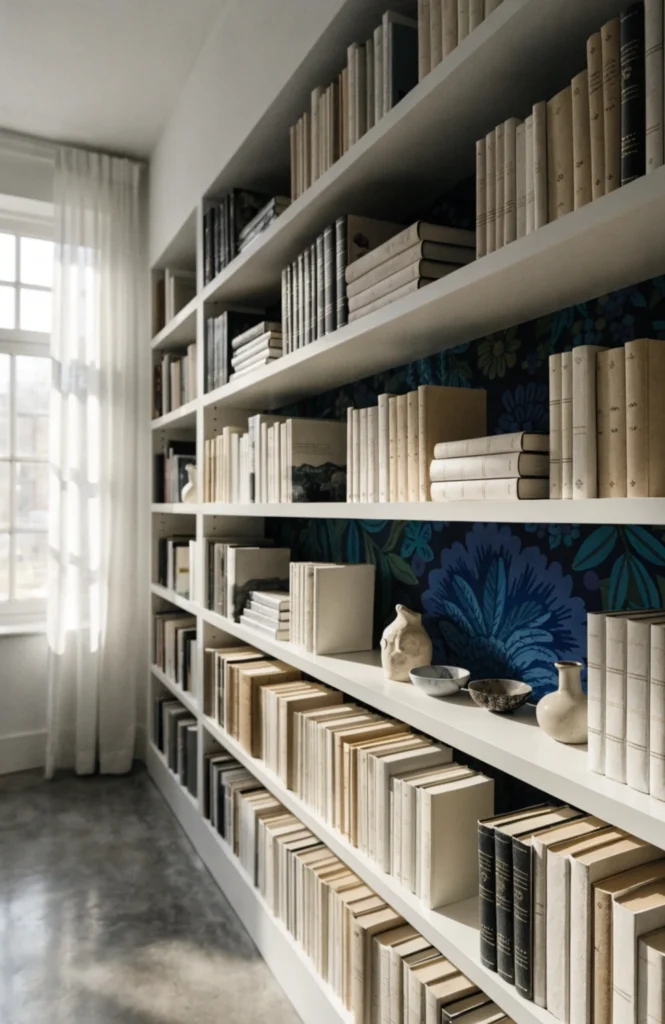
Removable peel-and-stick wallpaper applied to just the back panel of an open bookshelf, in a bold color or subtle pattern, typically costs $30 to $60 per roll, and most bookshelf back panels only need a partial roll depending on the unit’s size. [VERIFY exact yardage needed for your specific shelf dimensions before ordering.]
It works because it turns the negative space behind the books into a design element instead of leaving it blank, and it’s one of the few genuinely reversible ways to make built-in or stock shelving feel custom.
7. Choose Warm Wood Tones Over Painted White Shelving
Switching from a painted white unit to a warm wood one changed the whole feel of the room without touching a single book.
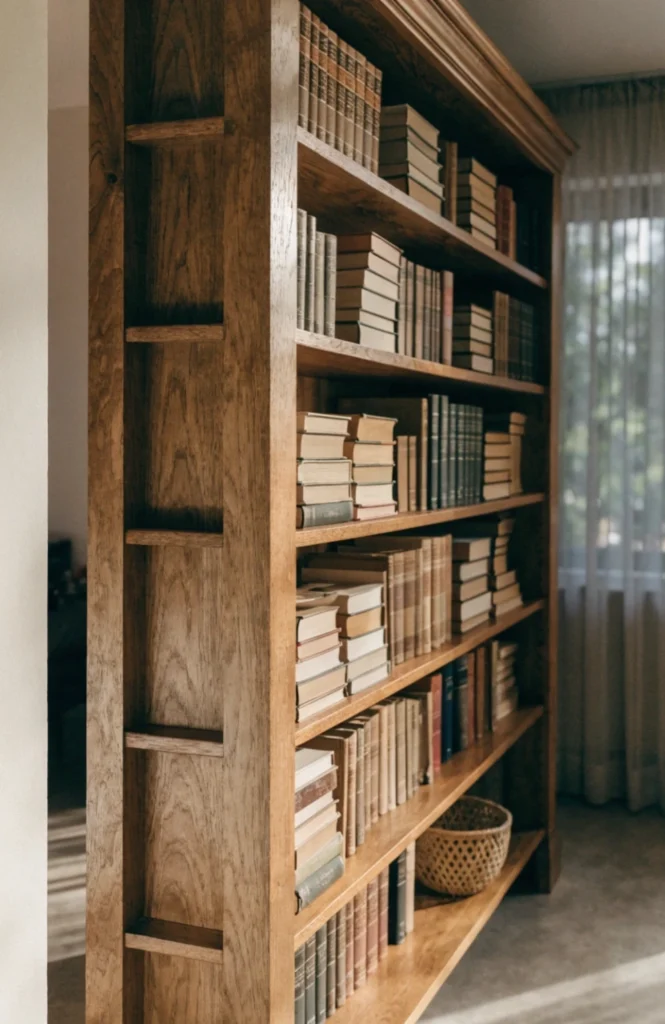
Solid or engineered wood shelving in walnut, oak, or a mocha-toned finish, whether built-in or a freestanding unit, generally costs more upfront than a comparable painted piece, often by $100 to $300 depending on size and material, but tends to photograph and age better over time.
It works because warm wood grounds a room the way white shelving sometimes can’t, especially when the books themselves carry a lot of color, and it echoes the earthy, mocha and walnut tones currently trending in living room design.
8. Use a Single Bold Accent Color as a Through Line
Picking one accent color and repeating it in small doses tied my whole shelf together in a way that random objects never did.
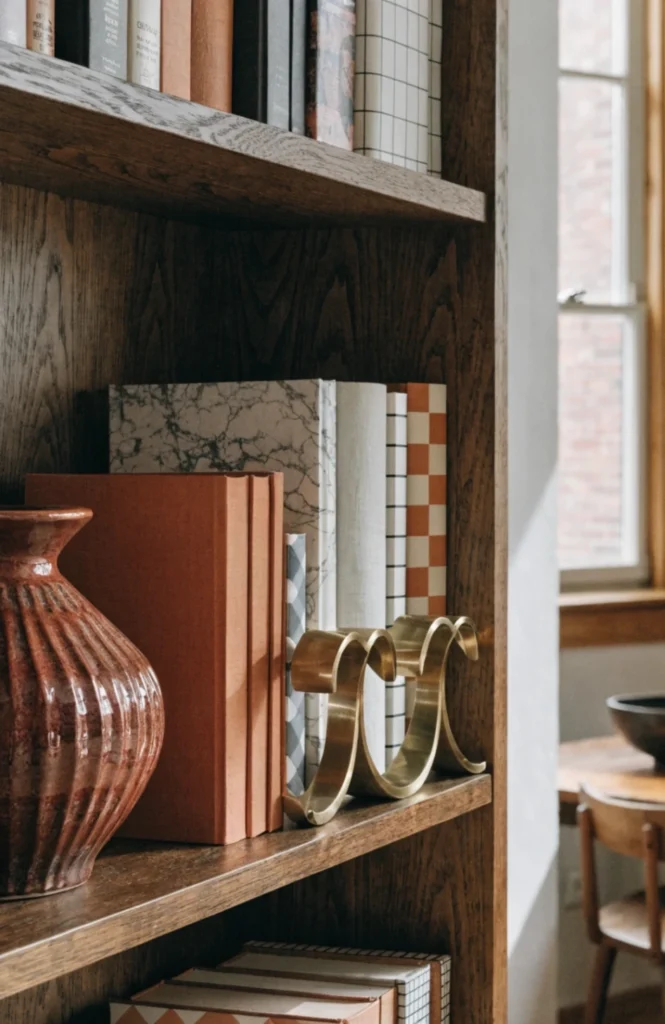
Choose one accent color, terracotta, deep green, or brass, for instance, and repeat it in small doses across bookends, a vase, and a single stack of book covers, spending roughly $30 to $70 total on a few accent pieces if you’re starting from scratch.
It works because a repeated color creates a visual rhythm across an otherwise busy shelf, giving your eye a path to follow from one end to the other instead of landing randomly.
Objects and Layering
9. Add Bookend Brackets Instead of Freestanding Bookends
Swapping loose bookends for integrated brackets solved my constant sliding-book problem and looked more architectural doing it.
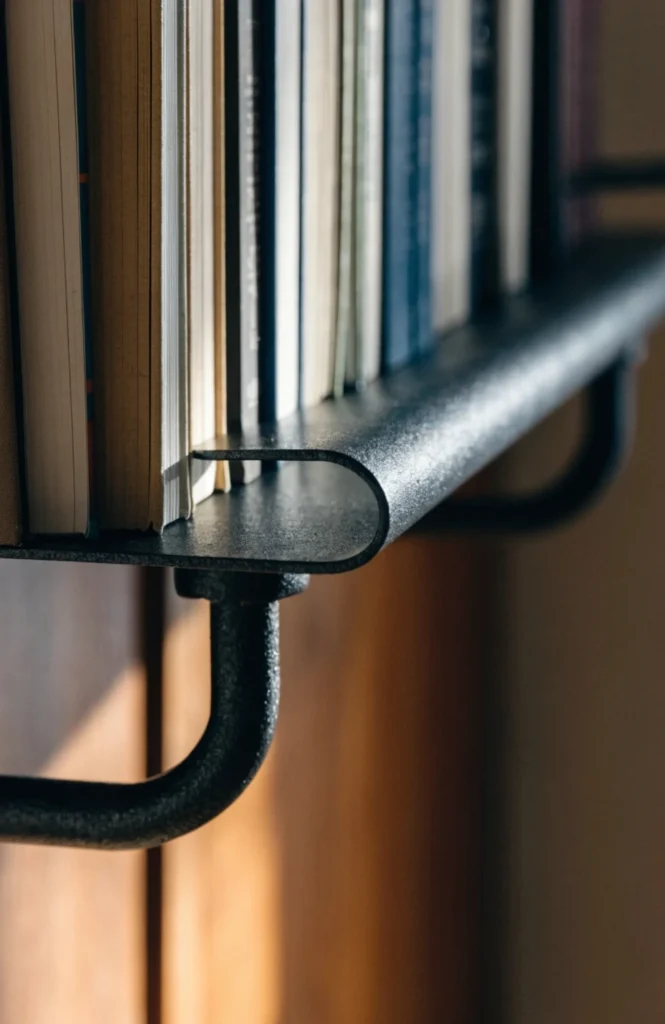
Heavy-duty steel floating shelf brackets with a built-in bookend edge, sold in sets of two for open-ended shelves, typically run $40 to $70 per set depending on finish and size, and mount directly into the wall studs behind the shelf.
It works because it removes a visible separate object from the shelf entirely, the function is built into the architecture itself, which reads as more considered than a decorative bookend sitting on top of the surface.
10. Layer in Sculptural Ceramics Instead of Framed Photos
I swapped most of my framed photos for a few ceramic pieces and the shelf immediately looked less like a mantle and more like a collection.
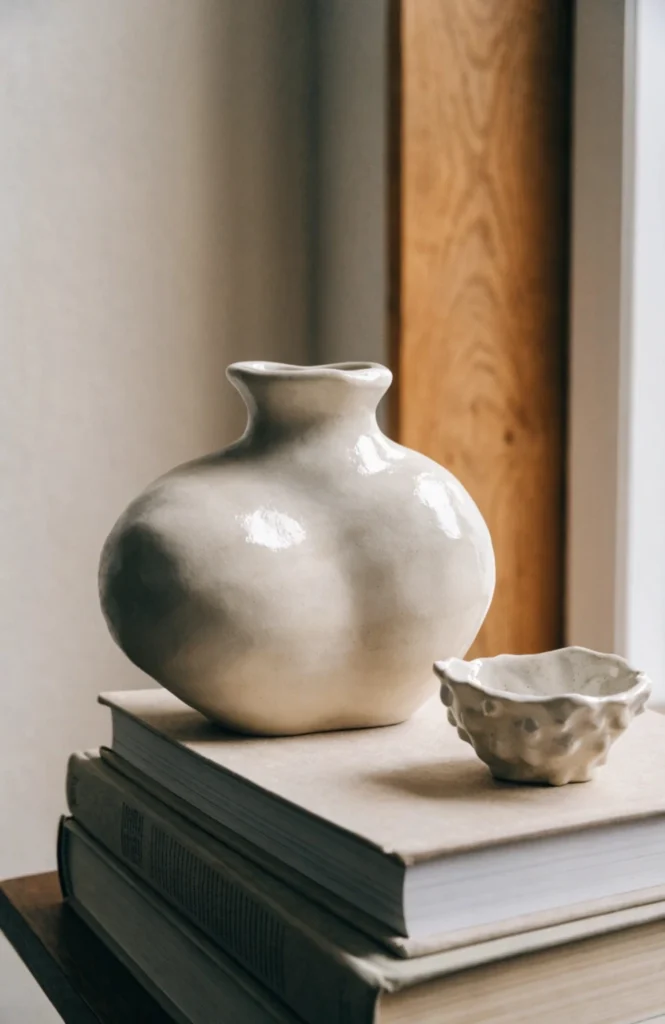
A small collection of two or three sculptural ceramic objects, an organic-shaped vase, a textured bowl, or an abstract figure, in the $20 to $60 range each from independent ceramicists or home retailers, placed on top of horizontal book stacks.
It works because ceramics add three-dimensional shape that photos, which are flat, can’t provide, and unlike photos, they don’t need to be swapped out as your taste or life changes.
11. Add a Trailing Plant on the Top Shelf
The trailing plant is the single easiest thing on this list and it’s the one people ask about most.

A pothos or philodendron in a small ceramic pot, priced around $15 to $30 including the pot, placed on the top shelf where its vines can trail down along the side of the unit over the following months.
It works because it introduces movement and a living element into what’s otherwise a static, flat arrangement, and the trailing vines soften the hard right angles of most bookshelf units without blocking any of the books below.
12. Lean a Framed Print Against the Back Panel Instead of Hanging It
Leaning art instead of hanging it gave me the flexibility to change the shelf’s mood without a single new nail hole.
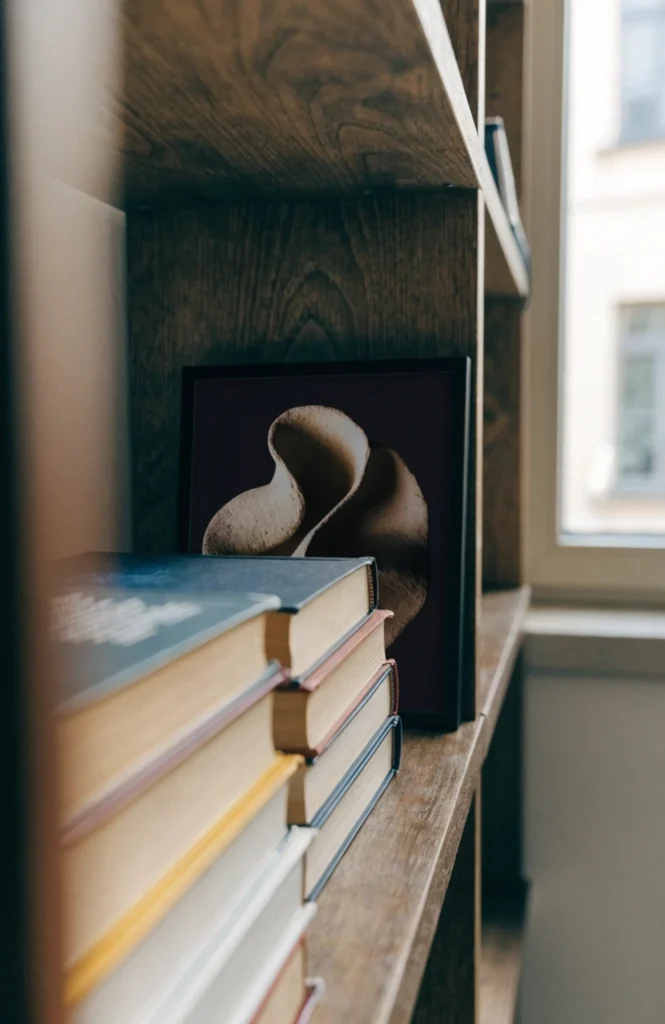
A small framed print, roughly 8×10 to 11×14 inches, leaned against the back panel of a shelf rather than mounted flat on the wall behind it, costs whatever the print and frame run, often $20 to $60 for a modest piece, but the technique itself is free.
It works because the slight forward lean and visible frame edge reads as casual and collected, the opposite of a stiffly centered, perfectly hung piece, and it can be swapped in minutes whenever you want to change the shelf’s feel.
13. Add a Small Reading Lamp Directly on the Shelf
Adding a lamp to the shelf itself rather than a side table changed how the whole corner functioned at night.
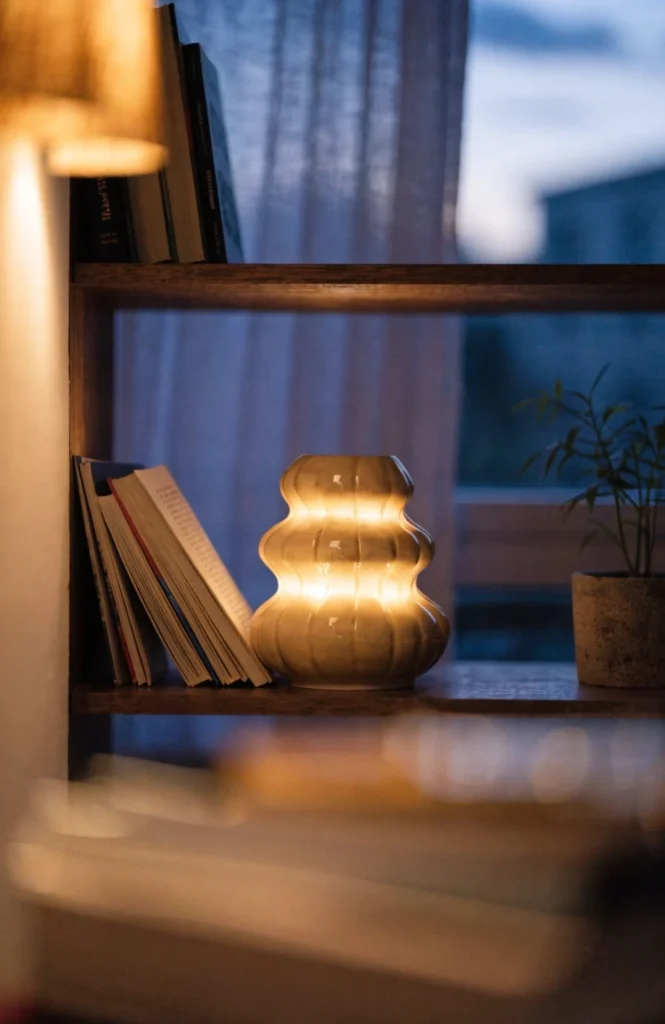
A small accent lamp, sized to fit within a 12 to 14 inch deep shelf, in the $30 to $80 range depending on the base material and shade, placed on a lower shelf at a height convenient for reading nearby.
It works because it gives the shelf a warm, functional light source of its own rather than relying entirely on overhead lighting, and the soft glow at night makes the whole unit look intentional rather than just a wall of books in the dark.
Shelf Setups and Structures
14. Install a Ladder-Style Shelf for a Narrow Wall
The narrow ladder shelf solved a dead corner in my hallway that nothing else fit into.
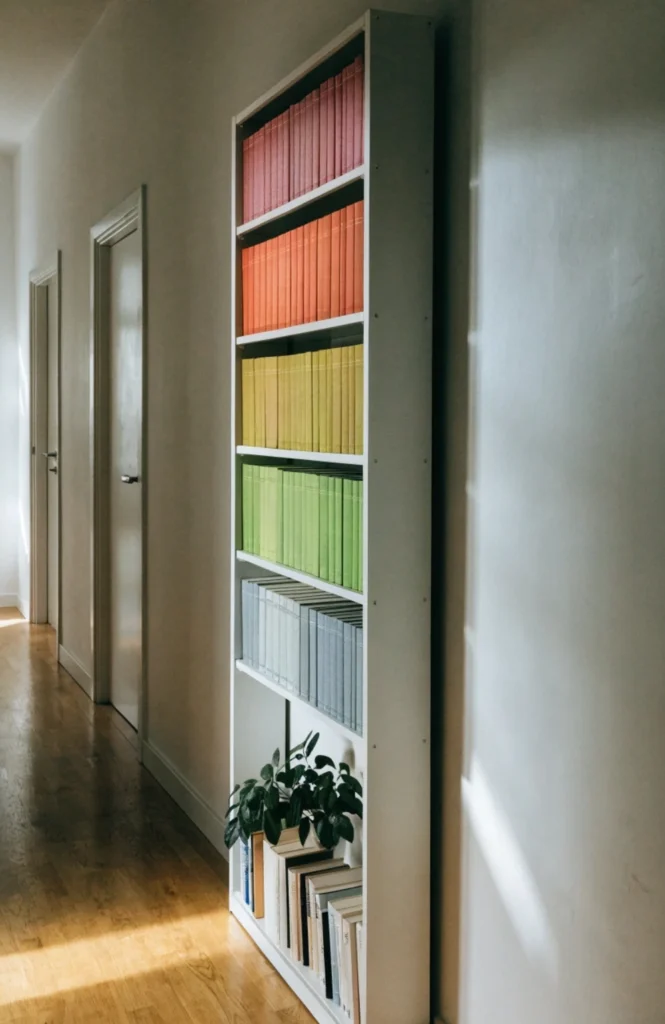
A freestanding ladder-style bookshelf, typically 12 to 18 inches wide and available in white, black, or natural wood finishes, runs about $80 to $200 depending on material and height, and requires no wall mounting or drilling.
It works because it fits spaces standard bookcases can’t, narrow hallways, awkward corners, the gap beside a doorway, and the graduated shelf widths naturally create the kind of visual variety that’s harder to fake on a uniform shelving unit.
15. Build a Reading Nook Into a Wall of Shelving
This was the most ambitious project on this whole list and also the one my family uses daily.
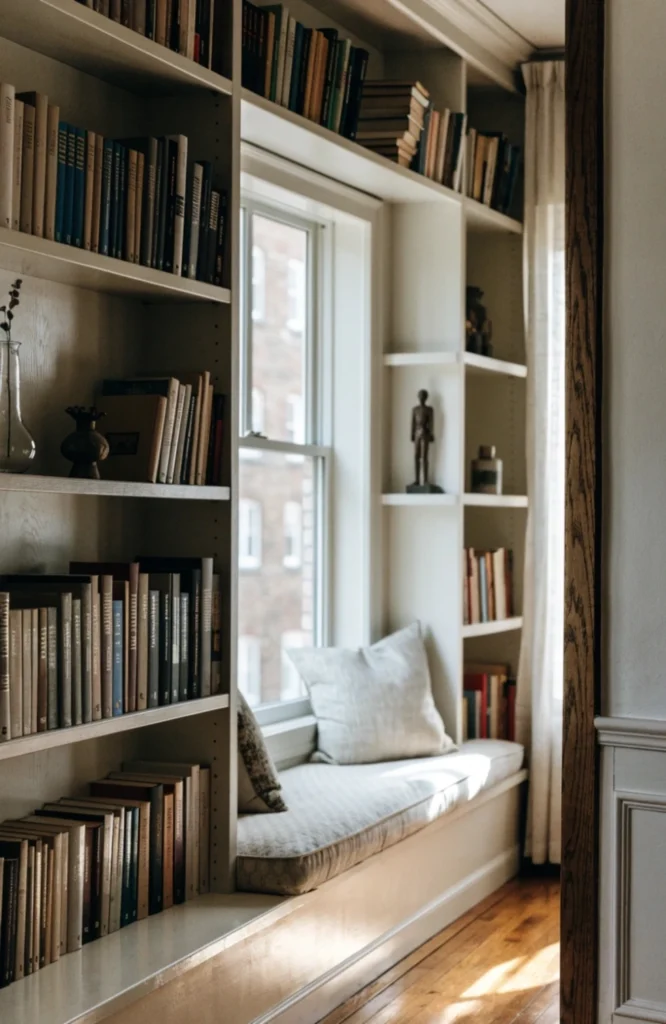
A built-in shelving unit that wraps around a window seat or a cushioned bench, built by a local carpenter or installed as a modular system, generally costs $1,500 to $4,000 or more depending on size and materials, though modular stock units can bring that down to $400 to $800 for a smaller nook. [VERIFY current quotes with a local contractor for your specific space.]
It works because it turns book storage and a place to actually sit and read into one architectural feature, rather than two separate, competing pieces of furniture fighting for the same wall.
16. Use Floating Shelves Instead of a Full Bookcase
Floating shelves gave me almost the same storage as a bulky bookcase while keeping the room feeling open.
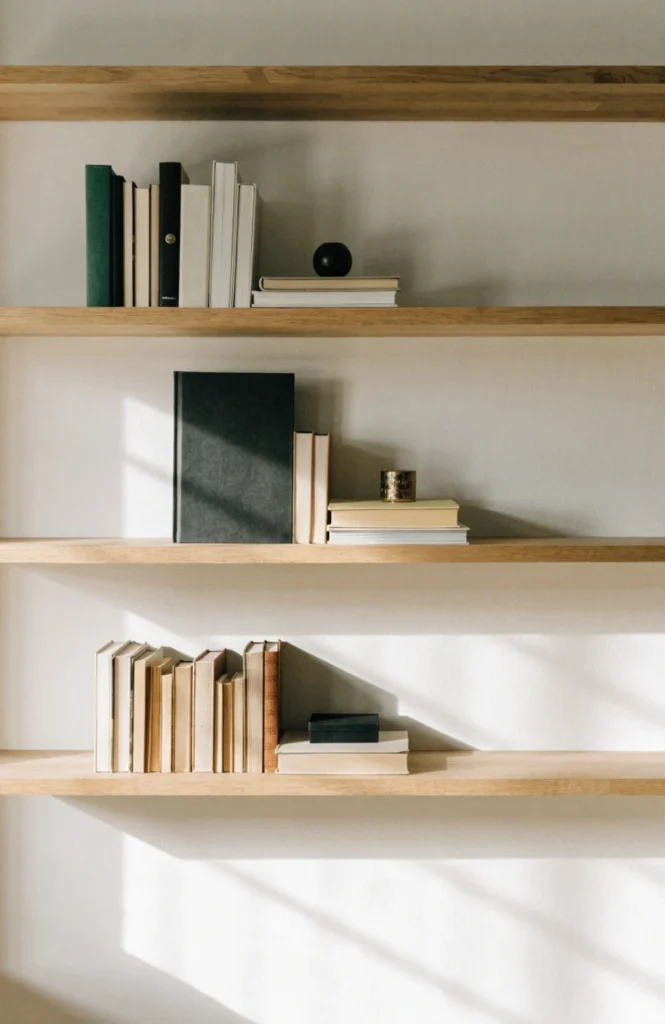
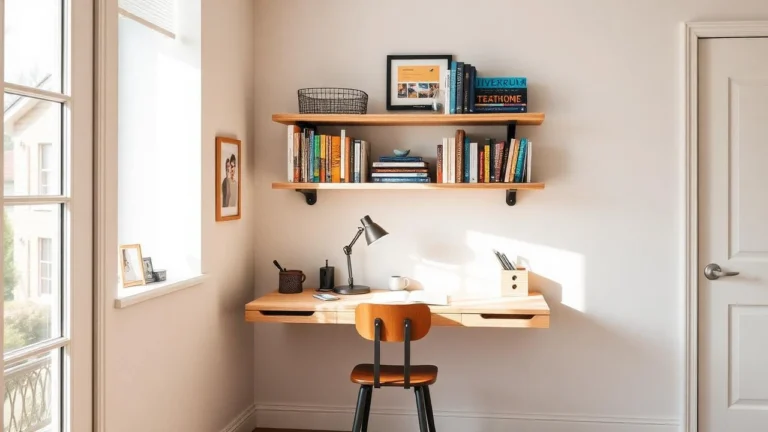
A set of three or four floating wood shelves, each around 24 to 36 inches wide, with hidden wall-mounted brackets, typically costs $60 to $150 for the full set depending on wood thickness and bracket style, and installs directly into wall studs in an afternoon.
It works because it eliminates the visual bulk of a full cabinet’s side panels and back, letting the wall color show through between shelves, which makes even a small room feel less closed in.
17. Turn a Low Console Into an Open Bookshelf
I repurposed a console table I already owned instead of buying dedicated shelving, and it worked better than I expected.
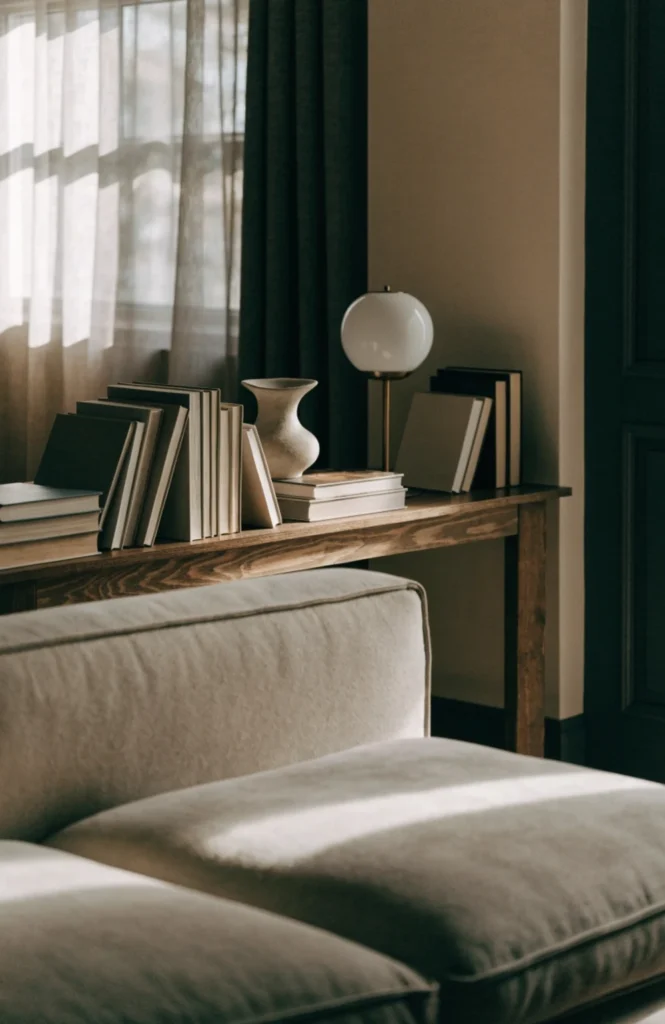
A low, open-back console table or credenza, the kind typically used behind a sofa, doubles easily as horizontal book display space when styled with stacked books, a lamp, and one or two objects, at no additional furniture cost if you already own a suitable piece.
It works because the horizontal format forces a different styling approach than vertical shelving, mostly stacks and layered objects, and it adds book storage to a room without requiring a dedicated bookcase-shaped piece of furniture.
18. Add Library Rolling Ladder Hardware to a Tall Unit
This one is purely for the drama, and I regret nothing about installing it.

A rolling library ladder kit, including the rail, hardware, and ladder itself, for a tall bookshelf unit reaching 8 feet or higher, typically costs $200 to $500 for a basic kit, with installation taking a full afternoon for someone reasonably handy.
It works because it makes even a fully utilitarian, floor-to-ceiling shelf feel like a design statement rather than just storage, and it solves the real practical problem of reaching the top shelves in a genuinely tall unit.
Personal Touches
19. Group Books by a Personal Theme Instead of Genre
Grouping by theme instead of genre is the reason my shelves finally feel like mine instead of a rental staging.

Cluster books around a personal thread, every book set in a city you’ve lived in, every cookbook from a specific cuisine you love, or every book gifted by the same person, rather than sorting strictly by fiction versus nonfiction. No cost, just an hour of thinking through your own collection differently.
It works because it turns browsing your own shelf into something closer to storytelling, and it gives guests a natural reason to ask questions about the books instead of just glancing past a wall of spines.
20. Display One Meaningful Object Per Shelf, Not a Collection
Limiting myself to one object per shelf was harder than it sounds, but it fixed my tendency to overdo every surface.

Choose a single meaningful item per shelf, a small gift, a travel souvenir, a family heirloom, rather than clustering several trinkets together, and let the books around it provide the visual texture instead of more objects.
It works because restraint makes each individual piece more visible and more likely to actually get noticed, rather than disappearing into a crowd of smaller items competing for the same six inches of shelf space.
21. Let Well-Loved, Worn Books Stay Visible
I used to hide my most beat-up paperbacks behind newer hardcovers until I realized that was backwards.

Keep genuinely worn, dog-eared, water-stained favorites in plain view on the front row of a shelf rather than tucking them behind newer or nicer-looking covers, mixing in just a few pristine hardcovers rather than the reverse.
It works because a shelf of only pristine spines reads as decorative props bought for the look, while a few visibly loved books signal that the collection is real, which according to recent design commentary is exactly the distinction people notice in a well-curated shelf.
Conclusion
If you’re only going to change one thing this weekend, pull every book off the shelf and start over with the vertical-and-horizontal mixing technique, it costs nothing and it’s the single biggest visual shift on this entire list. From there, add texture with a color gradient or a wallpaper backing, then layer in just one or two objects per shelf rather than reaching for a full collection of decor pieces. The shelves that actually work are the ones that still look like they belong to a real reader, so keep the worn books in view and let the rest build slowly around them.