
You do not need a huge craft stash or a full free weekend to make Christmas decor that looks genuinely good. One free evening, a clear table, and supplies under ten dollars from the dollar store or Michaels will do it. Every project below uses real materials like wood, citrus, pine, and ribbon, so nothing looks childish.
The 21 ideas are grouped by where they go: ornaments first, then wreaths, then the table and mantel, finishing with gifts and wrap. Each one takes one to three hours. Start with whichever idea makes you smile first.
Quick Picks
- Cheapest: dried orange slice ornaments cost about four dollars for a whole batch.
- Fastest: hand-stamped gift tags take under 30 minutes.
- Small spaces: the mini bottle-brush tree village fits on one shelf.
- Best gift: infused vanilla sugar jars cost about two dollars each.
- Longest lasting: sealed wood slice ornaments can hang for decades.
Did You Know?
In Victorian England, families made paper chains, wax-dipped pine cones, and popcorn garlands together on Christmas Eve because store-bought decorations were too expensive for most households. The tradition faded with mass production, but handmade decor has come back because people want pieces with a personal story.
Before You Start
- Gather every supply before you begin. Hunting for scissors mid-project kills the mood fast.
- Protect your table with a plastic tablecloth or an old sheet. Glue and paint always land somewhere unplanned.
- Batch projects that share materials. Dried orange slices can supply ornaments, gift wrap, and a garland at once.
- Let things dry fully overnight when told to. Rushing the drying step is why crafts look rough instead of refined.
- Keep a small trash bowl on the table. Tidying as you go keeps the evening fun.
Ornaments and Tree Crafts
Start here if your tree is the centerpiece of your decor. These ornaments use natural materials and simple techniques.
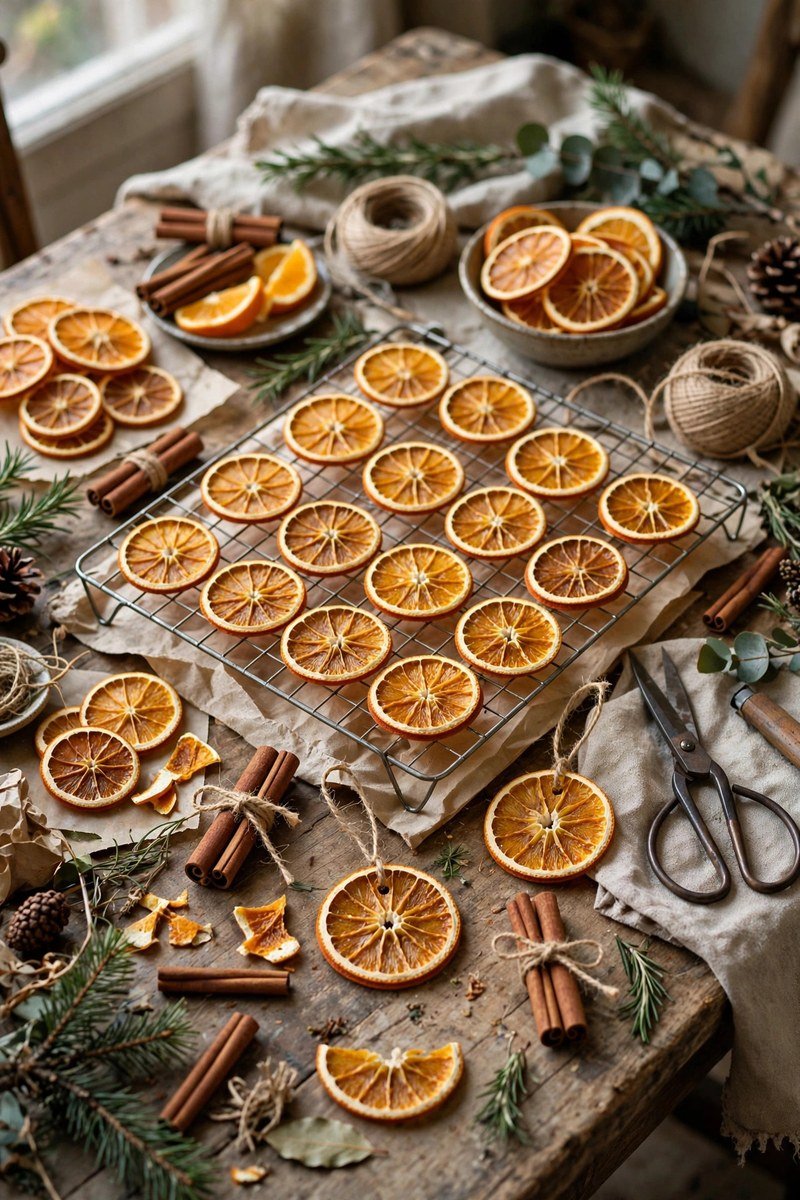
1. Dried Orange Slice Ornaments
Your kitchen becomes a holiday factory with this one.
Slice three oranges into quarter-inch rounds and bake at 200 degrees for three hours, flipping once. Thread twine through each slice for a four-dollar batch.
Pro tip: slice thicker than you think. Quarter-inch slices stay flat and glow; thin slices curl and darken.
2. Cinnamon Stick Bundle Ornaments
These tiny bundles look like miniature firewood stacks and smell like a bakery.
Bundle four four-inch cinnamon sticks with jute twine and tie a small red gingham bow around the middle. A six-dollar bag from Michaels makes twelve ornaments.
Pro tip: dab cinnamon oil on the back of each bundle for scent that lasts about two weeks.
3. Salt Dough Keepsake Ornaments
Press a pine sprig into dough for a keepsake that outlasts the season.
Mix two cups flour, one cup salt, and one cup water into dough. Roll a quarter inch thick, cut shapes with cookie cutters, and bake at 250 degrees for two hours.
Pro tip: cool them in the turned-off oven for an extra hour. Slow cooling prevents the tiny cracks that make dough look fragile.
4. Wood Slice Ornaments
Raw wood rounds give your tree a rustic cabin feel with almost no effort.
Buy pre-cut birch slices, about three inches wide, for five to eight dollars a pack of twelve. Paint a simple snowflake with white acrylic and thread twine through the hole.
Pro tip: seal each one with two light coats of clear matte spray. Unsealed wood absorbs moisture and can warp.
5. Pine Cone Ornaments
Free from the backyard or the park, and nobody would guess that.
Bake open pine cones at 200 degrees for 45 minutes to remove sap and bugs. Tie ribbon around the top and dust the tips with white acrylic for a frosted look. They match other handmade Christmas ornaments in natural styles.
Pro tip: shake each cone after baking and knock off loose scales first. Clean cones hold paint evenly.
6. Ribbon-Wrapped Bauble Makeover
Those faded ornaments from five years ago get a second life with one spool of ribbon.
Wrap old plain baubles in one-and-a-half-inch wired ribbon, crisscrossing around the ball and securing each crossing with a dot of hot glue. Add a new velvet hanging loop.
Pro tip: use wired ribbon, not soft ribbon. The wire holds the ribbon in place while the glue sets.
Wreaths and Garlands
One good wreath changes the whole front door, and a garland turns a plain mantel into the focal point of the room.
7. Classic Pine Wreath
Real pine beats store-bought faux every time if you know the wire-frame trick.
Start with an 18-inch wire wreath frame from the dollar store. Bundle five sprigs of fresh pine and attach each bunch with floral wire, overlapping to hide the last bunch’s wire. Work in one direction.
Pro tip: mist the finished wreath with water every three days. A hydrated wreath stays green for four to six weeks.
8. Dried Flower Winter Wreath
No pine needles on the floor, and this one lasts for years.
Hot-glue dried flowers like strawflower, lavender, and baby’s breath in tight clusters onto a 14-inch grapevine base. Add dried eucalyptus for structure and scent. It pairs well with vintage Christmas decor ideas if you love the older aesthetic.
Pro tip: build in layers, largest blooms first and smallest last. Layering fills gaps and keeps the wreath full from every angle.
9. Grapevine Wreath with Berries
One of the simplest wreaths you can make, and it hangs beautifully on a porch or interior door.
Buy a bare 16-inch grapevine wreath for about six dollars. Tuck in three artificial red berry picks at a dollar each, spaced evenly around. Add one wide burlap bow and secure everything with hot glue. This style suits porches, like these farmhouse Christmas porch decor ideas.
Pro tip: place the bow slightly off-center, near four o’clock. An off-center bow looks designer-made.
10. Cranberry and Popcorn Garland
The old-fashioned garland gets a grown-up upgrade with the right color balance.
Use a heavy needle and strong thread to string fresh cranberries with air-popped popcorn, about two cranberries to one piece of popcorn. The red dominates, which keeps it from looking like a kids’ project.
Pro tip: pop the popcorn the day before and let it sit uncovered overnight. Stale popcorn is firmer and will not crumble while you string it.
11. Beaded Wood Garland
This neutral garland works on the tree, the mantel, and the staircase, and you will reuse it for years.
Thread one-inch unfinished wood beads onto jute twine, alternating with tiny bells every ten beads. A five-dollar bag of 50 beads from the craft store makes about eight feet.
Pro tip: knot the twine on both sides of every tenth bead. The knots stop beads from bunching, so it hangs evenly.
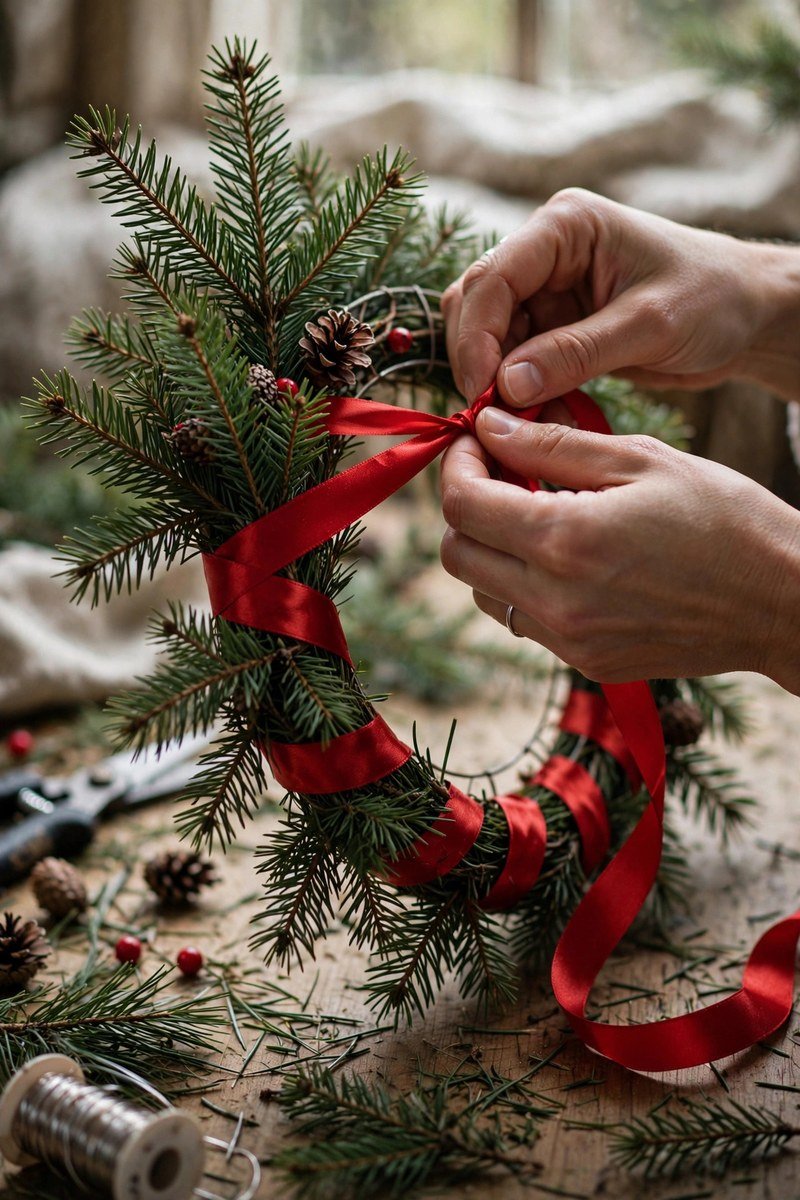
Table and Mantel Crafts
The dining table and the mantel are where holiday photos happen, so these crafts are built for candlelight and close-ups.
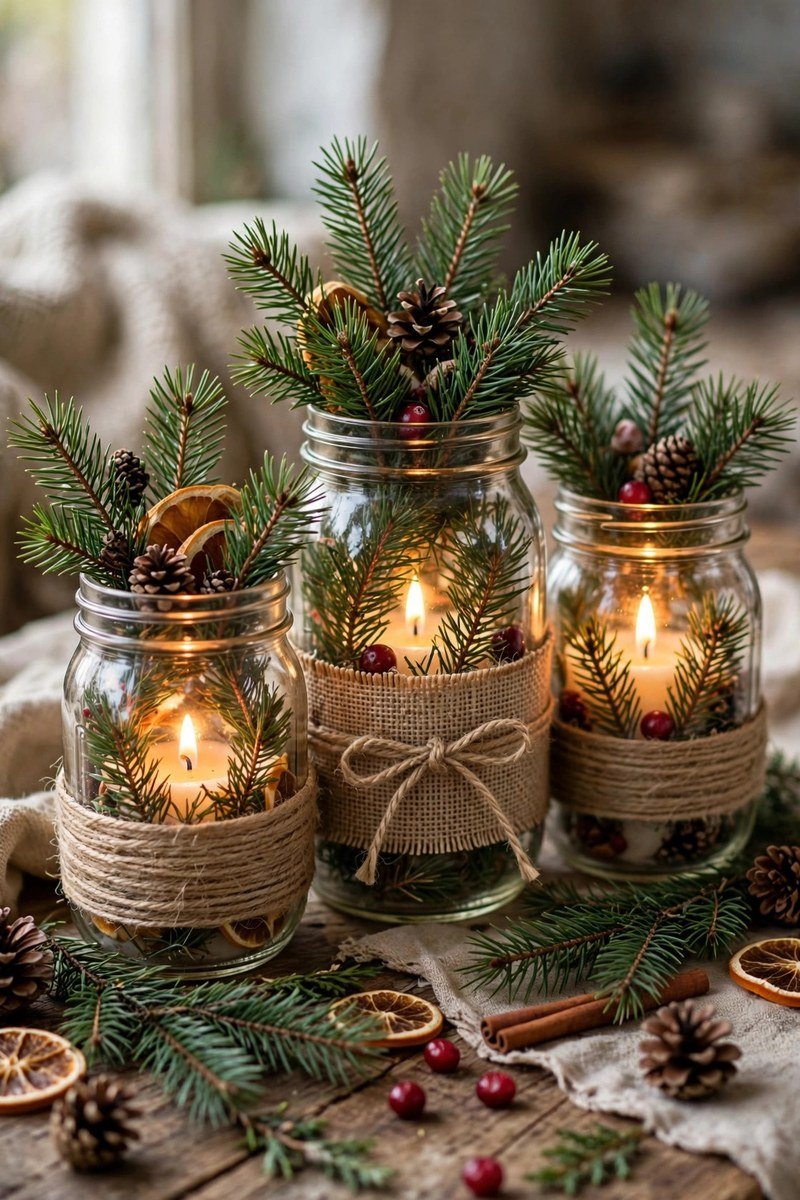
12. Mason Jar Candle Centerpiece
Five mason jars, five tea lights, one stunning centerpiece.
Line five pint-size mason jars down the center of your table on a wooden board. Fill each a third of the way with Epsom salt for a snow effect, nestle a battery tea light inside, and tie twine with a pine sprig around each neck.
Pro tip: use battery tea lights, not real ones. Real flames inside jars get hot enough to crack glass over a long dinner.
13. Pinecone Fire Starter Bowl
Practical and pretty, sitting on your mantel all December.
Fill a wide shallow bowl with clean pine cones, then tuck dried orange slices and cinnamon sticks between them. Soak cotton balls in melted wax, let them harden, and nestle three or four among the cones for fire starters.
Pro tip: keep the waxed cotton balls toward the back of the bowl where they are less visible. They work best hidden.
14. Mini Bottle-Brush Tree Village
A whole winter village on one shelf, made from dollar store trees.
Buy a set of bottle-brush trees, usually five for about five dollars, and group them on a small tray. Dust with fake snow from a spray can, add tiny wood houses between the trees, and scatter Epsom salt as snow.
Pro tip: spray the snow in two light coats from 12 inches away. Light coats look like real snowfall; heavy coats clump and yellow.
15. Eucalyptus Mantel Swag
One long swag across the mantel smells amazing and photographs beautifully.
Lay three long stems of fresh eucalyptus, about three feet each, overlapping on a table. Bind them with floral wire at three points, then hang across your mantel with removable hooks.
Pro tip: weave one thin strand of warm white fairy lights through the swag. The lights turn simple greenery into the evening centerpiece.
16. Painted Taper Candles
Plain white tapers become custom decor with a steady hand and one evening.
Use acrylic paint to add thin stripes, tiny dots, or one painted band near the base. Keep to two colors at most for a sophisticated look. A pack of four white tapers costs about three dollars at the dollar store.
Pro tip: paint only the bottom two-thirds of each candle. The top third melts first, so painted tips drip colored wax.
Gifts and Wrap Crafts
Handmade wrapping and small handmade gifts say more than the most expensive present. These projects cost little and look personal.
17. Kraft Paper Wrap with Twine and Greenery
The prettiest presents under the tree are usually the simplest ones.
Wrap gifts in plain brown kraft paper, about five dollars for a large roll that covers dozens of presents. Tie each package with natural twine and tuck a pine sprig or cinnamon stick under the twine.
Pro tip: use double-sided tape on the seams. Hidden seams make kraft paper look crisp and tailored.
18. Fabric Scrap Gift Bags
No sewing skills required, and these bags get reused for years.
Cut cotton fabric rectangles, about 12 by 16 inches for a medium bag. Fold in half with the pattern facing in and glue the two side edges with fabric glue. Dry for two hours, turn right side out, and tie closed with ribbon.
Pro tip: choose heavier cotton or canvas rather than thin quilting fabric. Heavier fabric stands upright under the tree.
19. Hand-Stamped Gift Tags
The fastest project on this list, and it upgrades every gift you wrap this year.
Cut tag shapes from kraft cardstock, punch a hole at the top, and stamp a simple tree, star, or snowflake with one ink pad. A basic stamp and ink pad set costs about eight dollars and makes hundreds of tags.
Pro tip: stamp on scrap paper first, every single time. One test stamp shows exactly how much ink to use.
20. Infused Vanilla Sugar Jars
A gift that looks like a boutique find and costs about two dollars each.
Split one vanilla bean lengthwise and bury it in a small mason jar filled with two cups of white sugar. Seal and let it sit for two weeks before gifting. The sugar turns fragrant and golden.
Pro tip: start these by early December at the latest. The sugar needs a full two weeks to absorb the vanilla.
21. Dried Herb Sachets
Tuck one into every gift box and your presents will smell as good as they look.
Cut six-inch squares of muslin, place two tablespoons of dried lavender or rosemary in the center, and gather the fabric into a pouch tied with twine. A four-dollar bag of herbs fills roughly twenty sachets.
Pro tip: crush the herbs lightly before filling each sachet. Bruised herbs release more oils, so the scent lasts for months.

Common Mistakes to Avoid
- Buying every supply before choosing a project. Pick one or two ideas first, then shop. A random craft haul costs far more than a planned one.
- Using real candles in enclosed displays. Mason jars, pine cones, and dried flowers are all flammable. Battery tea lights give the same glow with none of the risk.
- Skipping the sealant step. Wood, salt dough, and painted surfaces need a protective coat, or they stain, warp, and crumble within one season.
- Crafting with fresh greenery too early. Real pine and eucalyptus last four to six weeks. Make them in early December, not right after Thanksgiving.
- Overcomplicating the design. Three colors and one focal material per project is the sweet spot. More usually looks busy instead of beautiful.