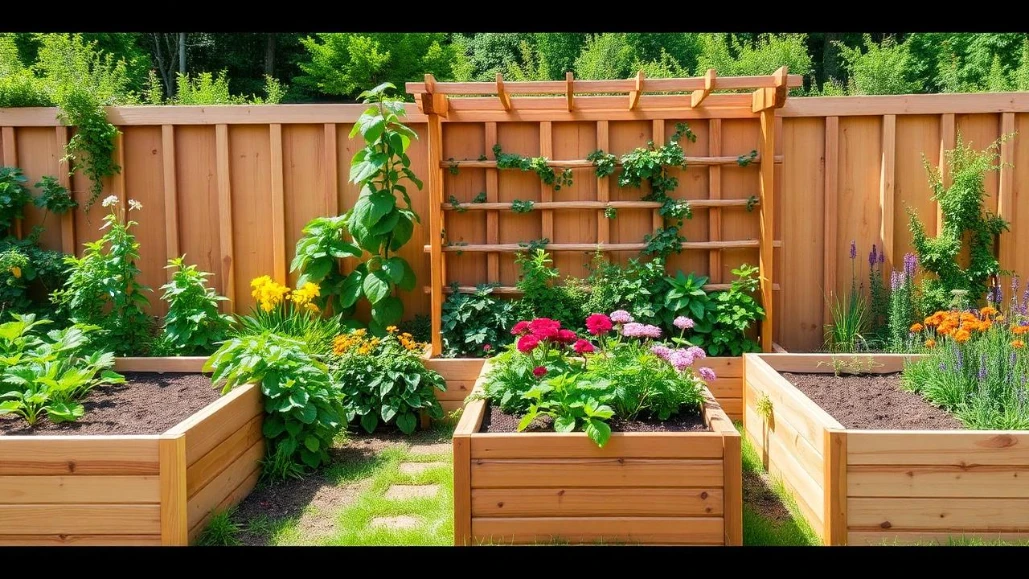
My first raised bed was a single 4×8 rectangle plopped in the middle of the yard, and by midsummer half of it was wasted space I couldn’t reach without stepping on the soil. What actually got more food out of the same footprint wasn’t a bigger bed, it was better layout, square foot grids, vertical trellising, companion planting, that made every inch of soil actually productive instead of just present.
The ideas below are grouped by what they solve, materials and construction first, then layout strategies that maximize space, soil setup, vertical and companion growing techniques, and the accessibility details that make the beds easier to actually use. The same space-planning approach used in these small patio decorating ideas applies to garden beds too, layout and access matter as much as the materials themselves.
Before You Start
- Keep bed width to no more than four feet if accessible from both sides, or two feet if accessible from only one side, so you can always reach the center without stepping in.
- Check the site gets at least six hours of direct sun daily before building, most vegetables need that minimum to produce well.
- Plan vertical growing space from the start, a trellis or cattle panel is much easier to install before the bed is already planted.
- Budget for soil separately from the bed materials themselves, filling a raised bed often costs as much as or more than building it.
Bed Materials and Construction
1. Build with Cedar for Natural Rot Resistance
Switching to cedar boards for my second bed meant I haven’t had to replace a single plank in five years, unlike the pine bed that rotted within two.
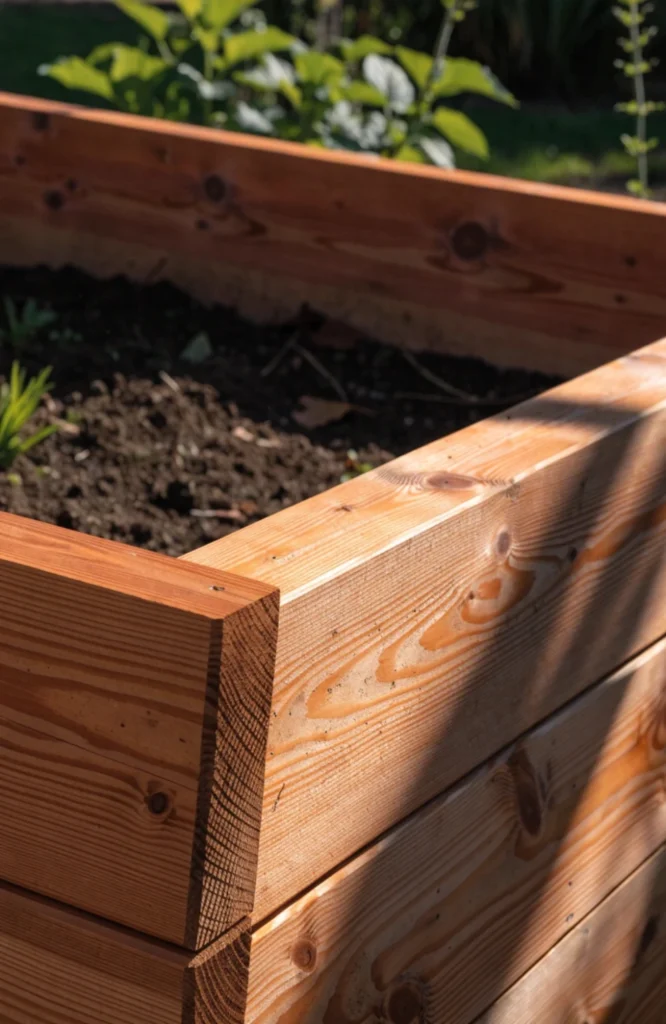
Cedar boards for a standard 4×8 bed run $80 to $150 depending on board thickness and current lumber prices.
It works because cedar naturally resists rot and insects without needing chemical treatment, making it last significantly longer than untreated pine in constant contact with damp soil.
2. Use Galvanized Metal Stock Tanks
A galvanized stock tank turned into a raised bed in an afternoon, no cutting or assembly required beyond drilling drainage holes.
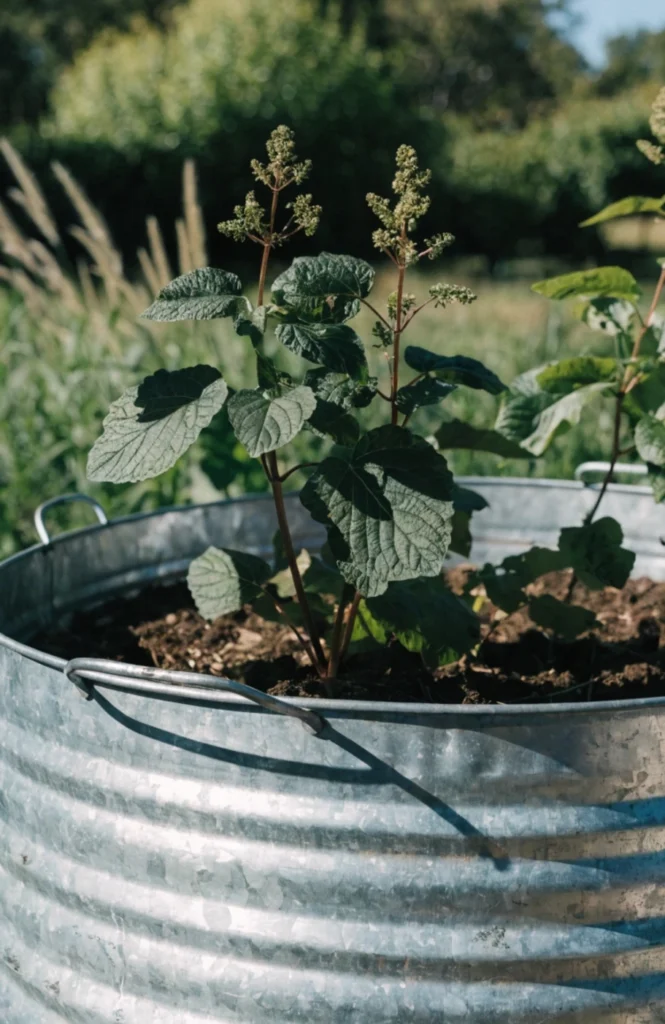
A galvanized stock tank sized for gardening runs $100 to $250 depending on size, and it requires drilling a few drainage holes in the bottom before filling.
It works because it needs essentially no construction, just placement and drainage prep, and metal lasts for decades without the rot concerns of wood.
3. Choose Composite Lumber for Longevity
Composite boards cost more upfront than the cedar I’d used elsewhere, but a decade in, they still look exactly the same as the day I built them.
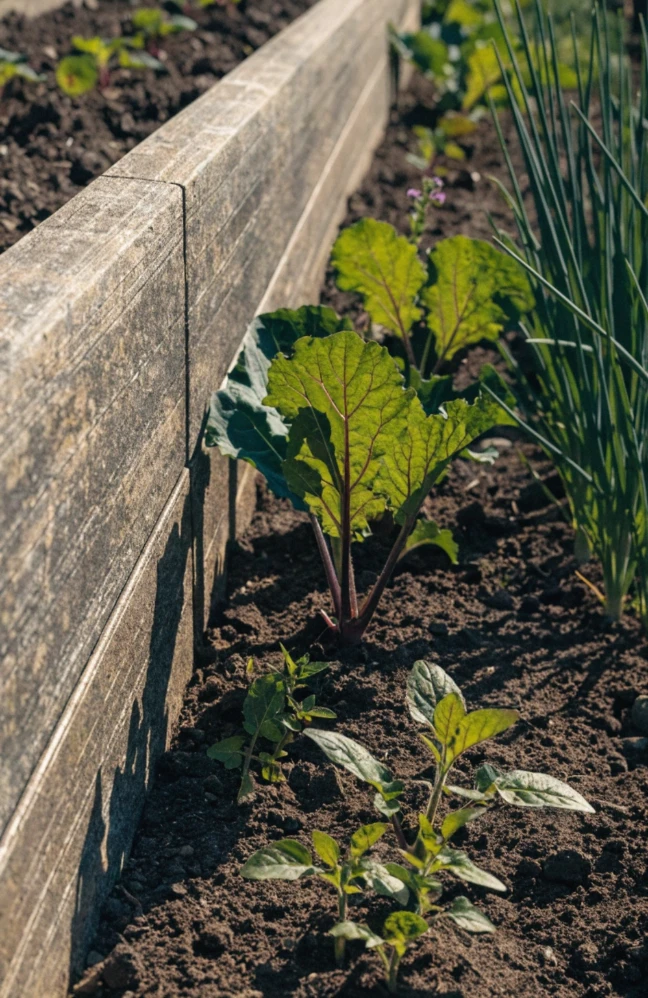
Composite lumber for a 4×8 bed runs $150 to $280, more than wood but with a significantly longer expected lifespan and no risk of splintering.
It works because composite material doesn’t rot, splinter, or need refinishing, making it a strong long-term investment if you’re planning to keep the bed in place for many years.
4. Stack Concrete Blocks for a No-Build Option
Stacking concrete blocks two courses high gave me a raised bed in an afternoon without a single tool beyond a level.
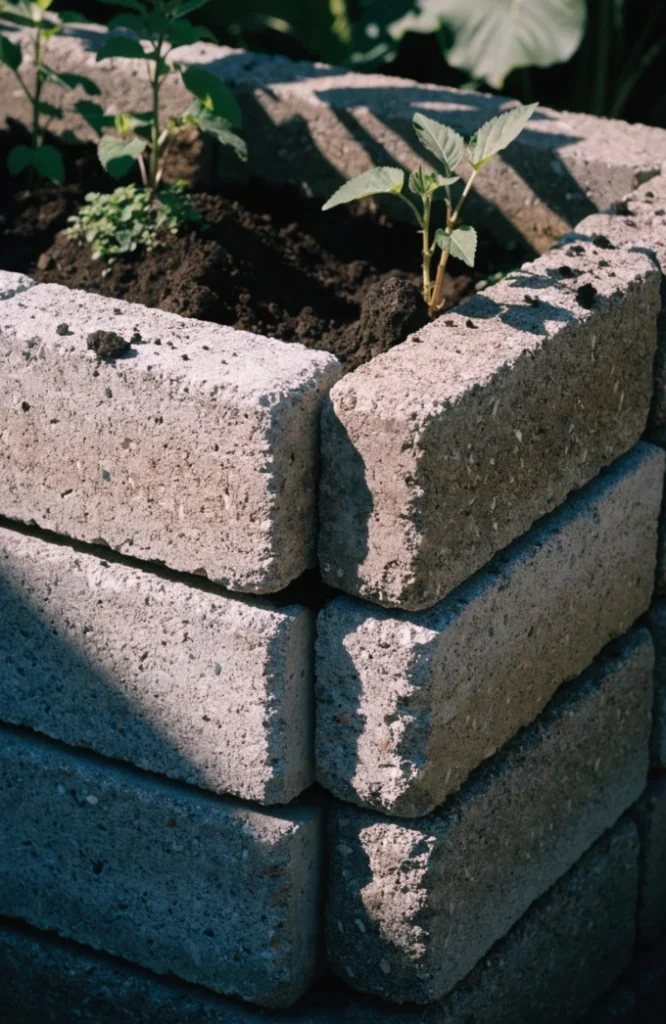
Standard concrete blocks run $2 to $4 each, and a 4×8 bed two courses high typically needs 24 to 30 blocks, running $50 to $120 total.
It works because it requires no cutting, screws, or specialized tools, just stacking and leveling, making it one of the most accessible options for a first-time builder.
5. Add Corner Brackets for Easy DIY Assembly
Using pre-made corner brackets instead of cutting joints meant I built my first bed correctly on the first try, no woodworking experience needed.
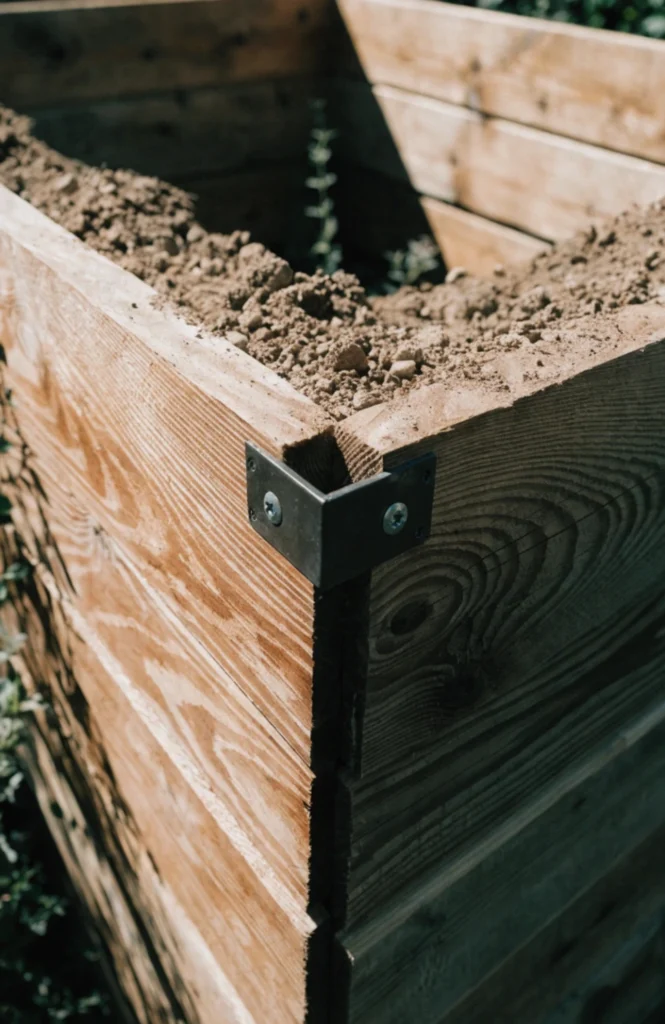
A set of raised bed corner brackets runs $15 to $30 for a full 4×8 bed, and they work with standard dimensional lumber cut to length.
It works because it eliminates the need for precise joinery, making the whole project accessible to someone without woodworking experience or specialized tools.
Layout and Space-Maximizing Strategies
6. Use Square Foot Gardening Grids
Dividing my bed into a one-foot grid completely changed how much I could grow, since I stopped wasting space on wide rows meant for tractor access I’d never need.
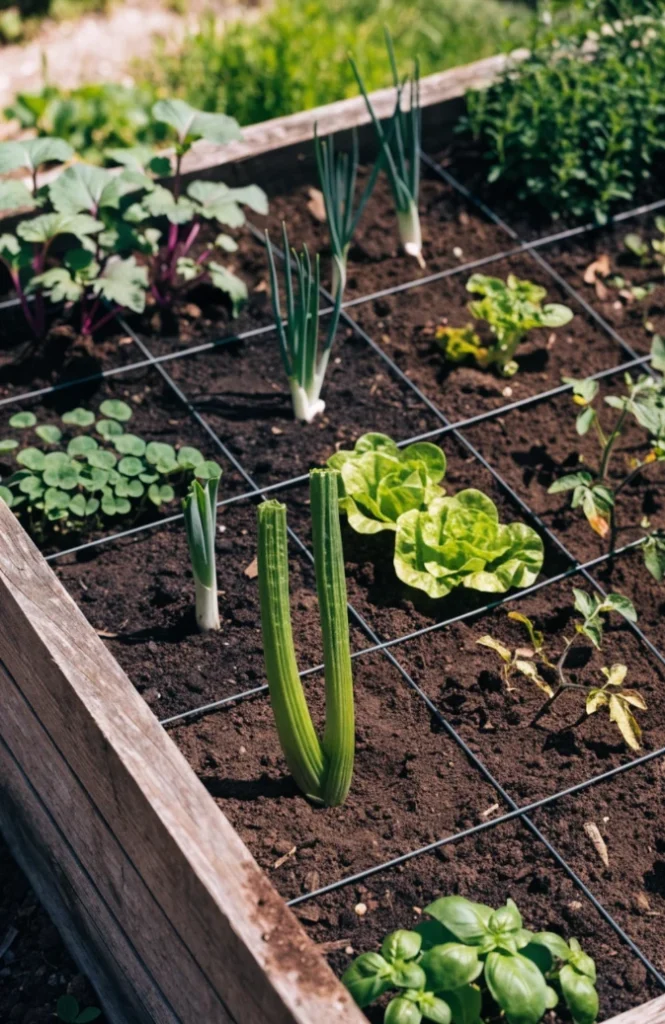
A grid marker kit or simple string and stakes to divide the bed runs $10 to $25, an inexpensive way to plan planting density.
It works because it maximizes yield per square foot by spacing plants closer than traditional row gardening, which was designed for equipment access most home gardens don’t need.
7. Choose a Keyhole Bed Shape for Access
A keyhole-shaped bed with a notch cut in for walking access let me reach the center from an angle no rectangular bed ever allowed.
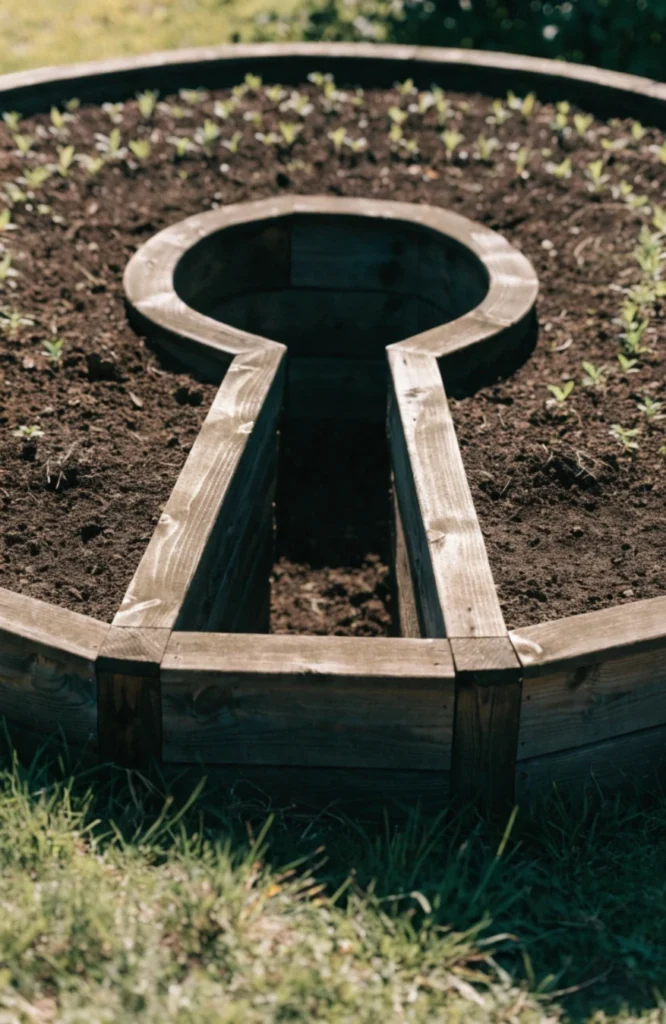
A keyhole bed built from the same materials as a standard bed costs about the same, $80 to $200, just cut and assembled in a circular shape with an access notch.
It works because the notched access point lets you reach the entire bed from a central walkway, maximizing growing space compared to a rectangular bed of the same footprint.
8. Build Beds in an L-Shape Around a Corner
An L-shaped bed tucked into the corner of the yard used space that a straight rectangular bed would have left completely empty.
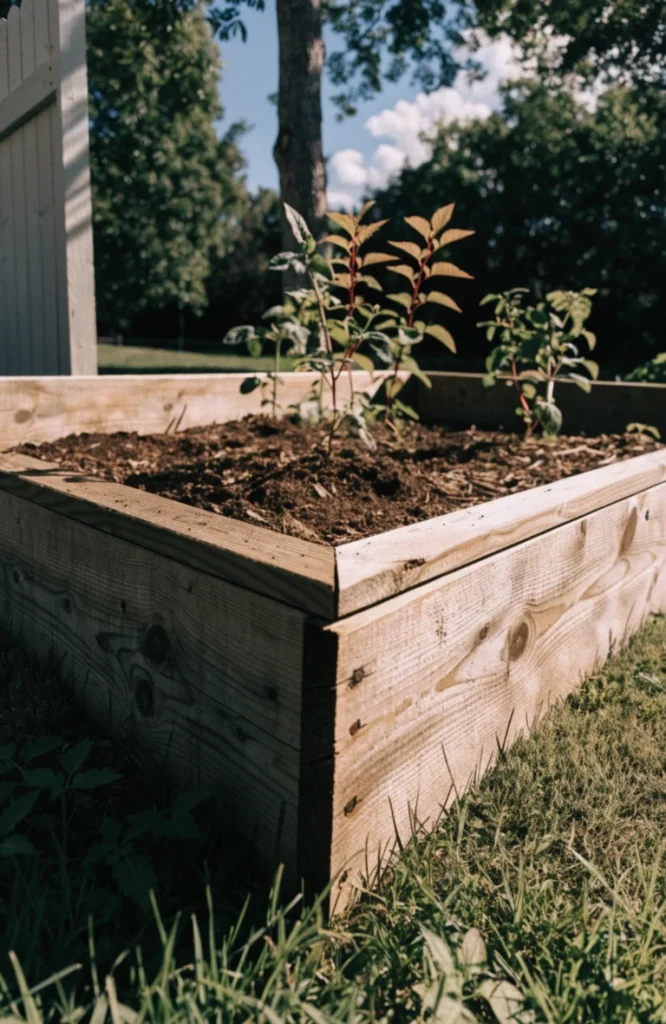
An L-shaped bed built from standard lumber runs $100 to $200 depending on total length and material.
It works because it makes use of corner spaces that straight beds typically leave unused, fitting more growing area into an irregular yard layout.
9. Add Narrow Beds Along a Fence Line
A narrow two-foot-wide bed running the length of the back fence turned a completely unused strip of yard into productive growing space.
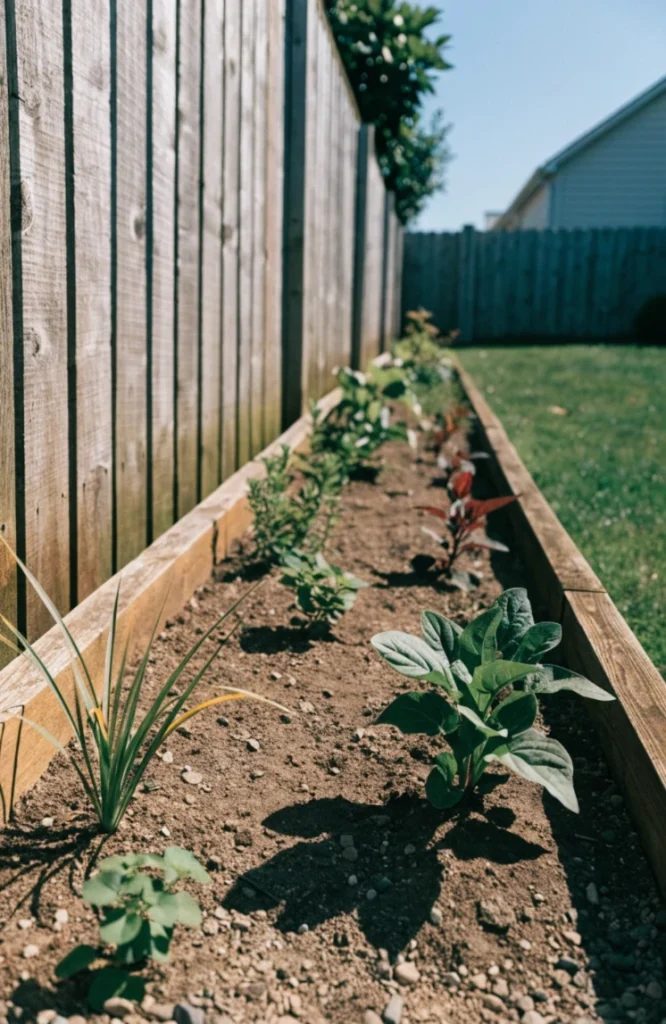
A narrow fence-line bed runs $60 to $150 depending on length, generally cheaper than a wide bed of the same square footage since it uses less lumber per linear foot.
It works because narrow strips along fences and property lines are almost always unused space, and a two-foot width is easily reachable from just one side.
10. Stack Tiered Beds on a Slope
Terracing three tiered beds down our sloped side yard turned unusable hillside into the most productive growing space on the whole property.
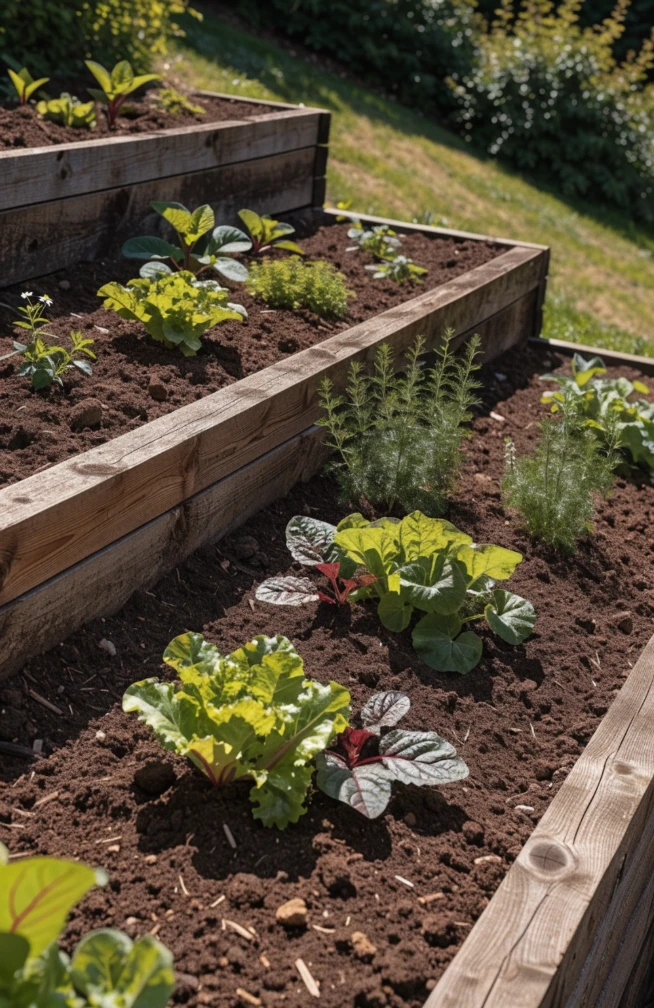
Tiered beds built to follow a slope run $200 to $400 for a three-tier system, more involved than a flat bed but able to use terrain that would otherwise go unplanted.
It works because it turns unusable sloped terrain into flat, plantable surfaces, and the elevation change also improves drainage between tiers.
Soil and Planting Setup
11. Layer Soil Using the Lasagna Method
Layering cardboard, compost, and soil instead of buying enough bagged soil to fill the whole bed cut my setup cost nearly in half.
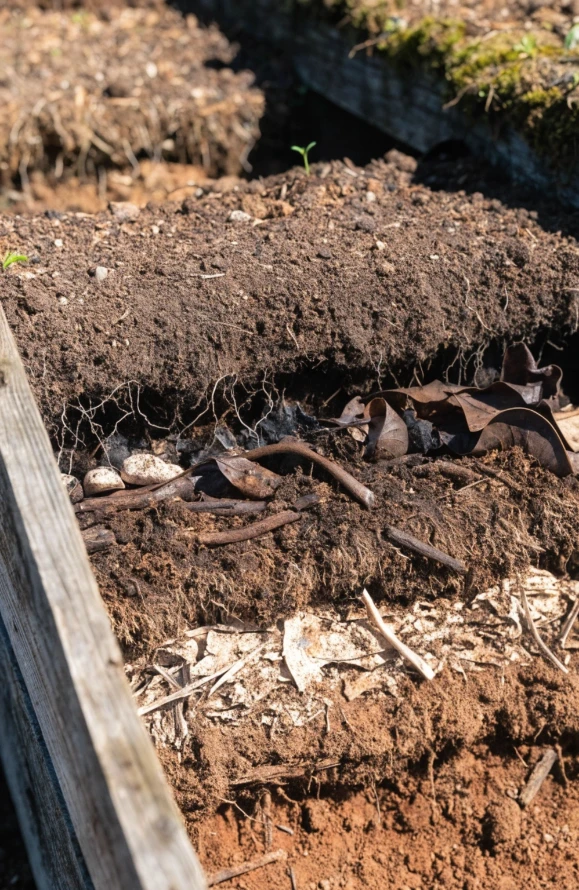
Using cardboard as a base layer with compost and topsoil layered above it costs $40 to $80 less than filling a bed entirely with bagged garden soil.
It works because it fills the lower portion of a deep bed with cheaper organic material that breaks down over time, saving significant cost on bagged soil for the parts of the bed roots don’t reach as often.
12. Use a High-Quality Raised Bed Soil Mix
Splurging on a proper raised bed soil blend instead of cheap topsoil made a visible difference in how quickly everything germinated that first season.
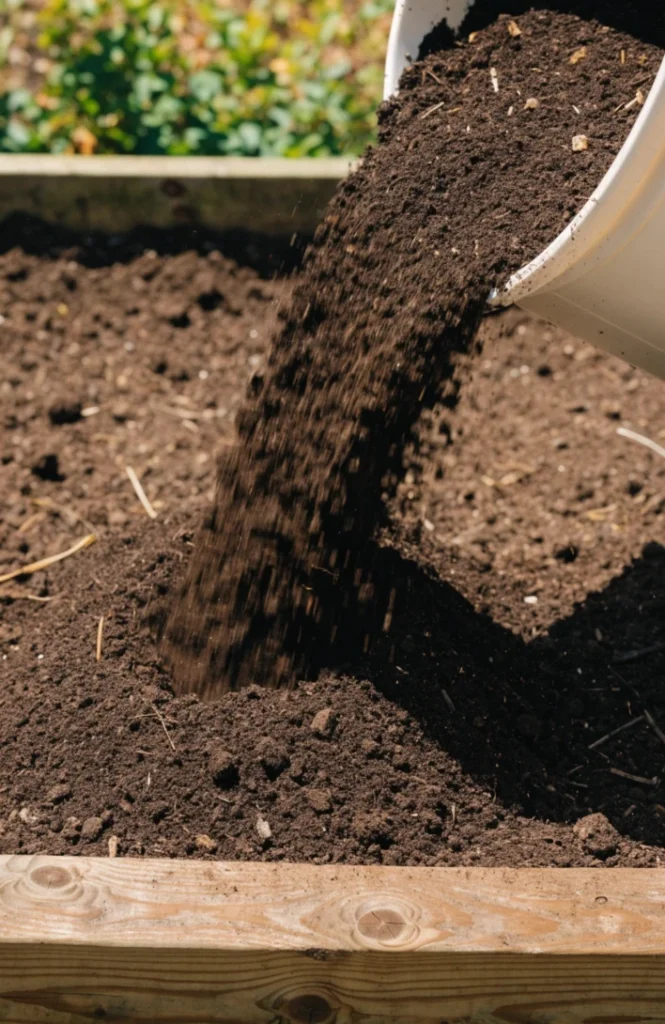
A bag of raised bed soil mix runs $10 to $18, and a standard 4×8 bed typically needs 10 to 14 bags to fill completely.
It works because raised bed mixes are specifically formulated for good drainage and nutrient content in a contained space, unlike plain topsoil which compacts and drains poorly in a raised bed.
13. Add Compost Annually to Refresh Nutrients
Topping off with two inches of fresh compost each spring kept my beds productive year after year without needing to replace the soil entirely.
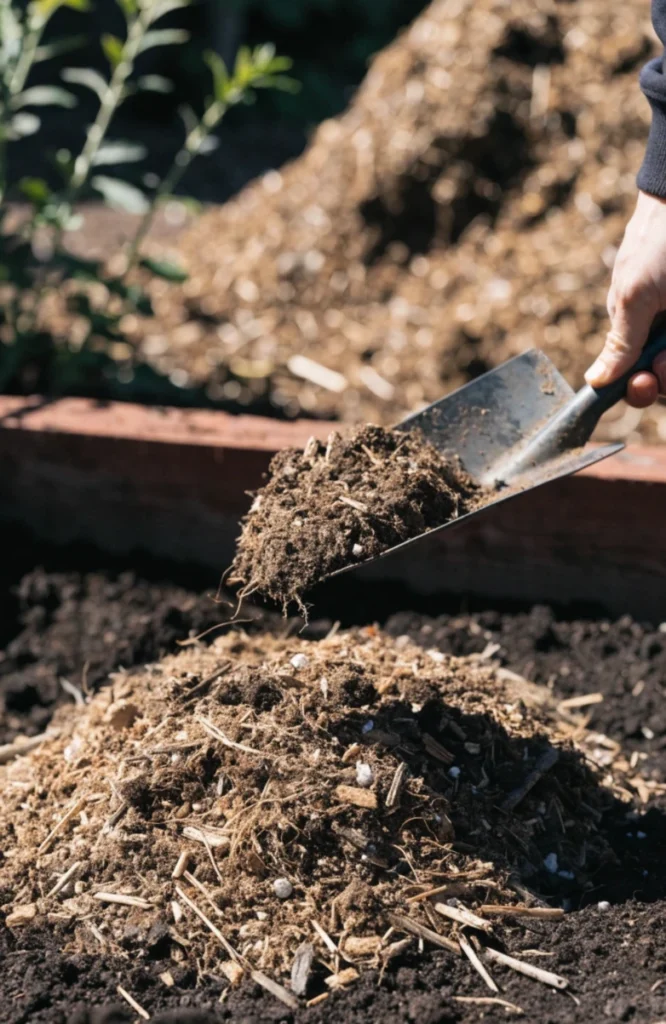
A bag of compost runs $6 to $12, and a 4×8 bed typically needs three to four bags for a two-inch annual top-dressing.
It works because soil nutrients deplete each growing season, and an annual compost refresh keeps the bed productive without needing to replace the soil entirely.
14. Mulch Between Plants to Retain Moisture
A layer of straw mulch between plants cut my watering frequency nearly in half during the hottest weeks of summer.
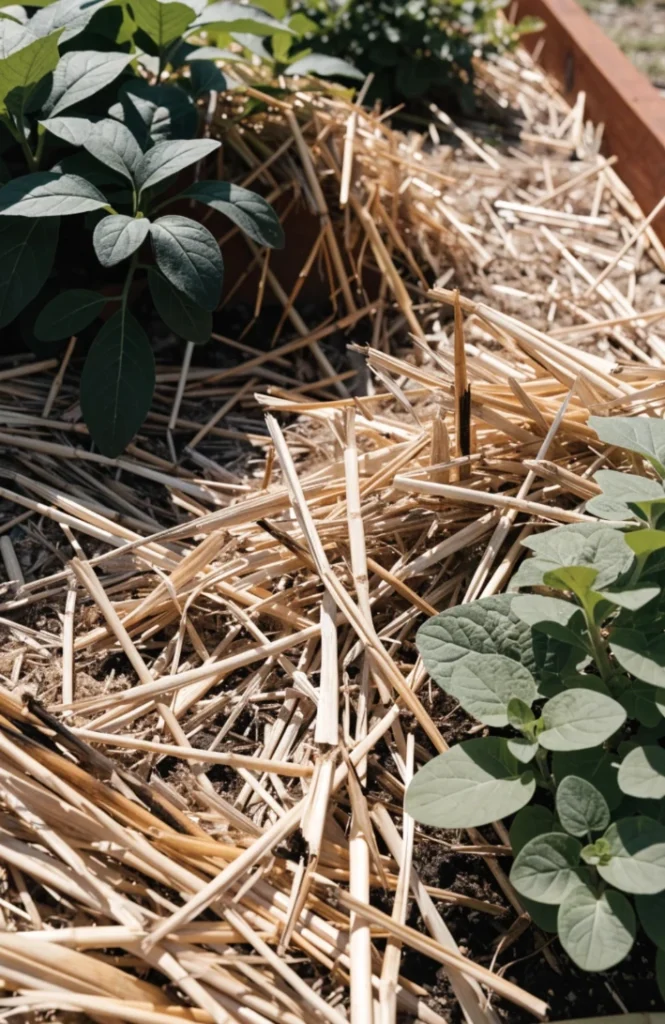
A bale of straw mulch runs $8 to $15 and covers several raised beds depending on layer thickness.
It works because mulch reduces water evaporation from the soil surface, meaning less frequent watering and fewer weeds competing with your actual plants.
Vertical and Companion Growing
15. Add a Trellis for Climbing Vegetables
Adding a simple trellis for cucumbers freed up an entire third of the bed’s floor space that used to be taken over by sprawling vines.
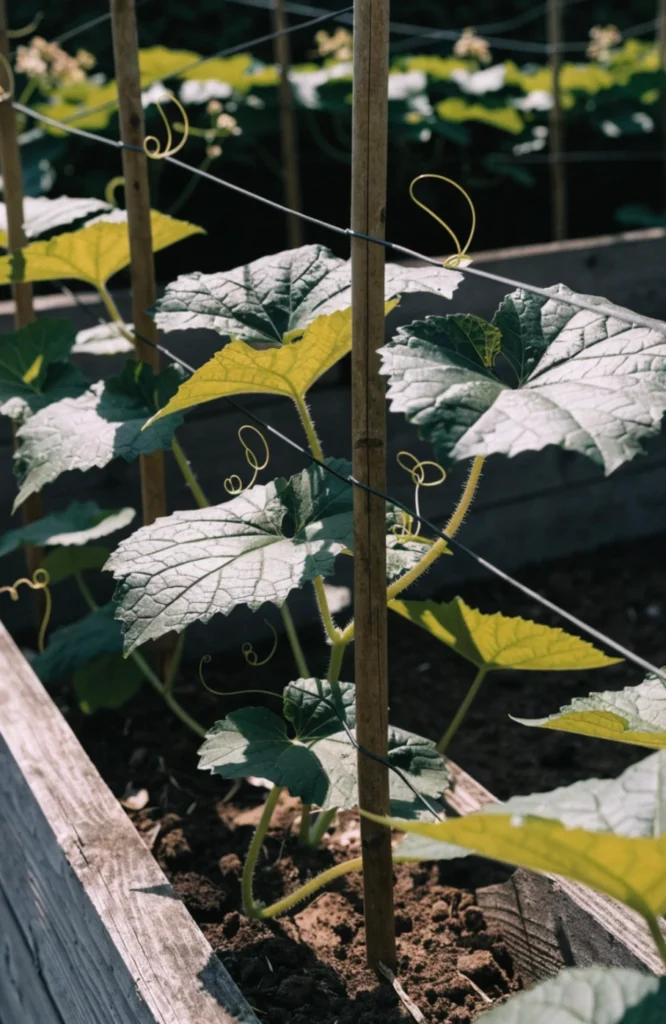
A basic trellis panel runs $20 to $50 depending on size and material, and mounting it against the back of the bed keeps it stable.
It works because vining crops like cucumbers, peas, and pole beans take up far less ground space when grown vertically, freeing that floor area for other plants.
16. Use Companion Planting to Maximize Yield
Pairing tomatoes with basil in the same square meant I got two crops from the space a single tomato plant used to take up alone.
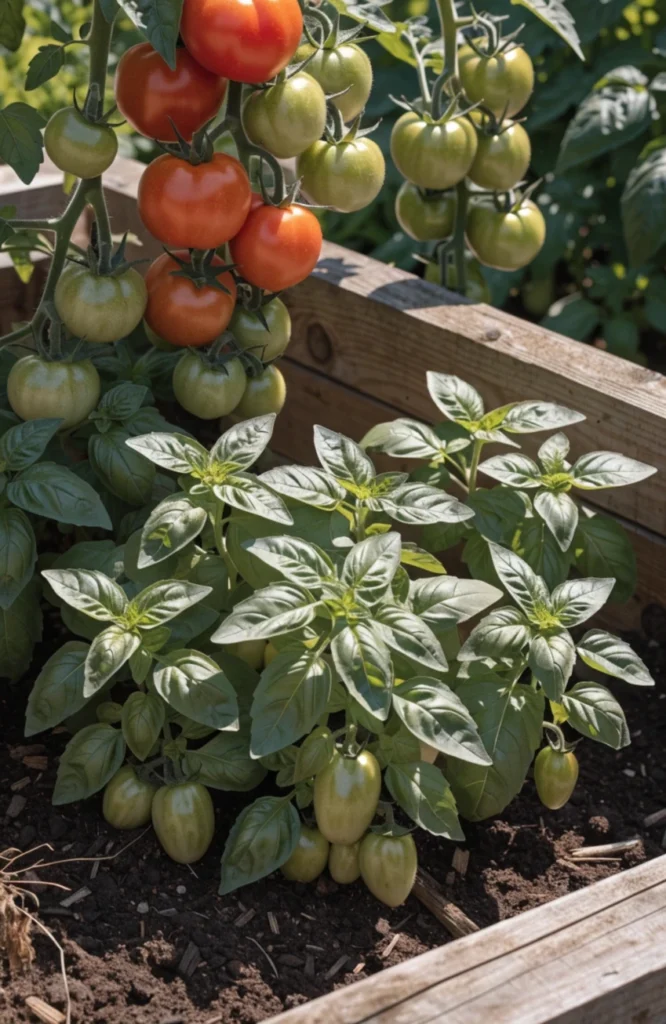
This costs nothing extra beyond the seeds or starts you’d already be buying, it’s purely a planning decision about which plants go where.
It works because certain plant pairings, like tomatoes and basil, share space efficiently without competing for the same resources, effectively doubling productivity in the same footprint.
17. Include a Cattle Panel Arch Between Beds
A cattle panel arched between two beds turned the walkway between them into extra growing space for pole beans and squash overhead.
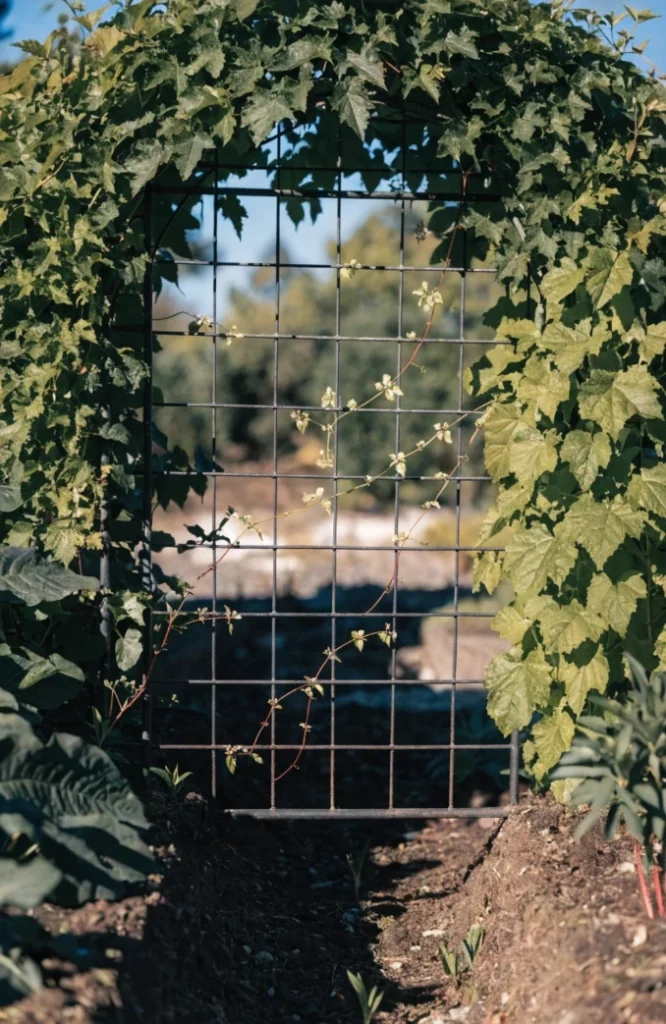
A cattle panel bent into an arch runs $30 to $60, and it spans between two beds to create a productive tunnel walkway.
It works because it turns unused overhead walkway space into productive growing area for vining crops, adding square footage the ground-level beds alone don’t have.
18. Interplant Flowers for Pollinators
Tucking marigolds along the edges of the vegetable bed brought in noticeably more bees, which showed up directly in a better tomato harvest.
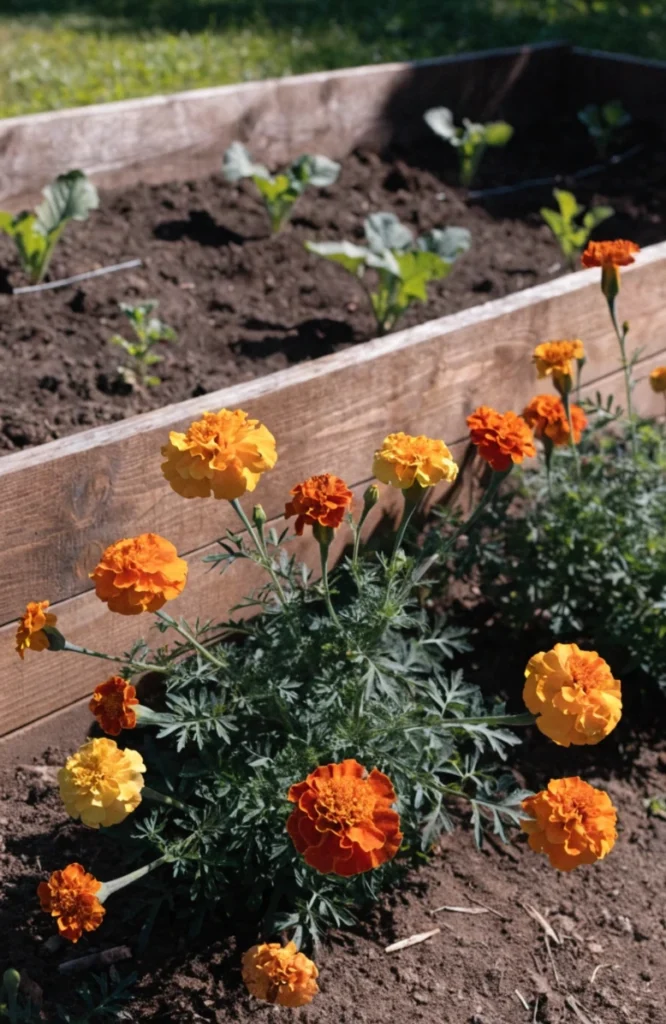
A six-pack of marigold or zinnia starts runs $6 to $12, an inexpensive addition that pulls double duty as both pollinator support and a natural pest deterrent.
It works because more pollinator activity directly improves fruit set on vegetables like tomatoes and squash, and some flowers also help deter common garden pests.
Accessibility and Finishing Touches
19. Build at Waist Height for Less Bending
A waist-high bed I built for my mom meant she could finally garden again without the knee pain that had kept her out of the yard for years.
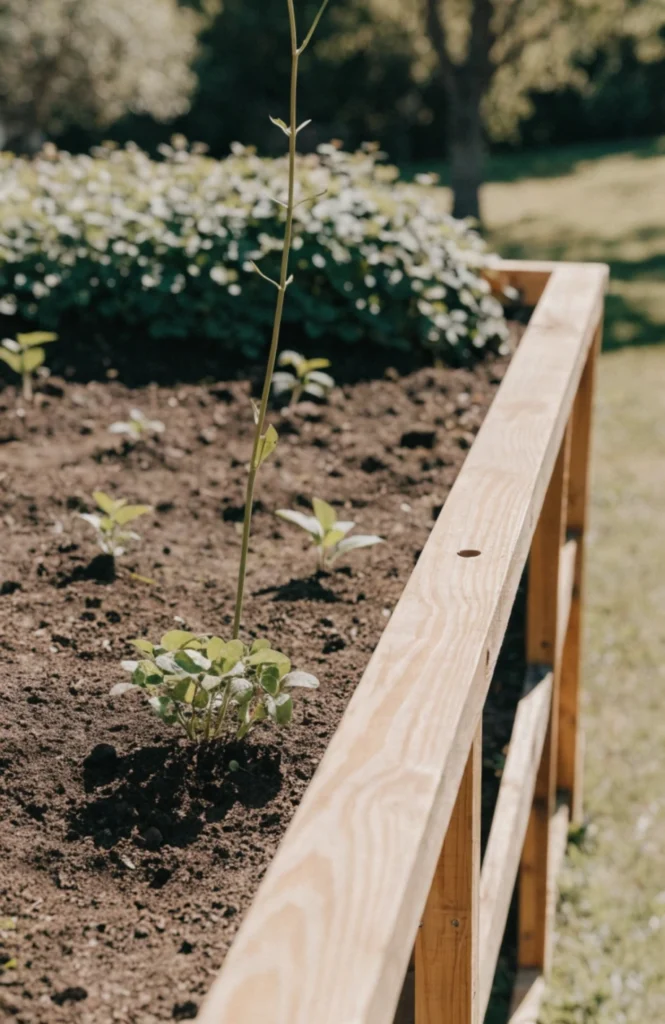
A waist-height raised bed, typically 24 to 30 inches tall, runs $150 to $300 depending on material, more than a standard low bed due to the extra material needed.
It works because it eliminates the bending and kneeling that makes gardening difficult for people with mobility or joint issues, opening the hobby back up to anyone who’s had to step away from it.
20. Add a Wide Cap Rail for Seating While Gardening
A wide flat cap rail around the top edge gave me somewhere to actually sit while weeding instead of crouching for an hour straight.
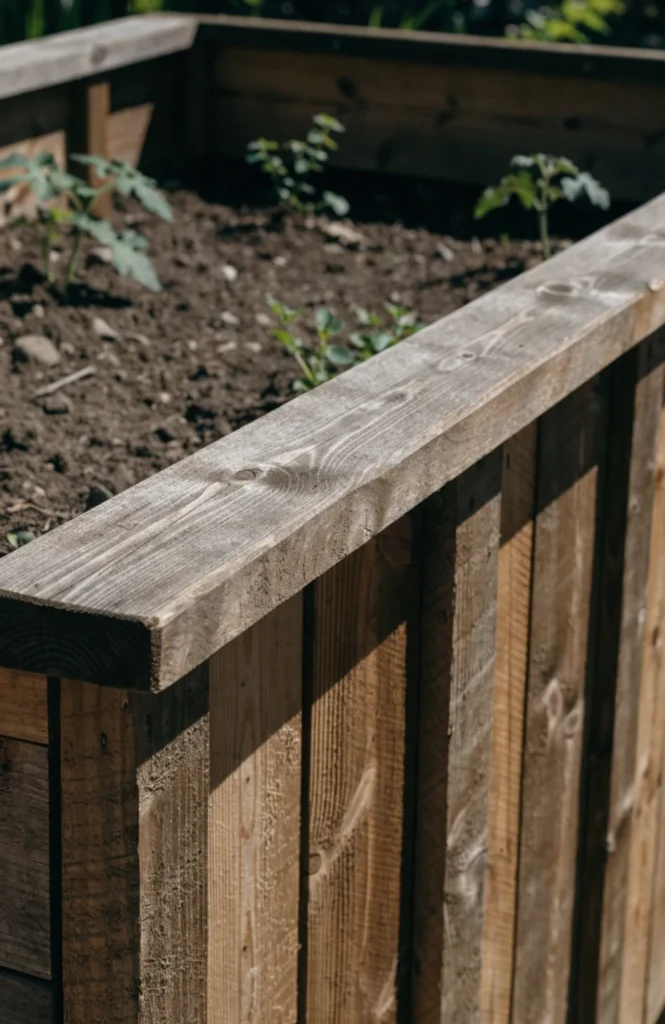
Cap rail boards for a 4×8 bed run $30 to $60 depending on wood type, adding a flat, sittable edge around the entire perimeter.
It works because it gives you a place to sit while tending the bed, which matters more than it sounds during a long weeding or planting session.
21. Include a Drip Irrigation System
Installing drip irrigation meant my beds got watered consistently even during the two weeks I was traveling and couldn’t check on them.
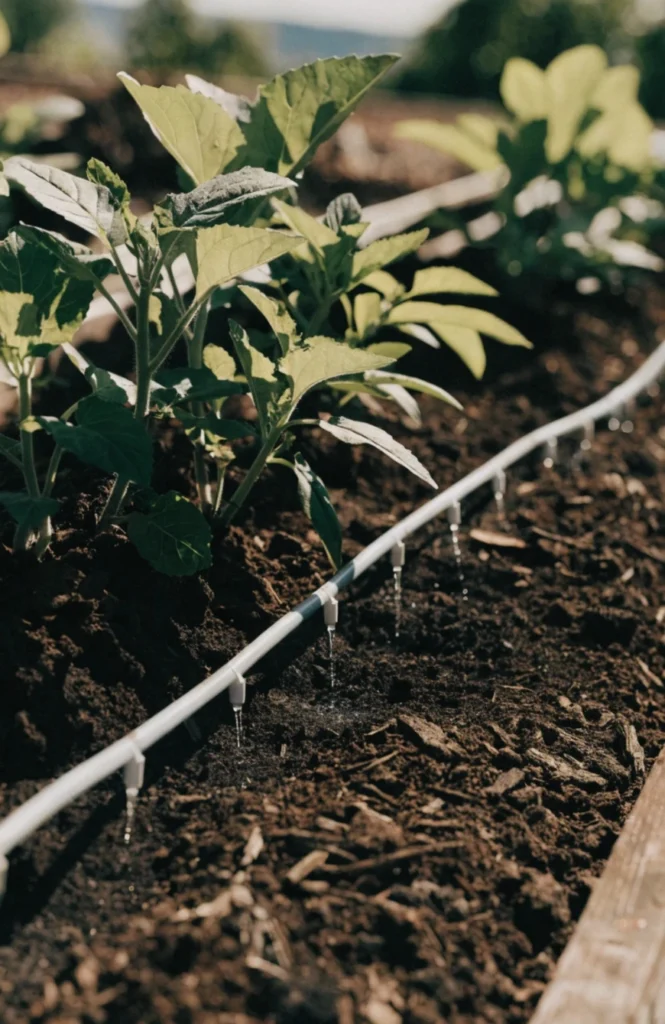
A basic drip irrigation kit for one raised bed runs $30 to $60, and adding a timer to the spigot costs another $20 to $40.
It works because it delivers consistent water directly to the root zone, reducing both water waste and the risk of under or overwatering compared to hand watering.
22. Add a Small Tool Storage Bench Nearby
A small storage bench beside the beds meant my trowel and gloves were always exactly where I needed them instead of scattered around the yard.
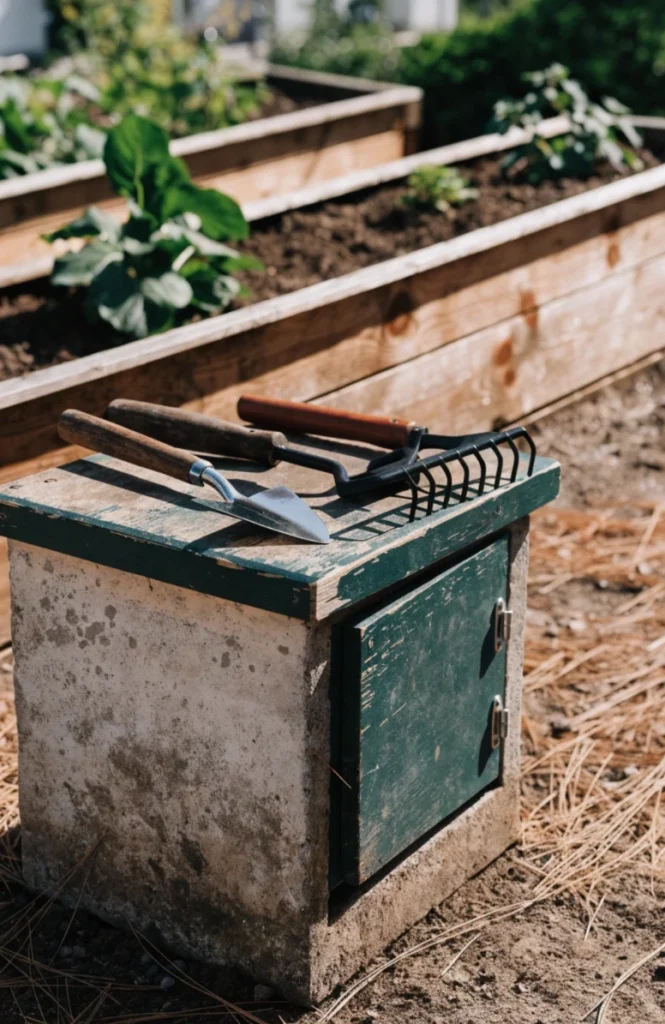
A small outdoor storage bench runs $60 to $150 depending on size and material, doubling as both seating and tool storage near the garden.
It works because it keeps frequently used tools within arm’s reach of the beds, saving repeated trips back to a shed or garage during a gardening session.
Conclusion
If you’re starting with a single bed, cedar construction and a square foot grid cover the two decisions that matter most, durable materials and efficient spacing, before you even think about what to plant. Add a trellis and companion planting next to squeeze more yield out of the same footprint, then round it out with mulch and irrigation once the basic system is working. The gardens that produce the most in a small footprint aren’t the ones with the fanciest materials, they’re the ones where every square foot is actually being used for something.
FAQ
How deep should a raised garden bed be?
Most vegetables do well with 10 to 12 inches of soil depth, though root crops like carrots benefit from closer to 12 to 18 inches.
What’s the cheapest way to build a raised bed?
Stacked concrete blocks require no cutting or specialized tools and are typically the lowest-cost option, especially if you already have a level base to build on.
How do I grow more vegetables in a small raised bed?
Square foot gardening grids, vertical trellising for vining crops, and companion planting all increase yield per square foot without needing to expand the bed itself.