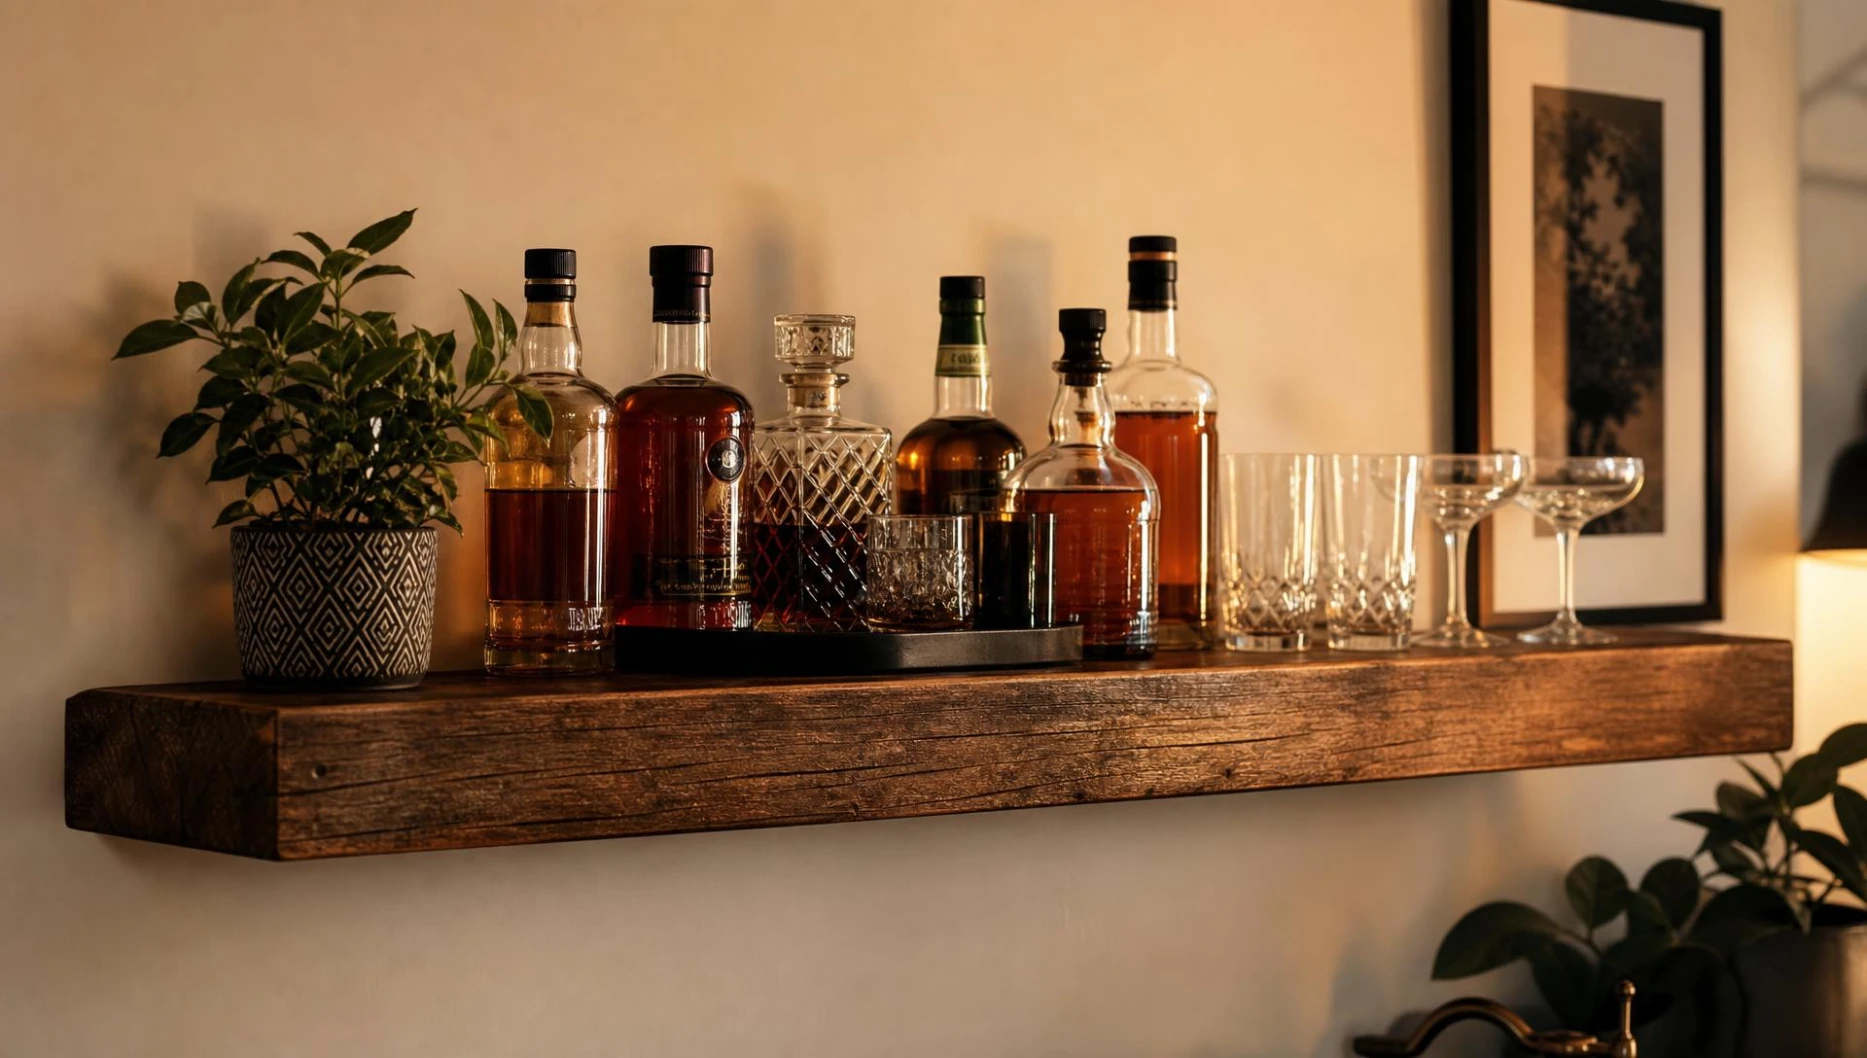
A DIY bar shelf is one of those projects that looks like it took a weekend of planning but usually takes an afternoon. Most of it comes down to picking a format, floating shelf, cart, or corner nook, and styling it with a little more intention than just lining up bottles.
What separates a genuinely great DIY bar shelf idea from a cluttered one isn’t the size of the setup, it’s editing. A bar cart or shelf styled with a handful of chosen pieces reads as curated, while one with every bottle you own crammed on reads as leftover storage instead of an entertaining space.
I’ve grouped these twenty-one into five directions: floating and wall-mounted shelves, bar carts and rolling setups, closet and corner conversions, styling and lighting details, and seasonal touches, so there’s a starting point for any space or budget.
Before You Start: Quick Styling Tips
- Edit your bottle collection before you shelve it. Six well-chosen bottles look styled, twenty crammed together look cluttered.
- Anchor floating shelves into wall studs, not just drywall anchors. A loaded shelf with bottles and glassware is heavier than it looks.
- Mix textures, not just bottles. A tray, a small plant, or a piece of wood grain breaks up a wall of glass and labels.
- Keep your most-used tools within reach and everything else tucked slightly back. A shelf you actually use should function first.
- Light it from below or behind if you can. A dark corner bar photographs flat, a lit one photographs like a feature.
Floating and Wall-Mounted Shelves
1. Two chunky floating wood shelves above a console
This is the simplest version on the whole list, and it’s still the one people compliment most.
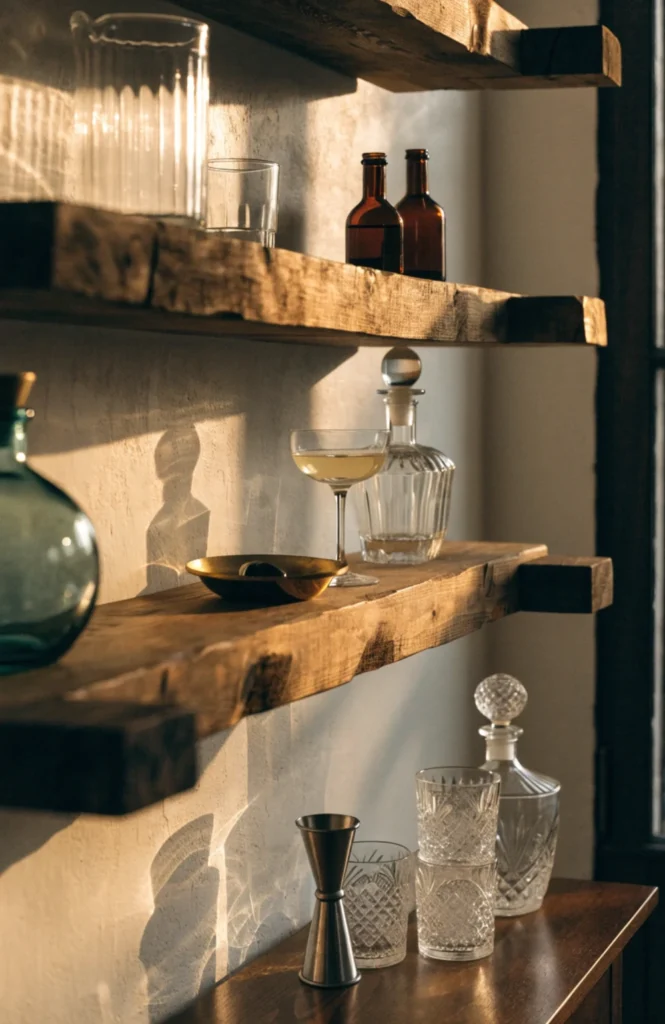
A pair of chunky floating shelves, built from pine or poplar boards roughly 1.5 inches thick and mounted with hidden floating brackets, costs somewhere between 40 and 90 dollars depending on wood choice and length. Stagger the two shelves about 10 inches apart so the top holds glassware and the bottom holds bottles.
The thickness of the wood is what makes this read as intentional rather than like a basic hardware store shelf. Styled with just six or seven pieces, it turns a blank wall above any console table into a real focal point without touching the floor at all.
2. A slim wall-mounted wine rack for narrow spaces
Even an 8-inch gap between a doorway and a wall is enough for this one.
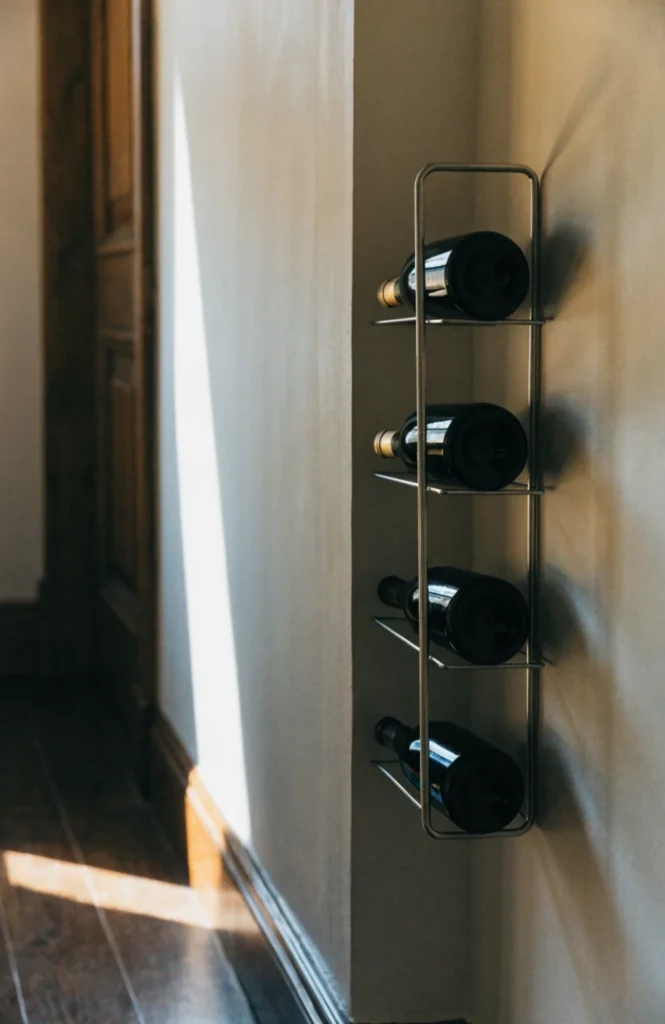
A slim wall-mounted wine rack, either a simple angled wood design or a metal wire version, runs 20 to 45 dollars and holds anywhere from 4 to 8 bottles stacked on their sides in a narrow footprint. Mount it at a height where labels face outward for a styled, curated look.
It turns a genuinely awkward sliver of wall into a design feature instead of leaving it empty. This is one of the best options on the list if floor space and wide walls simply aren’t available in your home.
3. Industrial pipe shelving with black brackets
A bolder look for anyone who wants their bar shelf to feel like a statement, not a quiet accessory.
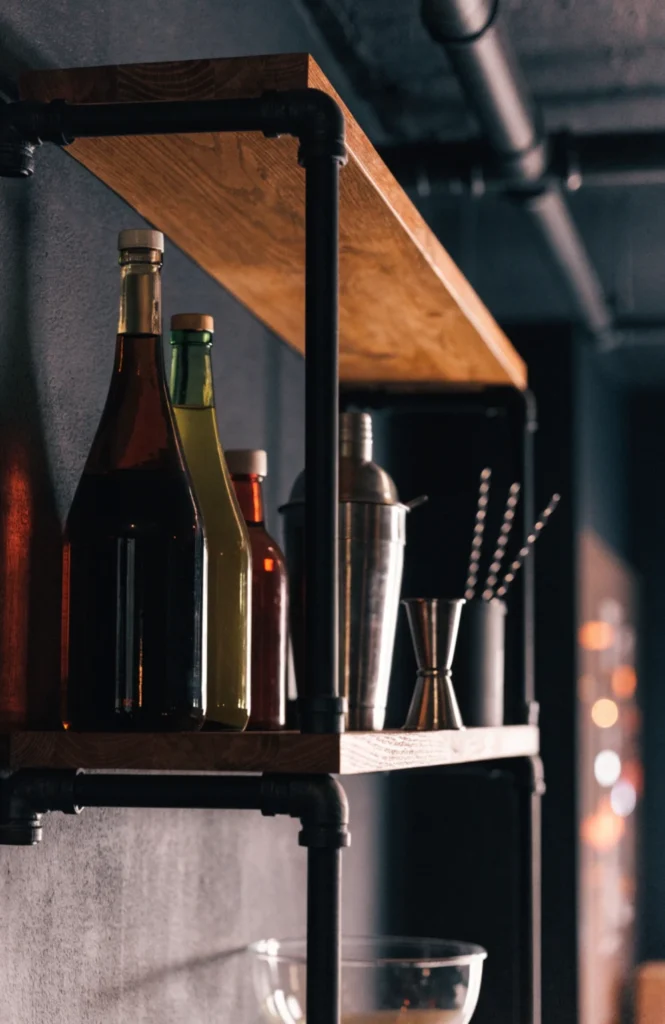
Black iron pipe brackets paired with raw or stained wood planks, usually running 60 to 130 dollars for a two-shelf setup, create the industrial look that’s been a consistent favorite in home bar design. The hardware itself does most of the visual work here, so keep the wood simple and let the brackets stand out.
This setup holds up well to heavier glassware and full bottles since the pipe brackets are rated for real weight, not just decorative loads. It reads as an intentional design choice rather than basic garage shelving once it’s styled.
4. Glass shelves in a wall alcove or niche
If you already have a built-in alcove, this is the fastest way to turn it into a bar without any real construction.
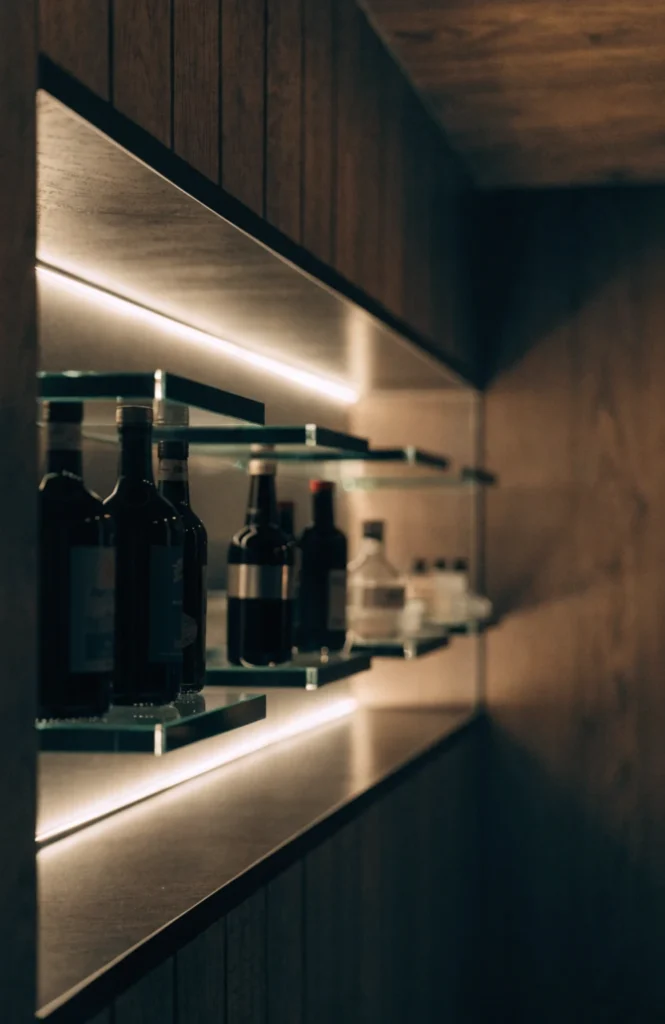
Tempered glass shelves cut to fit the alcove’s exact width, typically 50 to 120 dollars depending on size and thickness, keep the space feeling open and light instead of boxed in by solid wood. Adding a thin LED strip beneath one shelf highlights the bottles and glassware from below.
Glass lets the wall color or wallpaper behind the alcove show through, which does more styling work than the shelf material itself. It’s one of the more polished-looking options on this list for the amount of effort it actually takes.
5. A ladder-style leaning shelf unit
For renters or anyone who doesn’t want to drill into a wall at all, this is the workaround.
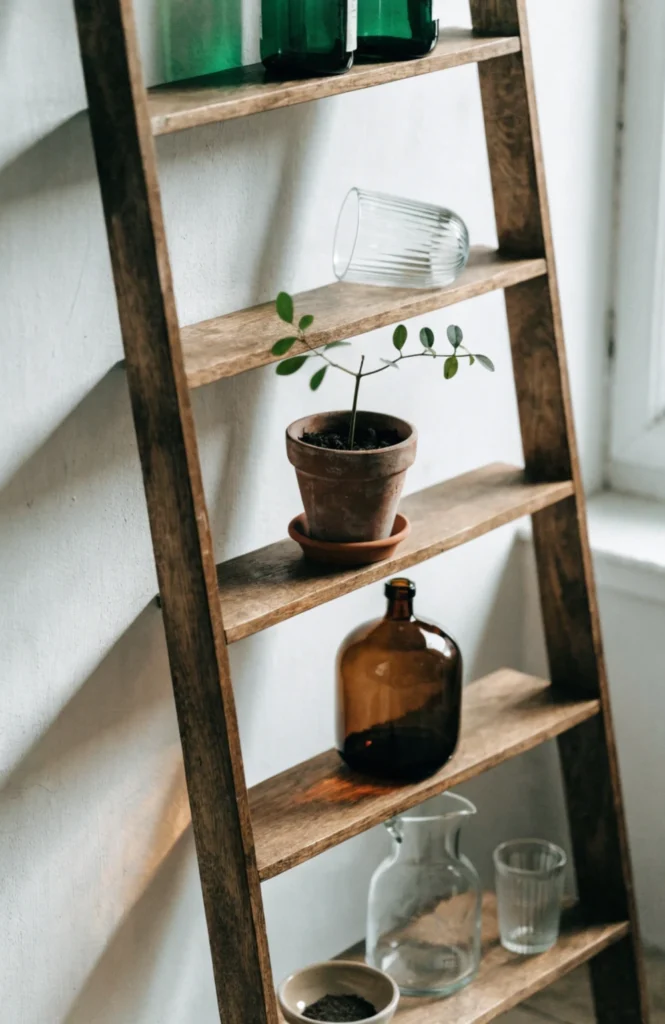
A ladder-style leaning shelf, either bought pre-made for 80 to 200 dollars or built from two long boards and shorter shelf rungs, leans against the wall without any mounting hardware required. Choose one with at least four tiers so bottles, glassware, and a decorative piece each get their own level.
Because it’s freestanding, it moves easily if you rearrange the room or move apartments entirely. It also draws the eye upward the same way a mounted shelf does, which makes a small bar area feel taller than it actually is.
Bar Carts and Rolling Setups
6. Convert an old TV stand into a rolling bar cart
This is one of the most budget-friendly builds on the entire list, and it starts with something most people already own or can thrift cheaply.
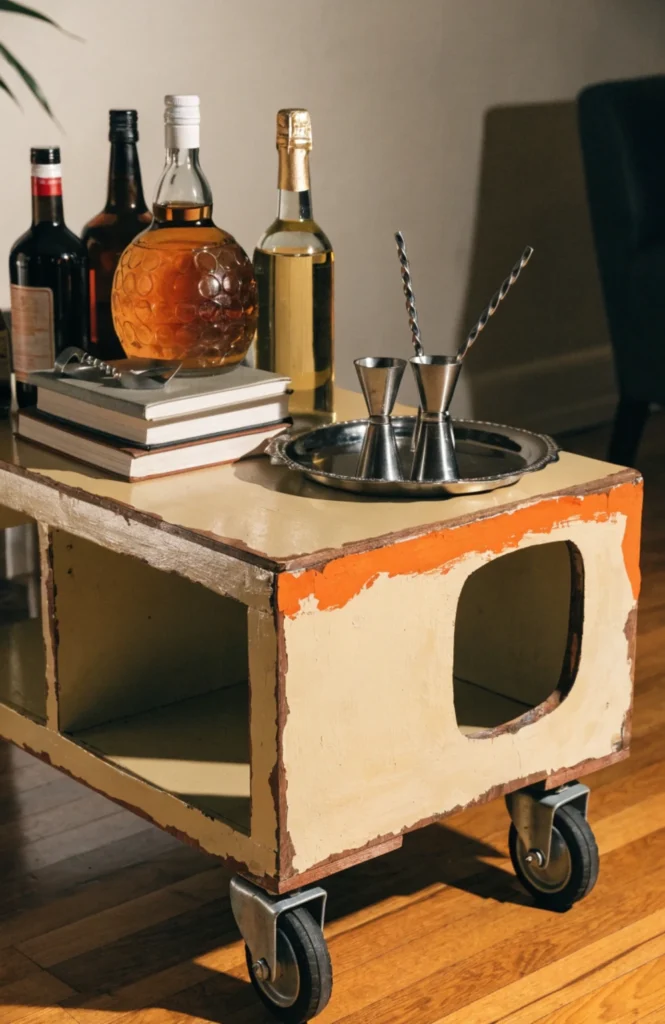
An old TV stand, thrifted for as little as 20 to 30 dollars, gets caster wheels added to the base and a fresh coat of paint to become a fully rolling bar cart with real storage inside the lower cabinet. The enclosed lower section is genuinely useful for hiding mixers or extra glassware that don’t need to be on display.
It’s proof that a bar cart doesn’t need to be purpose-built to look the part. Once it’s painted and styled with a tray on top, most guests would never guess it started life as a television stand.
7. Build a two-tier cart from a wood board and casters
A genuinely simple build for anyone comfortable with basic tools.
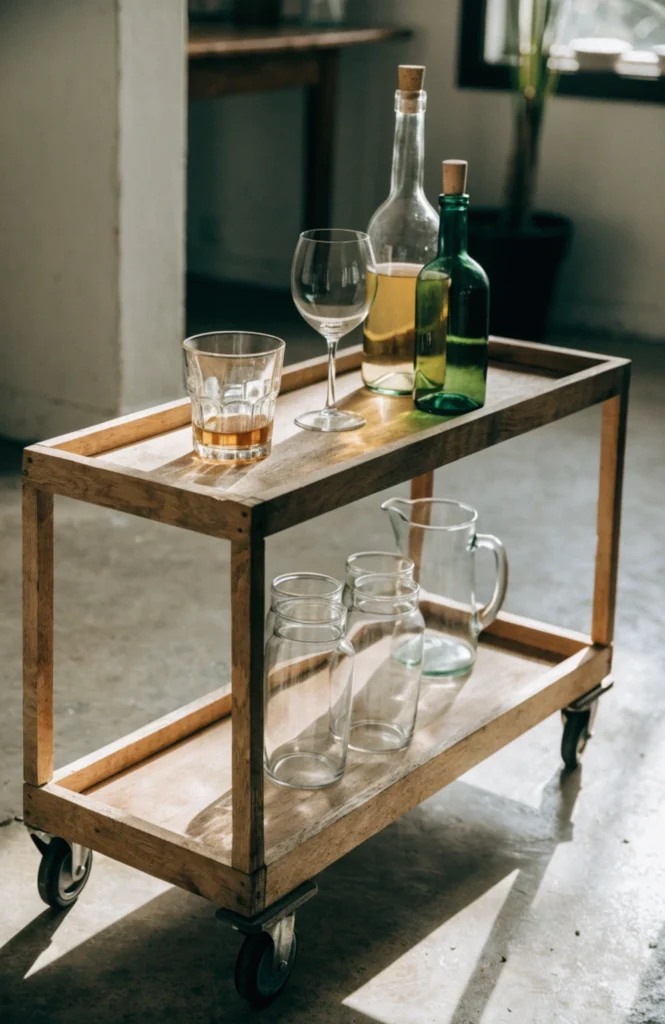
Two rectangular wood boards, connected with four wooden dowel legs and finished with caster wheels on the bottom, can be built in an afternoon for somewhere around 40 to 70 dollars in materials. Sand and stain the wood in a tone that matches existing furniture so it doesn’t look like a separate project bolted onto the room.
This build gives you complete control over the exact dimensions, which matters if you’re working around a specific corner or gap. It’s one of the most satisfying builds on this list precisely because it’s built entirely from scratch.
8. Add a removable tray to an existing cart
A small addition that makes an already-owned cart significantly more functional.
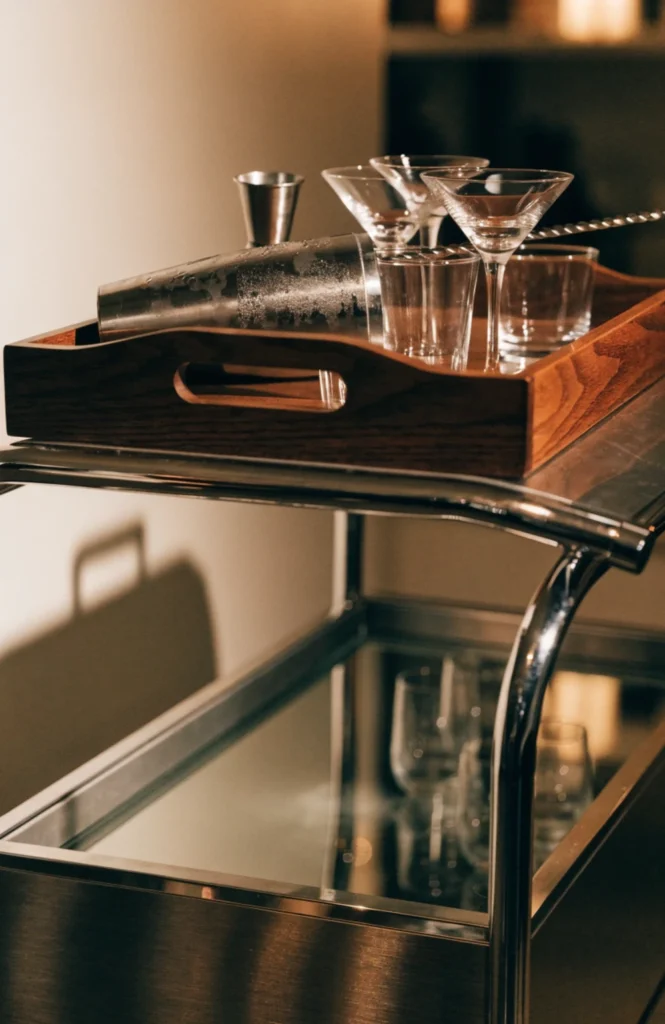
A removable wood or metal tray, either bought separately for 15 to 35 dollars or built from a thin board with handles attached, sits on top of an existing cart and lifts off entirely to carry drinks to guests directly. This turns a stationary display cart into something that actually serves a hosting function during a party.
It’s a small upgrade, but it solves the real problem of carrying several drinks across a room at once. The tray also gives you a defined, contained space to style separately from the rest of the cart.
9. Style a bar cart with a draped runner and dried foliage
This one leans entirely into texture rather than furniture.
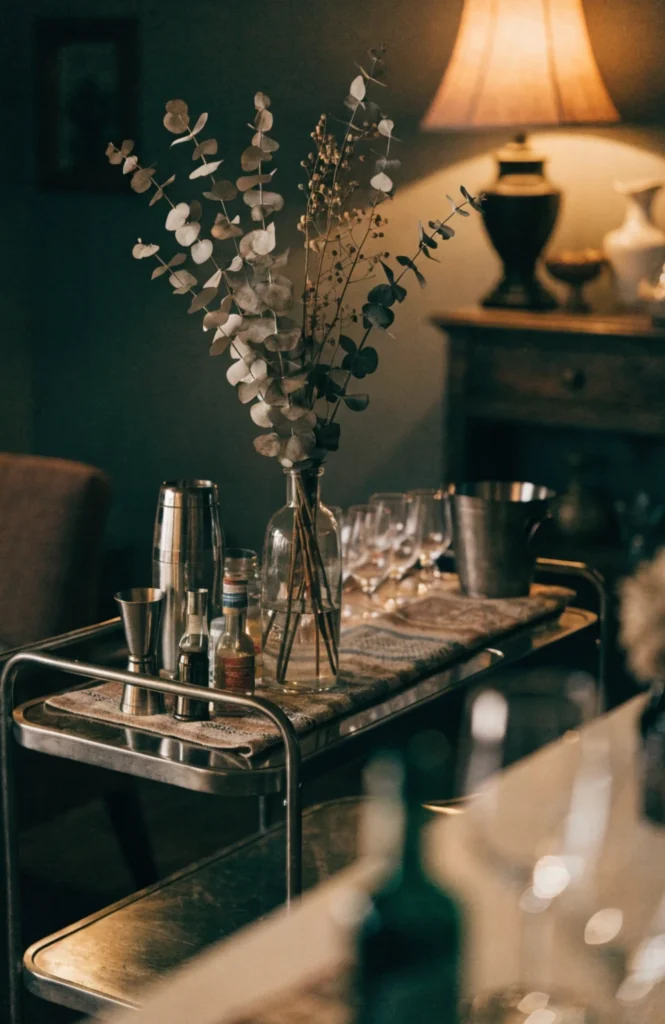
Draping a woven runner or a plush throw across the top tier of an existing cart, then adding tall dried stems like eucalyptus or pampas grass in a narrow vase, softens the hard edges of metal or glass and adds real visual depth. This layered textile-and-foliage approach has become one of the most popular cart styling strategies going into the current season.
It costs almost nothing if you already own a cart, since the runner and dried stems together usually run under 30 dollars total. The dried foliage in particular lasts for months without any maintenance at all.
10. Repurpose a vintage suitcase as a mini bar cart
A genuinely unique option if you already have or can thrift an old hard-shell suitcase.
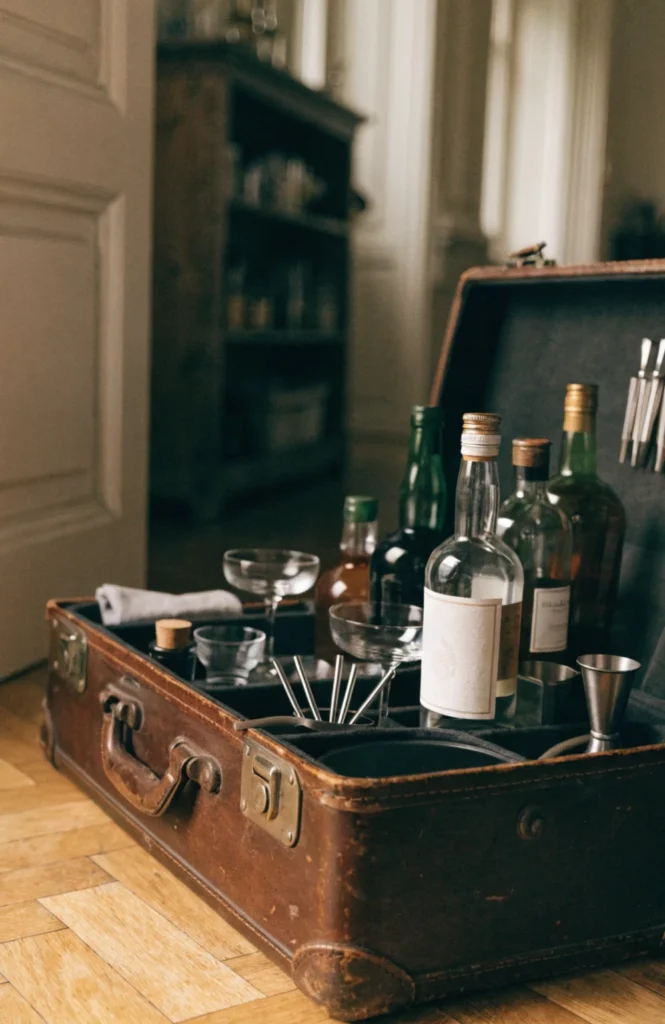
A vintage suitcase, hinged open and mounted on a small wheeled base or simple wood stand, holds bottles and glassware inside its lined interior while doubling as a conversation piece the moment guests walk in. Look for a suitcase with a sturdy shell, since soft-sided luggage won’t hold the weight of full bottles well.
This is one of the most personality-driven builds on this list, since no two vintage suitcases look quite the same. It’s also fully portable, closing shut completely when you want the bar tucked away.
Closet and Corner Conversions
11. Convert an unused hall closet into a hidden bar
If there’s a closet in your home you barely use, this might be the single highest-impact project on this whole list.
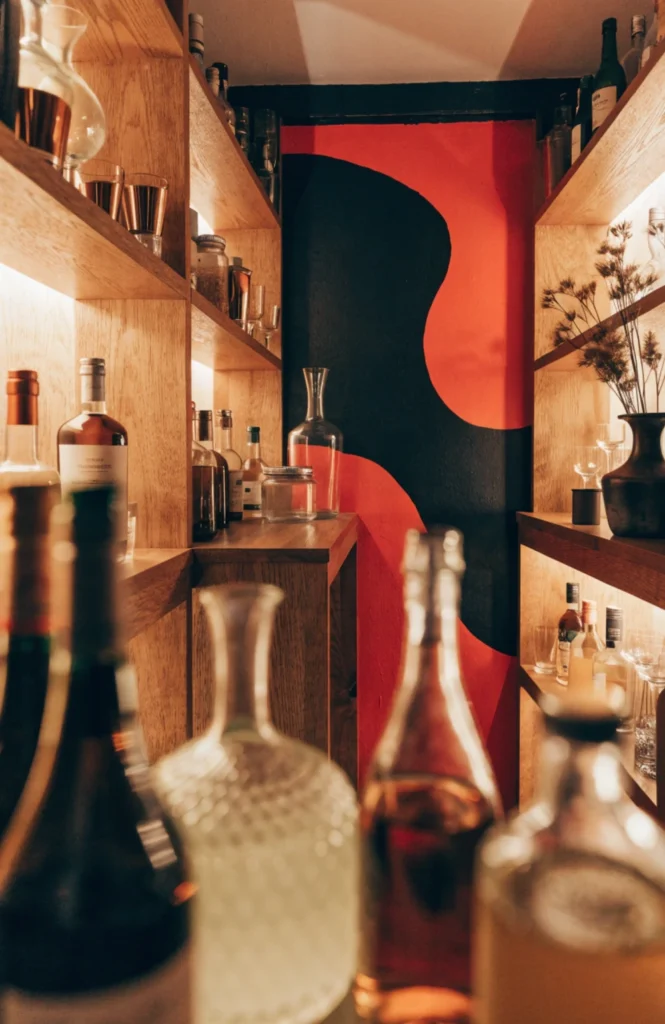
Removing the closet door, or swapping it for a set of café doors, and adding two or three fitted shelves turns dead storage space into a genuinely functional bar nook, typically for 150 to 400 dollars depending on shelving and finishes. Paint or wallpaper the back wall first in a bold tone, since it’s a small enough surface that a strong color choice actually works well here.
This is one of the biggest home bar trends going into 2026 specifically because it uses square footage that was otherwise going to waste. Once it’s finished, it reads as a built-in feature rather than a converted storage closet.
12. Build an L-shaped corner shelf unit
Corners are almost always wasted space, and this claims it back directly.
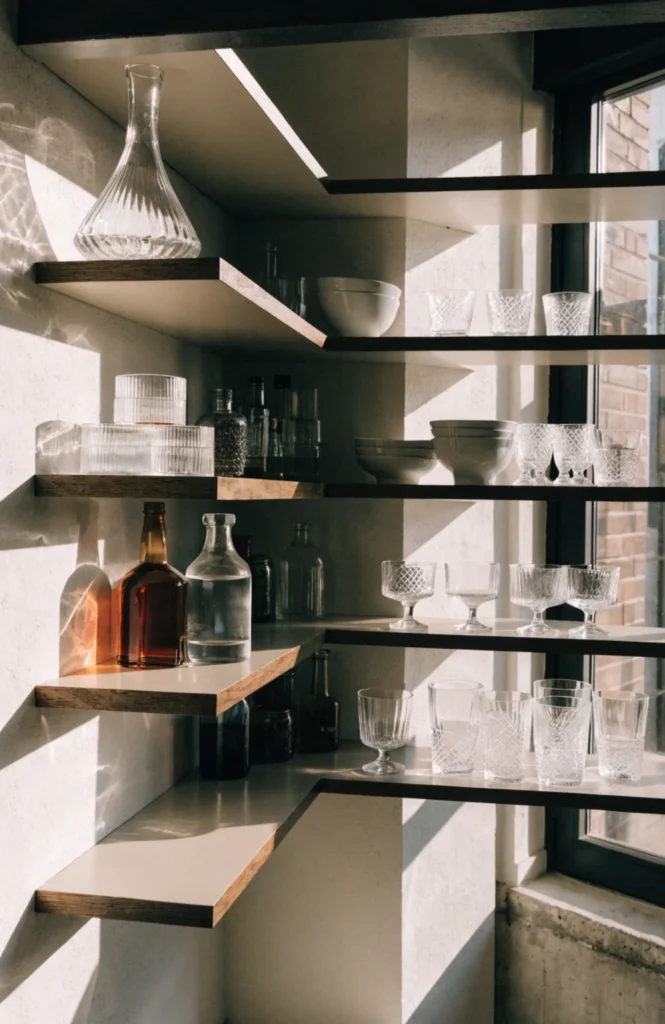
An L-shaped shelving unit, built from two shelf runs meeting at a 90-degree angle in the corner, maximizes wall space without eating into the floor at all, and a basic version runs 60 to 150 dollars in materials. This layout works especially well in a dining room or living room corner that doesn’t get much other use.
It makes a small, awkward corner feel deliberately designed rather than like unused leftover space. Because it wraps the corner, it also displays more bottles in the same footprint than a single straight shelf would.
13. Fold-down wall bar for tight apartments
For anyone with genuinely no spare floor space at all, this solves the problem entirely.
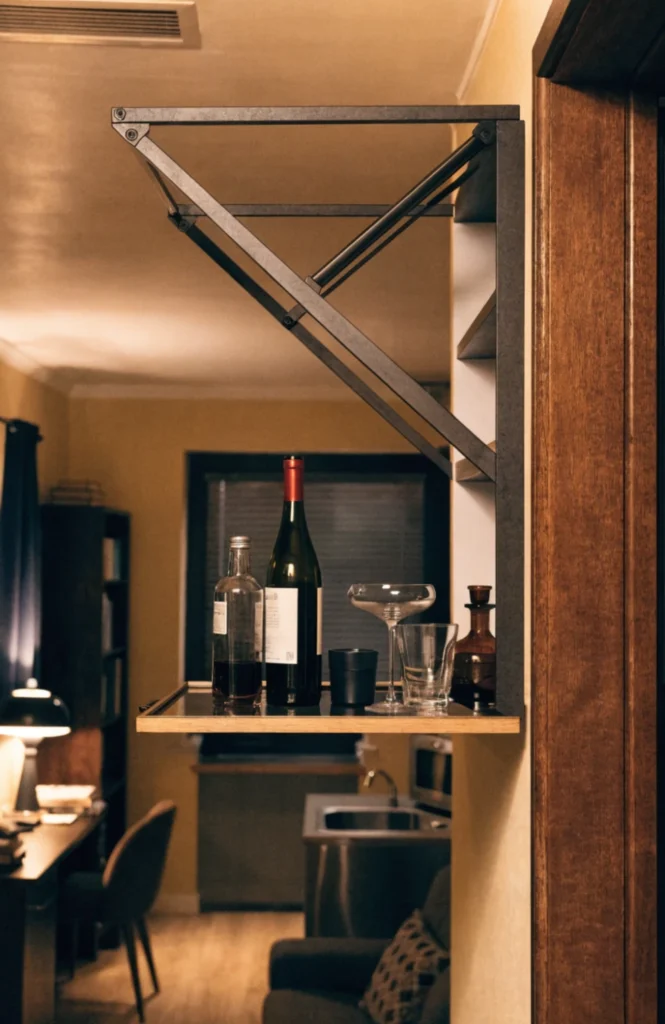
A wall-mounted cabinet with a hinged, fold-down front panel that becomes a small serving counter when opened, typically running 150 to 350 dollars, closes completely flat against the wall when not in use. This is one of the most space-efficient formats available for a true small apartment.
It gives you a real working surface for mixing drinks during a party, then disappears back into a slim wall unit the rest of the time. It’s the single best pick on this list if square footage is your biggest constraint.
14. Style an open shelf above a kitchen counter
If your kitchen has even a foot of open wall space above a counter, this puts it to immediate use.
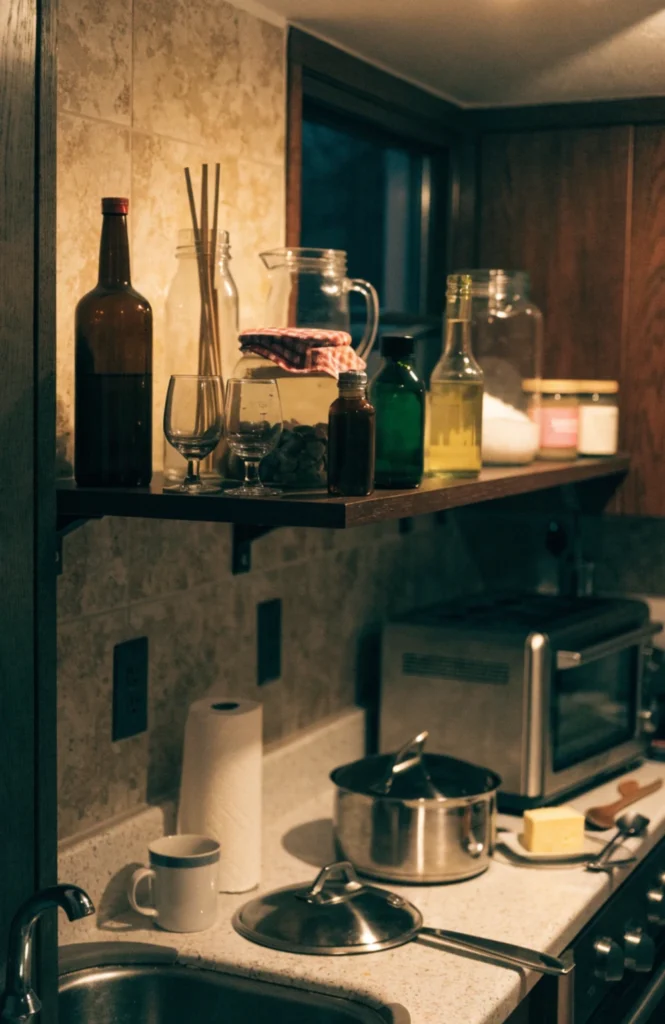
A single floating shelf mounted above an existing kitchen counter, running 30 to 60 dollars for the shelf and brackets, holds a curated selection of bottles and glassware right where drinks actually get made. Keep the counter below clear so the shelf reads as styled rather than like an extension of kitchen clutter.
This works especially well in kitchens that double as the main gathering spot during parties. It keeps the bar visually connected to where people are already standing, rather than tucked away in a separate room.
15. Slide a narrow bar unit beside a sofa or armchair
That thin gap beside a sofa is usually wasted, and it’s a genuinely easy fix.
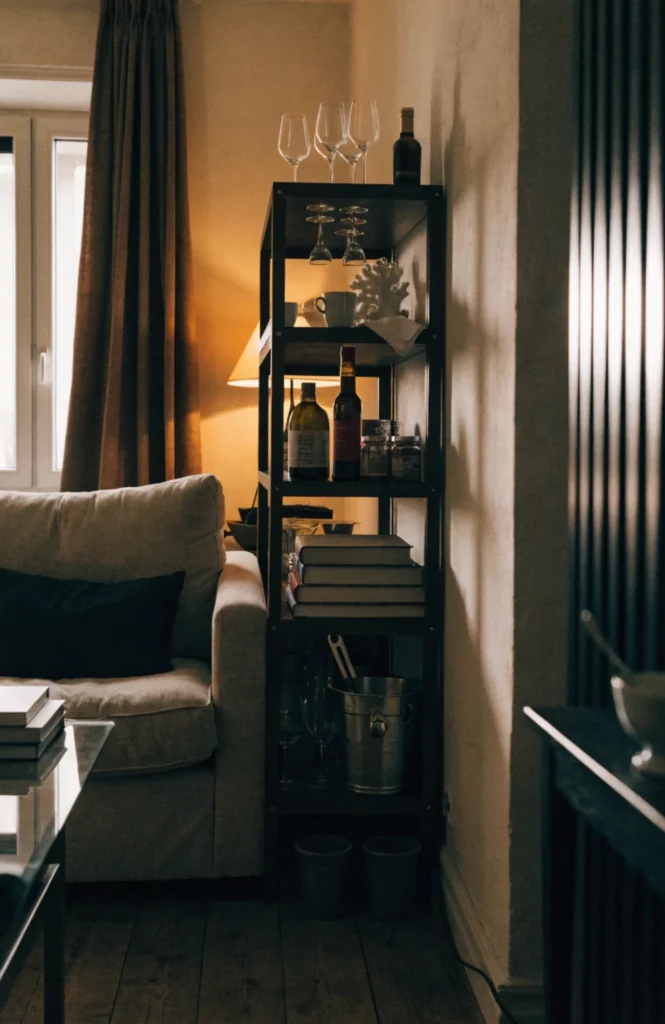
A narrow, tall shelving unit, roughly 12 to 16 inches wide, slides into the gap beside a sofa or armchair and holds a compact bar setup within arm’s reach of the main seating area, typically running 50 to 120 dollars. Keep the top surface clear enough to actually set a drink down on.
It puts the bar directly into the room where people spend the most time during a gathering instead of requiring a walk to another corner. This is a particularly good fit for a studio apartment or a smaller living room.
Styling and Lighting Details
16. Add LED light strips beneath each shelf
This single addition changes how every other idea on this list actually looks once the sun goes down.
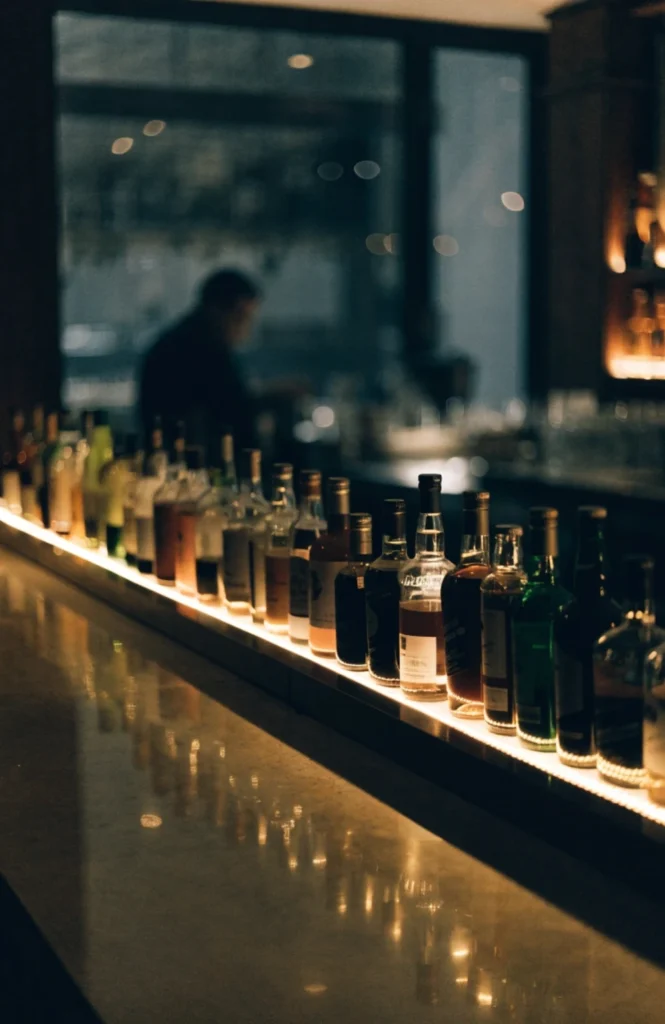
Adhesive LED light strips, usually 15 to 25 dollars for a multi-color, remote-controlled set, stick directly to the underside of each shelf and illuminate the bottles below with a warm or colored glow. Choose a warm white or amber setting for most looks, since cooler tones can make the space feel more clinical than social.
It transforms a daytime shelf into a genuine evening feature the moment guests arrive for a party. This upgrade works on literally any shelf style already on this list, floating, glass, or industrial alike.
17. Hang stemware upside down beneath a shelf
A small detail that solves a real storage problem while adding genuine visual polish.
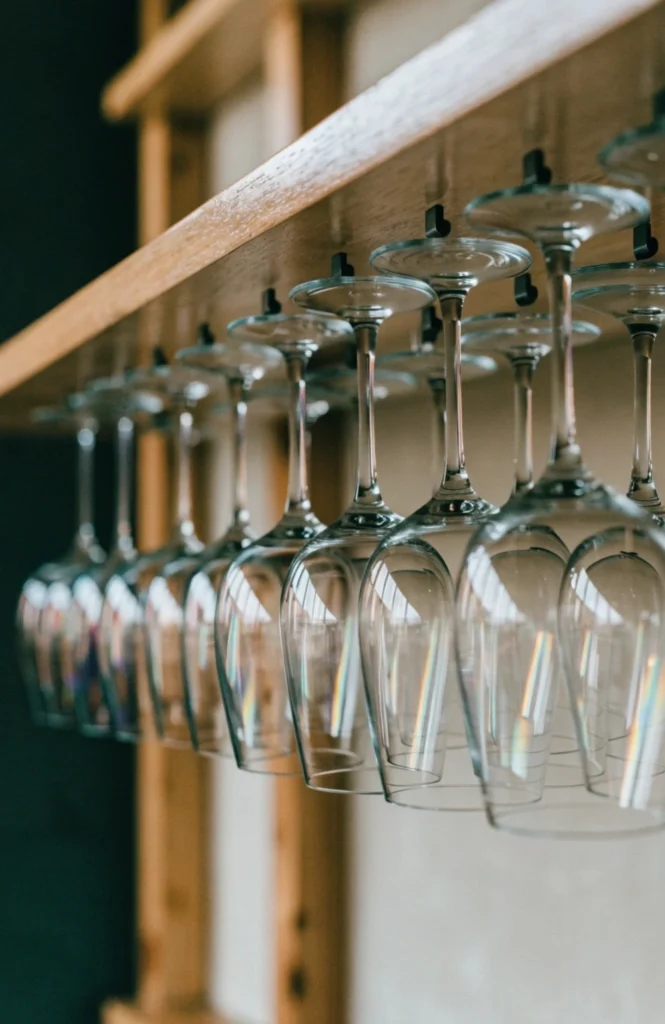
A simple wine glass rack, mounted to the underside of an existing shelf for 15 to 30 dollars, holds stemware upside down and suspended, keeping glasses dust-free and instantly accessible without taking up any shelf surface space. It also means delicate glassware isn’t stacked or at risk of chipping in a cabinet.
This is one of the details that separates a styled bar shelf from a purely functional one. It photographs beautifully from below, with the glasses catching light as they hang.
18. Add a mirrored backsplash behind the shelves
This trick does more to make a small bar area feel larger than almost anything else on this list.
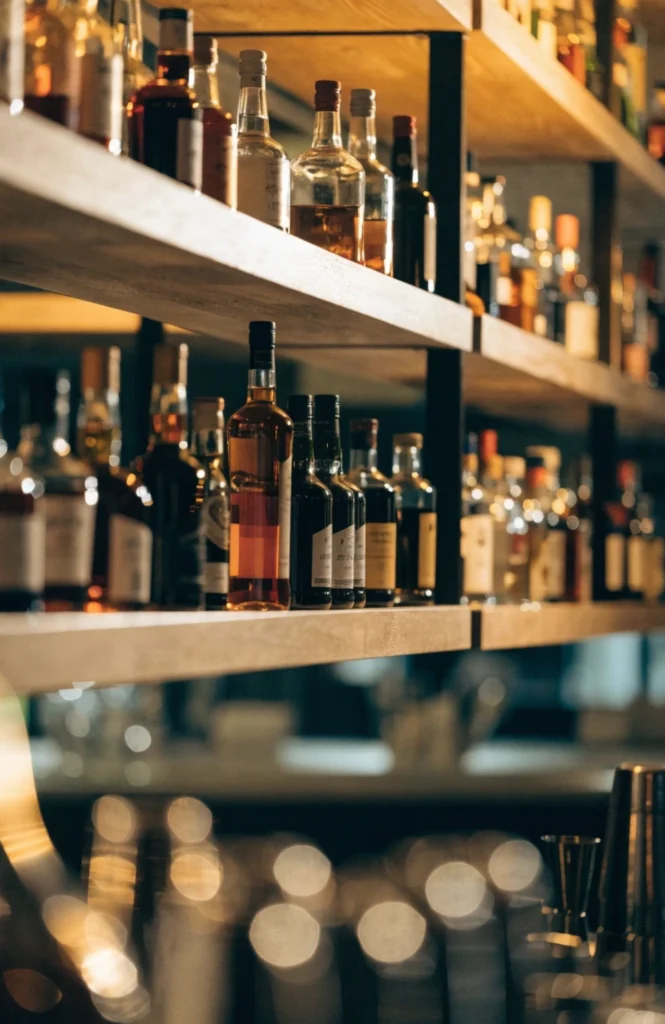
A mirrored backsplash panel, either a full mirrored sheet or individual mirrored tiles, installed behind the shelving for 40 to 100 dollars depending on size, reflects the bottles and light back into the room, creating the illusion of a considerably larger, more finished space. It also doubles the visual impact of any bottle collection styled in front of it.
It’s a bigger installation step than most items on this list, but the payoff is genuinely proportional to the effort. Small bar corners in particular benefit the most from this specific trick.
19. Group bottles by height, not by type
A styling rule that costs nothing and changes how the entire shelf reads.
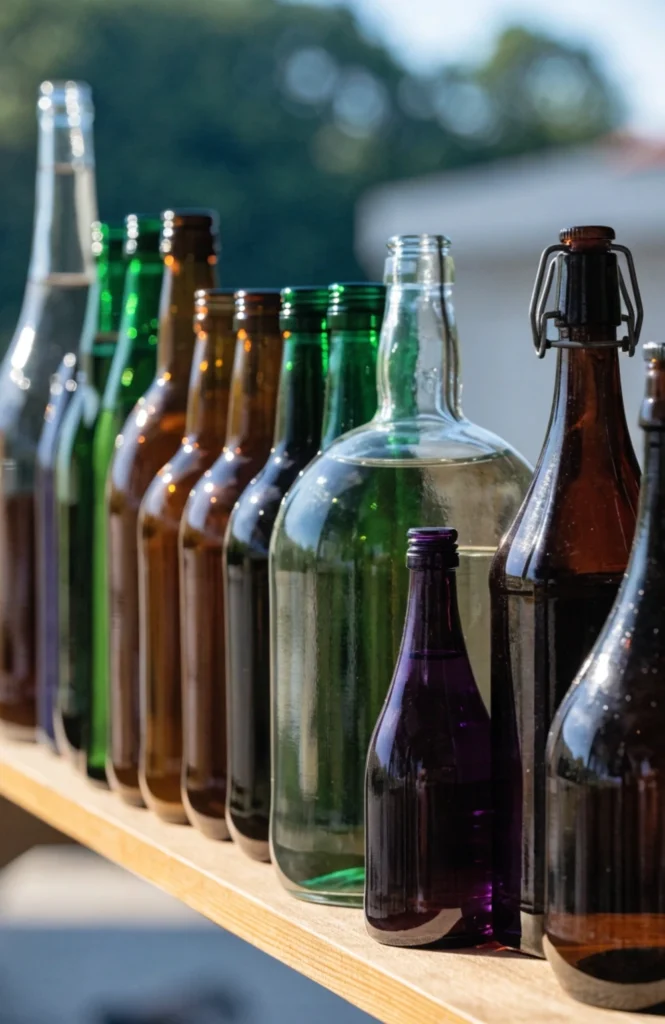
Arranging bottles from tallest to shortest across a shelf, rather than grouping by liquor type or color, creates a natural visual rhythm that reads as intentional rather than randomly placed. Leave small gaps of negative space between groupings instead of packing every bottle edge to edge.
This is the single fastest styling fix on this entire list, since it requires nothing more than rearranging what you already own. It’s also the detail most people notice without being able to say exactly why the shelf looks so put together.
Seasonal Touches
20. Rotate in seasonal foliage and natural accents
A simple habit that keeps a static shelf feeling current throughout the year.
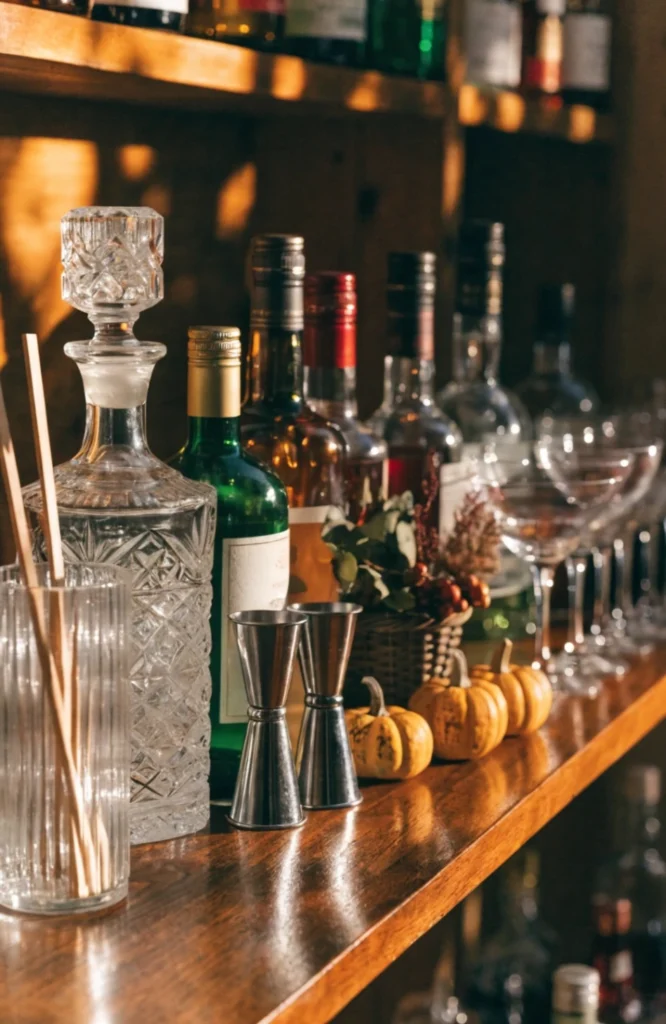
Swapping in small seasonal touches, dried pampas grass and mini pumpkins in fall, fresh eucalyptus in spring, costs under 20 dollars each time and keeps a bar shelf from feeling static year-round. Cluster these accents in a small wooden bowl or basket rather than scattering them loosely across the shelf.
It’s a low-cost way to keep an otherwise permanent fixture feeling fresh without redoing the whole setup. This habit alone is often the difference between a bar shelf that looks finished once and one that stays photograph-ready all year.
21. Add copper fairy lights for evening entertaining
The final layer that turns a styled shelf into a genuine evening atmosphere piece.
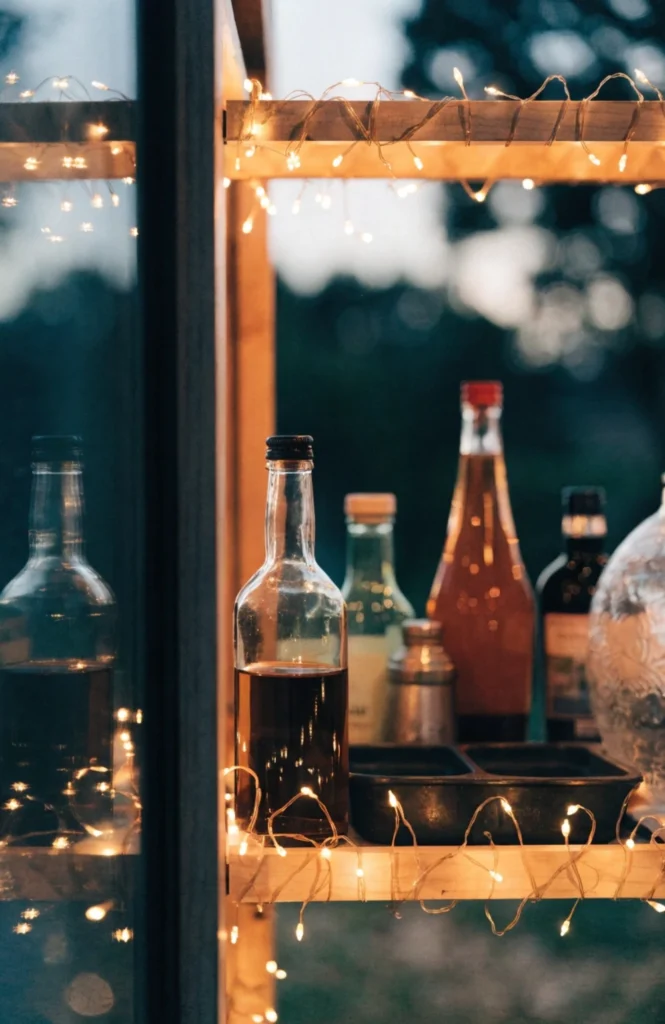
Thin copper wire fairy lights, usually 10 to 20 dollars for a battery-powered strand, weave through the frame of a shelf or cart and add a soft, warm sparkle once the sun goes down without needing any hardwiring. Battery-powered versions with a timer function mean you don’t have to remember to turn them on before guests arrive.
It’s one of the cheapest additions on this entire list relative to the atmosphere it actually creates. Paired with the LED strip idea earlier, this gives a bar shelf real evening presence during any gathering.
Conclusion
The bar shelves that actually feel effortless are almost never the biggest or most expensive ones, they’re the ones where every piece on display earned its spot. If you’re starting from nothing, pick the format that fits your actual space first, floating shelf, cart, or closet conversion, before worrying about styling details like lighting or foliage. Once the format’s decided, editing your collection down to a curated handful of bottles will do more for the finished look than any single accessory on this list.