My first Halloween yard was just two plastic jack-o-lanterns from the dollar store sitting on the porch steps, and it looked exactly as unimpressive as that sounds. What actually turns a yard into a haunted scene isn’t buying more stuff, it’s layering, a hazy fog layer at ground level, uplighting throwing shadows up a tree, a few well-placed figures instead of a dozen scattered ones, so the whole thing reads as one cohesive scene instead of a pile of decorations.
The ideas below are grouped by what they build, layout and focal points first, then lighting and fog effects, props and figures, the entry pathway, and a handful of budget-friendly DIY touches. The same focal-point approach used in these summer patio decor ideas applies here too, pick one strong anchor feature and build the smaller details around it, rather than scattering decorations evenly across the whole yard.
Before You Start
- Plan the display around one focal point, a graveyard, a fog-lit archway, a large figure, rather than spreading decorations evenly across the whole yard.
- Layer lighting at different heights, ground-level uplighting, mid-height spotlights, and overhead string lights all add different effects.
- Check any electrical decorations are rated for outdoor use and plugged into a GFCI outlet, especially anything near fog machines or damp grass.
- Test fog machines and lighting timing at night before the actual event, effects that look great in daylight can read completely differently after dark.
Layout and Focal Points
1. Build a Graveyard Scene as the Centerpiece
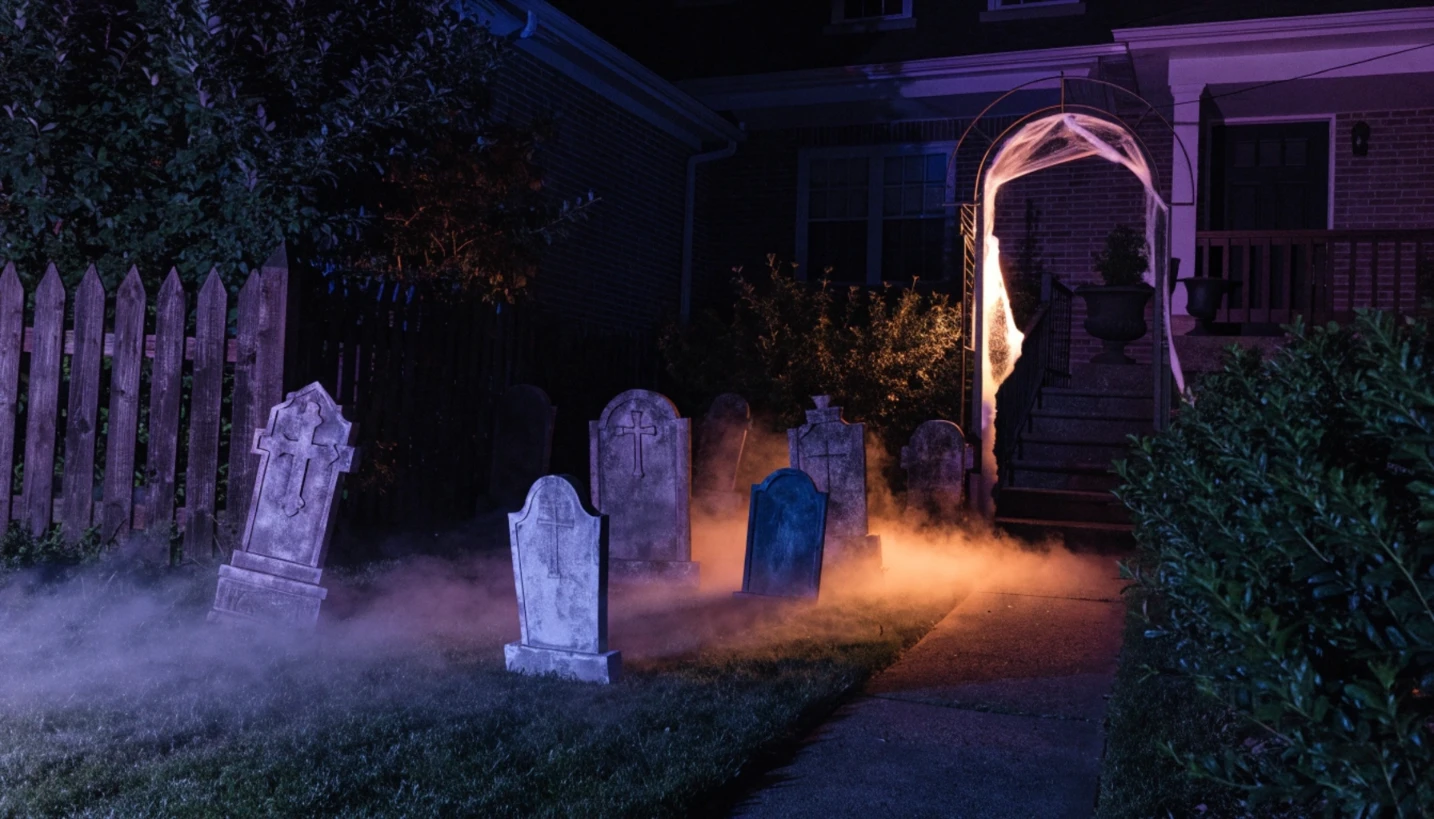
A small cluster of tombstones on the front lawn became the one feature every trick-or-treater stopped to look at before heading up the walkway.
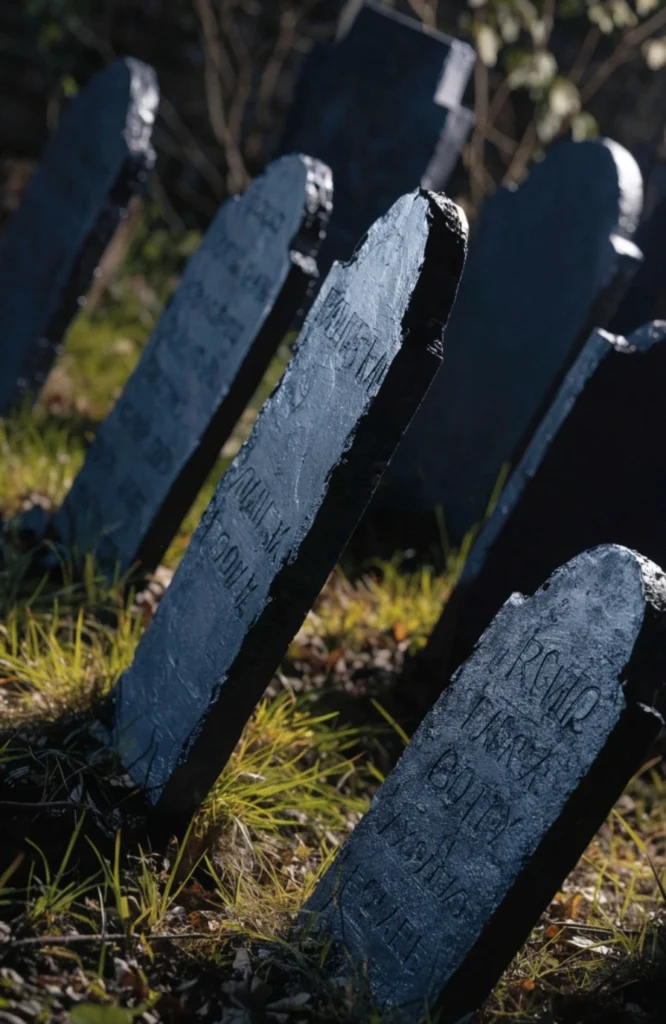
A set of five to seven foam or plastic tombstones runs $30 to $60, and arranging them at slightly different angles reads as more realistic than a straight row.
It works because a graveyard scene is instantly recognizable and gives the whole yard a clear focal point that everything else can be arranged around.
2. Create a Spooky Tree Silhouette
Wrapping a bare tree in black fabric strips and uplighting it from below turned an ordinary front yard tree into the eeriest thing on the block.
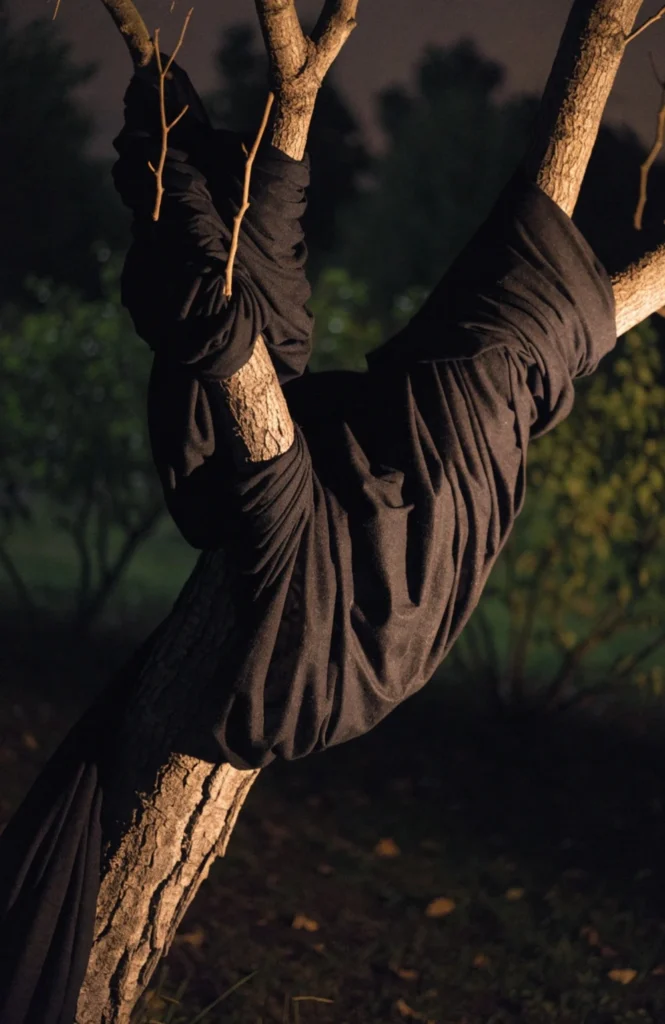
Black stretch fabric or crepe paper to wrap branches runs $10 to $20, and a small uplight to place at the base costs another $10 to $18.
It works because it transforms a feature you already have, an existing tree, into a dramatic focal point without needing to buy a large standalone prop.
3. Add a Giant Spider and Web Feature
A giant spider stretched across the porch corner with a web behind it became the backdrop for nearly every photo trick-or-treaters took that night.
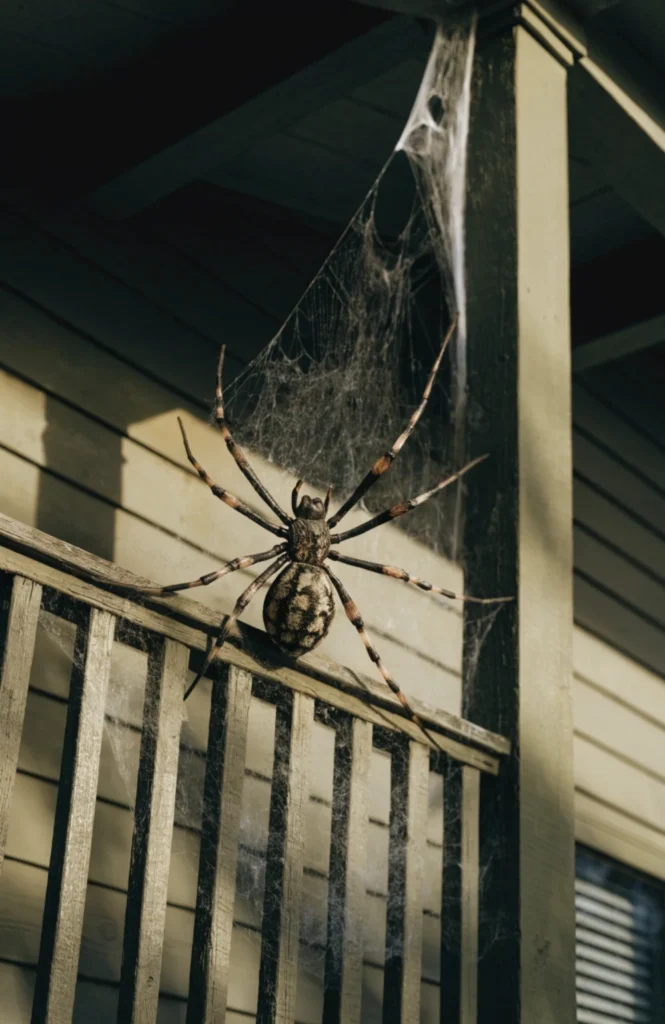
A large decorative spider runs $20 to $45 depending on size, and a stretchable web to go behind it costs another $10 to $20.
It works because an oversized spider is one of the most immediately recognizable Halloween props, and it scales well as either the main focal point or a secondary feature.
4. Use a Fog-Filled Cauldron as a Focal Point
A cauldron bubbling with fog by the front steps became a small daily ritual to refill and refresh before trick-or-treaters started arriving.
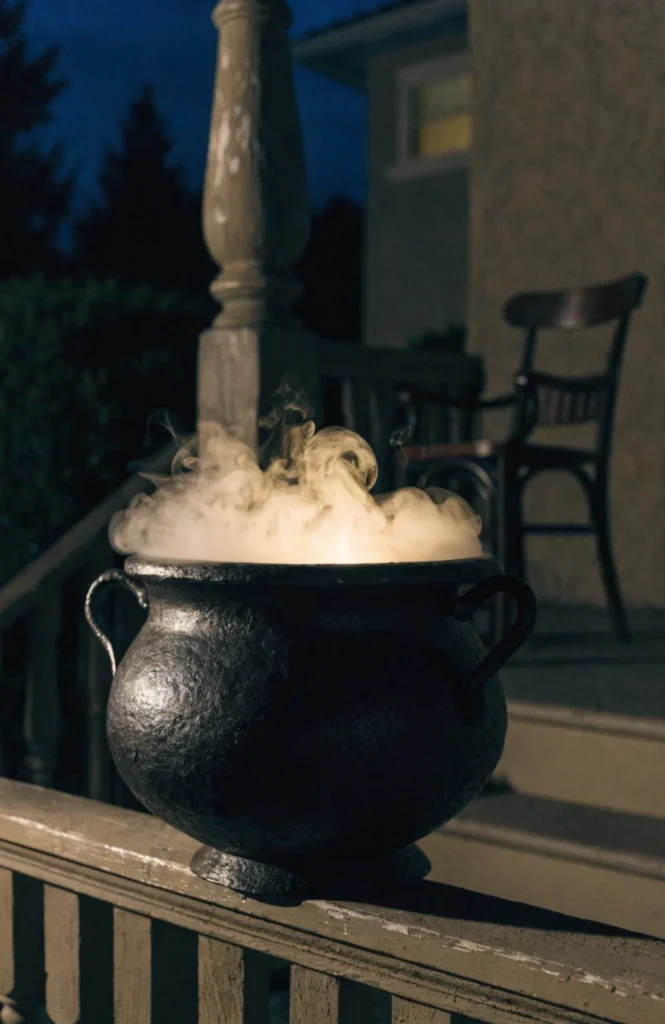
A large plastic cauldron runs $15 to $30, and a compact fog machine or fogger disc to fill it with haze runs another $20 to $50.
It works because a low, glowing haze pooling out of a cauldron is a genuinely eerie effect that’s hard to replicate with static props alone.
Lighting and Fog Effects
5. Add Purple and Orange Uplighting
Swapping our regular porch light for colored uplights changed the whole mood of the yard before I’d added a single prop.
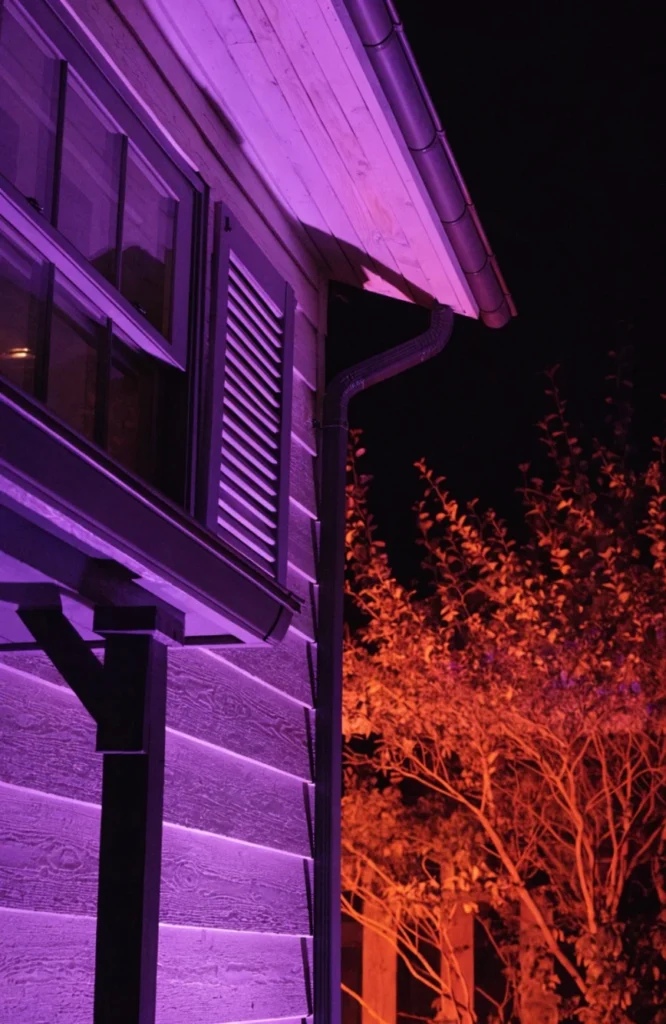
A set of two to four color-changing LED spotlights runs $25 to $50, and placing them low and pointed upward creates dramatic shadows on the house and any nearby trees.
It works because colored light sets the mood for the entire scene before anyone even notices individual decorations, doing more visual work per dollar than most props.
6. Use a Fog Machine for Ground-Level Haze
A low fog machine hidden behind the tombstones filled the whole front lawn with a ground-hugging haze that made everything feel more atmospheric.
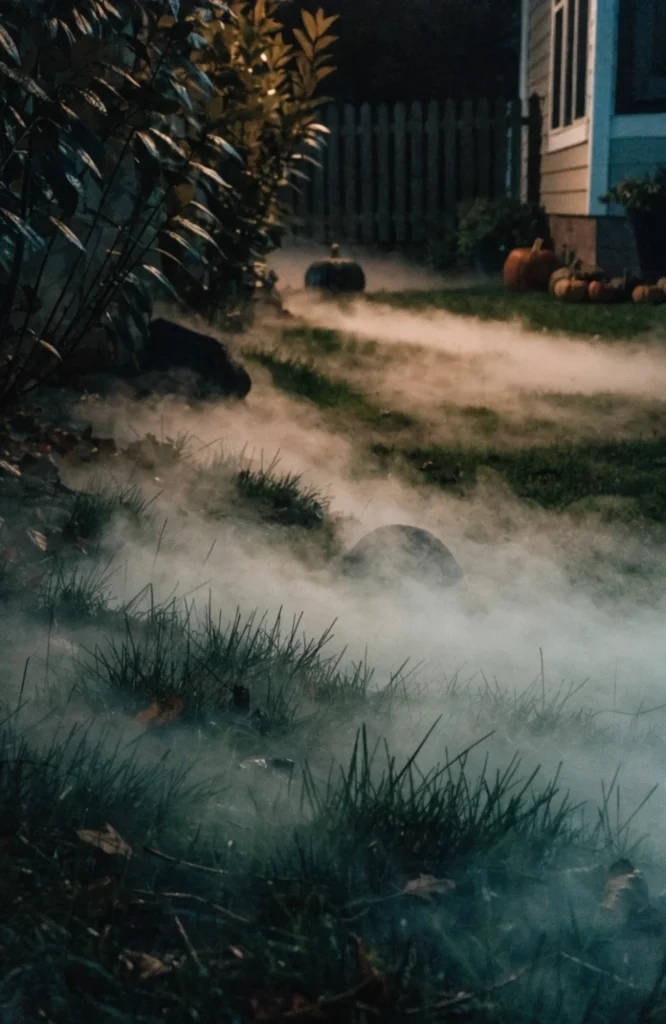
A compact fog machine runs $30 to $70, and fog fluid to run it costs another $10 to $15 per bottle, lasting several uses.
It works because ground-level haze adds movement and atmosphere that static props can’t replicate, and it makes the whole scene feel alive rather than just decorated.
7. Add Flickering Flame-Effect Lights
Flame-effect string lights along the porch railing gave off a flickering glow that read as real fire without any actual flame risk.
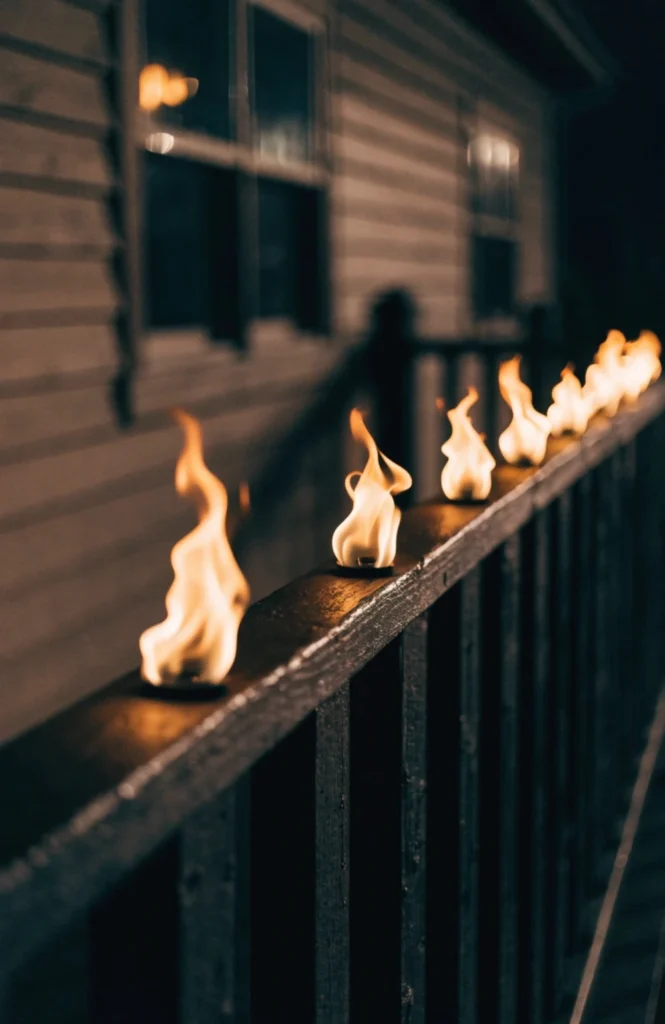
A strand of flame-effect LED lights runs $15 to $30 and typically includes a flicker setting that mimics real firelight.
It works because flickering light reads as genuinely unsettling in a way steady lighting doesn’t, and it’s a safe alternative to real torches or candles near a yard full of decorations.
8. Include Motion-Activated Spotlights
A motion-activated spotlight aimed at the biggest prop startled every single trick-or-treater who walked past it, which was exactly the point.
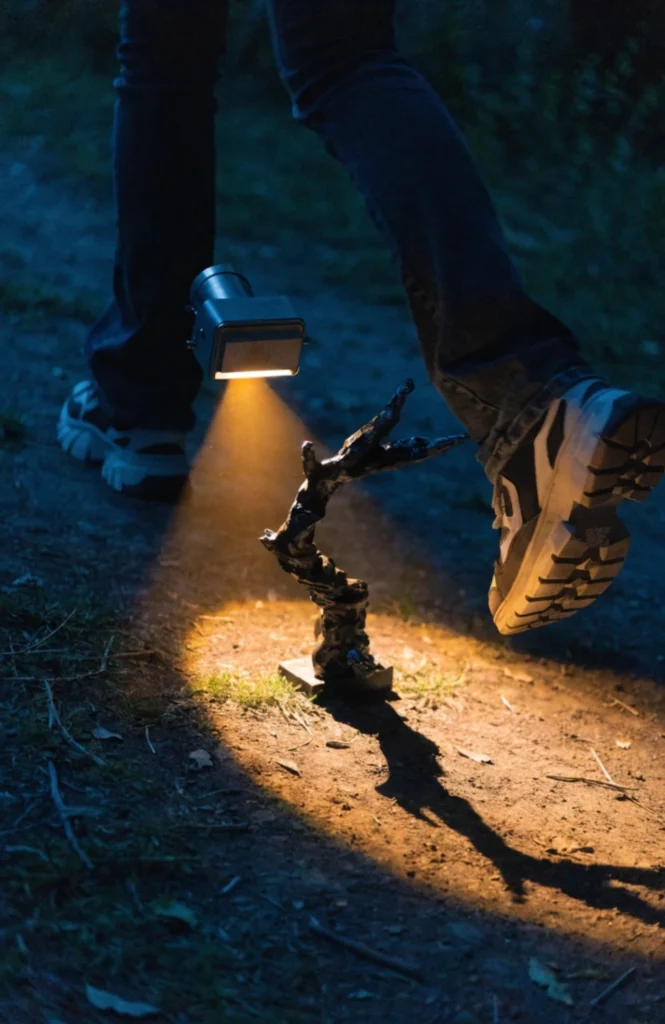
A motion-activated spotlight runs $20 to $40 and triggers automatically as people approach, adding a jump-scare element without needing anyone to operate it manually.
It works because sudden light and movement genuinely startle people in a way static decorations can’t, adding an interactive element to an otherwise passive display.
Props and Figures
9. Add Life-Size Animatronic Figures
A single animatronic figure that moved and made sound when triggered got more reactions than every static prop in the yard combined.
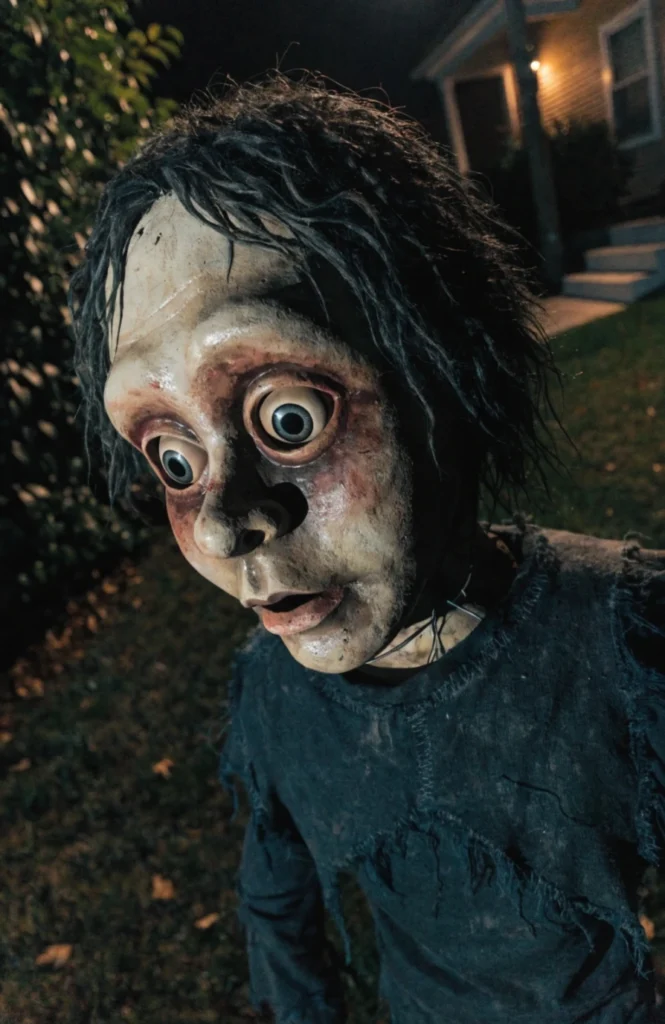
A life-size animatronic figure with motion and sound runs $60 to $150 depending on complexity, a bigger investment but a genuine centerpiece for the display.
It works because movement and sound create an entirely different level of scare than static decorations, and one good animatronic often makes more impact than several static props combined.
10. Include a Scarecrow with a Twist
A scarecrow slumped against the porch post with a slightly crooked pose looked more unsettling than any purchased horror prop I’ve tried.
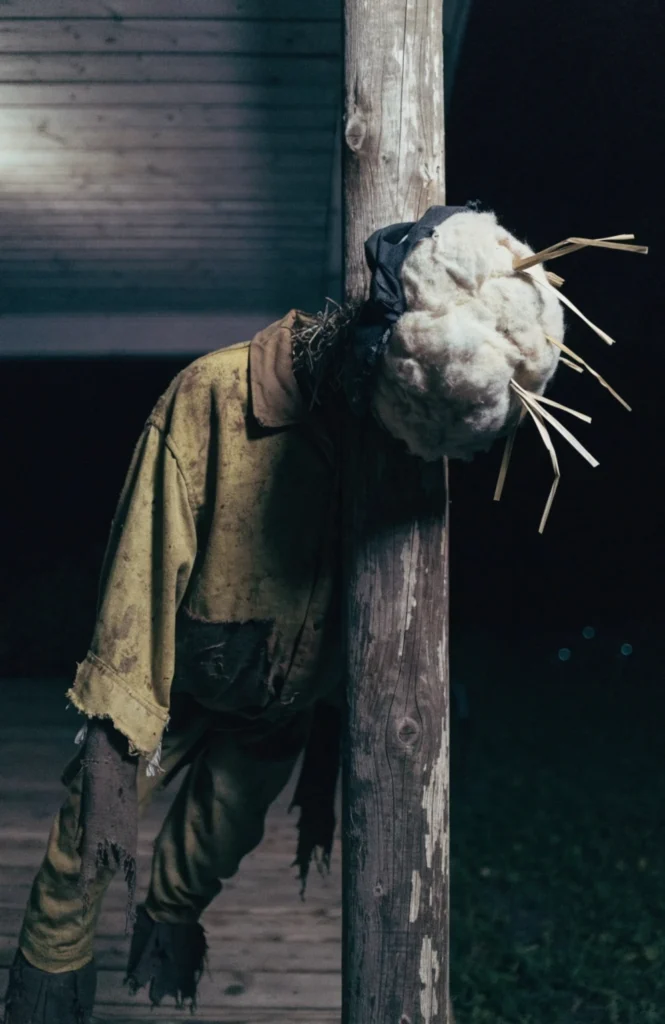
A scarecrow built from old clothes, straw, and a pillowcase head costs $15 to $30 in materials if you don’t already own most of them.
It works because a slightly off, unsettling pose reads as more genuinely creepy than an obviously purchased prop, and it’s one of the cheapest builds on this whole list.
11. Add Silhouette Cutouts in Windows
Black silhouette cutouts taped inside the front windows extended the haunted feel to the house itself, not just the yard.
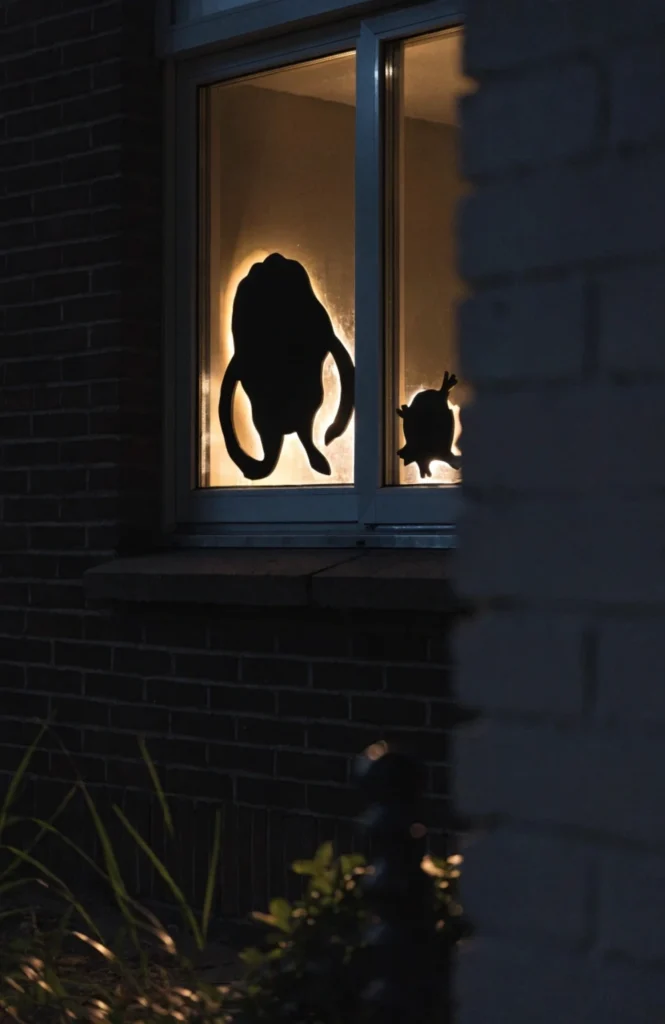
Pre-cut silhouette decals or black poster board to cut your own run $10 to $20 for enough to cover several windows.
It works because it extends the haunted theme onto the house itself, suggesting something’s happening inside as well as out in the yard.
12. Use Ghost Figures Made from Cheesecloth
Stiffened cheesecloth ghosts hung from the tree branches moved slightly in the wind, adding a level of eeriness no static prop could match.
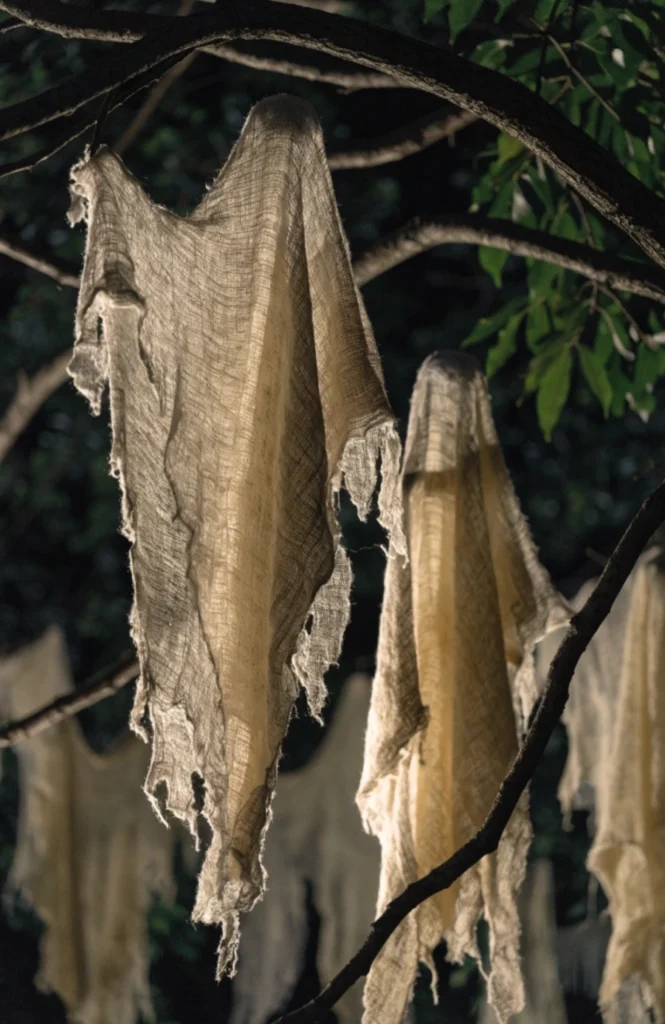
Cheesecloth and fabric stiffener to make three to four ghosts costs $15 to $25 total, and they can be shaped over a balloon form before the stiffener dries.
It works because the fabric’s natural movement in the wind gives it a lifelike quality that a solid plastic figure simply can’t replicate.
Pathways and Entry Details
13. Line the Walkway with Tombstone Markers
Small tombstone markers lining both sides of the walkway made the approach to the front door feel like walking through an actual scene, not just past decorations.
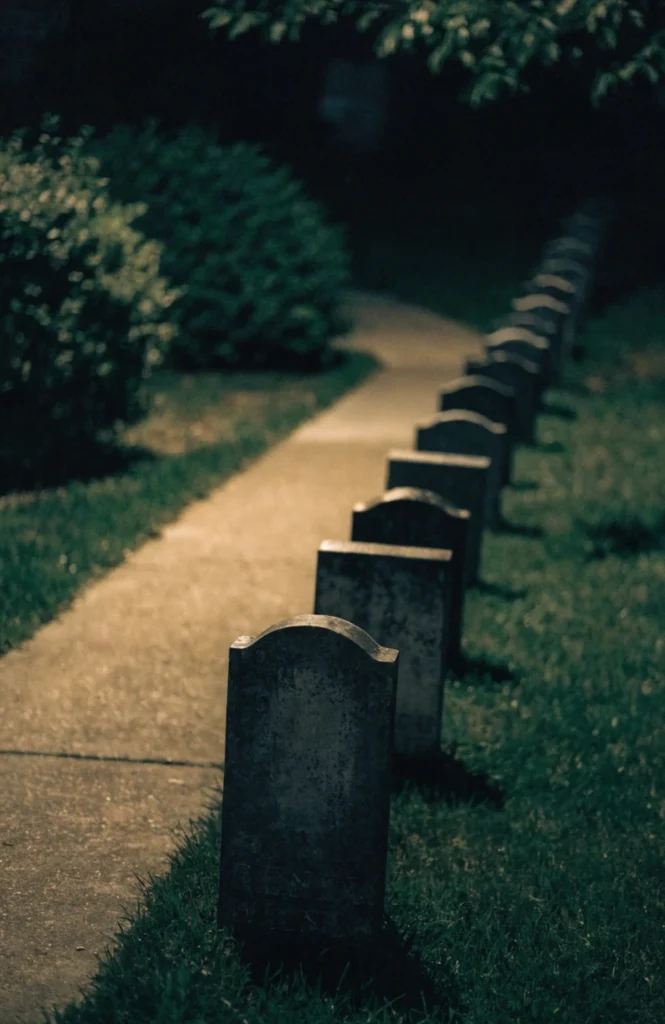
Small foam tombstone markers run $5 to $12 each, and lining a walkway with six to eight costs $30 to $80 total.
It works because it turns the walk to the front door into part of the experience, rather than confining all the decor to the lawn or porch alone.
14. Add a Fog-Lit Archway at the Entrance
A simple archway with fog rolling underneath turned the entrance to our front walkway into the moment trick-or-treaters remembered most.
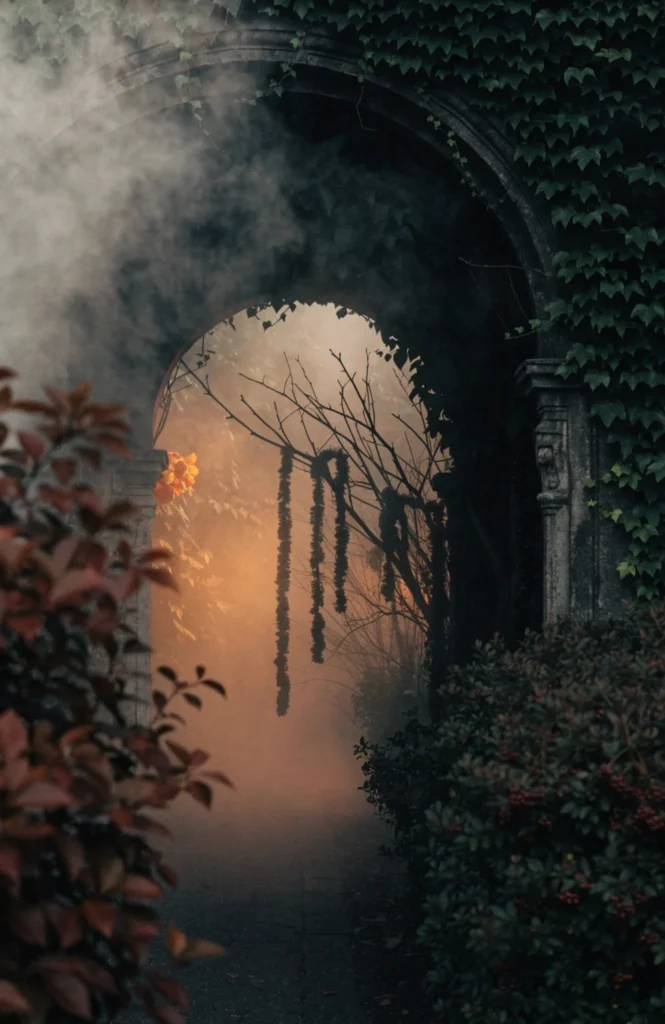
A basic metal or PVC archway runs $25 to $50, and adding a fog machine underneath it costs another $30 to $50.
It works because it creates a clear threshold moment, guests physically pass through the haze into the scene, which adds drama that flat ground decorations alone don’t provide.
15. Include Jack-o-Lanterns Along the Steps
A row of carved jack-o-lanterns on the front steps added warmth and light exactly where trick-or-treaters needed to see their footing.

Pumpkins for carving run $5 to $12 each depending on size, and battery-operated tea lights inside them cost another $8 to $15 for a full set.
It works because it’s both decorative and genuinely functional, providing safe footing light on the steps while still fitting the overall theme.
16. Add Caution Tape for a Crime Scene Touch
A stretch of caution tape across part of the yard added an unexpected, slightly unsettling detail that most Halloween displays don’t include.
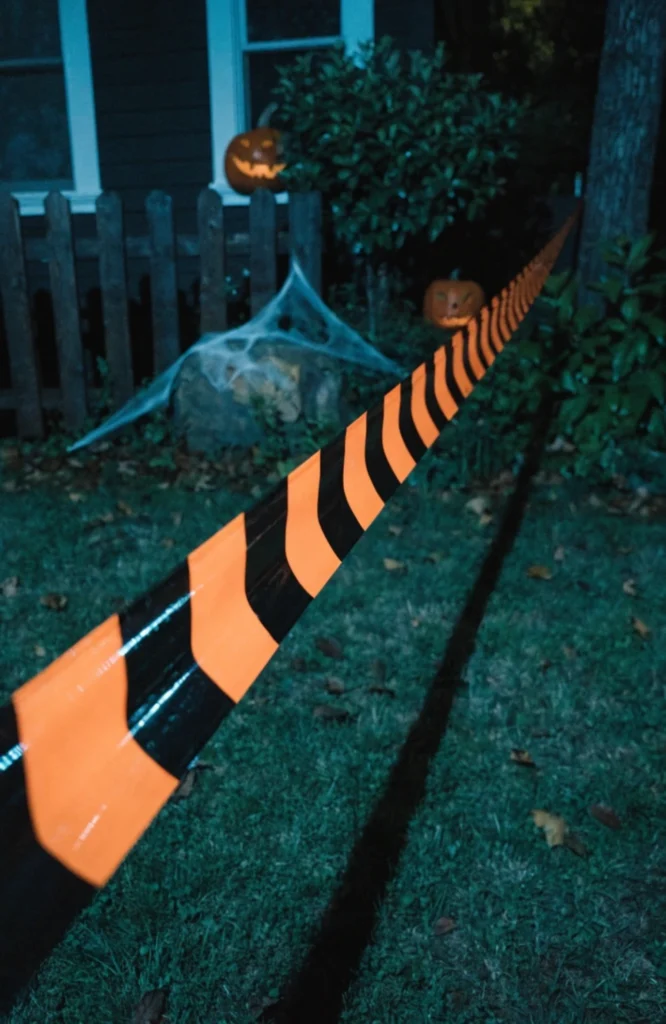
A roll of caution or crime scene tape runs $5 to $10 and can be restretched across multiple points in the yard.
It works because it’s an unexpected genre shift from typical spooky decor, adding a crime scene element that most yards on the block probably won’t have.
DIY and Budget-Friendly Touches
17. Make Ghosts from Pool Noodles and Sheets
A pool noodle bent into a hoop and draped with an old sheet made a floating ghost shape that cost almost nothing and looked better than a store-bought version.
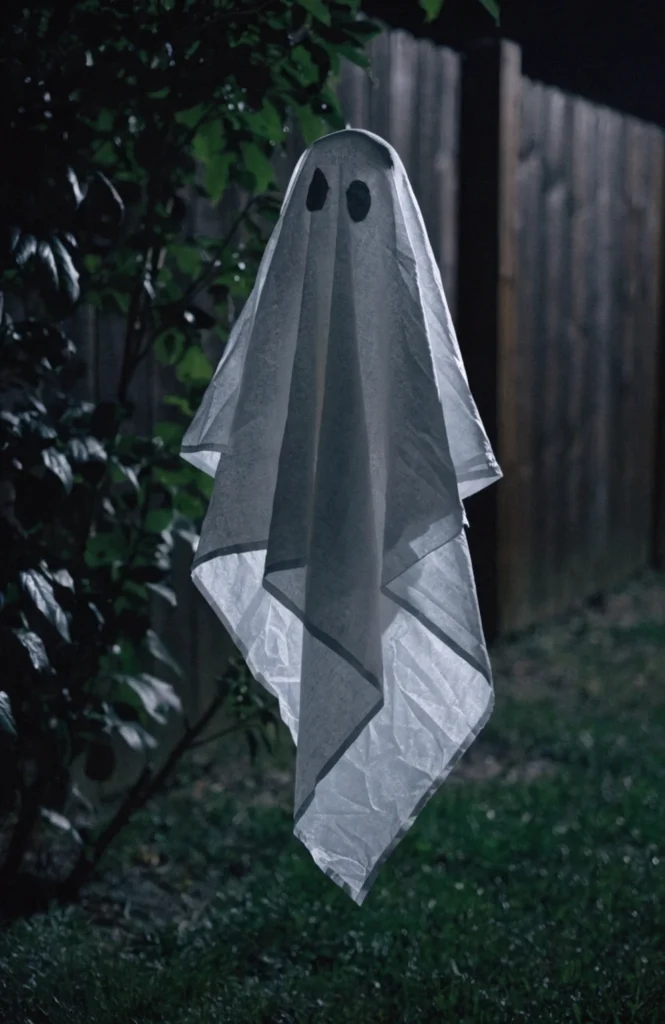
A pool noodle and an old white sheet cost $5 to $10 total if you don’t already have both on hand, one of the cheapest props on this entire list.
It works because the noodle holds the sheet’s shape into a rounded “head,” giving the ghost a more three-dimensional form than a flat draped sheet alone.
18. Add Balloon Spiders for a Playful Touch
Black balloons with pipe cleaner legs taped on became a fun, kid-friendly addition that balanced out the scarier elements elsewhere in the yard.
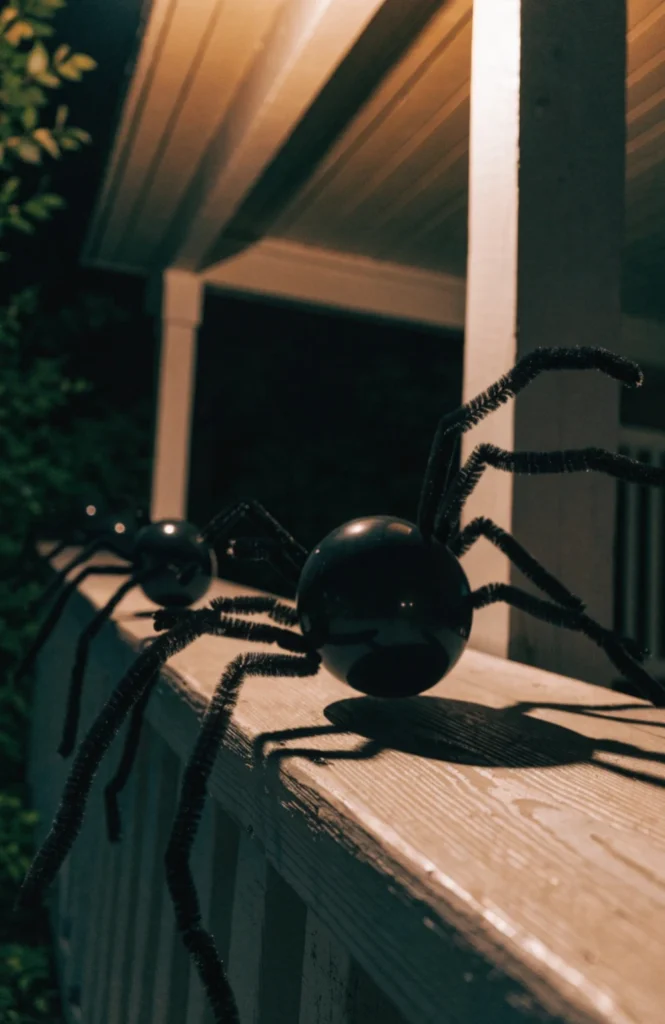
A bag of black balloons and pipe cleaners runs $8 to $15 and makes enough spiders to scatter across the porch and yard.
It works because it adds a lighter, more playful element for younger trick-or-treaters, balancing out the more intense props elsewhere in the display.
19. Use Black Trash Bags for a Spooky Silhouette Fence
Black trash bags cut into strips and tied along the fence line created a rustling, tattered silhouette effect for almost no cost at all.
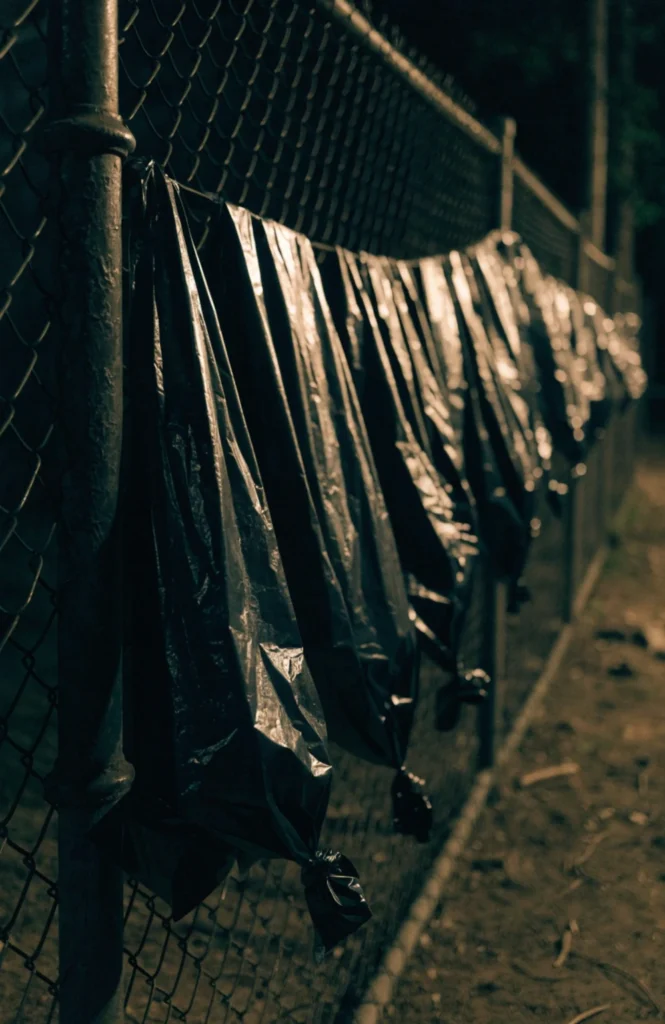
A box of black trash bags runs $5 to $10 and covers a full fence line when cut into strips and tied on.
It works because the strips move and rustle in the wind, adding motion to the display, and it’s one of the lowest-cost ways to cover a large area like a fence line.
20. Add a Handmade Warning Sign
A weathered “Enter at Your Own Risk” sign staked into the lawn set the tone for the whole display before anyone even reached the front steps.
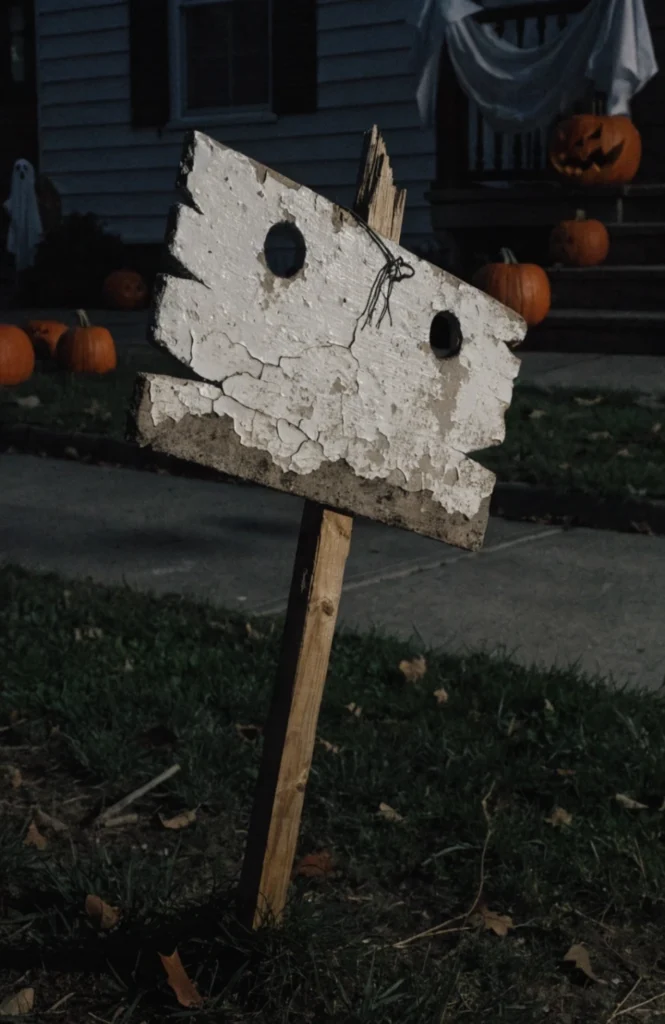
A piece of wood or foam board, paint, and a stake cost $8 to $15 to build a sign from scratch.
It works because it sets expectations right at the edge of the yard, building anticipation before visitors even reach the main display.
Conclusion
If you’re starting from a bare yard, colored uplighting and a small graveyard cluster give you the two elements that set the tone for everything else, both achievable in an afternoon. Add fog and a fog-lit archway next for the entrance moment, then round it out with DIY touches like pool noodle ghosts and trash bag fencing once the main scene is working. The yards that get remembered aren’t the ones with the most decorations, they’re the ones where the lighting, fog, and props all work together to tell one cohesive haunted scene instead of just sitting there separately.
FAQ
What’s the single best upgrade for a Halloween yard on a budget?
Colored uplighting changes the entire mood of a yard for around $25 to $50, doing more visual work per dollar than almost any individual prop.
Is fog machine fluid safe for pets and kids?
Standard water-based fog fluid is generally considered safe in well-ventilated outdoor settings, though it’s worth checking the specific product label and keeping pets away from the direct output nozzle.
How do I make a Halloween yard scary without spending a lot?
DIY props like pool noodle ghosts, trash bag fencing, and a handmade warning sign cost very little and can look just as effective as store-bought decorations when arranged with intention.